

Opticstar SL-131C COOLAIR Setup Manual
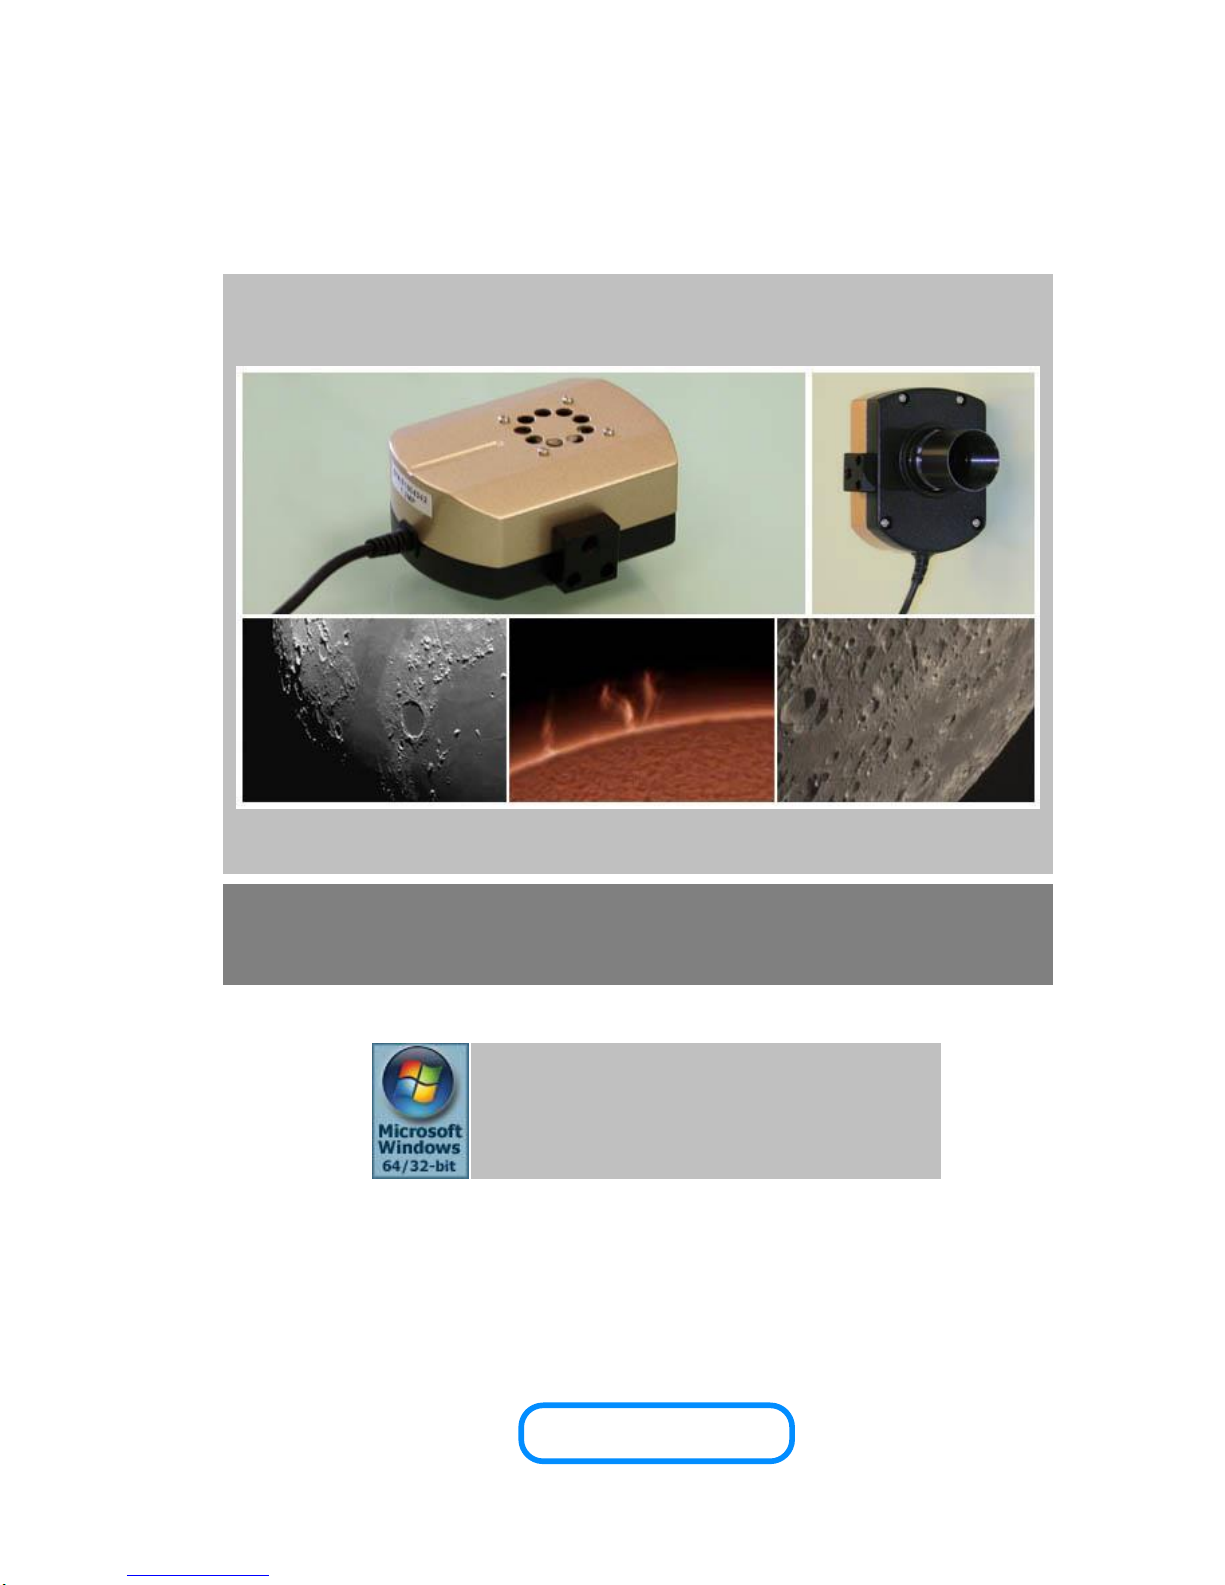
Opticstar SL-131C COOLAIR
1.3mp Colour Video Camera
Setup Guide
OPTICSTAR
Microsoft Windows
(64-bit & 32-bit)
XP/Vista/7/8 / 10
Opticstar SL-131C. © Opticstar Ltd, 2010 - 2017.
1
Updated: 09/10/2017
1. Please read and follow the installation instructions on the following
pages for a trouble free installation!
2. Do not drop your camera as this can result in serious damage.
3. Only use the supplied power supply unit if you camera comes with one.
4. Do not point the camera to a bright light source like the Sun without the
appropriate filters as this will damage the sensor.
5. Disconnect the camera from the computer when not in use.
6. Treat the camera glass window with the same care as you would of a
photographic lens.
CAUTION
!
Manufacturer’s Warranty
This product has a 12 month back to base warranty. For after
sales support please contact Opticstar at: info@opticstar.com

Opticstar SL-131C. © Opticstar Ltd, 2010 - 2017.
2
Updated: 09/10/2017
CONTENTS
Introduction ....................................................................................................................................................................... 3
Software Support ......................................................................................................................................................... 3
Package Contents ........................................................................................................................................................ 3
System Requirements.................................................................................................................................................. 3
Camera Installation ........................................................................................................................................................... 4
Installing Software for Windows DirectShow ............................................................................................................ 5
Installing Software Drivers for Windows.................................................................................................................... 7
Verifying Successful Installation ................................................................................................................................ 8
Installing etAMCAP ........................................................................................................................................................... 9
Running etAMCAP ....................................................................................................................................................... 9
Image Resolution ......................................................................................................................................................... 9
Automatic Exposure Time ......................................................................................................................................... 10
Manual Exposure Time .............................................................................................................................................. 10
Colour Settings .......................................................................................................................................................... 10
Camera Speed ............................................................................................................................................................ 10
Other Settings ............................................................................................................................................................ 10
Installing Opticstar View ................................................................................................................................................ 11
Camera Control .......................................................................................................................................................... 12
Frame Rate .................................................................................................................................................................. 12
Camera Configuration ................................................................................................................................................ 12
Colour Adjustment Tab .............................................................................................................................................. 13
Exposure Tab ............................................................................................................................................................. 13
Other Tab .................................................................................................................................................................... 13
Image Capture ............................................................................................................................................................ 14
Image Processing....................................................................................................................................................... 15
Troubleshooting .............................................................................................................................................................. 16
USB Requirements ..................................................................................................................................................... 16
Express Card .............................................................................................................................................................. 16
Re-Installing the Software Drivers ............................................................................................................................ 16
Re-Installing the Software Drivers ............................................................................................................................ 16
Support ............................................................................................................................................................................ 17
Other Software ................................................................................................................................................................ 17
Camera Specification ..................................................................................................................................................... 18
Microscope Attachments ............................................................................................................................................... 18
Opticstar SL-131C. © Opticstar Ltd, 2010 - 2017.
3
Updated: 09/10/2017
Introduction
The SL-131C COOLAIR video camera is an entry level astronomy video camera. It
is suitable for bright targets such as the Moon and the Sun. The camera is also
suitable for microscopy when fitted with an appropriate attachment.
The SL-131C achieves frame rates of up to 15 frames per second (FPS) at full
resolution: 1280x1024 pixels, or up to 48 FPS at 640x480 pixels or up to 140 FPS at
320x240 pixels.
Software Support
Two software applications are bundled with the camera: etAMACAP and View.
EtAMCAP works under Microsoft’s DirectShow model. View, supports the camera
natively offering image processing and measurement functionality.
Package Contents
The following items are included in the package:
• Opticstar SL-131C COOLAIR video camera with removable C ring
• In-situ USB 2.0 cable.
• CS to 1.25” telescope adapter.
• Software CD.
• Setup Guide (this document).
System Requirements
The minimum computer system requirements are the following:
• Windows (32-bit or 64-bit) XP/Vista/7/8/10 with the latest Service Pack.
• USB 2.0 port for the camera.
Please note that for solar photography, the camera should be
used only with an appropriate solar telescope and/or solar filters.
The camera does not incorporate any optics and therefore it
cannot reach focus by itself. A C/CS mounted lens must be used
with the camera or it must be attached to a telescope with the
nosepiece adapter that is included with the camera. To attach it
to a microscope, please use an appropriate attachment.

Opticstar SL-131C. © Opticstar Ltd, 2010 - 2017.
4
Updated: 09/10/2017
Camera Installation
There are four sets of software to install in order to add support for the SL-131C
camera to Windows. They should be installed in the following order:
1. Windows DirectShow software for the SL-131C.
2. Windows software drivers for the SL-131C.
3. EtAMCAP application software for using the camera.
4. Opticstar View application software with more advanced functions and
usability.
The first step is to install software that makes the SL-131C compatible with
Microsoft’s Windows DirectShow model. Such compliance allows the SL-131C to
be used with etAMCAP and possibly with other third party applications.
Power up the computer (or restart Windows) but do not attach the camera to the
computer yet. Once on the Windows Desktop, please follow the instructions in the
following sections that describe how to install the software starting with DirectShow
support.
Anti-virus software may attempt to block the installation. In such
cases the anti-virus software should be temporarily disabled.
Otherwise, when prompted, add the installation files to the trusted
list.
The installation of the software should be carried out by a user with
Windows administrator permissions. Otherwise the installation may
fail.
Please ensure that the camera is not connected to the computer
yet.
Opticstar SL-131C. © Opticstar Ltd, 2010 - 2017.
5
Updated: 09/10/2017
Installing Software for Windows DirectShow
Please follow these instructions for all versions of Windows (32-bit & 64-bit)
XP/Vista/7/8/10.
1. Insert the CD that comes with the camera in the CD/DVD drive.
2. Navigate to the DirectShow folder on the CD and run SL-131C_Directshow.exe
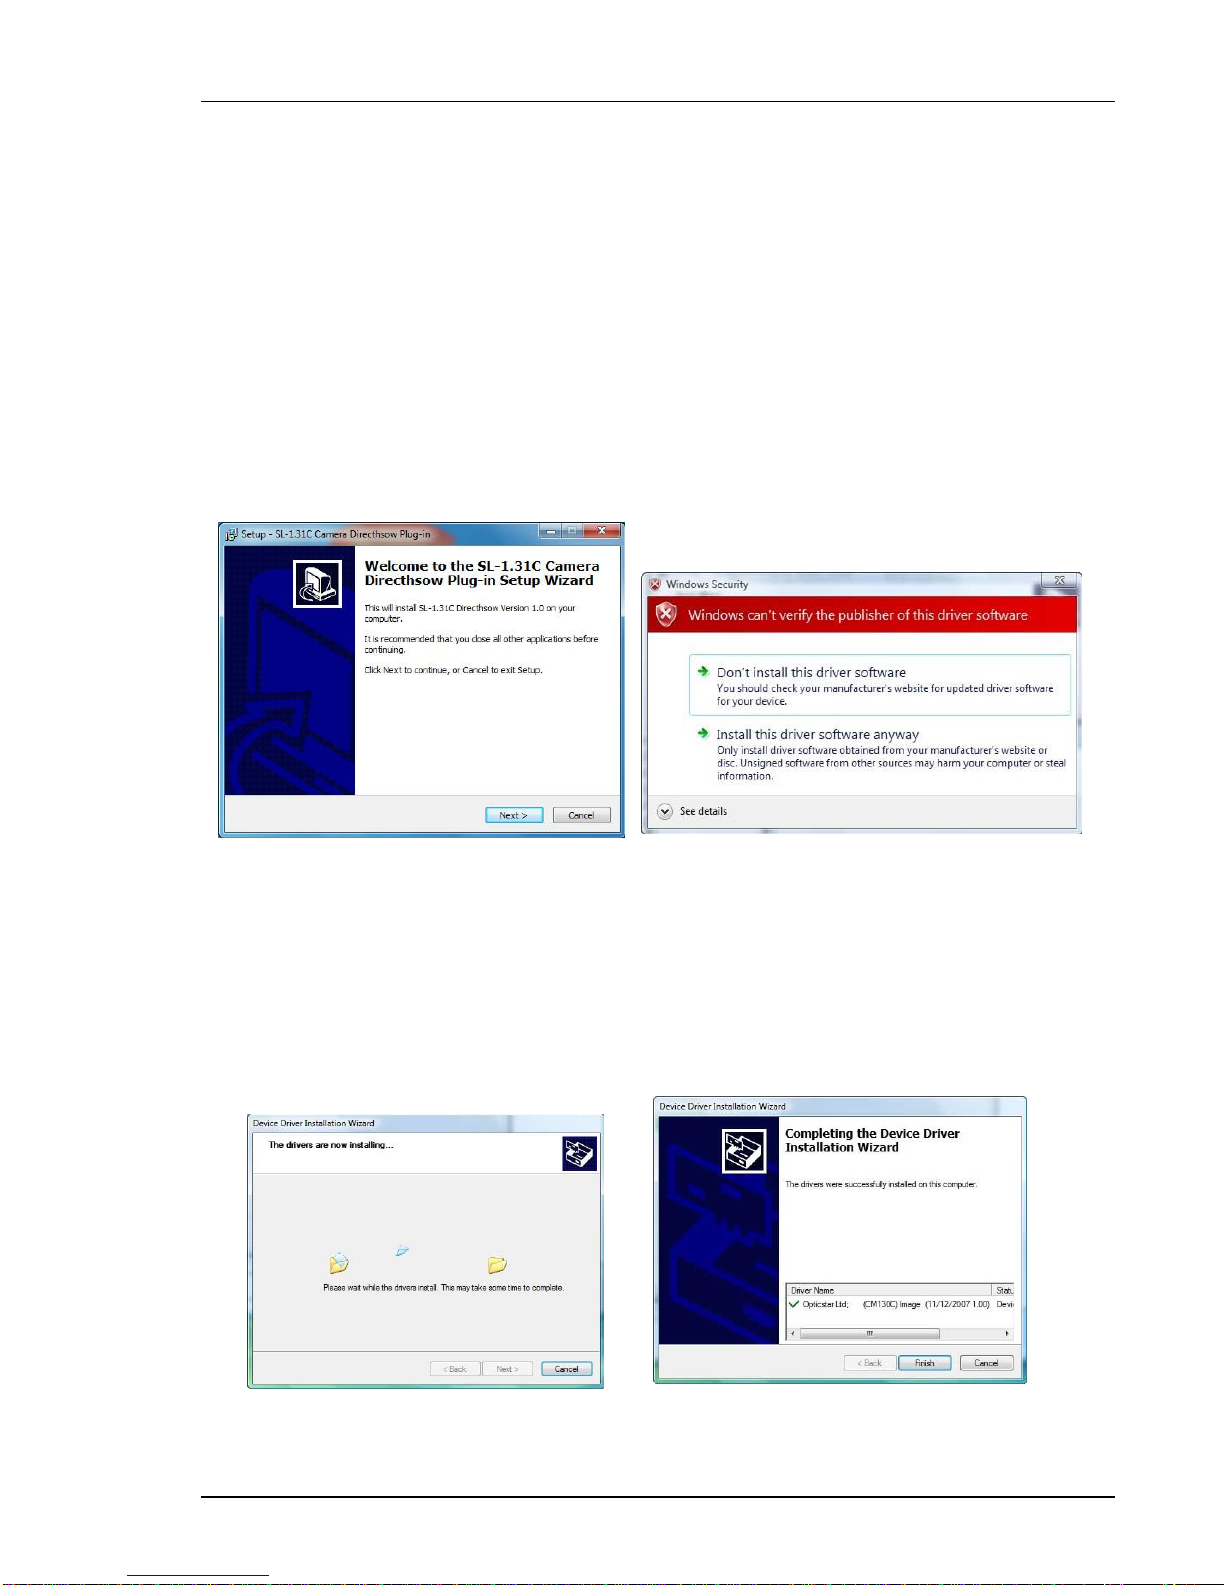
3. A message will appear “Welcome to the SL-131C Camera Directshow Plug-in
Setup Wizard”. Click on the Next button to continue.
Step 2: Open the appropriate installation program. Step 2: Ignore the Windows warning.
4. Windows may display a warning message such as Windows can’t verify the
publisher of this driver software. Select “Install this driver anyway” to
continue.
5. The next message will confirm that “The drivers are now installing…”.
Step 5: Installation in progress. Step 5: DirectShow software has been installed.
 Loading...