

Opticstar 318CU-T, 518CU-T Setup Manual
Setup Manual
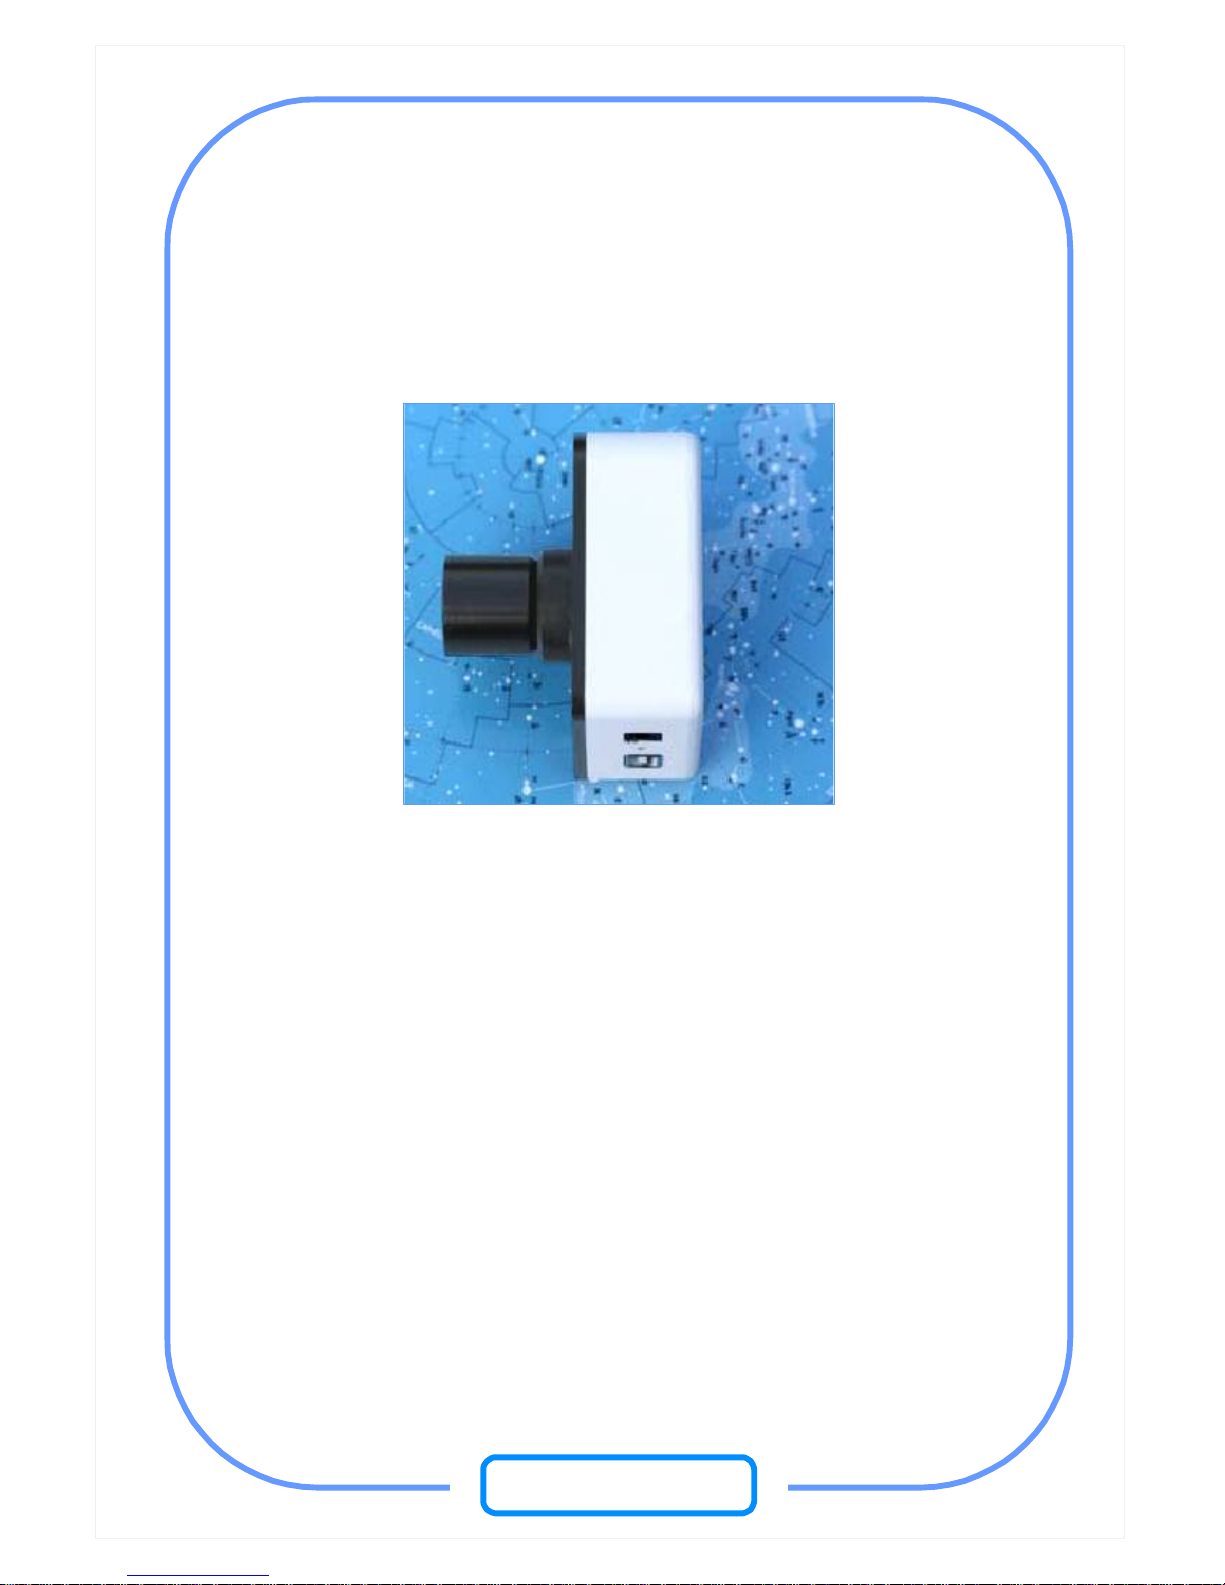
Opticstar 318CU-T 3.0MP and
Opticstar 518CU-T 5.0MP
Colour Hi-speed Video Cameras
OPTICSTAR

1

2
Contents
Contents..........................................................................................................................................2
Software Installation .......................................................................................................................3
Troubleshooting..............................................................................................................................7
Camera Performance.......................................................................................................................9
Micrometrics BE: CMOS Cameras Edition................................................................................... 10
User Interface............................................................................................................................10
Commands and Options - Camera Control ................................................................................10
Commands and Options - Imaging Control................................................................................12
Opticstar Ltd,
87 Washway Road, Sale, Greater Manchester, M33 7TQ United Kingdom.
Tel: +44(0)161 969 9008 - Web: www.opticstar.com - Email: info@opticstar.com
OPTICSTAR
3
Software Installation
Before you start please make certain that:
1. Your camera is not connected to your computer.
2. Your computer has a USB2.0 port.
3. Your computer runs Windows 2000, Windows XP or Windows Vista.
4. Stop any virus killer software or similar as they may affect the
installation process and affect the speed at which the camera operates.
To successfully install the Micrometrics software please follow the instructions
below:
1. Disconnect the camera from your computer
2. Insert the CD that came with your camera in a CD drive.
3. Double click on the CD icon to view the contents of the CD.
4. Double-click on the Setup_XP.exe or Setup_Vista.exe icon to start
installing the Micrometrics software on Windows 2000/XP or Windows
Vista respectively.
5. Follow the on-screen instructions to install the software.
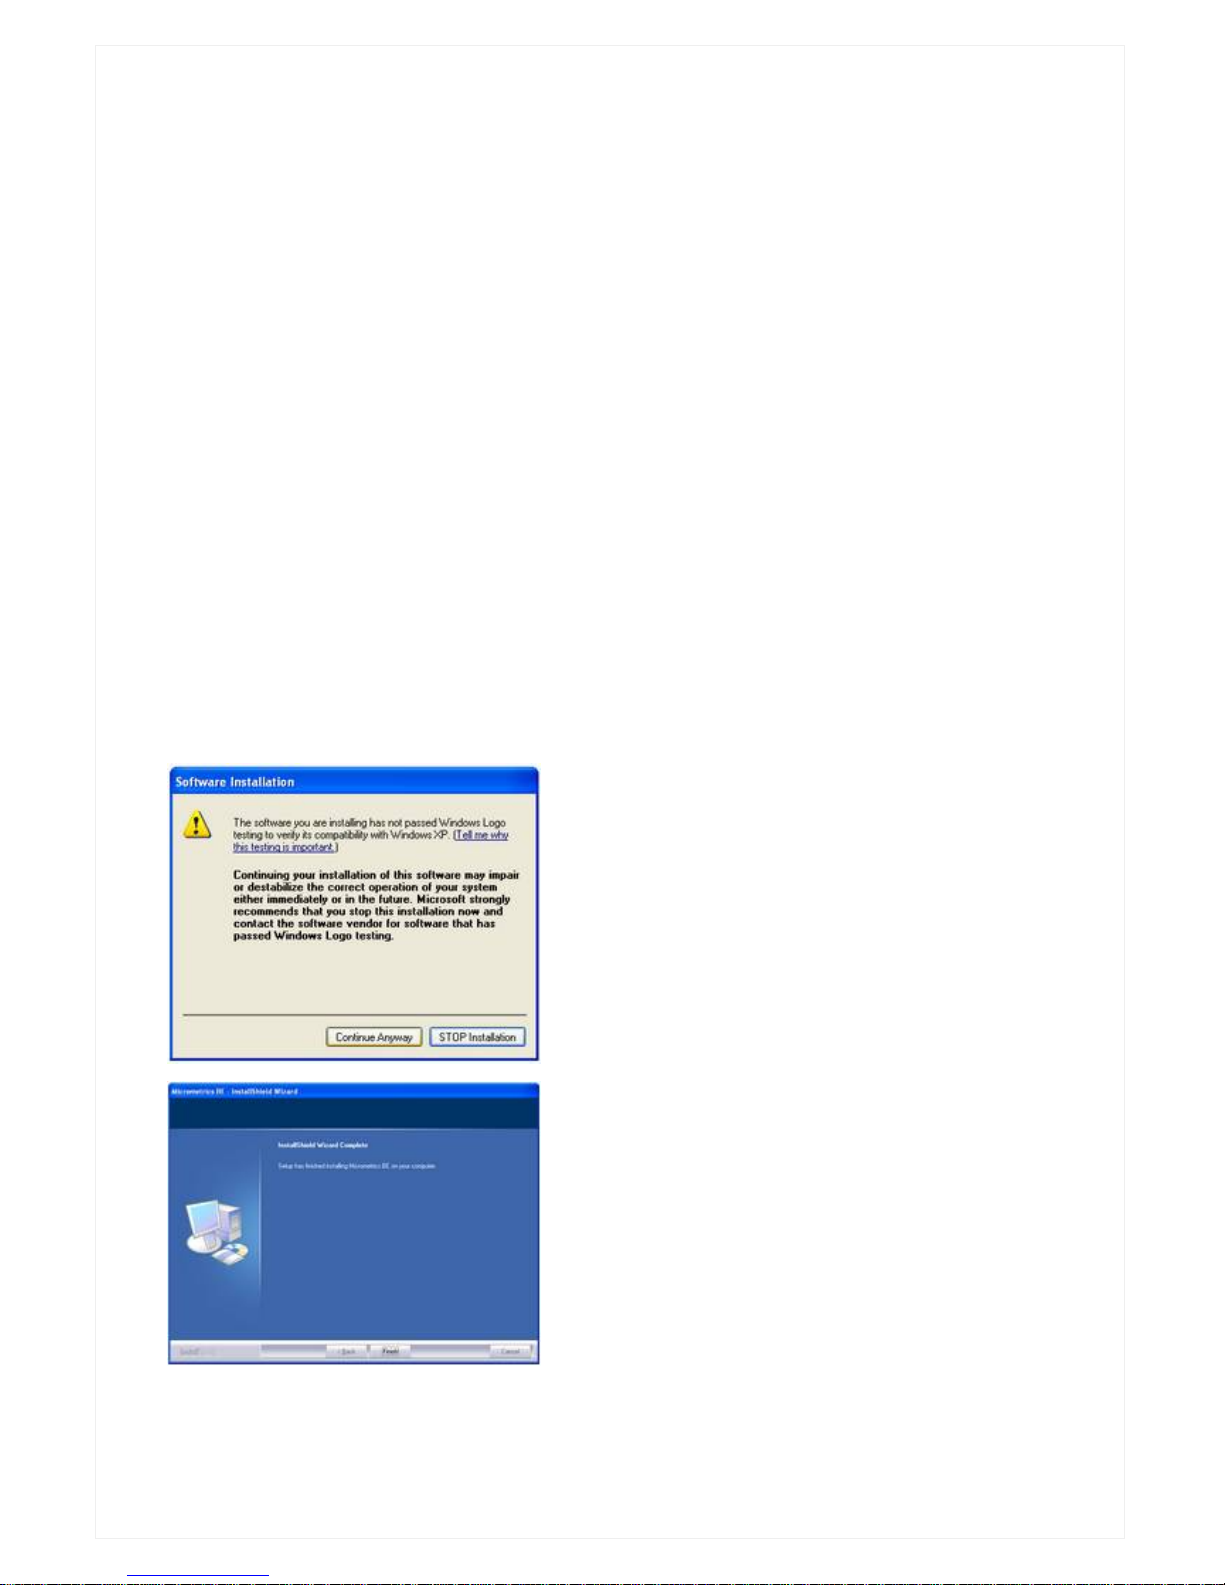
If this screen appears during the
installation please click on Continue
Anyway
Click on Finish to complete the camera
control software installation.
You will now need to install the camera drivers before your camera becomes
operational.
4
122CU
316CU
318CU
516CU
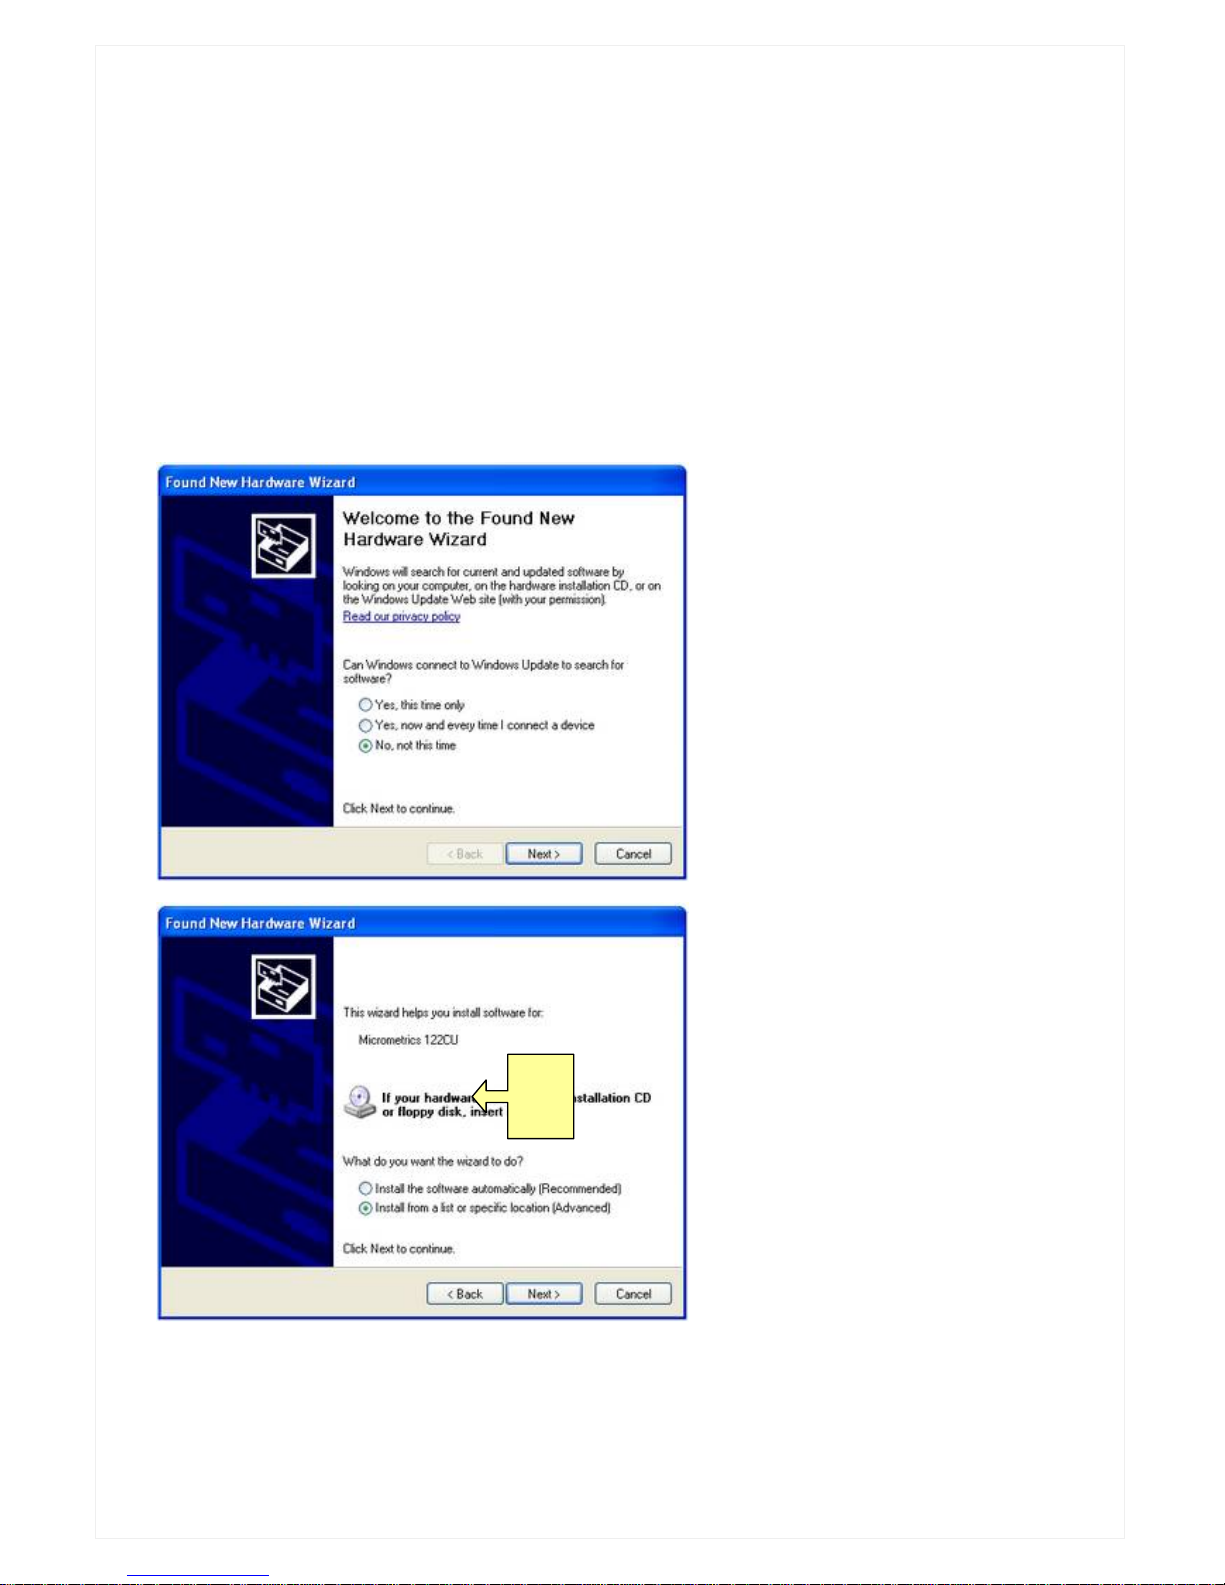
Once the Micrometrics software have been successfully installed:
1. Connect the camera to the USB port.
2. Windows will identify the camera and attempt to find a suitable driver for
your camera.
A number of screens will appear during installation that will require your input.
Please follow the instructions below for a trouble-free installation.
Once you have made a selection as in the screens below press Next to move
to the next screen.
Windows will start installing the software for your camera.
 Loading...