

Opticron 41111 User Manual
3. If the eyepiece has a fold down
rubber eyecup, remove it.
4. Follow steps 4-8 under Assembly and
Fitting
Using the 41118 reducer sleeve
1. Make sure the correct eyepiece is
fitted securely to the telescope.
2. Remove rubber eyecup.
3. Unscrew the photoadapter and place
the locking ring over the eyepiece.
4. Fit the reducer sleeve directly onto
the eyepiece, making sure it’s inner
ridge makes contact with the outer
ridge on eyepiece.
5. Place the photoadapter over the
eyepiece and secure tightly to the
locking ring.
6. Follow steps 7-8 under Assembly and
Fitting
Notes
1. If you find the camera is at an odd angle
when attached - loosen the locking ring,
rotate the camera into line and re-tighten.
2. Focusing is facilitated on the telescope.
3. Camera may need to be operated in manual
mode with shutter locks disengaged where
necessary.
4. The high magnification to aperture ratios
result in slower shutter speeds compared with
conventional telephoto lenses so choose an
IS0 setting of 400. For 35mm SLRs 400 ASA
film is recommended. If possible use a cable
release or remote control to reduce camera
shake when operating the shutter.
For more information please contact:
Opticron, Unit 21, Titan Court,
Laporte Way, Luton, Beds LU4 8EF UK
Telephone: +44 (0)1582 726522
Email: sales@opticron.co.uk
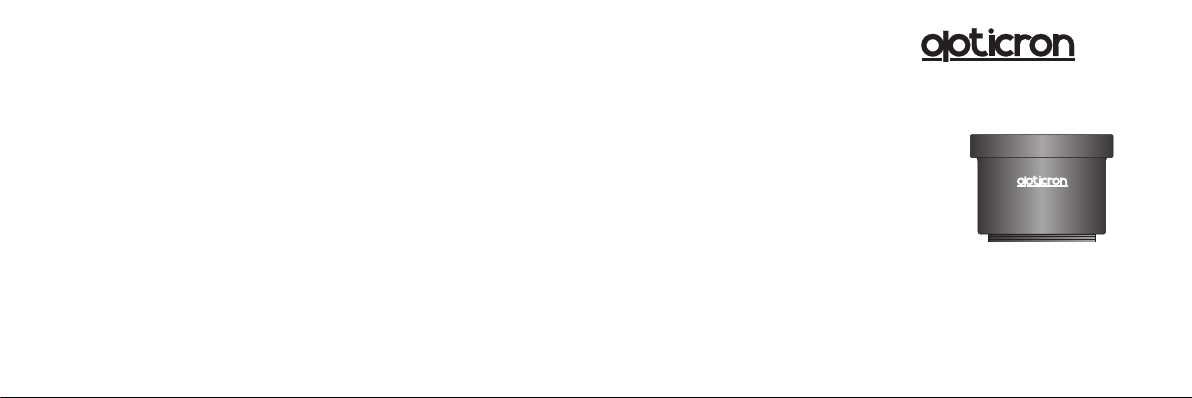
41111
PHOTO ADAPTER
PUSH FIT 44
41111
Photoadapter Push Fit 44
User Guide
1213

Contents
41111 Photoadapter Push Fit 44
41120 44~42 Step Ring
41123 44~28 Step Ring
Hexagonal key 1.27mm
The 41111 Photoadapter Push Fit 44 is
designed for use with HDF T 40810,
40809, HDF 40862F & HR2 40933
eyepieces converting HR, GS, ES, MM3
& IS telescopes into long focal length
telephoto lenses for telephotography or
digi-scoping.
Assembly and Fitting (all camera types)
1. Make sure the correct eyepiece is
fitted securely to the telescope.
2. Set the eyecup to the down position.
3. Fit the correct step ring to the
photoadapter; 44~42 for SLR/
compact system cameras, 44~28 for
suitable compact cameras.
4. Pre-set the eyepiece magnification to
minimum.
5. Place adapter over the eyepiece and
push down until the internal wall
contacts with the end of the
eyepiece.
6. Hold the main section of the adapter
secure and tighten the locking screw.
7. (SLRs & CSCs) Fit an appropriate
T-mount between the photoadapter
and the camera body.
8. (Compatible compact cameras)
Connect the camera lens mount to
the 28mm thread on the
photoadapter.
Focal lengths with HDF T 40810 and
HR2 40933 eyepieces
HR 66 - 1000mm HR 80 - 1350mm
ES 80 - 1150mm ES 100 - 1500mm
GS 52 - 650mm GS 665 - 900mm
MM3 50 - 650mm IS 60 - 800mm
IS 70 - 900mm
1. Focal lengths listed are approximate and
based on 35mm SLRs. Many SLRs and CSCs
use different sized image sensors so a
telephoto conversion figure must be
calculated separately.
2. Focal length for HR2 40933 calculated at
lowest magnification setting.
Using other eyepieces
The photoadapter can be fitted to
smaller diameter eyepieces by replacing
the 44mm sleeve fitted as standard with
either of the following:
a. 41117 reducer sleeve 44~40 for
connection to 40918S eyepiece
b. 41118 reducer sleeve 44~37 for
connection to HDF 40810F and
40809F eyepieces
F = Fold down rubber eyecup
Using the 41117 reducer sleeve
1. Make sure the correct eyepiece is
fitted securely to the telescope.
2. Unscrew the locking ring on the
photoadapter, remove the 44mm
sleeve and insert the 44~40 reducer
sleeve. Re-connect and tighten the
locking ring.
 Loading...