

Opera Audio CONSONANCE Die Walküre User Manual

1
Die Walküre Turntable
USER GUIDE
Congratulations on your new CONSONANCE!
Opera Audio products are based on a simple philosophy:
The component shall reproduce the original musical sound, purely and naturally.
The products are easy to operate and are manufactured according to the best quality
principles.
All CONSONANCE products are created with acoustical instruments in a concert
situation as point of reference. The music is reproduced exactly like the original and
is limited only by the quality of the recording.
Our aim is to give you the best possible music experience!
CONTENTS
Part list
Assembling the Turntable
Technical specifications
Warranty
p.2
p.3
p.8
p.9

2
Part List
1. Top cover
2. Plinth
3. Platter
4. Strobe Disc
5. Tone-arm
6. DC motor speed controller
7. Arm-base part
8. Arm-base
9. Feet
10. Lubrication oil
11. Screw
12. Allen wrench
13. Cable for speed controller
14. VGA cable
15. Belt
3
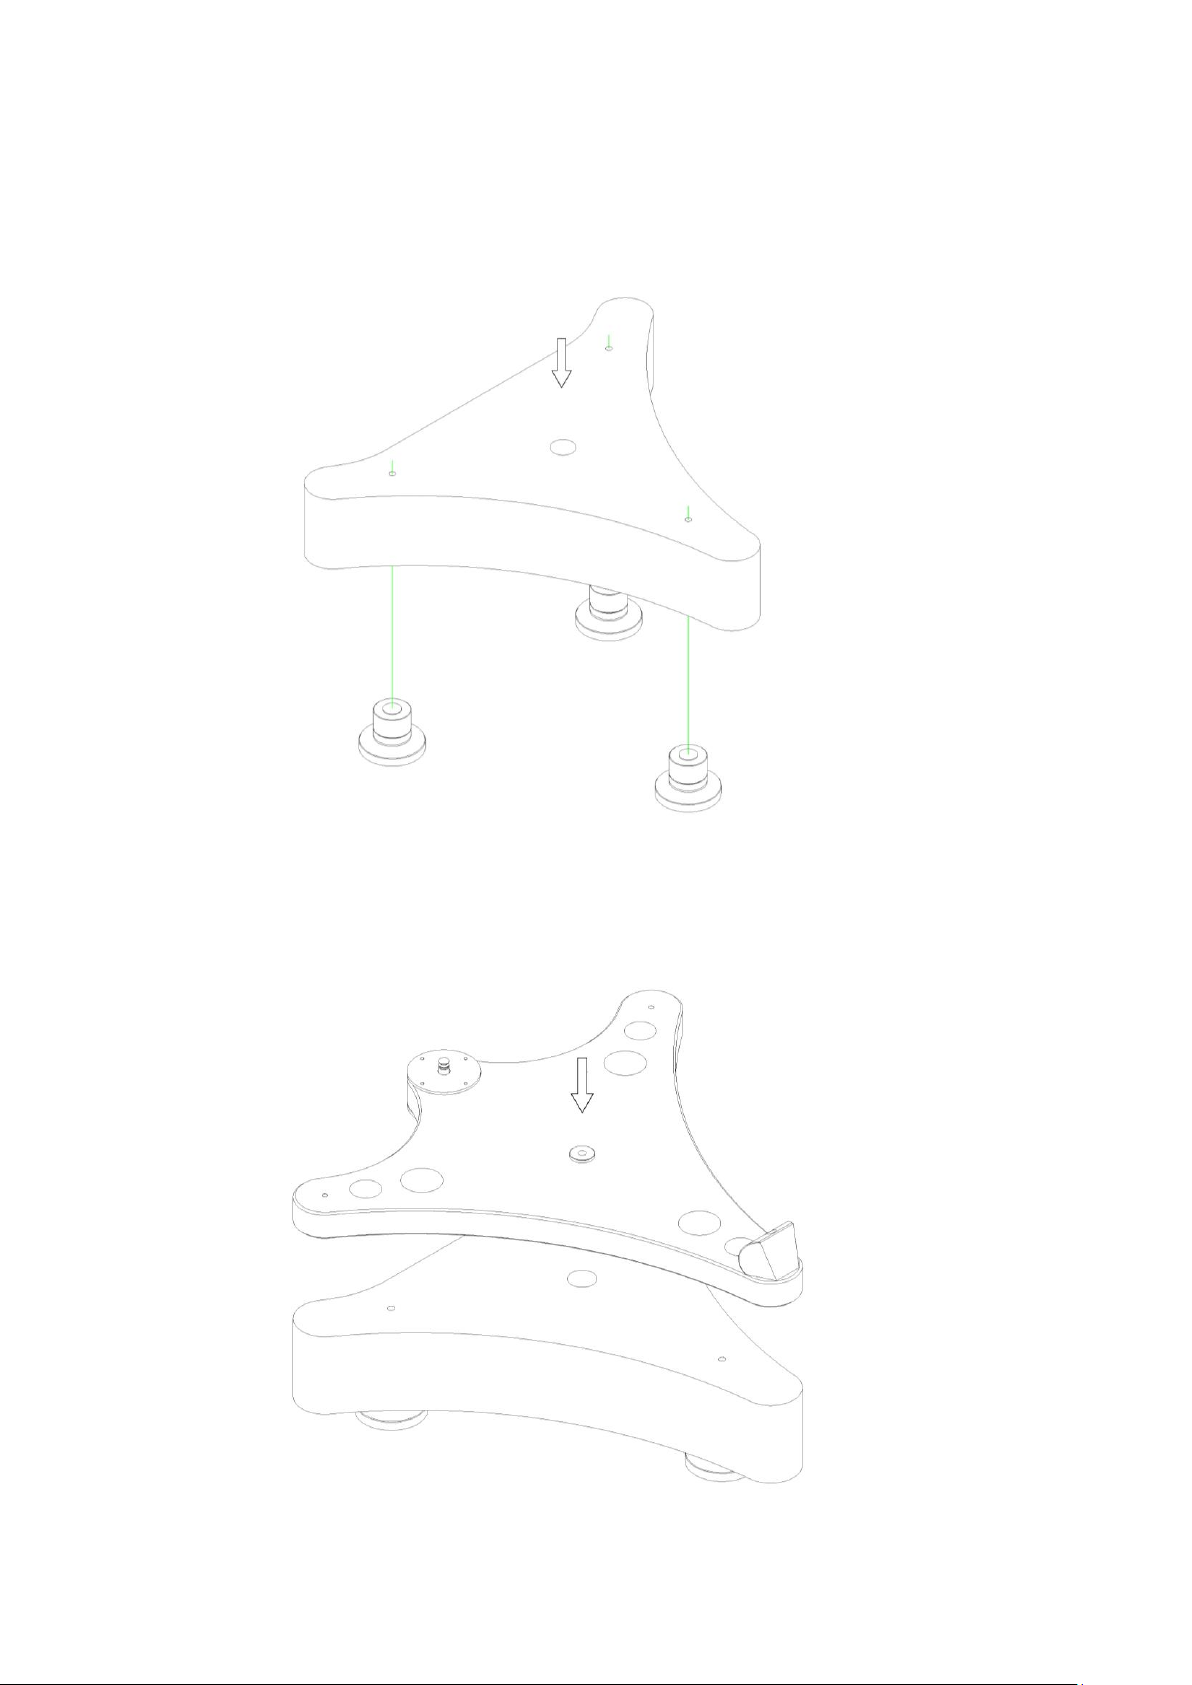
Assembling the Turntable
Open the box and take out the turntable plinth.
The bottom of the plinth has 3 holes for feet. Please put the plinth to the feet exactly.
Installing the top cover
 Loading...