

Page 1
We help professional installers and service providers create powerful, easy-to-use networks
that automatically spread Internet connections throughout hotels, apartments, retail stores,
restaurants, small and medium-sized businesses—and just about anywhere else.
The Open Mesh S Series is a plug-and-play switching solution that works seamlessly with Open
Mesh access points and CloudTrax, a free cloud-based network controller that can manage an
unlimited number of switches, access points and networks around the world.
openmesh.com
© 2016 Open Mesh, Inc. All Rights Reserved.
Speed
Link/Act
Speed
Link/Act
Speed
100/1000 Mbps
Link/Act
Speed
Link/Act
Mode Link/Act
ResetLED Mode
LAN Mode
RPS
Power
Console
Fault
PoE Max PoE Mode
1 3 5 7 9 11 13 15 17 19 21 23 SFP1 SFP3
2 4 6 8 10 12 14 16 18 20 22 24 SFP2 SFP4
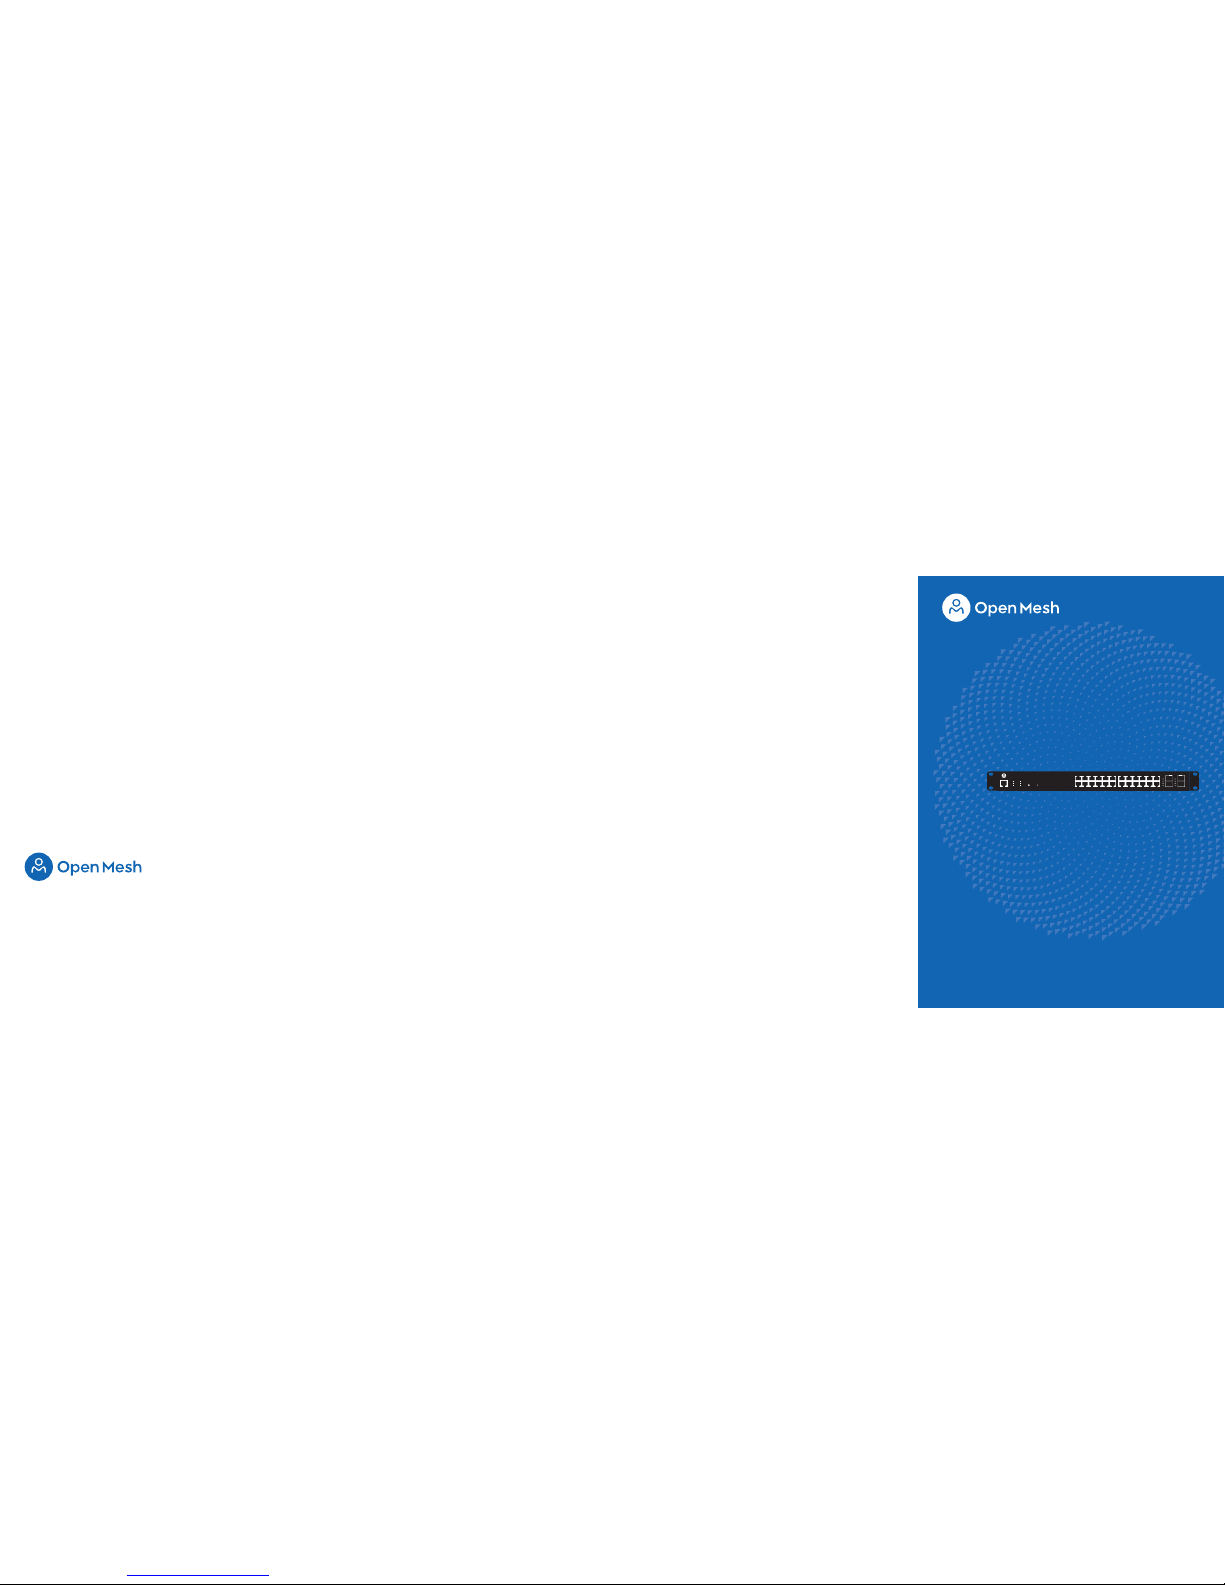
S24
Quick Start Guide
Page 2
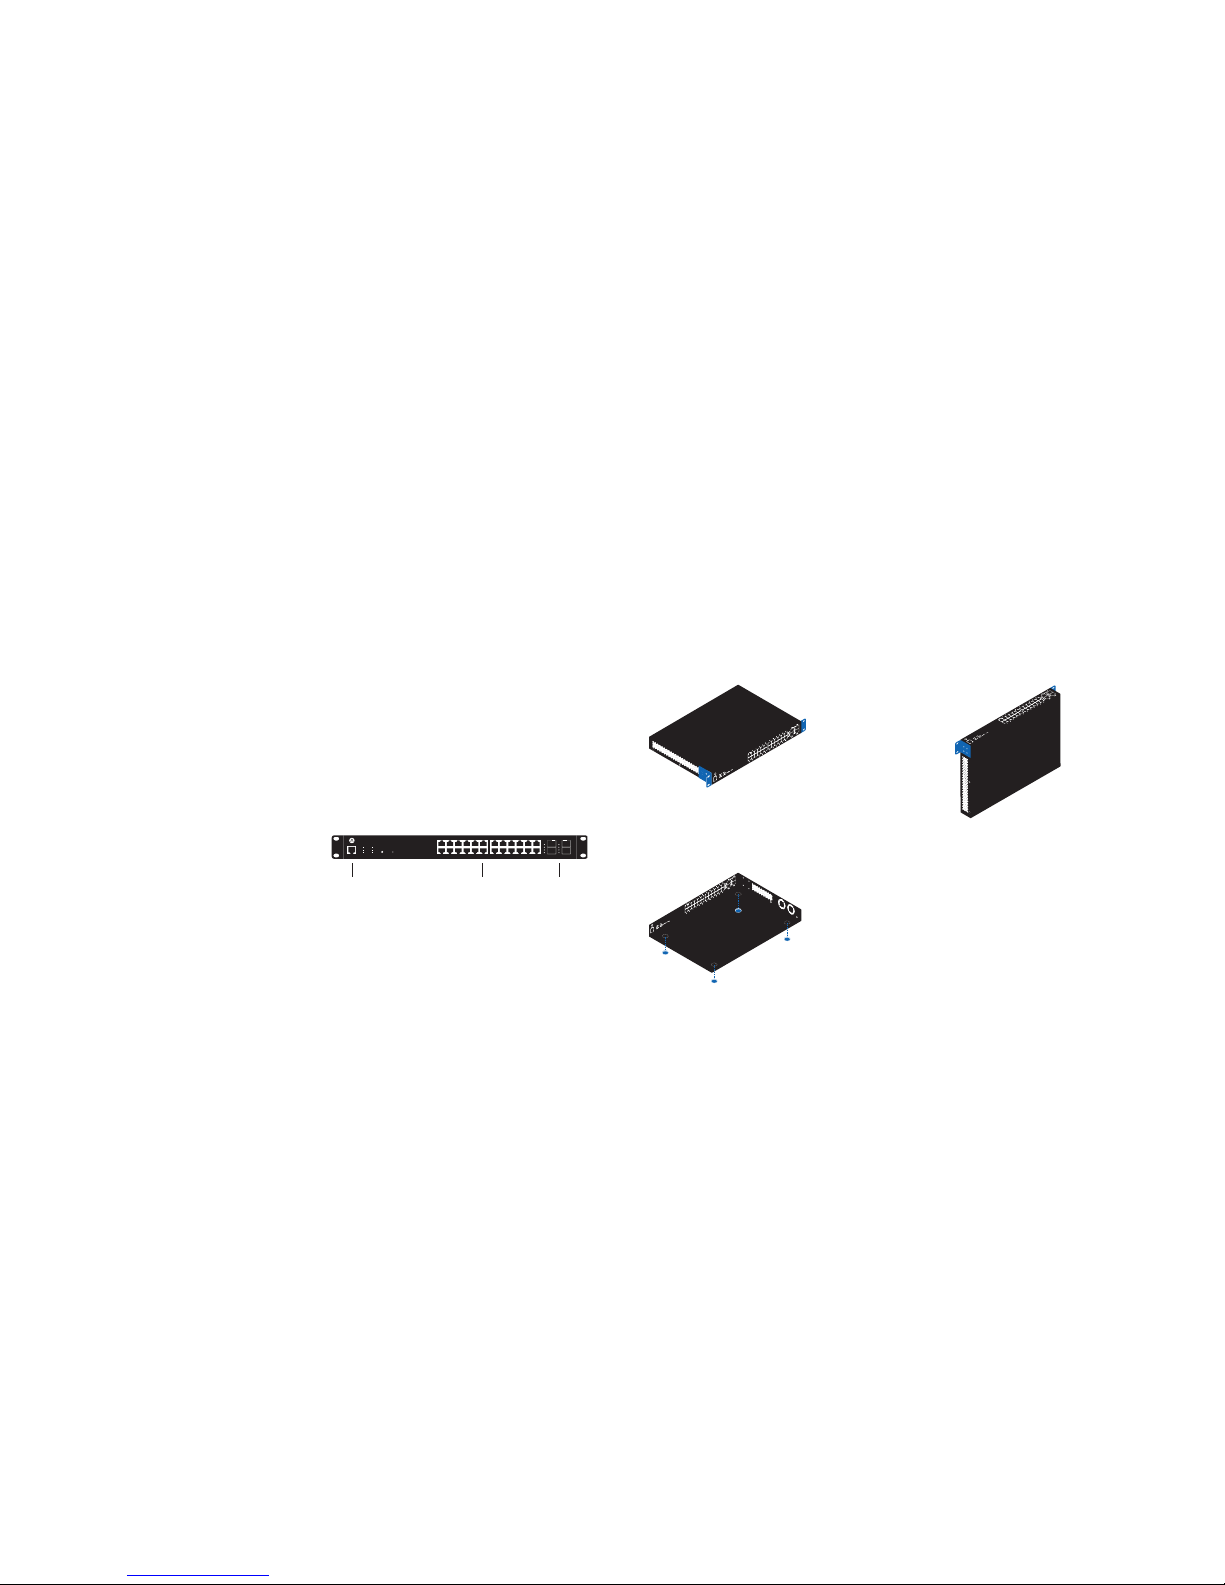
Switch overview Desk or shelf mount
Apply the included rubber feet to the bottom corners of the
switch and place on a flat, level surface.
Support and resources
Visit help.cloudtrax.com for additional resources, video guides
and to contact technical support.
Physical installation
This switch can be mounted on a rack, desk, shelf, or wall.
Regardless of how you mount the switch, keep the following
in mind:
● Do not place heavy objects on the switch.
● The switch prefers a cool, dry environment. Don’t place
the switch in direct sunlight and ensure there are at least
two inches of space around the vents.
● Install the switch in an area free from strong
electromagnetic sources.
● Check the power cord to ensure it is fully secured to
both the switch and wall outlet.
Rack mount
Attach the included mounting brackets to the switch as shown,
then secure the mounting brackets to the rack. The switch can
be mounted in an EIA standard size (19") rack.
Speed
Link/Act
Speed
Link/Act
Speed
100/1000 Mbps
Link/Act
Speed
Link/Act
Mode Link/Act
ResetLED Mode
LAN Mode
RPSPower
Console
Fault
PoE Max PoE Mode
1 3 5 7 9 11 13 15 17 19 21 23 SFP1 SFP3
2 4 6 8 10 12 14 16 18 20 22 24 SFP2 SFP4
Console port 24 Gigabit PoE+ ports
30W per port
370W total PoE budget
4 SFP uplink ports
(SFP modules not included)
Wall mount:
Attach the included mounting brackets to the switch as shown,
then mount to a wall with the ports either facing up or to the
side. Ensure the wall anchors (not included) can support the
weight of the switch and any cabling.
Cloud Management
1. Sign up at cloudtrax.com. (It’s free and always will be.)
2. Follow the prompts to verify your account and create your
first network. If you already have a network, create a new
one by navigating to Network → Create new network.
3. Add your switch to the network by navigating to Manage →
Switches → Add New and entering the MAC address.
4. Set your configuration. Once your switch has power and
Internet, CloudTrax will configure the switch and start
reporting status within a few minutes.
 Loading...