

Page 1
MDVR for the iPhone
Instructions
www.openeye.net
Page 2

OpenEye® iPhone MDVR
Software Manual (v2.17)
Manual Edition 30168AI – MARCH 2015
©2015, OPENEYE
All Rights Reserved.
No part of this documentation may be reproduced in any means, electronic
or mechanical, for any purpose, except as expressed in the Software
License Agreement. OpenEye shall not be liable for technical or editorial
errors or omissions contained herein. The information in this document is
subject to change without notice.
The information in this publication is provided “as is” without warranty of any
kind. The entire risk arising out of the use of this information remains with
recipient. In no event shall OPENEYE be liable for any direct,
consequential, incidental, special, punitive, or other damages whatsoever
(including without limitation, damages for loss of business profits, business
interruption or loss of business information), even if OPENEYE has been
advised of the possibility of such damages and whether in an action or
contract or tort, including negligence.
This documentation is copyrighted. All other rights are reserved to
OPENEYE. OPENEYE, and OpenEye, are registered trademarks of
OPENEYE in the United States and elsewhere; Windows, and Windows XP
Embedded are registered trademarks of Microsoft Corporation. All other
brand and product names are trademarks or registered trademarks of the
respective owners.
OPENEYE
Liberty Lake, WA ● U.S.A.
Page 3

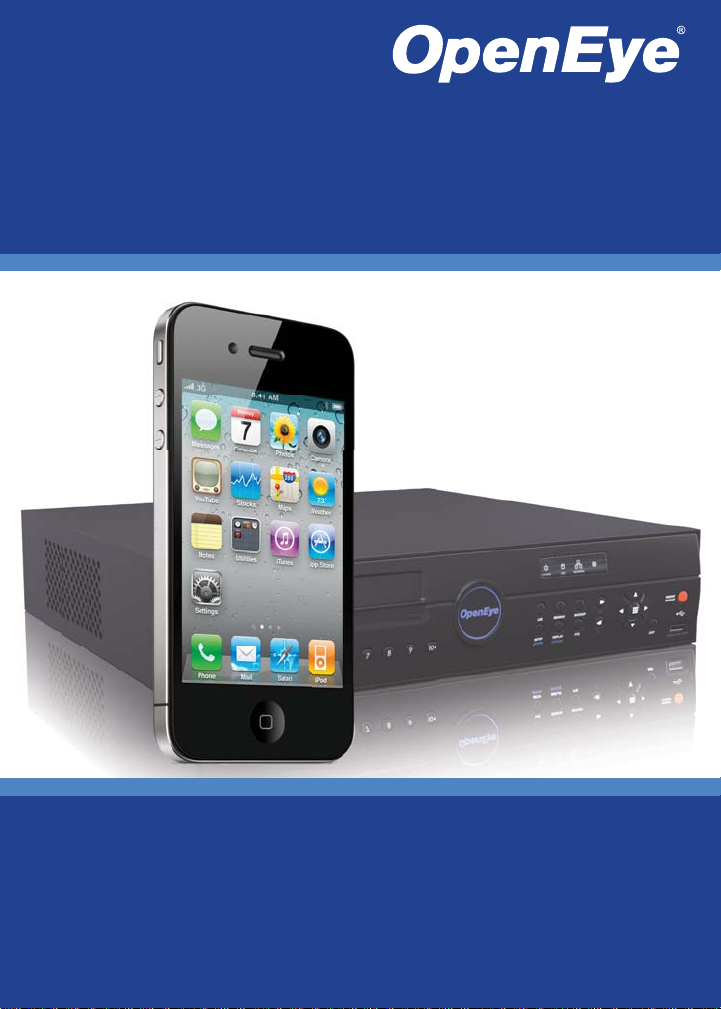
The OpenEye MDVR software allows you to access your OpenEye
recorder from almost anywhere on your iPhone, iPod Touch or
iPad. View live and recorded video of your cameras using a
simple interface. This document describes how to connect to an
OpenEye recorder using the MDVR iPhone app and view live and
recorded video.
Minimum Requirements
OpenEye recorder
o OE3 E-Series Rev A (v1.0.1.71+)
o OE3 E-Series Rev B (v3.0.0.6+)
o OE-EMAX/OE-ESLIM (v1.3.3.7+)
o N, H, Xr, and X-Series (v4.50.4204+)
Supported models:
o Apple iPhone/iPod generation 4S and above
Internet connection to the recorder
Application Features
Live View (Single or Quad view) (Six channel view only
available on generation 5 and above)
Megapixel Camera support (When using Server version
4.50.4204+)
PTZ Control (Directional, Zoom and Preset modes)
Basic Search (When using Server v4.50.4204+) (Requires
generation 4S and above)
Digital Zoom in Single/Full Screen for Live and Search
Page 4

Commercial Recorder (E-Series)
Verify that the E-Series recorder is connected to the network.
Press Setup on the front panel or IR remote control, and then go
to Network > Network Settings and verify the network settings. If
you are accessing the recorder from outside your network (using
3G/4G or public Wi-Fi), verify that the correct ports are forwarded
to the recorder (the default ports necessary for remote connections
are 2000 and 2002).
Professional Recorder (N, H, X, Xr-Series)
Verify that the recorder is connected to the network. Enter Setup
on the recorder, and then click Network Setup to verify the
network settings. If you are accessing the recorder from outside
your network (using 3G/4G or public Wi-Fi), verify that the correct
ports are forwarded to the recorder (the default ports necessary for
remote connections are 2000 and 2002).
1. From your Apple iPhone, iPod Touch, or iPad, tap the App
Store icon.
Note To install an application from the App Store, you must
have a valid Apple iTunes account.
2. Tap Search and type OpenEye MDVR.
3. Follow the instructions to download and install the application.
4. When the application is successfully installed, the OpenEye
icon will appear on the device.
Page 5

1. Launch the iPhone app.
2. Tap Add.
3. Tap New DVR.
4. Type a Name to identify the DVR.
5. Type the IP Address, Port, ID and
Password of the DVR.
6. Select the appropriate Type of DVR.
7. Tap Connect.
1. Launch the iPhone app.
2. Tap the saved site name.
3. Tap the fields that need to be modified.
4. Enter the new information.
5. Tap Connect to save changes.
Page 6

When the recorder is connected, the iPhone screen will display the
first four channels in quad view. To view the remaining channels,
swipe the screen from right to left.
Double-tap a single channel to open full screen. To return to the
multi-camera view, tap the screen to display the title bar and then
tap Back.
View Camera Names
Camera names defined on the recorder can be seen in the iPhone
application. To display camera names:
Select a single camera and then tap the screen to display the
title bar. The camera name will appear on the title bar.
Page 7

PTZ control is available on cameras that are set up as PTZ on the
connected recorder. On PTZ enabled cameras, you can zoom in
and out and pan.
Note Some transmission latency will be visible when
controlling PTZ on non-decoding IP cameras due to Iframes being sent in non-decoding mode.
Zoom out – pinch your fingers together.
Zoom in – pinch your fingers apart.
Tip The camera will zoom in or out farther the faster you
move your fingers when zooming in and out.
Pan left – drag your finger left.
Pan right – drag your finger right.
Pan up – drag your finger up.
Pan down – drag your finger down.
Tip The faster you move your fingers when panning, the
faster the camera will move.
Page 8

Basic Search is available on H.264 E-Series recorders and
Professional recorders. Search is limited to one channel at a time.
To search:
1. In Live view, tap Search.
2. In Search view, select the Date box
and use the Date Picker to set the
desired date.
3. Select the Time and Channel boxes
and select the desired time and
channel.
4. Tap Start.
5. Use the Forward Play, Pause and
Reverse Play controls to review video.
6. Tap Back to select a new date, time or
channel.
7. Tap Back and then tap Live
Channels to return to Live view.
Page 9

Digital Zoom allows you to zoom in or out of Live and Search
video.
Zooming Live Video
1. Double tap a channel to view it in full
screen.
2. Tap Digital Zoom.
3. Pinch your thumb and index finger apart
to zoom in, pinch them together to zoom
out.
Zooming Saved Video
1. Tap Search, select a Date, Time, and
Channel to view, and then tap Start.
2. During playback, pinch your thumb and
index finger apart to zoom in, pinch
them together to zoom out.
Page 10

www.openeye.net
1-509-232-5261
© 2015 OpenEye
All rights reserved. No part of this publication may be reproduced by any
means without written permission from OpenEye. The information in this
publication is believed to be accurate in all respects. However, OpenEye
cannot assume responsibility for any consequences resulting from the use
thereof. The information contained herein is subject to change without
notice. Revisions or new editions to this publication may be issued to
incorporate such changes.
 Loading...