

Page 1
OpeMed (Europe) Ltd
Clockhouse, Farnham
Surrey. GU9 7UD
T: +44 (0)1252 758858
e: sales@opemed.net www.opemed.net
www.opemed.net
QUICK GUIDE – OPEMED OT200 CEILING HOIST
• Do NOT attempt to lift a higher load than the SWL (safe
working load) of the hoist. See side of hoist (normally
200kg).
• Only trained personnel should use the OT200 Ceiling Hoist
• Read the User Manual before use.
• Do NOT pull the hoist by the handcontrol.
• Do NOT wrap the handcontrol chord around the spreader bar and
lower the spreader bar, this will snap the chord.
• Always return the hoist to the Charging Station when not in use.
• Only use approved loop slings (or clip slings if the cradle is fitted).
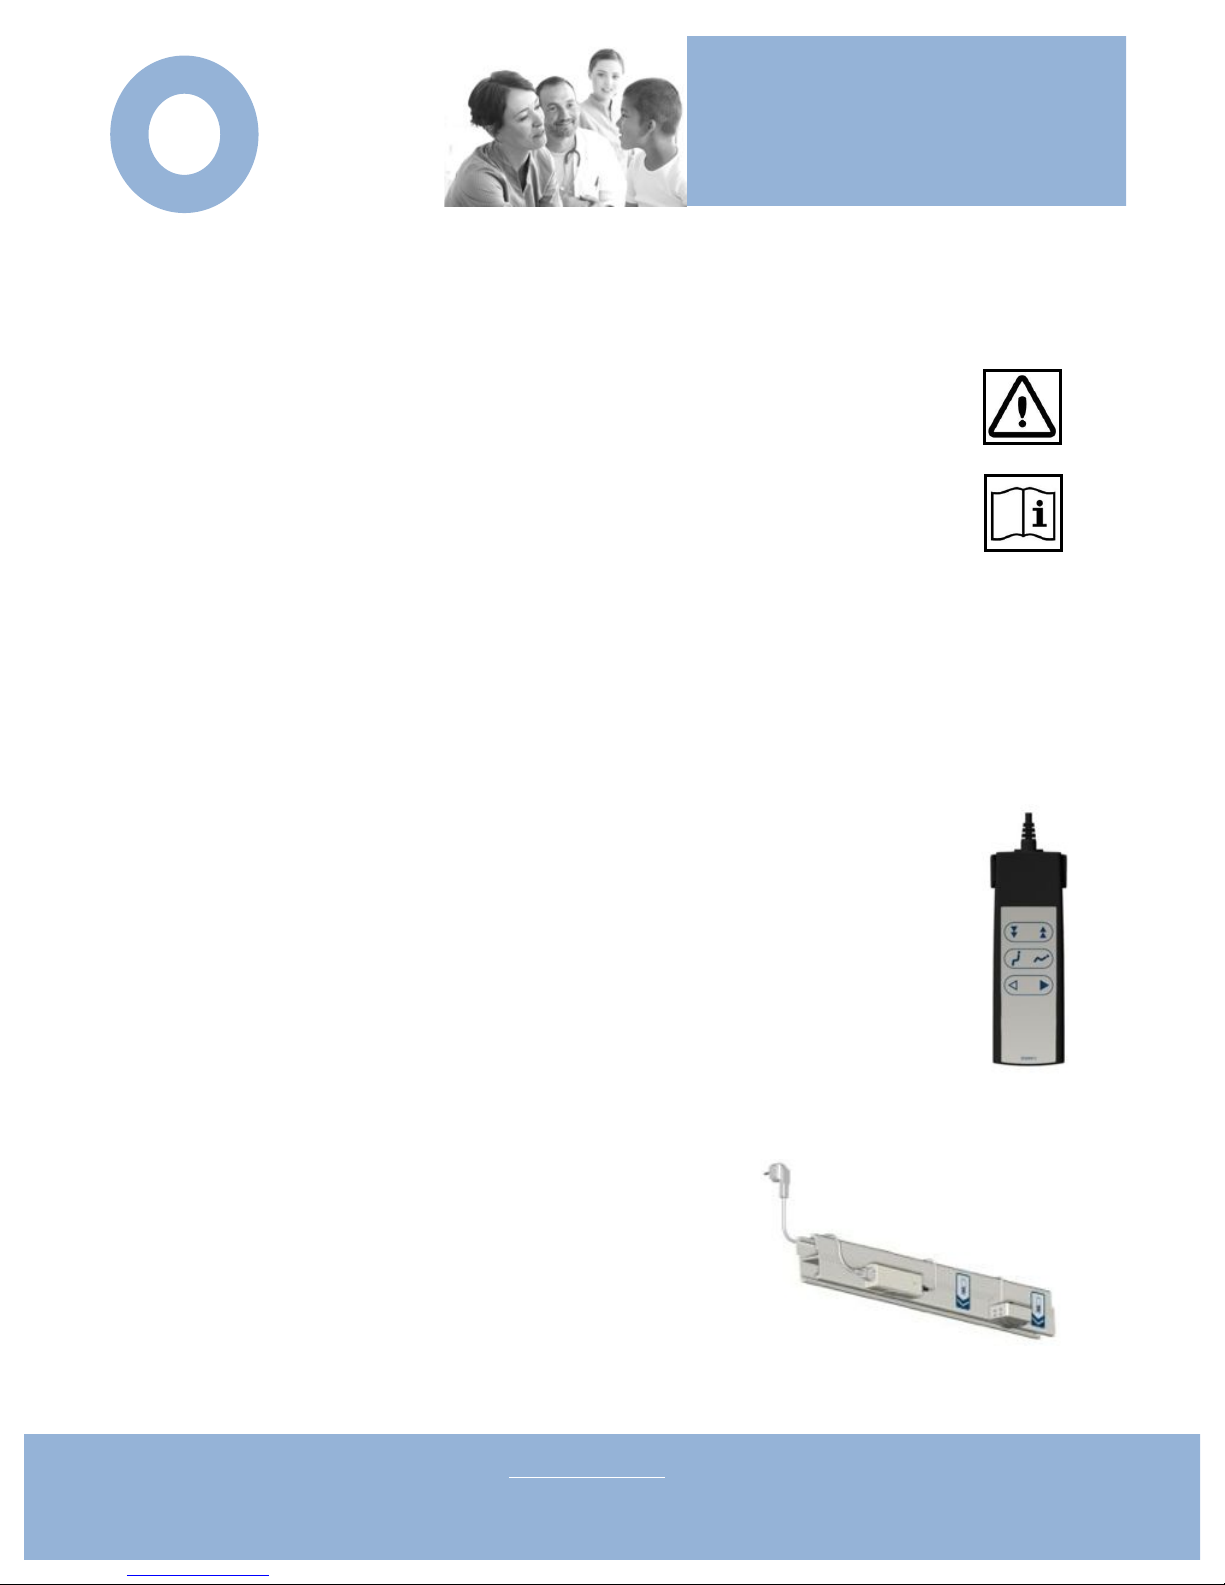
HANDCONTROL
• The handcontrol will operate the hoist up and down (also
left/right if you have a 4 function motor or tilting spreader if
fitted).
o For horizontal drive the white and blue arrow match
the white and blue arrow on the hoist.
CHARGING
• Whenever not in use the Motor should
be stored at the Charging Station.
• If the hoist needs charging the orange
light will illuminate when the hoist is under the Charging Station.
OT200 Ceiling Hoist
Preparations and Guidance
Before and During Use
peMed
1 OT200 Compact Ceiling Hoist Manual - Introduction
1.1 About this Manual
The aim of this user manual is to enable carers to operate the OT200 and to instruct them on how to
carry out small (preventive) maintenance jobs.
This manual deals with the following aspects related to operating the OT200 and OT400:
• Parts description
• Working principle description
• Step-by-step lifting instructions
• Maintenance of the OT200/ OT400; to be carried out by the carer
Next to this manual the following documentation is available on the OT200:
• Technical manual. The technical manual is developed for the technical service department and contains:
- maintenance procedures
- repair procedures
- parts lists with order numbers
• Installation manual. This manual can be used during the installation of the systems:
- installation of rail and supports
- installation of a gate (transition from fixed to mobile rails)
- installation of carousel
- part lists with order numbers of all components of the rail system.
• Quick Reference. The Quick Reference guide deals with the main safety and operating aspects relating
to the OT200.
1.2 Symbols
Attention Read the manual before operating the hoist
Page 2
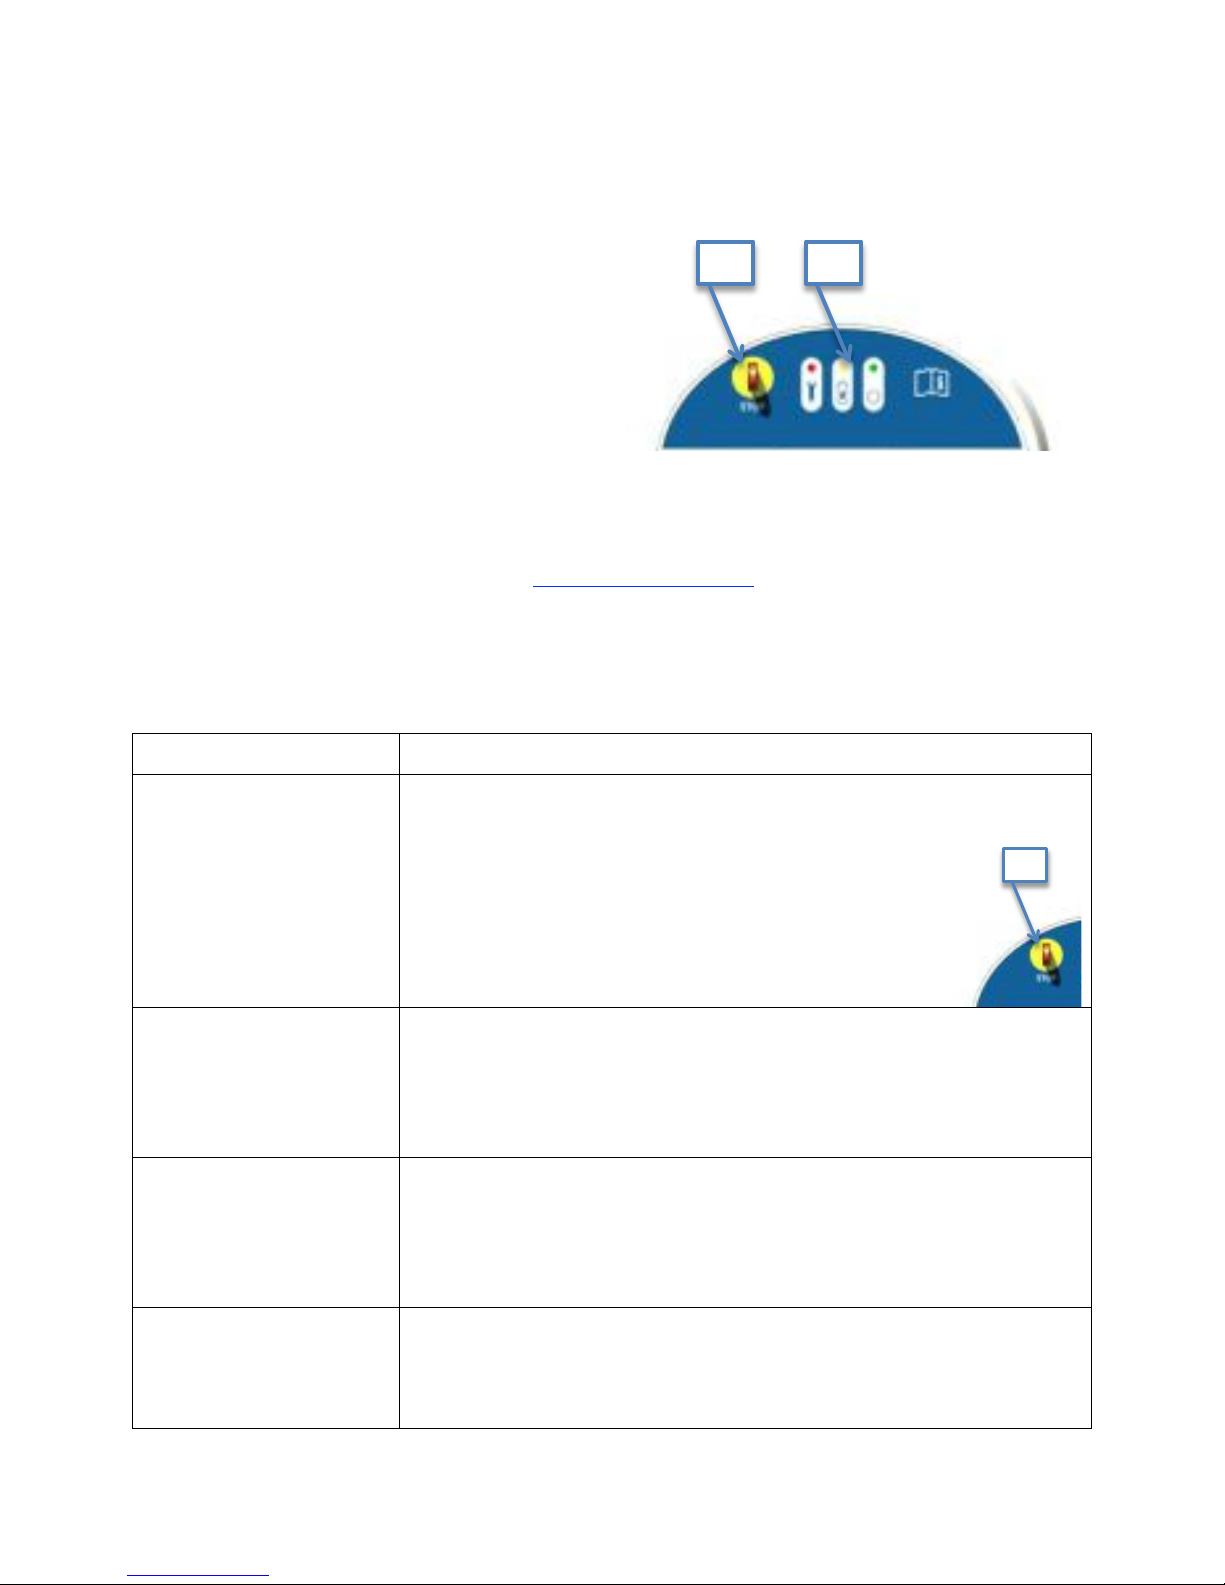
LIGHTS
• Permanent Orange Light =
Hoist is Charging
• Flashing Organe Light =
Charge required, return to
charge
• Green Light = Hoist is on, all functioning OK
• Red Spanner Light = Service or maintenance required. Please call
OpeMed 01252 758858 / [email protected]
TROUBLESHOOTING
Problem
Solution
Hoist not working
(no lights on control
panel)
Return hoist to charging station, leave for 2 hours
min.
Ensure emergency chord hasn’t been
pulled (if has push metal button back in)
Charging Light
Flashing, Hoist
slow to use
Return hoist to charging station, leave for 2 hours
min.
Handcontrol chord
broken at plug
Handcontrol has been wrapped around spreader bar.
Contact OpeMed to purchase a replacement.
Service Light (red
spanner) is On but
Hoist works OK
Contact OpeMed for a service (01252 758858). The
OT200 should be serviced and LOLER inspected
every 6 months as per LOLER & ISO10535.
7"
2"
1"
8"
9"
11"
10"
7"
2"
1"
8"
9"
11"
10"
 Loading...