


Owner’s guide
How to use your new Opalum STORM

2 Opalum STORM – www.stormbyopalum.com
Rev. 1.1
Table of contents
1.
The Opalum STORM 3
2.
Controls and connectors 4
3.
The status indicator 5
3.1 Modes of the status indicator 5
4.
Short circuit protection 5
5.
Using STORM 6
5.1 On/off 6
5.2 Volume offset adjustment 6
5.3 Bluetooth 6
5.4 Source select 6
6.
Dual configuration 7
6.1 Define the slave 7
6.2 Define the master 7
6.3 Connect the master and the slave 7
6.4 Configure the dual system 7
6.5 Using the dual system 7
3 Opalum STORM – www.stormbyopalum.com
Rev. 1.1
1.
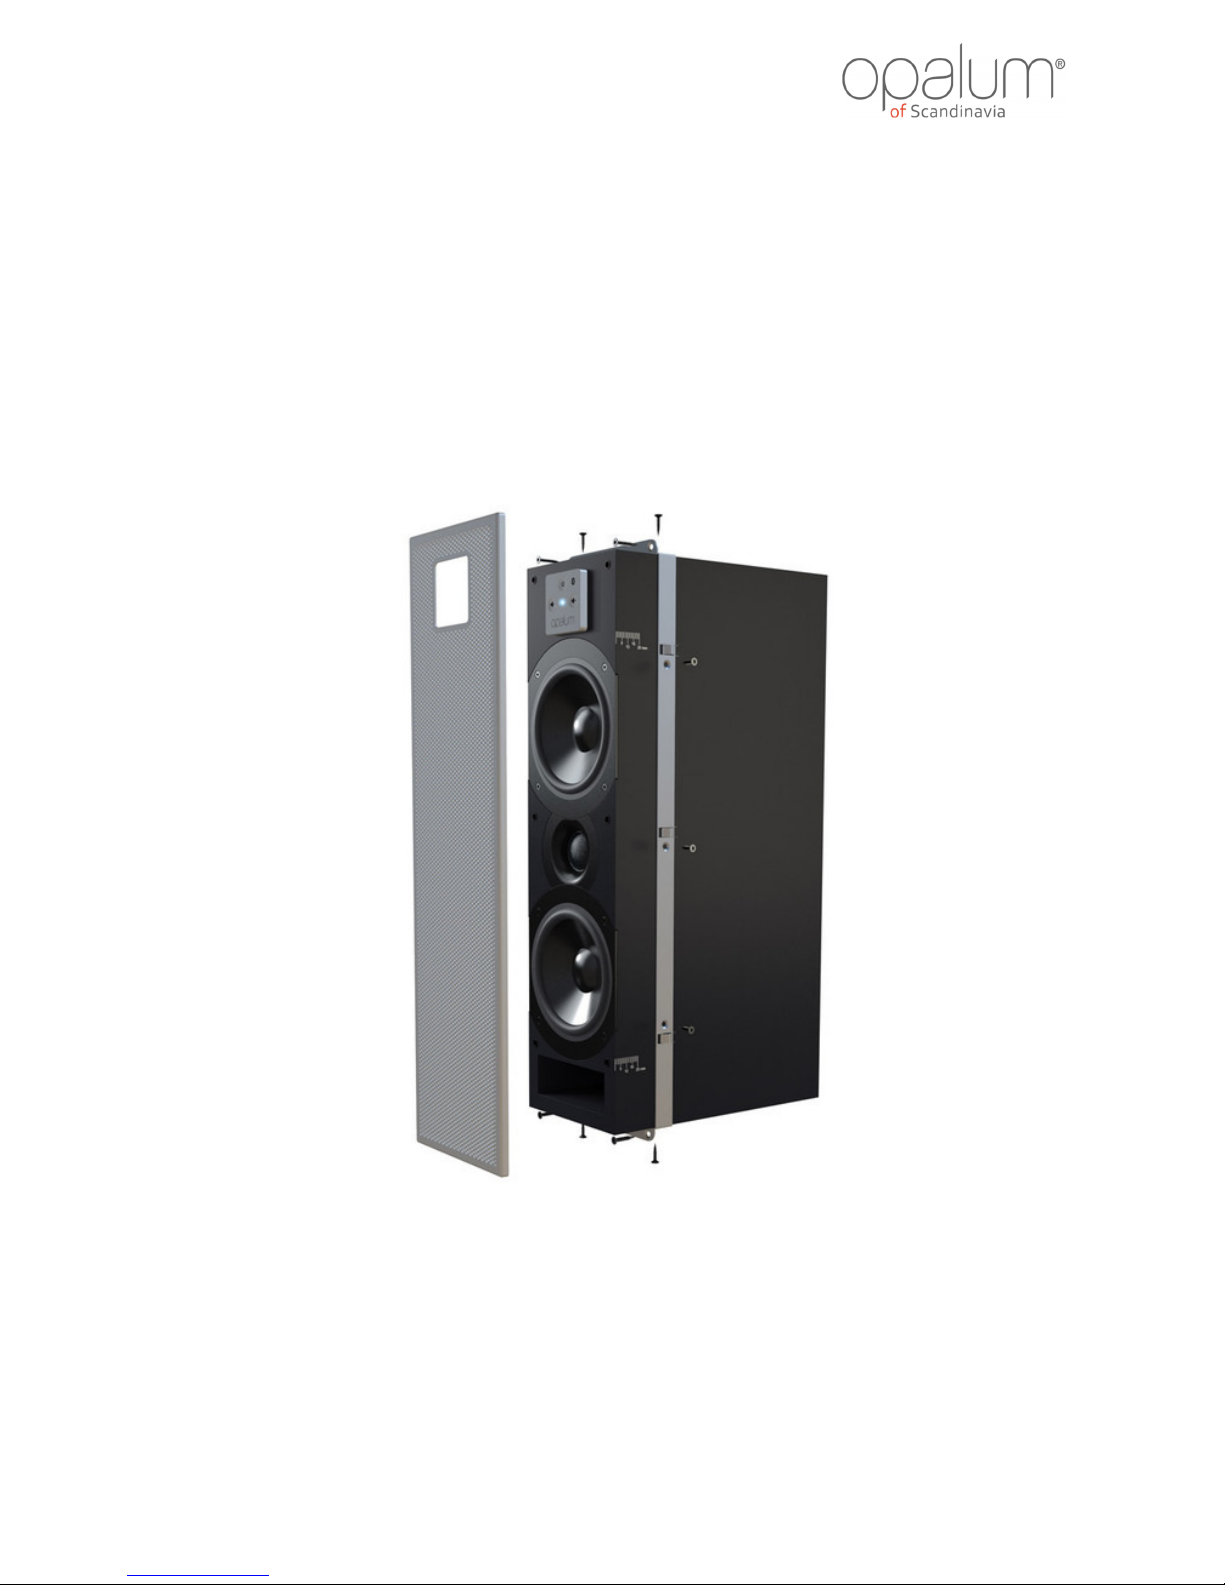
The Opalum STORM
Opalum STORM is a Bluetooth enabled active speaker designed to fit a range of furniture
environments like for instance bedrooms, wooden furniture, sofas, beds, kitchens, hotels and new
housing developments across the globe.
Opalum STORM can operate as standalone, but also features an interface to connect two units for
either stereo use, or just to extend the overall output by adding one more speaker.

4 Opalum STORM – www.stormbyopalum.com
Rev. 1.1
2.
Controls and connectors
1. Standby/BT pairing
Use this button to turn on the system or to put it into standby. This
button is also used to enter BT pairing mode, where you will be able to
link your Bluetooth enabled device to STORM. This ensures that only
devices linked to the system will actually be able to use the system.
2. Volume up
This button can be used to increase the volume offset up.
3. Volume down
This button can be used to decrease the volume offset down.
4. Speaker link
This is where you connect your second STORM if you want to use them
as one system.
5. DC input
Connect the supplied power supplier to this connector.
6. Analog input
Connection for any analog input, like headphone out from your TV, audio
system, mobile phone or similar.
Front panel:
Rear panel:

5 Opalum STORM – www.stormbyopalum.com
Rev. 1.1
3.
The status indicator
The LED in the middle of the front panel indicates the current system status. Its color indicates
the current input source and its intensity the system status.
3.1 Modes of the status indicator
To indicate special events the indicator uses different light modes.
Normal operation
• Dark
o Stand by or OFF
• Steady light
o White, analog input (ON)
o Blue, Bluetooth input (ON)
• Flashing
o Blue, Bluetooth pairing enabled
o Red, ERROR (see section 4 Short circuit protection)
4.
Short circuit protection
To protect the amplifier from overheating the system is equipped with overload circuit protection.
If a problem is detected, the amplifier is automatically turned off and the status indicator starts
flashing red. To recover from short circuit mode you may go through the following steps:
1 Switch the system off by pressing Standby
2 Wait 30 seconds
3 Switch the system on by pressing Standby
4 If problem remains then remove mains power
5 Wait 2 minutes
6 Apply mains power

6 Opalum STORM – www.stormbyopalum.com
Rev. 1.1
5.
Using STORM
5.1 On/off
STORM has automatic on/off. This means that whenever a source starts playing the system will
switch on. Likewise the system will go to standby automatically if the used source is not playing
for more than 5 minutes. Manual on/off is still possible, just press the Standby button on the front.
In you switch off STORM manually the automatic on feature is disabled, and current Bluetooth
connection is disconnected. In standby the system consumes less than 0.5 watt.
Tip:
For ease of use don’t use manual ON/OFF. Instead leave it to STORM to automatically switch ON and
OFF depending on your use.
5.2 Volume offset adjustment
Even if the volume is normally controlled by your source, like for instance your TV or mobile
phone, STORM offers a volume offset adjustment feature. This feature allows you to adjust the
overall amplification level in the same way as an ordinary AV receiver would do. Increasing the
volume offset will make your system play louder, but could also mean that the lowest volume
setting on your source still could be too loud for a quiet living room late at night. Decreasing the
volume offset will make your system play lower, but could also mean that the highest volume
setting on your source isn’t enough to get your party rocking. So, either adjust depending on the
need of the moment, or find an adjustment that suites your need the best. The adjustment is
stored automatically and since it’s the amplification that is adjusted, it will affect all sources.
Tip:
When using the analog input set STORM to max. volume and then adjust 3 steps down. This will give
you the best overall result.
5.3 Bluetooth
To connect your mobile device or PC to STORM using Bluetooth you first need to pair the devices.
STORM will only pair if it is put into pairing mode. Do this by pressing the Standby button approx.
3 seconds while the system is ON. When the status indicator starts flashing blue, the system is in
pairing mode. The pairing mode will terminate automatically when a device pairing is completed,
or after a timeout of 5 minutes. Please see the user guide of your device for how to pair. STORM is
identified by the name “Opalum STORM xx:xx”, where xx:xx is a unique number. After pairing is
completed STORM remembers the device, and vice versa – so next time you just simply connect,
no pairing needed.
5.4 Source select
STORM doesn’t require any source select. Instead sources are priorities and will start playing
accordingly. The priorities are as follows:
1.
Bluetooth
2. Analog

7 Opalum STORM – www.stormbyopalum.com
Rev. 1.1
6.
Dual configuration
STORM has a feature which enables it to connect to a second STORM. If this is done, one STORM
is considered the master and the other one is the slave of the system. All sources will connect to
the master, and the slave will simply just follow the state of the master. It’s up to you to decide if
the two speakers should play as a stereo set, or if they should simply just play mono:
6.1 Define the slave
The STORM which should act as slave will need the special slave front panel, which is identified by
not having any buttons at all. It actually only has a LED. As soon as this is mounted, this unit will
automatically act as a slave.
6.2 Define the master
The STORM which should act as master will keep the front panel with the three buttons. So
nothing needs to be done, other than to connect the master and the slave.
6.3 Connect the master and the slave
The connection is done using a good quality RCA SPDIF cable of max. 15 meters. There is no
direction; connection is the same on both units. Content is digital, so no noise issues. Default
setting is that both units play mono, but other options are available.
6.4 Configure the dual system
Depending on your needs the master can be configured to play in 3 different modes and the slave
will auto configure accordingly. All configurations are done in the same manner, just a matter of
which buttons are pressed when you apply power:
Mode Master plays Slave plays Button combination
Mono (default) Mono Mono Vol down + Vol up
Stereo – left channel Left channel Right channel Vol down
Stereo – right channel Right channel Left channel Vol up
For example, if you want to make the master play left channel, then you do this:
1. Remove mains on master
2. Wait for 30 seconds (this is just to make sure that the system has shut down completely)
3. Press and hold “Vol down” on master
4. Apply mains to master (LED will go ON)
5. Wait until LED changes color (system is now configured)
6.5 Using the dual system
All operation of the dual system is actually the same as operating a single STORM. Just ignore the
slave, which will just follow the actions of the master.
 Loading...