

Page 1
instruction manual
INSTRUCTION MANUAL
AFTER SALES SUPPORT:
AUS 1300 886 649 | NZ 0800 836 761
N13275
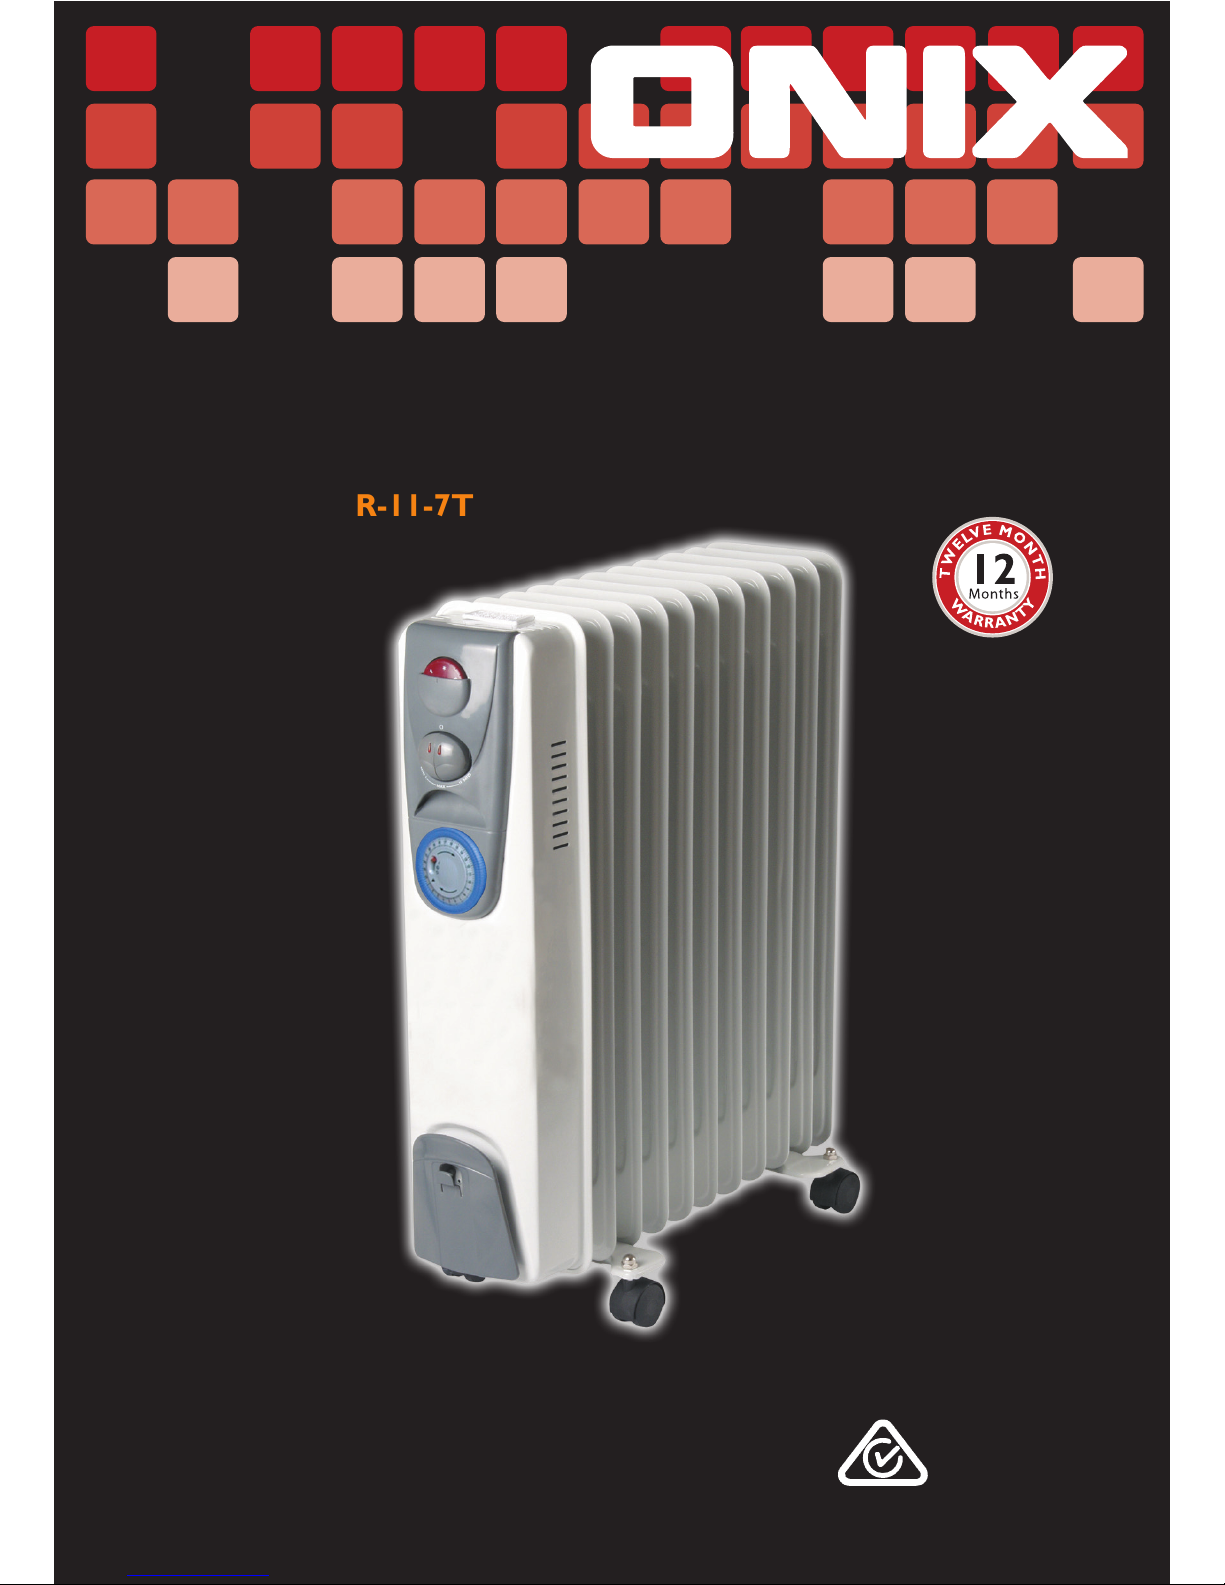
11 Fin oil heater
Model No: OFR-11-7T
Page 2

Important Safety Instructions
1. This appliance is not intended for use by
young children or inrm persons unless
they have been adequately supervised by
a responsible person to ensure that they
can use the appliance safely.
2. Young children should be supervised
to ensure that they do not play with
the appliance.
3. Use this appliance as intended and
described in the instruction manual only.
4. Always unplug the appliance
immediately after use.
5. This appliance should never be left
unattended when plugged in.
6. Do not wrap the cord around
the appliance.
7. If the appliance stops unexpectedly,
switch off the power supply, and unplug
from the wall socket. Contact the
manufacturer or an authorized service
representative.
8. Switch off the power supply and unplug
from the wall when not in use, before
cleaning and or changing accessories.
9. Keep the appliance and cable away
from sources of heat, sharp objects or
anything that may cause damage.
10. Do not operate this appliance if the
cable or plug is damaged. Contact the
manufacturer or an authorized service
representative.
11. Electrical appliances must always be
stored in a secure place and out of
reach from children.
12. Always ensure that your hands are
dry before operating or adjusting any
switches on the product or touching
the plug and main power connection.
13. Do not leave the appliance
unattended when connected to
the main power supply.
14. Do not use outdoors. This appliance
has been designed for domestic indoor
use only.
15. Only use the power adapter that has
been supplied by the manufacturer.
16. To avoid the risk of electric shock,
do not disassemble or attempt to
repair the unit.
17. Do not leave packaging components
(plastic bags, cardboard, polystyrene,
etc.) within the reach of children,
as it could be dangerous.
18. If the supply cord is damaged, it must
be replaced by the manufacturer or its
service agent or a similarly qualied
person in order to avoid a hazard.
19. Before turning on, ensure the
electrical voltage and frequency of the
circuit correspond to those indicated
on the appliance.
20. To reduce the risk of electrocution,
never operate this product with wet
hands, submerge under water or spill
liquids into the product.
21. Do not kink or damage the power cord.
22. The unit has no user-serviceable parts
contained within. Do not attempt
to repair, disassemble or modify
the appliance.
Store this instruction manual in a safe place, along with your warranty card, purchase receipt
and packaging box for future reference. Please pay particular attention to the safety information.
Page 3

Using your Heater
1. Place the heater on a at surface, away from ammable objects.
2. Plug in the power cord to the wall socket when ready for use.
3. To use the heater manually, set the 24 hour timer switch to ‘1’. Then press the power
switch to turn the heater on. The indicator light on the switch will turn on if the heater
is on. Use the rst switch for a low heat, the second switch for a medium heat and
have both switches on for high heat. The maximum heating power output is 2400W.
4. Use the variable heat thermostat to regulate the desired heating temperature. The
temperature increases as you move the dial clockwise towards the MAX direction.
Note: The indicator lights on the switches may turn on and off as the heater regulates
the temperature.
5. Use the 24 hour timer function on the heater to control when you want the heater
turned on and off automatically. To turn the automatic timer function on, put the switch
into the ‘clock’ position. Now set the correct time by turning the dial clockwise so that
the arrow is pointing to the current time (e.g. If the time is 7pm, set the dial so that ‘19’
is in line with the arrow). Note: The numbering system is in 24 hour time.
To set the timer, simply pull out the corresponding pins which indicate when the heater
should be turned on. The heater will automatically turn on if the arrow is pointing to
a pin which has been pulled out. For example, to set the timer for the heater to be on
between 9pm and 1am, pull all the pins up between ‘21’ and ‘1’. The heater will turn
itself on at 9pm then turn itself off at 1am. Note: Each segment represents 15 minutes.
6. The heater can be turned off by setting the 24hr timer switch to ‘0’. N.B. If the heater
is not in use for an extended period, turn the heater off and disconnect the power plug.
Page 4

Assembling the Heater
Caution: Ensure the power cord is not plugged in before attempting to assemble the heater.
The only assembly required for the oil heaters are attaching the wheels onto the main unit.
Follow these procedures:
1. Turn the unit upside down so that the wheels can be attached on. The heater should
only ever be in the upright position unless the wheels are being removed or put on.
2. The packaging should come with 2 U-bolts. Fit one of the U-bolts over the last two ns
on one of the sides.
3. The unit should also come with 2 wheels brackets. Fit the wheel bracket over the
U-bolt ensuring that the corresponding holes line up so that they can be screwed tight.
4. Use the wingnuts provided to secure the wheel bracket to the U-bolt by turning it
reasonably tight with your hands. No tools necessary.
5. Repeat the process to attach the wheel onto the other side.
6. Flip the heater to the upright position and let the oil settle down for least 15 minutes
before turning back on.
Page 5

Safety Instructions
1. Use the appliance only for the mentioned purpose, namely as a radiator for domestic
use. Do not use it as any other application as it could get dangerous.
2. Do not operate the heater near ammable objects (furniture, curtains, shelves etc).
3. Do not operate the heater near liquids (bath-tubs, showers, water basins,
swimming pools etc).
4. Do not cover the appliance when it is operating to avoid overheating risks.
5. Correct operation of the appliance is obtained when the radiator is installed vertically.
6. Do not put the cable on the appliance when it is still warm.
7. Do not connect the appliance to extension cords or multiple outlets.
8. Never operate the appliance immediately below an outlet.
9. Never connect the appliance to a thermal control device or a time switch to avoid
overheating risks when the radiator is moved or covered.
WARNING: This appliance gets extremely hot during operation and should be handled with
care. Be careful of getting burnt. Never put ammable objects on or near the appliance as
they could set alight.
Technical Data
• Voltage: 240V ~ 50Hz
• Max power consumption: 2000W
Page 6

Features of your heater
Power cable storage
Wrap the power cable around
the groove when not in use so
that it can be neatly stored away.
Heating ns
All 11 ns will heat up when the
unit has been switched on.
2 On/off heat power buttons
Turn either or both of the
switches on to start the heater.
There is a maximum heating
power output of 2400W when
both switches are turned on.
Whisper-quiet operation
The heater operates in silence as
there are no moving parts.
Variable heat thermostat
Use the dial to adjust the
temperature setting to your
desired comfort level. Turn
clockwise to increase the heat.
24 hour timer dial
The timer dial allows complete
user control of when the heater
turns on and off automatically.
Built-in overheat protection
The heater has a built-in sensor
which will turn the heater off if it
is overheating.
Wheels
The wheels form the base of the
heater and allows the unit to be
freely moved around the room.
Page 7

Care and Cleaning Instructions
The appliance is not designed to be dismantled without special tools.
Please do not attempt to separate the unit.
1. Ensure the appliance is disconnected from the power supply and switched off
before attempting any cleaning.
2. Cleaning the exterior of the unit should only be attempted with a slightly damp,
soapy cloth. After wiping down the unit with the soapy cloth, dry any wet spots
with a dry cloth.
3. When not in use, pack the heater into its original box for best protection and
store in a cool, clean and dry location.
Caution: Never immerse the heater in water for cleaning.
Page 8

Distributed by Tempo (Aust) Pty Ltd ABN 70 106 100 252
PO Box 6056 Frenchs Forest LC
Sydney, Australia NSW 2086
Telephone: (02) 9975 2199 Fax: (02) 9975 2688
Email: info@tempoaustralia.com.au
Customer Helpline: 1300 88 66 49 (Aust) 0 800 836 761 (NZ)
 Loading...