

Page 1
Bagless Vacuum Cleaner
Model: JLL-0701E
Instruction Manual
Page 2

Important Safety Instructions
Please keep this instruction manual in a safe place, along with the warranty card,
purchase receipt and carton for future reference. The safety precautions enclosed
herein reduce the risk of fi re, electric shock and injury when correctly adhered to.
- If the supply cord is damaged, it must
be replaced by the manufacturer or its
service agent or a similarly qualifi ed
person in order to avoid a hazard.
- Before turning on, ensure the electrical
voltage and frequency of the circuit
correspond to those indicated on the
appliance.
- The appliance is not intended for use
by young children or infi rm persons
without supervision.
- Young children should be supervised
to ensure that they do not play with
the appliance.
- Do not operate the appliance outdoors
- Power plug must be removed from
power socket before cleaning,
servicing, maintenance or moving the
appliance.
- When the appliance is not in use,
switch it off and unplug it.
- The appliance should be placed
on a fl at surface when operating to
avoid overturning.
- To reduce the risk of electrocution,
never operate this product with wet
hands, submerge under water or spill
liquids into the product.
- Do not insert any objects into the
appliance.
- Do not kink or damage the power
cord.
- Improper installation may result in the
risk of fi re, electric shock and or injury
to persons.
- The manufacturer is not responsible
for any eventual damages caused by
improper or faulty use.
- The unit has no user-serviceable parts
contained within. Do not attempt to
repair, disassemble or modify the
appliance.
Page 3

Important Safety Instructions
- The Vacuum Cleaner is intended for household use only. Do not use this appliance for anything other than its intended use.
- Do not operate the unit near liquids (bath-tubs, showers, water basins, swimming
pools etc).
- There is an in built overheat protector which will turn the unit off if used for too
long. Switch the unit to “OFF” and it will resume normal operation within 15
minutes.
- Ensure that all the parts are correctly assembled before operation.
- Do not use the appliance to vacuum liquids.
- Never use methylated spirits or other solvents to clean the appliance.
WARNING: Never immerse the vacuum unit in water as this will damage the circuitry
to the motoring unit.
Page 4
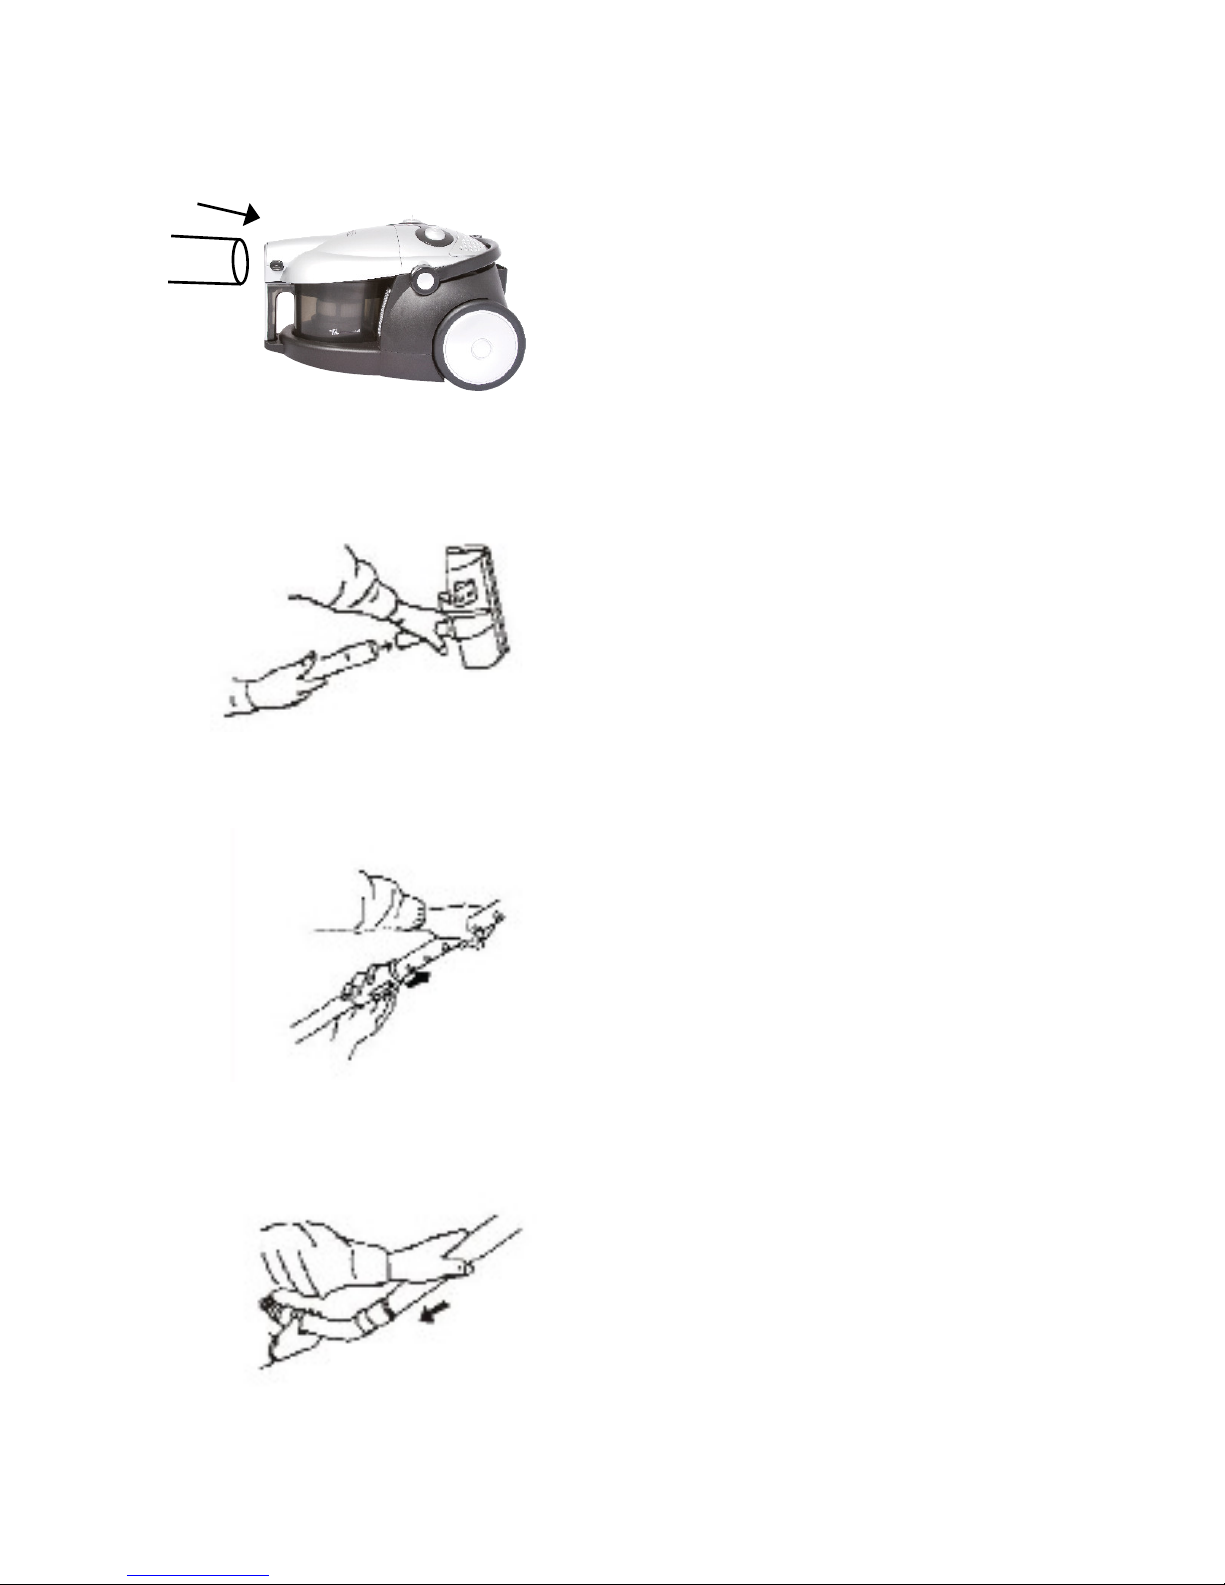
Assembling your Vacuum Cleaner
1. Connect the hose connector to the
front cover of the vacuum cleaner by
pushing it in until it clicks into place.
To release the hose connector, push
the two buttons located on the top
of the connector and pull away from
the vacuum.
2. Connect the extension pole to the
hose connector by pushing it up into
place. Use reasonable force to push
it up to ensure there is a tight seal.
3. Adjust the preferred length of the
extension pole by pressing down on
the switch. This releases the poles
and allows you to move the poles up
or down. Ensure the extension pole
clicks into place before using.
4. Connect the extension pole onto the
cleaning accessory by pushing it into
the corresponding hole. Use reasonable force to ensure a tight seal for
vacuuming.
Page 5

Using your Vacuum Cleaner
1. Before use, please ensure the electrical voltage and frequency of the circuit corresponds to those indicated on the appliance.
2. Pull the power cable from the vacuum cleaner and insert it into the power plug.
The ‘yellow’ marker on the power cable indicates the ideal cable length. The
‘red’ marker indicates the maximum power cable length. WARNING: Do not
extend the cable beyond the red marker.
3. Switch the power point on.
4. Press the “ON/OFF” button to turn the vacuum cleaner on.
5. Use the different cleaning attachments to suit the surface to be cleaned.
Using the cleaning accessories
- The bagless vacuum cleaner is capable of cleaning a variety of places including
hard fl oors, carpets, curtains and all those hard to reach places.
- Use the different accessories and attachments to suit your cleaning needs:
Page 6
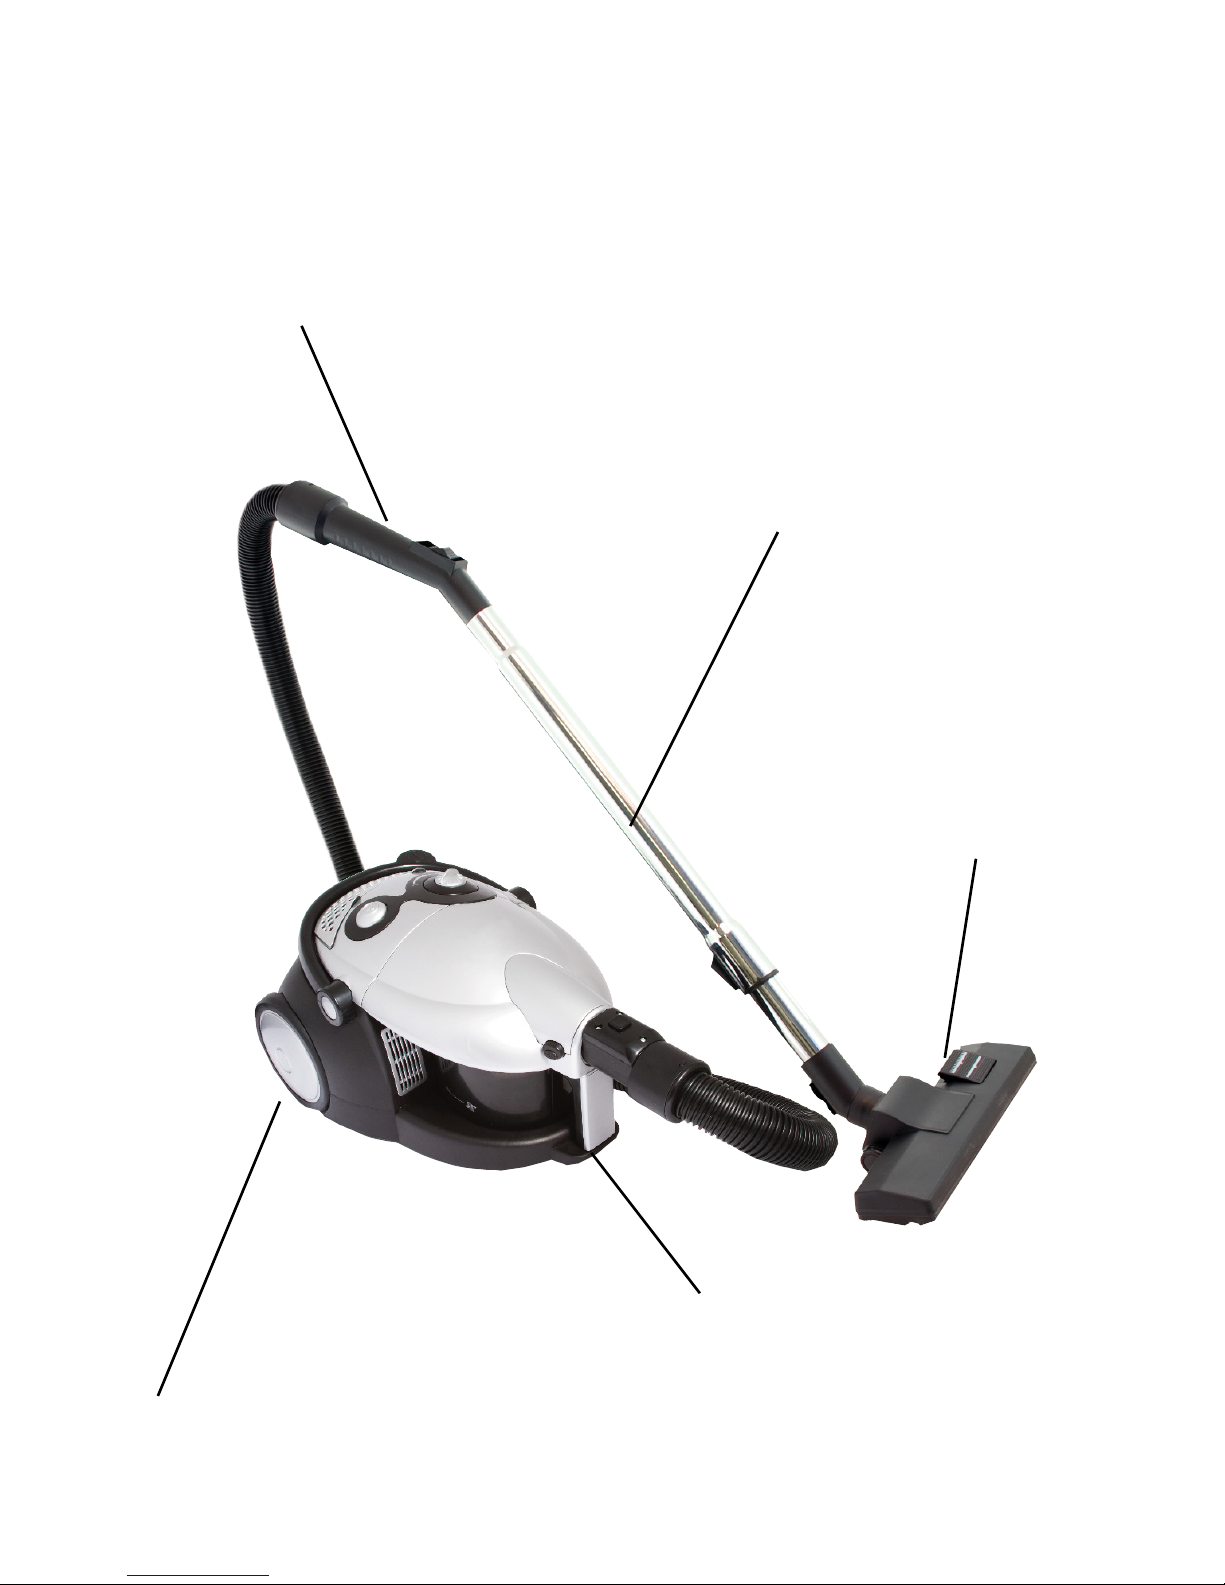
Extension pole
The chrome plated pole is
extendable allowing the user to
adjust the height to their own
preference.
Vacuum head
The vacuum head has dual
functionality, allowing it to clean
carpets as well as hard surfaces.
Important features of your Vacuum Cleaner
Handle
The ergonomically designed
handle makes it comfortable to
use when vacuuming.
Dust collector and Hepa
type fi lter
The dust collector and hepa type
fi lter work together to capture all
the dust sucked in by the vacuum,
while not allowing any dust to be
blown back out.
Sturdy wheels
The 2 wheels located on the
back of the unit ensures easy
maneuverability when vacuuming.
Page 7
Care and Cleaning Instructions
WARNING: Before removing the cover, ensure you detach the hose from the main
unit fi rst as the hose is connected onto the fi lter basket.
1. Remove the Dust Container by pushing the black clip and lifting the
Container out.
2. Lift dust canister lid off and tip dirt out.
3. To remove fi lter, lift fi lter section from dust container
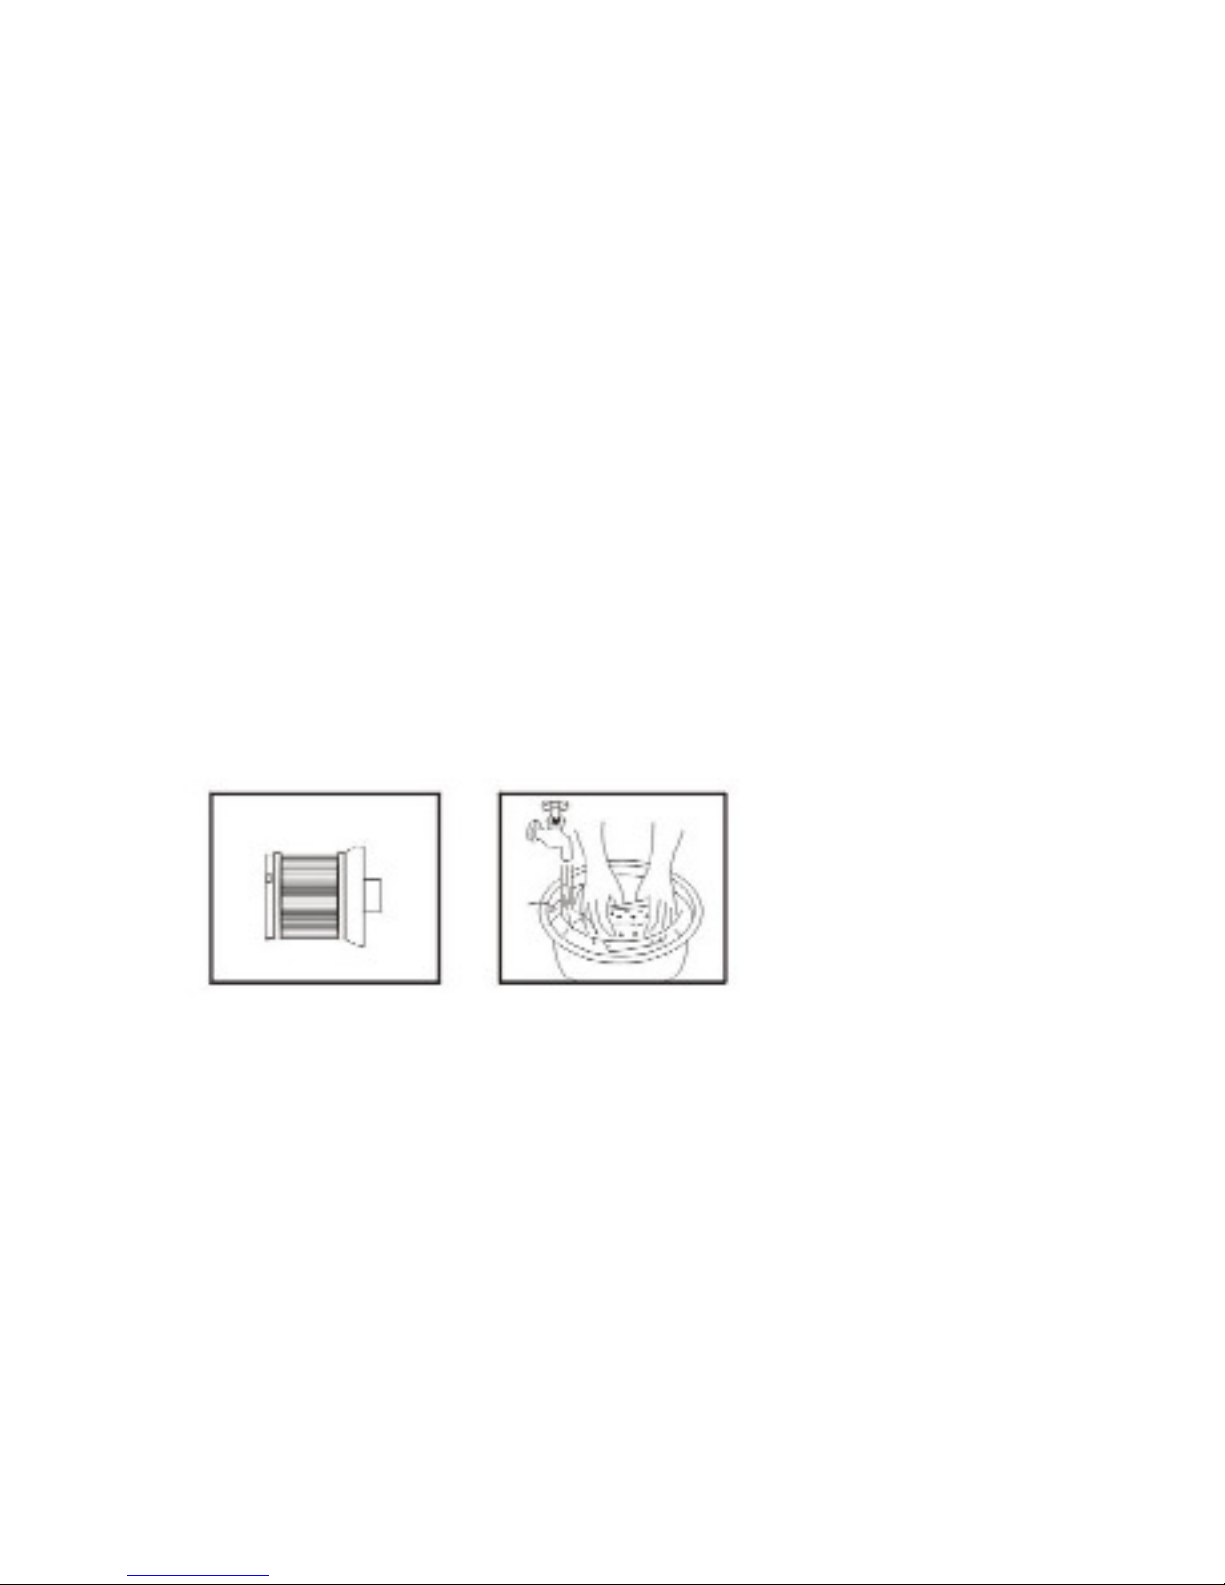
Cleaning the fi lter:
1. Remove the fi lter for cleaning when the fi lter gets too dirty.
2. Wash the fi lter in warm soapy water. Use a soft-bristled brush to scrub if
necessary. Let it naturally dry before next use.
1
2
Page 8

Cleaning the exterior of the unit:
- If the exterior of the unit needs to be cleaned, use a slightly damp cloth to wipe
down with. Clean any wet spots with a dry cloth immediately.
WARNING: Do not immerse the unit in liquid as this will damage the circuitry to the
unit. Ensure that all parts of the vacuum cleaner are dry before assembling for use.
Replacement Filters for your Bagless Vacuum Cleaner
- Replacement fi lters can be acquired by calling the Customer Helpline on 1300
88 6649. The fi lters are sent directly to your door for your convenience for a
nominal fee.
Storage
- Store the vacuum on its wheels or upright in a cool, dry place.
Page 9

Distributed by Tempo (Aust) Pty Ltd ABN 70 106 100 252
PO Box 6056, Frenchs Forest DC 2086, NSW
Fax: (02) 9975 2688
Email: info@tempoaustralia.com.au
Customer Helpline: 1300 88 6649
This product has a 12 month warranty when accompanied
by proof of purchase
 Loading...