

Page 1
Instruction Manual
1300 886 649
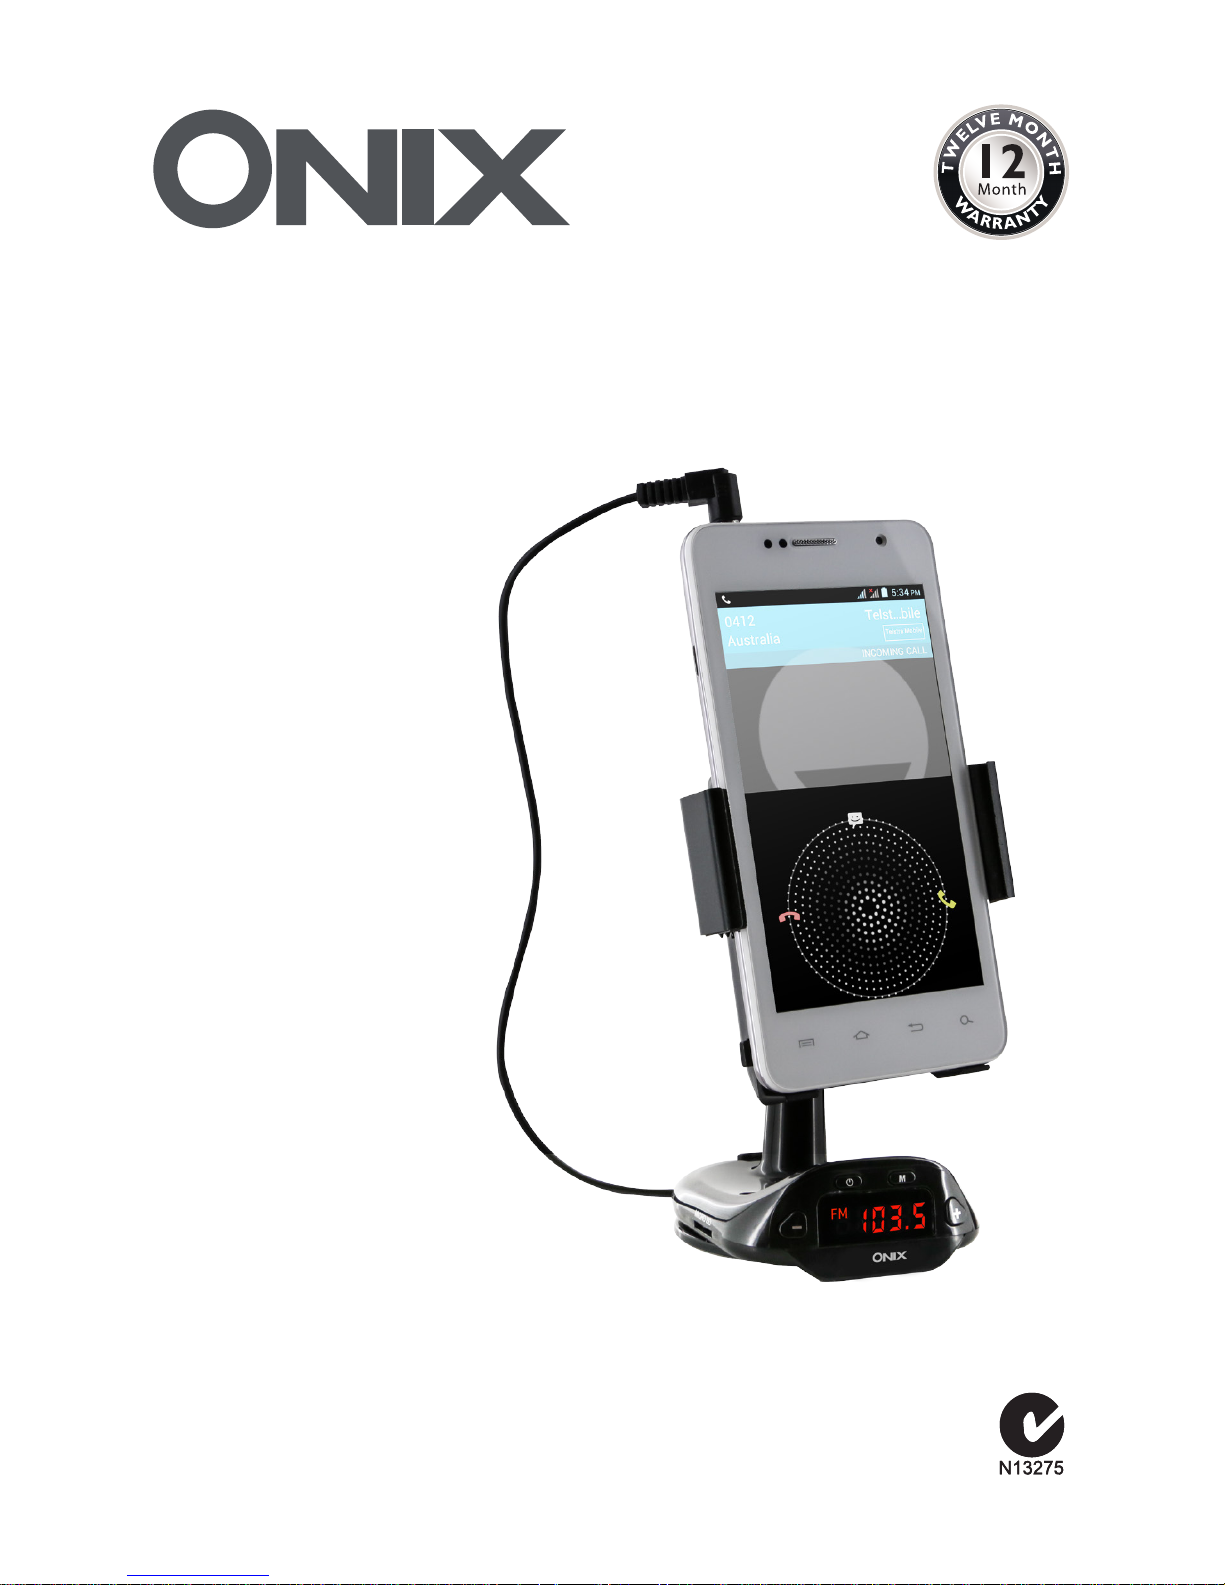
Model: AT-03FM
Customer Helpline
FM Transmitter
with Stand
Smart Choice
Page 2

2
After Sales Support
Telephone: 1300 886 649
Email: info@tempo.org
Contents
Warranty Details 3
General Safety Instructions 5
Product Overview 7
Getting Started 8
Instructions 9
Other Useful Information 11
Repair and Refurbished Goods or Parts Notice 12
Page 3

3
After Sales Support
Telephone: 1300 886 649
Email: info@tempo.org
Warranty Details
The product is guaranteed to be free from defects in workmanship and
parts for a period of 12 months from the date of purchase. Defects that
occur within this warranty period, under normal use and care, will be
repaired, replaced or refunded at our discretion, solely at our option with
no charge for parts and labour. The benefits conferred by this warranty
are in addition to all rights and remedies in respect of the product that
the consumer has under the Competition and Consumer Act 2010 and
similar state and territory laws.
Our goods come with guarantees that cannot be excluded under the
Australian Consumer Law. You are entitled to a replacement or refund
for a major failure and to compensation for any other reasonably
foreseeable loss or damage. You are also entitled to have the goods
repaired or replaced if the goods fail to be of acceptable quality and the
failure does not amount to a major failure.
FM Transmitter with Stand
Smart Choice
Page 4

4
After Sales Support
Telephone: 1300 886 649
Email: info@tempo.org
Welcome
Congratulations on choosing to buy an ONIX product.
All products brought to you by ONIX are manufactured to the highest standards
of performance and safety and, as part of our philosophy of customer service and
satisfaction, are backed by our comprehensive 1 Year Warranty. We hope you will
enjoy using your purchase for many years to come.
Page 5

5
After Sales Support
Telephone: 1300 886 649
Email: info@tempo.org
General Safety Instructions
Read this manual thoroughly before first use and keep it in a safe place for future
reference, along with the completed warranty card, purchase receipt and carton.
• Liability: We accept no liability for any damage or accidents caused while using
this product. Likewise, we accept no liability for any damage or accidents caused
by improper use or mishandling of the product, or due to noncompliance with these
instructions.
• Restricted usage: The product is not intended for use by persons (including
children) with reduced physical, sensory or mental capabilities, or lack of
experience and knowledge, unless they have been given supervision or
instruction concerning use of the equipment by a person responsible for their
safety.
• Children: This product is not a toy. Keep it away from young children. Close
supervision is necessary when the product is used by or near children.
• Use in vehicles: When installing the unit in a vehicle, place it securely so that it
does not interfere with vehicle operating controls or obstruct the driver’s view of
the road. For example, do not mount it where it blocks the driver’s field of vision,
or place it unsecured on the vehicle dash, or mount it in front of an airbag field of
deployment.
• Safety first: Always operate the vehicle in a safe manner. Do not change settings
or access any functions requiring prolonged use of the unit’s controls while
driving. Pull over in a safe and legal manner and location before attempting such
operations.
• Volume: Make certain that the volume level of the unit is set to a level that still
allows you to hear outside traffic and emergency vehicles.
• Accessories: Only use accessories provided by the original manufacturer. The
use of incompatible accessories may result in the warranty becoming void.
• Usage environment: Make sure the unit will not be exposed to direct sun and
heat, excessive dust, high humidity or excessive vibrations.
• Damage: Do not use the car adaptor if the cable or plug are damaged. In case of
damage, contact our after sales support line for advice.
• Disconnect: Grip the plug when disconnecting the car adaptor; do not pull on
the cable.
• Repair: The product has no user-serviceable parts contained inside. Do not
attempt to repair, disassemble or modify it. Any modifications could void your
warranty.
Page 6

6
After Sales Support
Telephone: 1300 886 649
Email: info@tempo.org
General Safety Instructions (Cont.)
• Do not disassemble: If you experience problems with the product, contact our
after sales support line for advice. Do not try to disassemble the product yourself.
Doing so may result in an accident, fire or electric shock and permanent damage
to the product.
• Packaging: Plastic packaging materials can present a suffocation hazard for
young children and babies. Keep all packaging materials out of children’s reach to
ensure they do not play with these.
• Thunderstorm: Do not use the product during a thunderstorm to prevent
malfunction and lower the risk of electric shock.
• Storage: Do not store the product near metal objects such as coins, keys or
jewellery that could scratch the screen. Do not store it near magnetic fields.
• Disposal: When discarding this device, observe local regulations and dispose of
it appropriately for recycling. Contact your local authorities for advice on recycling
facilities in your area.
Page 7

7
After Sales Support
Telephone: 1300 886 649
Email: info@tempo.org
1 Car adaptor
2 Extendable clamp arms
3 Cradle for phone
4 Clamp Release button
5 On/Off and Play/Pause button
6 [M] Memory button
7 Adhesive pad (underneath the base)
8 [+] Plus button
9 [-] Minus button
10 3.5mm AUX-IN cable
11 Micro SD card slot
12 USB port (5V, 1A)
13 Power port (Micro USB)
Product Overview
PARTS LIST
1
1110
12 13
3
2
4
5
6
7
8
9
Page 8

8
After Sales Support
Telephone: 1300 886 649
Email: info@tempo.org
Getting Started
The base of the transmitter has an adhesive pad (Fig. 1). Peel off the protective film
and place the transmitter on the dashboard. Apply some pressure on the base so
that it sticks tightly onto the dashboard (Fig. 2).
Insert the car power adaptor plug into the cigarette lighter socket in the car (Fig. 3)
and connect the micro USB end of the cable to the micro USB port on the base of
the transmitter (Fig. 4).
1
3
2
4
INSTALLATION
Page 9

9
After Sales Support
Telephone: 1300 886 649
Email: info@tempo.org
Instructions
WARNING: Do not use the car adaptor to charge your mobile phone directly!
The car adaptor’s output voltage is 12V. Attempting to charge your mobile phone via
the car adaptor directly will put you at risk of destroying the mobile phone.
• Turn on your car radio and tune to a channel that only contains static, with no
interference from other radio stations.
• Turn on the FM transmitter by pressing and holding the ON/OFF button.
• Press the [M] button and the frequency number displayed on the screen will start
blinking.
• Press the [+] or [-] button to tune the FM transmitter to the same frequency as the
car radio.
• Press the [M] button to confirm the frequency.
Once the FM transmitter and car radio are tuned to the same frequency, the audio
signal will be clear and free from static and interference. If interference or static is
present in the sound you hear, you may need to try a different frequency.
NOTE: When using the device in the car you may at times need to change the
operating frequency band, as interference from other stations may change as
you travel.
FM TUNING
PHONE ATTACHMENT
PHONE CONNECTION
The adjustable clamp has a width range of 6 to 8.7cm to accommodate most of
today's mobile and smart phones.
• Press the release button on the side of the cradle to extend the clamp arms.
• Place your phone onto the cradle and press on the clamp arms to grip the phone.
Then adjust the cradle to a proper angle for your easy operation while driving.
• Insert the 3.5mm plug attached to the FM transmitter base into the headphone
socket or auxiliary output of an audio source. Now the mode will change to “AUX”
and the sound out of your mobile phone or other audio source will be played
through the car’s sound system.
• When using the phone, connect and disconnect mobile calls using your mobile
phone as you normally would. Make sure to speak loud and clearly toward
the phone.
Page 10

10
After Sales Support
Telephone: 1300 886 649
Email: info@tempo.org
Instructions (Cont.)
• Insert a micro SD card into the micro SD card slot. Now the mode will change to
“SD” and the first music track stored on the card will play automatically.
• Short press the [+] or [-] button to play the next or previous music track.
• Long press the [+] or [-] button to increase or decrease the volume.
• Short press the ON/OFF button to pause/resume transmission.
• Remove the SD card to switch back to AUX-IN mode.
MICRO SD CARD
5
WARNING: Do not use the car adaptor to
charge your mobile phone directly!
The car adaptor’s output voltage is 12V.
Attempting to charge your mobile phone via
the car adaptor directly will put you at risk of
destroying the mobile phone.
CAR CHARGER
On the base of the FM Transmitter there is a USB
port for charging purposes (see Fig. 4 on page 8).
Connect a USB connector cable compatible with
your mobile phone to charge it (Fig. 5). The output
is 5V/1A.
NOTE: The charging cable is not included.
POWER OFF
Long press the ON/OFF button to power off the FM transmitter.
• If you insert a memory card while in AUX-IN mode, the transmitter will
automatically switch to SD mode. To switch back to AUX-IN mode, please
remove the SD card.
NOTE:
• If the volume out of your mobile phone is low, increase the headphone volume
level.
• If the volume out of your audio source is low or no audio signal is detected, the
transmitter will automatically switch between SD and AUX-IN modes.
Page 11
11
After Sales Support
Telephone: 1300 886 649
Email: info@tempo.org
Other Useful Information
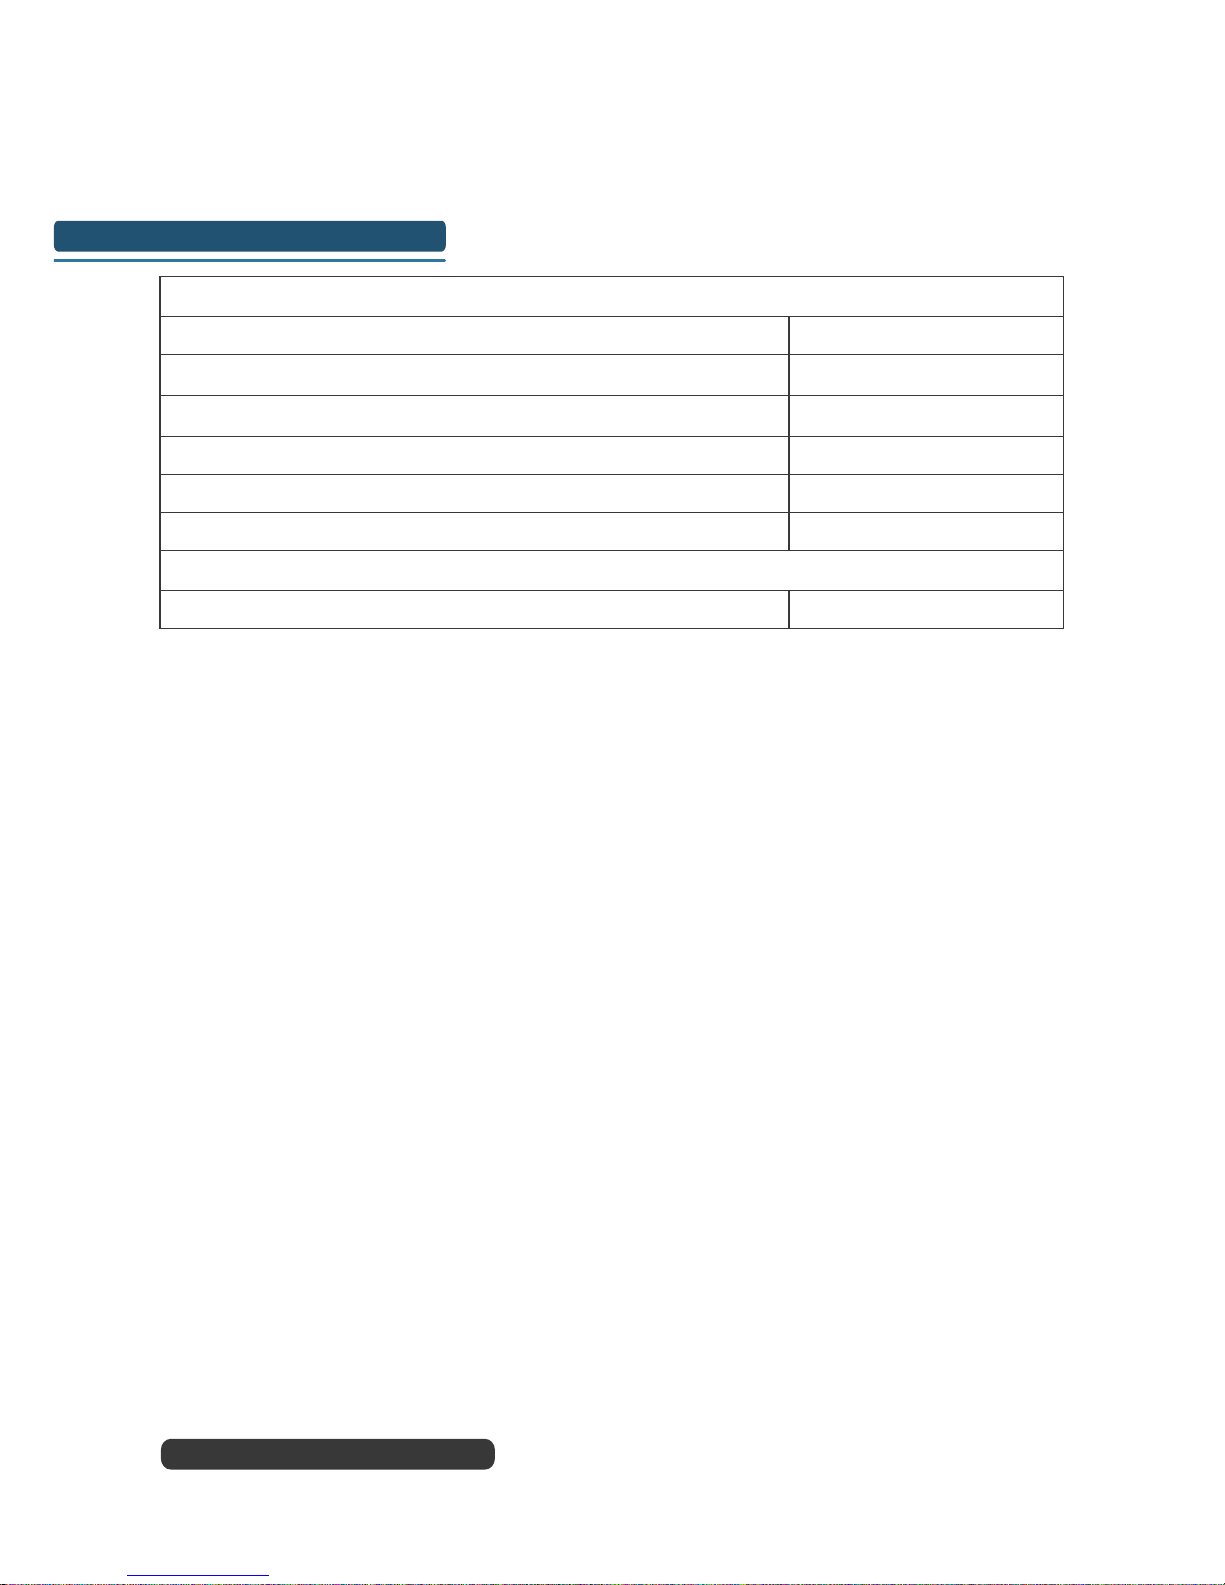
General
Input 12 – 24V
Output 5V 1A
Music format MP3 / WMA
Micro SD Maximum support 32GB
Transmission range Approx. 5m
MP3 Bitrate 32KPB – 320KPBS
FM Radio Section
Frequency range 87.6 – 107.9MHz
SPECIFICATIONS
Page 12

12
After Sales Support
Telephone: 1300 886 649
Email: info@tempo.org
Repair and Refurbished
Goods or Parts Notice
Unfortunately, from time to time, faulty products are manufactured which need to
be returned to the supplier for repair.
Please be aware that if your product is capable of retaining user-generated data
(such as files stored on a computer hard drive, telephone numbers stored on
a mobile telephone, songs stored on a portable media player, games saved on
a games console or files stored on a USB memory stick) during the process of
repair, some or all of your stored data may be lost. We recommend you save this
data elsewhere prior to sending the product for repair.
You should also be aware that rather than repairing goods, we may replace them with
refurbished goods of the same type or use refurbished parts in the repair process.
Please be assured though, refurbished parts or replacements are only used
where they meet Tempo’s stringent quality specifications.
If at any time you feel your repair is being handled unsatisfactorily, you may
escalate your complaint. Please telephone us on 1300 886 649 or write to us at:
Tempo (Aust) Pty Ltd ABN 70 106 100 252
PO BOX 6056 Frenchs Forest, Sydney, Australia NSW 2086
Tempo Help Desk: 1300 886 649 (Aust)
(Operating Hours: Mon-Fri 08:30AM to 06:00PM EST)
Email: info@tempo.org
FM Transmitter with Stand
Smart Choice
Page 13

13
After Sales Support
Telephone: 1300 886 649
Email: info@tempo.org
This page has been left blank intentionally.
Page 14

14
After Sales Support
Telephone: 1300 886 649
Email: info@tempo.org
This page has been left blank intentionally.
Page 15

15
After Sales Support
Telephone: 1300 886 649
Email: info@tempo.org
This page has been left blank intentionally.
Page 16

After Sales Support
Telephone: 1300 886 649
Email: info@tempo.org
Warranty returns
Should you for any reason need to return this product
for a warranty claim, make sure to include all accessories
with the product.
Product does not work?
If you encounter problems with this product, or if it fails
to perform to your expectations, make sure to contact
our After Sales Support Centre on 1300 886 649 before
returning it to the store for a refund.
 Loading...