

OneTouch UltraEasy Owner's Manual
OneTouch®UltraEasy
Owner’s Booklet
Symbols
Caution symbol: See instructions for use.
Serial number symbol
LOT
Lot Number
IVD
In Vitro Diagnostic Medical Device
Expiration Date
Sterilized by irradiation
™
i

ii

Welcome to the OneTouch®family!
We know how difficult it can be to understand and manage diabetes.
The right products and services can help make life with diabetes just a
little bit easier. At LifeScan, our priority is to ensure that you have the right
blood glucose meter to meet your needs.
That’s why we design products like the OneTouch
Glucose Monitoring System. The OneTouch
®
®
UltraEasy™Blood
UltraEasy™Meter makes it
simple to get a test result and review past results. This owner’s booklet
will help you learn how to use your meter properly. Please read it carefully.
As you get started, you may have questions and we are always here to
help. You can reach our Customer Care Freephone at 0800 121200(UK),
1800 535676 (Ireland). You can also obtain information at
www.LifeScan.co.uk.
iii
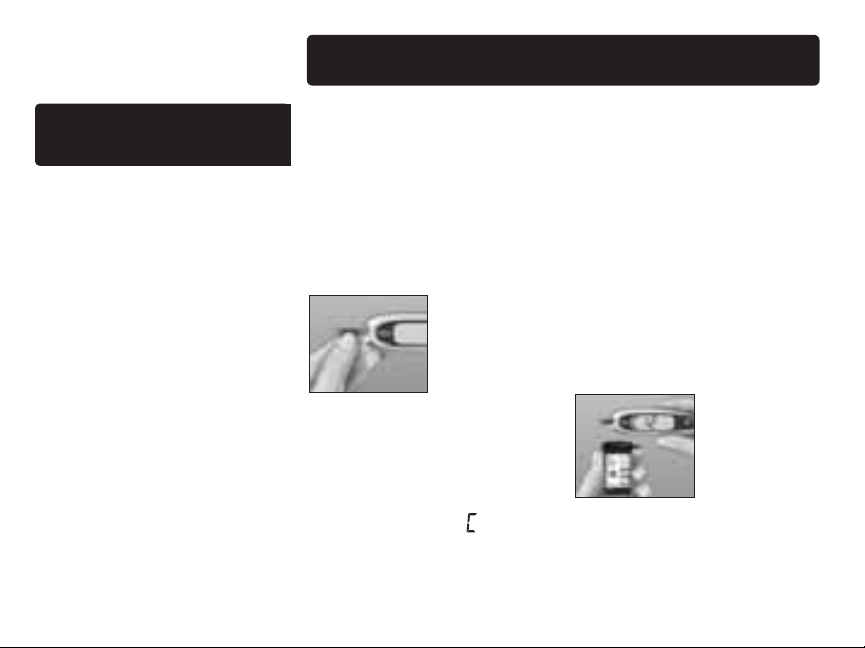
Table of contents
Starting the test process pg. 7
Setting up pg. 2
your system
• Getting to know your
OneTouch
®
UltraEasy
™
Blood Glucose Meter and
Test Strips
•
Turning your meter on and off
• Setting up your meter
NOTE: Before testing, read this
owner’s booklet carefully.
iv
Insert a test strip
Check the code on the test
strip vial before inserting the
strip. Make sure the three
contact bars are facing you.
Push the strip in as far as it
will go. Do not bend the strip.
The meter will turn on, show
a start-up test screen, and
then a code number. The first
time you use the meter, the
screen will display “––”
instead of a number.
Match the code displayed
on the meter with the code
on the test strip vial
If the code on the meter does
not match the code on the
vial, press ▲ or ▼to change
the code. If the flashing blood
drop icon
R
appears on the
display before you are ready,
remove the strip and re-start
the test process.
The meter is ready for testing
when the flashing blood drop
R
icon
appears.
Getting a blood sample pg. 10
Prepare the OneTouch
®
Lancing Device
Remove the blue cap and put
a new lancet in the lancing
device. Twist off the protective
disk. Replace the cap and
cock the lancing device.
Get a drop of blood
Hold the OneTouch®Lancing
Device firmly against your
finger. Press the release button.
Gently squeeze and/or
massage your fingertip until
a round drop of blood of at
least one microlitre ( actual
size) forms on your fingertip.
v
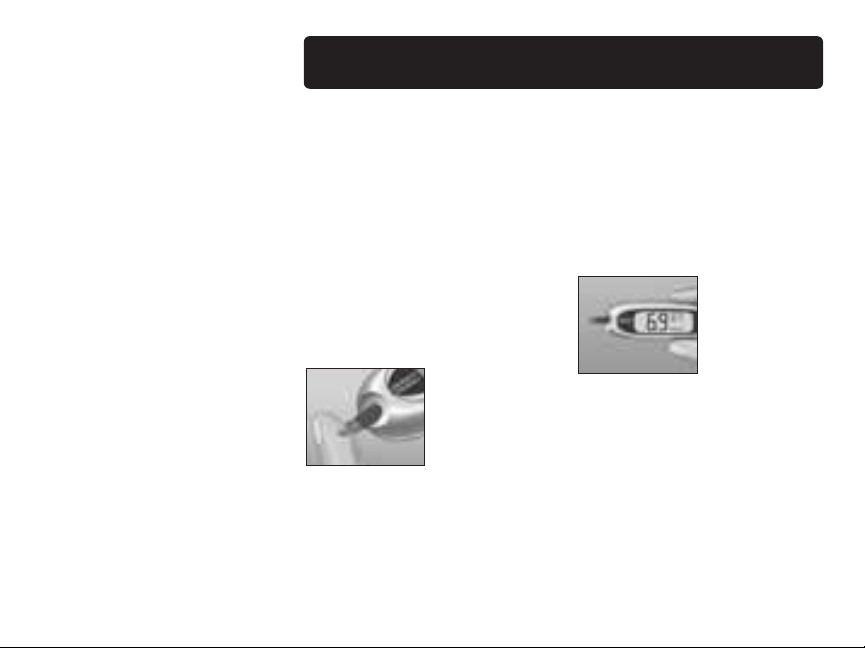
Applying blood and reading results pg. 22
Touch and hold the drop
of blood to the narrow
channel in the top edge of
the test strip
Blood will be drawn into the
strip. Keep holding the drop of
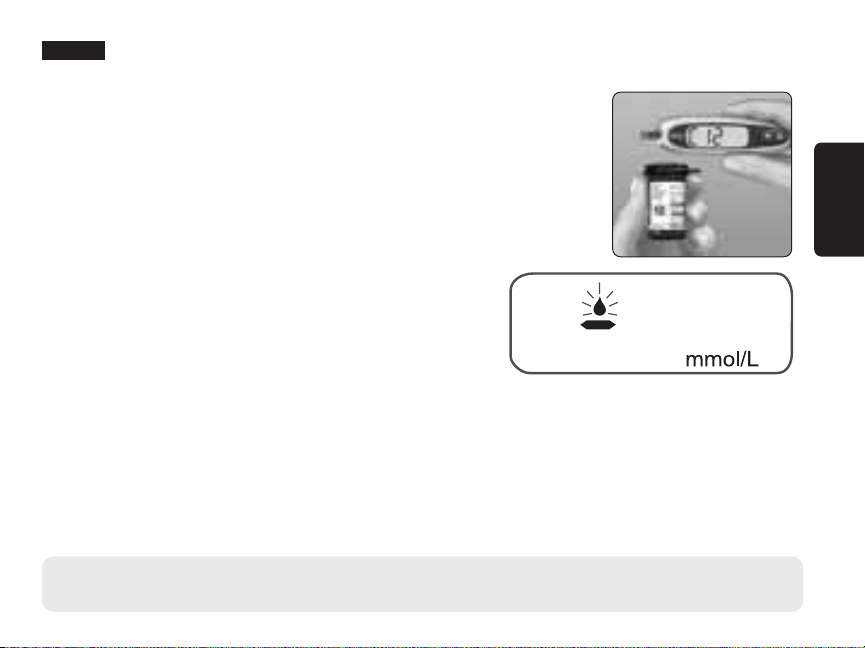
The meter will begin to count
down from 5 to 1. Then, your
blood glucose level appears
on the display along with the
unit of measure, and the date
and time of the test.
blood to the top edge of the
strip until the confirmation
window is full.
If the test results are
lower than, higher than,
or not what you expect,
see pages 24–25.
vi

Reviewing past results pg. 27
Control solution testing pg. 28
Caring for your system pg. 33
Understanding error and other messages pg. 37
Detailed information about your system pg. 43
Index pg. 47
vii

viii
Before you begin
Before using this product to test your blood glucose, carefully read this booklet and the
inserts that come with the OneTouch
®
Ultra®Test Strips and OneTouch®Ultra®Control
Solution. Take note of warnings and cautions throughout this booklet, which are identified
æ
with
Many people find it helpful to practice the test with control solution before testing
.
with blood for the first time. See pages 28–32 in the Control solution testing section.
Intended use
The OneTouch®UltraEasy™ Blood Glucose Monitoring System is intended to be used for the
quantitative measurement of glucose (sugar) in fresh capillary whole blood. The
OneTouch
®
UltraEasy™System is intended for use outside the body (in vitro diagnostic use)
by people with diabetes at home and by healthcare professionals in a clinical setting as an
aid to monitor the effectiveness of diabetes control. It should not be used for the diagnosis
of diabetes or for testing newborns.
Test principle
Glucose in the blood sample mixes with special chemicals in the test strip and a small
electric current is produced. The strength of this current changes with the amount of glucose
in the blood sample. Your meter measures the current, calculates your blood glucose level,
displays the result, and stores it in its memory.
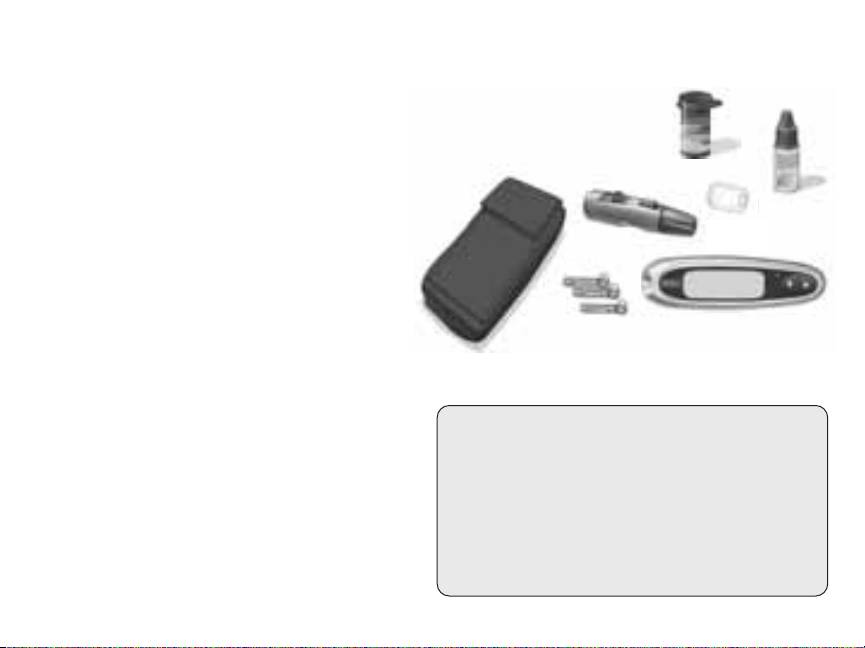
The OneTouch®UltraEasy™Blood Glucose Monitoring System
To test with the OneTouch®UltraEasy™System,
you will need the following:
®
a. OneTouch
b. OneTouch
c. OneTouch
If another type of lancing device was
included, see the separate instructions that
came with that lancing device.
d. OneTouch
e. OneTouch
f. Carrying Case
g. You will also need OneTouch
Some kits do not include strips.
Strips are sold separately.
Documents in your kit include this
owner’s booklet, a quick reference guide,
a control solution insert and a warranty
registration card.
If any items are missing from your kit,
call Customer Care.
UltraEasy™Meter (battery included)
®
Ultra®Control Solution
®
Lancing Device
®
AST™Clear Cap
®
UltraSoft®Sterile Lancets
®
Ultra®Test Strips.
f
c
e
æ
WARNING: Keep the meter and testing
supplies away from young children. Small
items such as the battery door, battery, test
strips, lancets, protective disks on the
lancets and control solution vial cap are
choking hazards.
g
b
d
a
1
Setting up your system
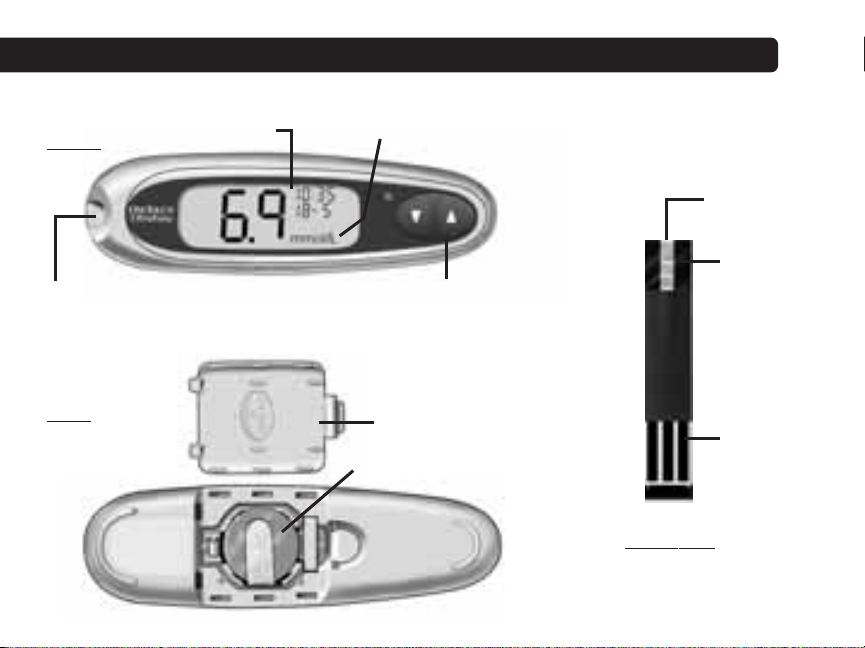
Getting to know your OneTouch®UltraEasy™Blood Glucose Meter and test strips
FRONT
Test port
Insert test strip
here to turn meter
on for testing
BACK
with battery door
open
2
Display
mmol/L is the pre-set unit of measure
Up and down buttons
Turns the meter on or off
Select or change information
Battery door
Meter battery
Edge to
apply sample
Confirmation
window
Contact bars
Insert into
test port
TEST STRIP
Turning your meter on
æ
To perform a test, insert a test strip as far as it will
go. The display will turn on and the meter will briefly
perform system checks. Or, to change the time and
date, start with the meter off, then press and
hold ▼for five seconds until the start-up test screen
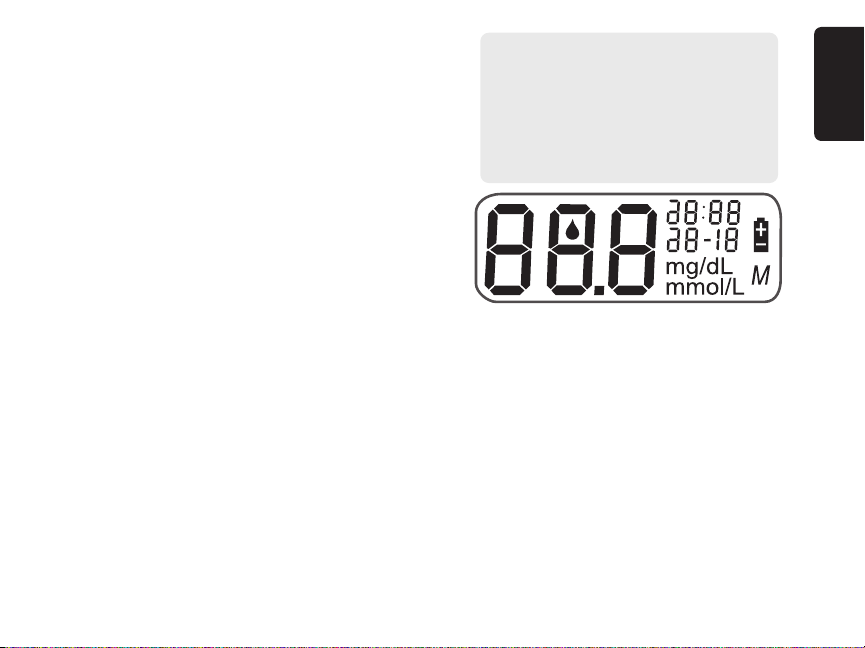
CAUTION: If any information
is missing from the start-up test
screen, there may be a problem
with the meter. Call Customer
Care.
appears. After the test screen, the pre-set time and
date will appear on the display. Or, if you want to
turn the meter on to review past results, start with
the meter off, then press and release ▼.
Every time you turn your meter on, a start-up test
screen will appear for two seconds. All segments of the display should appear briefly on
the test screen to tell you that the meter is working properly. To check that all display
segments are working, as soon as the start-up test screen appears, press and hold ▲ to
keep the test screen display on. Release ▲ to proceed to the next step.
If the meter does not power on, try changing the meter battery. See pages 35–36.
Turning your meter off
There are several ways to turn your meter off:
• Press and hold ▼for two seconds, when reviewing past results.
• Your meter will turn off by itself if left alone for two minutes.
• Before or after completing a test, remove the test strip.
Setting up your system
3
Setting the time and date
Your OneTouch®UltraEasy™Meter comes with the time, date and unit of measure
pre-set. Before using your meter for the first time or if you change the meter battery, you
should check and update the time and date. Make sure you complete steps 1 to 6 below
to ensure your desired settings are saved.
æ
WARNING: If your display shows mg/dL rather than mmol/L, contact Customer Care.
You cannot change the unit of measure. Use of the wrong unit of measure may cause you
to misinterpret your blood glucose level, and may lead to incorrect treatment.
Setting up your system
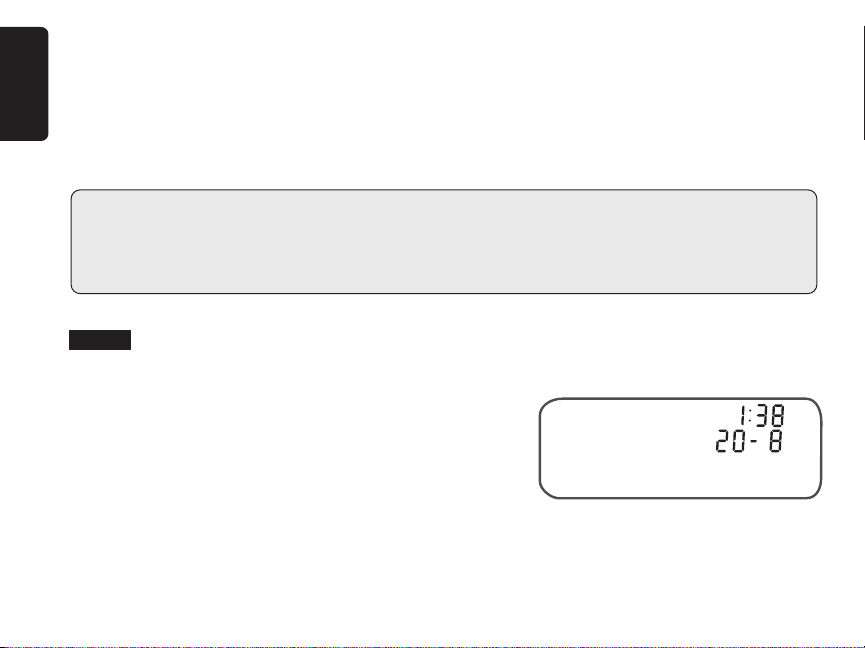
Step 1
Turn the meter on, see page 3
After the test screen, the pre-set time and date will
appear on the display for five seconds.
The hour will now start flashing.
NOTE: If a setting does not need to be updated, simply wait five seconds. The meter
display will automatically advance to the next setting.
4
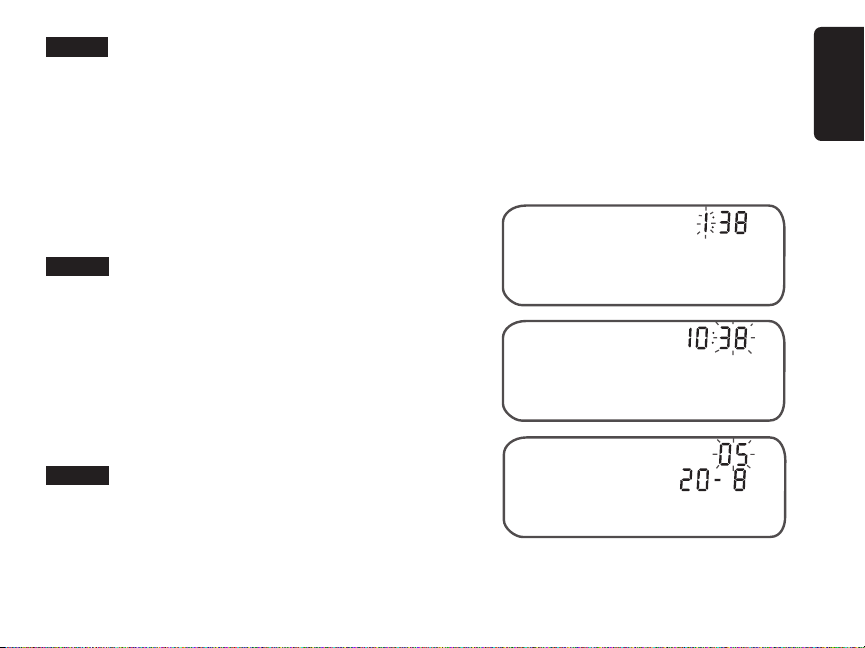
Step 2
Set the hour
With the hour flashing on the display, press and release ▲ or ▼to go forward or backward
one hour. To move faster, hold the ▲ or ▼buttons down. When the correct hour appears
on the display, wait five seconds. Your entry will be saved and you will move to the next
setting.
The minutes will now start flashing.
Step 3
Set the minutes
Press ▲ or ▼to change the minutes. When you have
the correct minutes on the display, wait five seconds
to move to the next setting.
The year (last two digits only), month and day appear
on the display and the year flashes.
Step 4
Set the year
Press ▲ or ▼to change the year. When you have the
correct year on the display, wait five seconds to move to the next setting.
Setting up your system
The month will now start flashing.
5
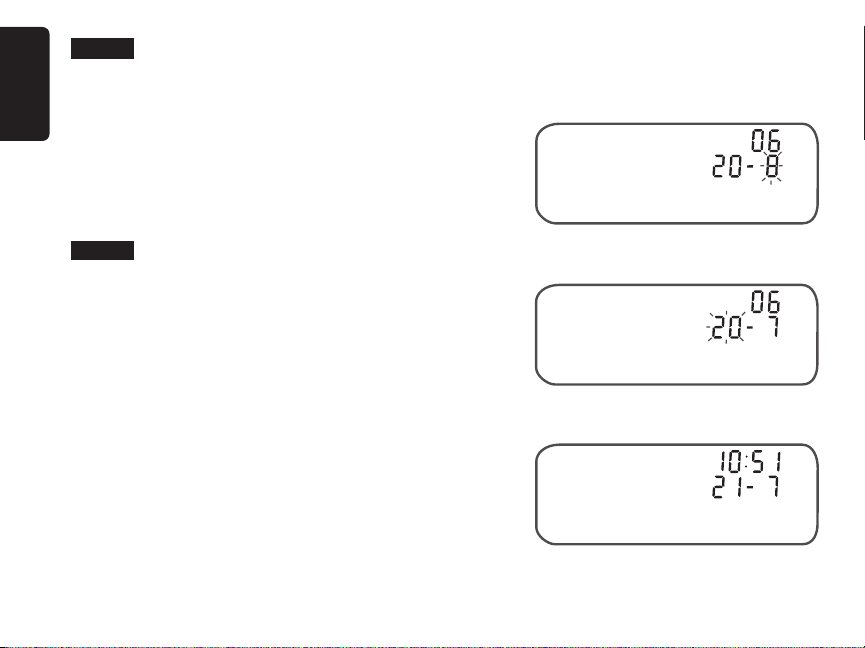
Step 5
Set the month
Press ▲ or ▼to change the month. When you have
the correct month on the display, wait five seconds to
move to the next setting.
The day will now start flashing.
Step 6
Set the day
Press ▲ or ▼to change the day. When you have the
Setting up your system
correct day on the display, wait five seconds to move
to the next screen.
Your time and date settings will be displayed for five
seconds. After the five seconds, the settings will be
saved and the meter will then turn off.
If you want to adjust your settings, press ▲ or
while the time and date are still on the display. You
will be returned to the first set-up screen where you
can begin with the hour.
6
▼
Starting the test process
Have these things ready when you test your blood glucose level:
• OneTouch
• OneTouch
• Lancing device
• Sterile lancets with protective disks
• OneTouch
NOTE:
• Use only OneTouch®Ultra®Test Strips with your OneTouch®UltraEasy™Meter.
• Make sure your meter and test strips are about the same temperature before you test.
• Testing must be done within the operating temperature range (6–44°C). For the most accurate results, try to test as close to room temperature (20–25°C) as you can.
• You can perform a blood glucose test while your OneTouch
Meter is inside its case.
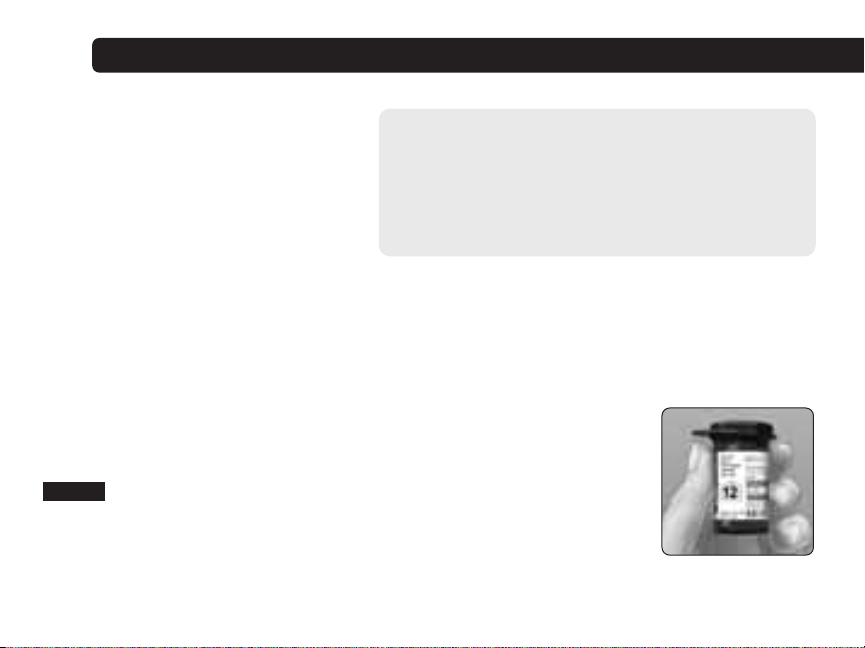
Step 1
Check the code on the test strip vial before inserting the strip
Code numbers are used to calibrate your meter with the test strips you are
using to obtain accurate test results. You must code the meter before using it for the first
time and then every time you change to another vial of test strips.
®
UltraEasy™Meter
®
Ultra®Test Strips
®
Ultra®Control Solution
æ
CAUTION: If you cannot test due to a problem with
your testing supplies, contact your healthcare
professional or LifeScan Customer Care. Failure to test
could delay treatment decisions and lead to a serious
medical condition.
®
UltraEasy
™
7
æ
CAUTION: The test strip vial contains drying agents that are harmful if inhaled or
swallowed and may cause skin or eye irritation.
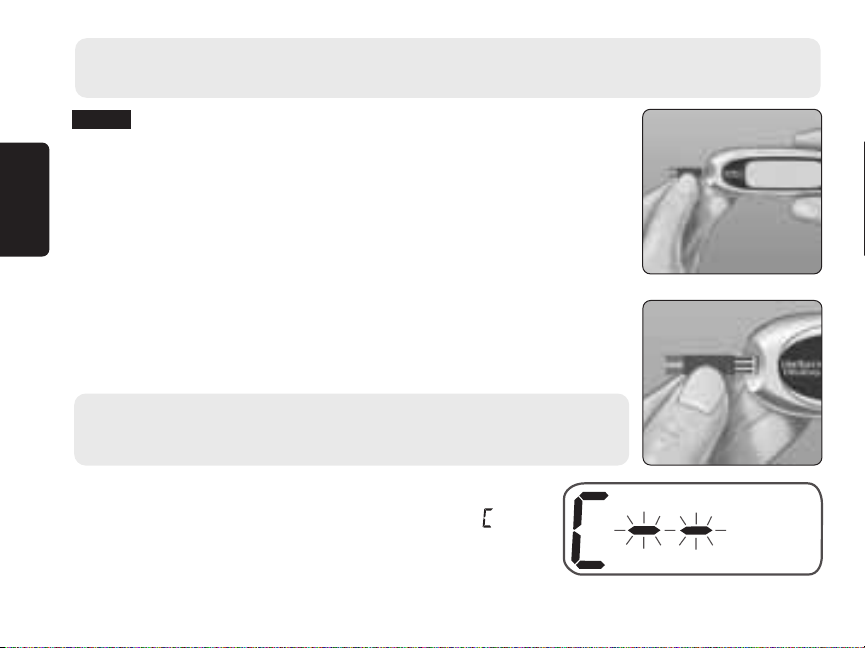
Step 2
Insert a test strip to turn on the meter
Start with the meter off. If you have turned the meter on to change
settings or review past results, turn it off. Remove a test strip from its
vial. With clean, dry hands, you may touch the test strip anywhere
on its surface. Do not bend, cut or modify the test strips in any way.
Use each test strip immediately after removing it from the vial.
Hold the meter as shown and insert the test strip into the test port.
Make sure the three contact bars are facing you. Push the strip in
as far as it will go. Do not bend the strip.
æ CAUTION: OneTouch
re-use a strip that had either blood or control solution applied to it.
Starting the test process
®
Ultra®Test Strips are for single use only. Never
After the start-up test screen appears, the meter will
display the code from your last test. If a constant and
a flashing “––” appear instead of a code number, such
as when you are first using the meter, follow the
instructions on the next page to change to a numerical code.
8
Step 3
Match the code on the meter with the code on the test strip
vial
If the code on the meter does not match the code on the test strip
vial, press ▲ or ▼to match the code number on the test strip vial.
The new code number will flash on the display for three seconds,
and then stay constant for three seconds. The display will advance
to the screen with the flashing blood drop icon
R
.
If the codes already match, wait three seconds. The
display will advance to the screen with the flashing
blood drop icon
R
.
The meter is now ready to perform a blood glucose test.
NOTE:
• If the screen with the flashing blood drop
icon R appears before you are sure the codes
match, remove the test strip, wait until the meter turns off, then re-start from step 1, see
page 7.
• If you press ▲ by mistake so that the control solution test symbol CtL appears on the
display, press ▲
æ CAUTION: Matching the code on the meter and the code on the test strip vial is essential to
obtain accurate results. Each time you test, check to make sure the code numbers match.
again to change it back to the screen with the flashing blood drop icon R.
Starting the test process
9
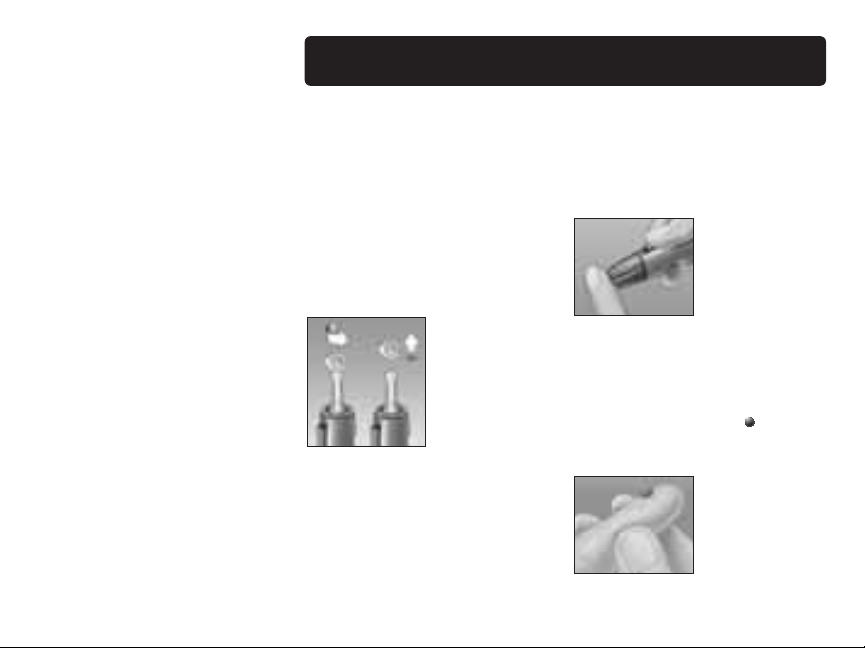
Getting a blood sample
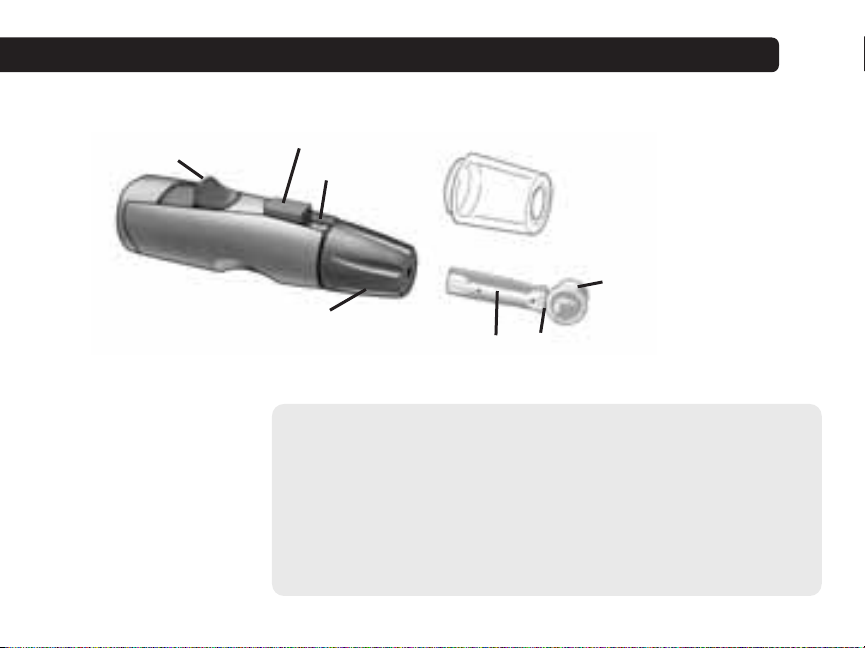
Overview of the OneTouch®Lancing Device
Cocking control
Blue cap* (for fingertip sampling)
*The blue cap and OneTouch
NOTE: If you do not
have a OneTouch
Lancing Device,
please refer to the
instructions that
came with your
lancing device.
10
Release button
Depth indicator
OneTouch®UltraSoft®Sterile Lancet
®
AST™Clear Cap are also used for depth adjustment.
®
æ CAUTION: To reduce the chance of infection:
• Make sure to wash the puncture site with soap and water
before sampling.
• Never share a lancet or a lancing device with anyone.
• Always use a new, sterile lancet—lancets are for single use only.
• Keep your meter and lancing device clean. See page 34.
®
OneTouch
(for alternate site sampling)
Lancet point
AST™Clear Cap*
Protective disk
 Loading...