

Page 1

MOTORIZED
Model
95295
RETRACTABLE
AWNING
SET UP AND OPERATING INSTRUCTIONS
Diagrams within this manual may not be drawn proportionally.
Due to continuing improvements, actual product may differ slightly from the product described herein.
Distributed exclusively by Harbor Freight Tools®.
3491 Mission Oaks Blvd., Camarillo, CA 93011
Visit our website at: http://www.harborfreight.com
Read this material before using this product.
Failure to do so can result in serious injury.
SAVE THIS MANUAL.
Copyright© 2007 by Harbor Freight Tools®. All rights reserved. No portion of this
manual or any artwork contained herein may be reproduced in any shape or form
without the express written consent of Harbor Freight Tools.
For technical questions or replacement parts, please call 1-800-444-3353.
Page 2

CONTENTS
IMPORTANT SAFETY INFORMATION ............................3
SAFETY RULES .................................................................... 4
Installation ..................................................................................4
Operation ....................................................................................5
SPECIFICATIONS .............................................................6
UNPACKING ..................................................................... 6
INSTALLATION INSTRUCTIONS ..................................... 7
Header Installation .....................................................................7
Bracket Installation ....................................................................8
Mechanism Installation .............................................................8
Electrical Connection ................................................................8
Angle Adjustment ......................................................................9
Extension/Retraction Distance Adjustment ............................9
OPERATION INSTRUCTIONS.........................................10
MAINTENANCE AND SERVICING ..................................10
PARTS LIST ..................................................................... 11
ASSEMBLY DIAGRAM ....................................................12
Page 2SKU 95295 For technical questions, please call 1-800-444-3353.
Page 3
SAVE THIS MANUAL
Keep this manual for the safety warnings and precautions, assembly, operating,
inspection, maintenance and cleaning procedures. Write the product’s serial number
in the back of the manual near the assembly diagram (or month and year of purchase if
product has no number). Keep this manual and the receipt in a safe and dry place for
future reference.
IMPORTANT SAFETY INFORMATION
In this manual, on the labeling, and all other information
provided with this product:
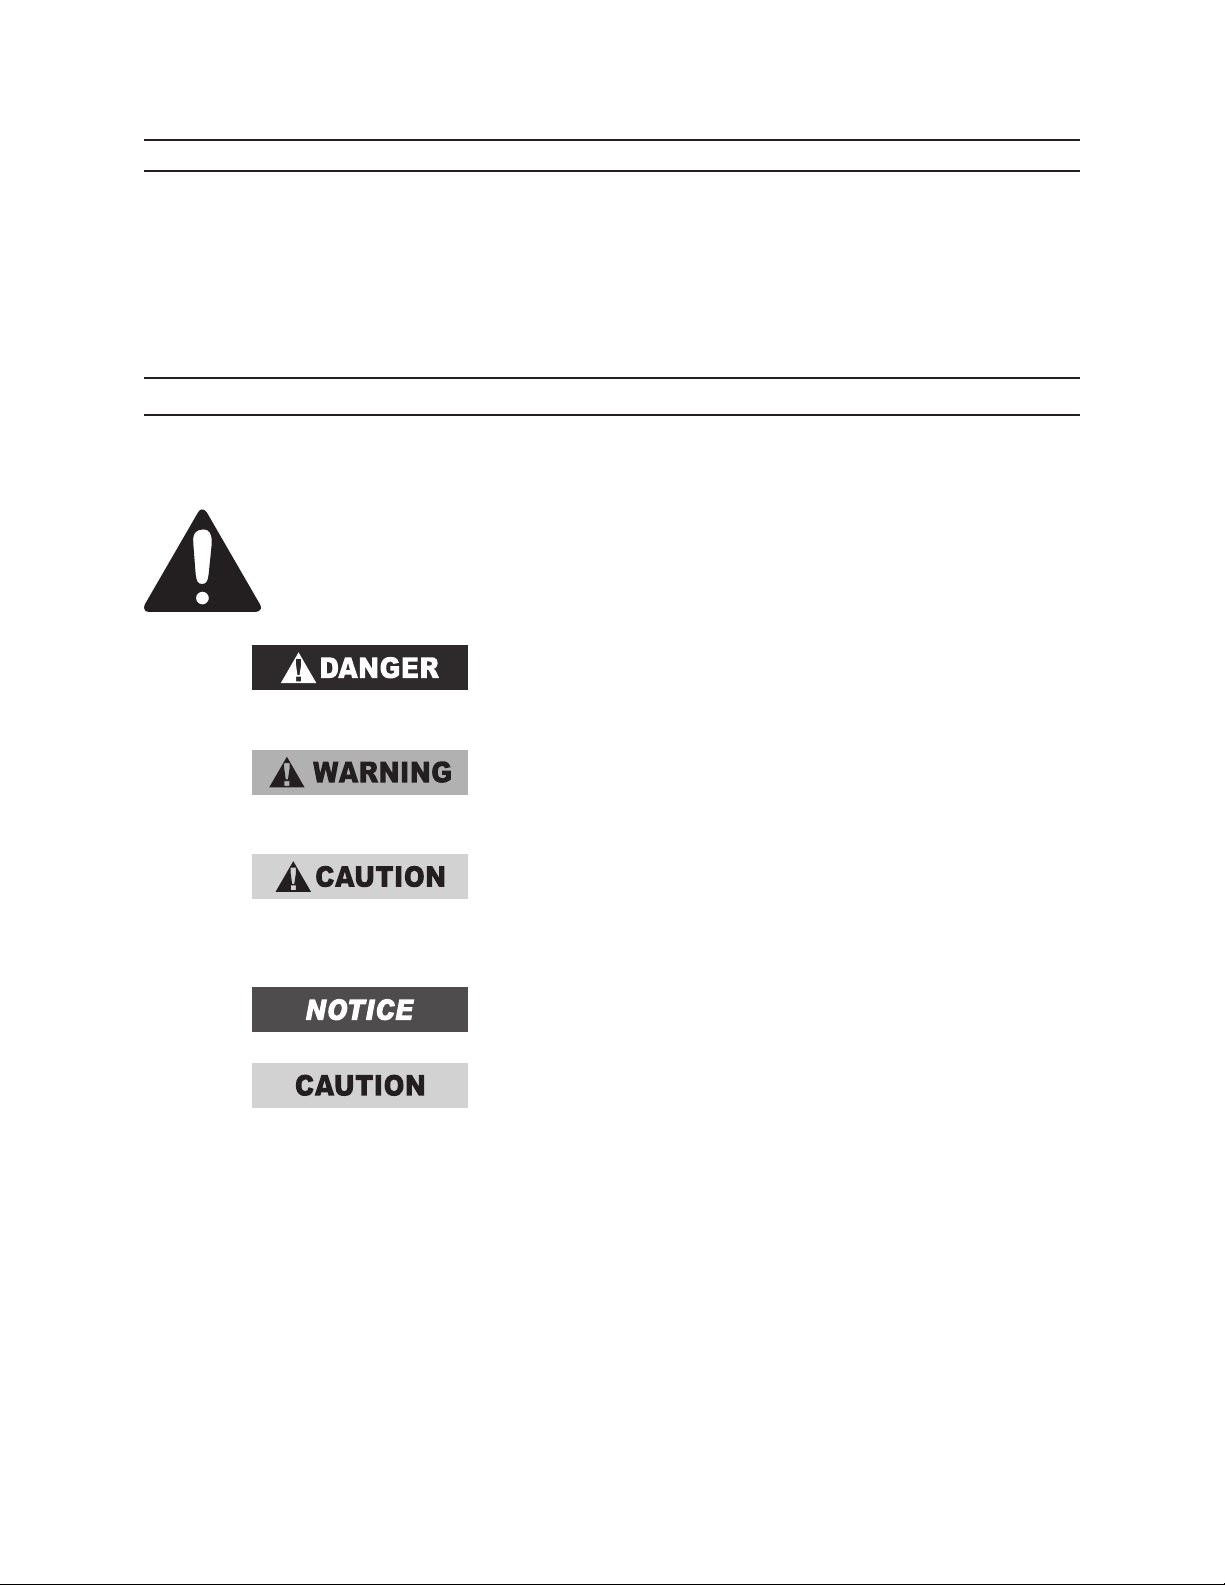
This is the safety alert symbol. It is used to alert you to potential
personal injury hazards. Obey all safety messages that follow this
symbol to avoid possible injury or death.
DANGER indicates a hazardous situation
which, if not avoided, will result in death or
serious injury.
WARNING indicates a hazardous situation
which, if not avoided, could result in death
or serious injury.
CAUTION, used with the safety alert
symbol, indicates a hazardous situation
which, if not avoided, could result in minor
or moderate injury.
NOTICE is used to address practices not
related to personal injury.
CAUTION, without the safety alert symbol,
is used to address practices not related to
personal injury.
Page 3SKU 95295 For technical questions, please call 1-800-444-3353.
Page 4

SAFETY RULES
WARNING! Read all instructions
Failure to follow all instructions listed below may result in electric shock,
re, and/or serious injury.
SAVE THESE INSTRUCTIONS
INSTALLATION
1.
2.
3.
4.
5.
6.
Keep bystanders away during installation. Distractions can cause you to lose
control.
Mount out of reach of children. The machinery in this awning can be danger-
ous to children.
Do not install while tired or under the inuence of drugs, alcohol, or medi-
cation. A moment of inattention during installation may result in serious personal
injury.
Dress properly during installation. Do not wear loose clothing or jewelry.
Contain long hair. Loose clothes, jewelry, or long hair can cause an entangle-
ment hazard while working.
Do not overreach. Keep proper footing and balance at all times. Proper
footing and balance reduces the risk of losing your balance and falling. Always
carefully follow all safety guidelines and operating procedures included with the
ladder used during installation.
Use safety equipment while installing. Nonskid safety shoes, hard hat, or
hearing protection must be used for appropriate conditions. Wear ANSI-ap-
proved safety goggles and a dust mask/respirator when installing or performing
maintenance on this item.
7.
8.
9.
10.
Mounting and electrical installation must be completed in full compliance
with all local, state, and federal regulations.
Mounting location must be a stable, properly constructed wall that is built
in compliance with all codes and is able to properly support the full stress
of the awning when open and even the added stresses that may be present
under rainy or windy conditions.
WARNING! The brass components of this product contain lead, a chemical
known to the State of California to cause birth defects (or other reproductive
harm). (California Health & Safety code § 25249.5, et seq.)
Risk of Electric Shock:
Water tight NEMA-approved switch enclosure must be used, and switch
a.
and enclosure must be installed by qualied electrician. Make sure that
Page 4SKU 95295 For technical questions, please call 1-800-444-3353.
Page 5

the power cord is tted with a weatherproof seal to prevent water from getting
into the connection point. Do not use an extension cord when installing this
item.
Avoid body contact with grounded surfaces such as pipes, radiators,
b.
ranges, and refrigerators. There is an increased risk of electric shock if
your body is grounded.
Do not abuse the Power Cord. Keep the Power Cord away from heat, oil,
c.
sharp edges, or moving parts. Replace damaged Power Cords immediately. Damaged Power Cords increase the risk of electric shock.
OPERATION
1.
2.
3.
4.
5.
6.
Do not operate in explosive atmospheres, such as in the presence of am-
mable liquids, gases, or dust. Electric motors create sparks which may ignite
the dust or fumes.
Disconnect power if the switch does not operate the awning. Any device
that cannot be controlled with the switch is dangerous and must be repaired.
Do not use this Awning or components of this Awning for an unintended
purpose.
Disconnect from the power source before making any adjustments or per-
forming any inspection, maintenance, or cleaning procedures. Such pre-
ventive safety measures reduce the risk of accidental starting and electric shock.
Maintain with care. A properly maintained awning is safer and less likely to
break.
Maintain labels and nameplates on the awning. These carry important infor-
mation. If unreadable or missing, contact Harbor Freight Tools for a replacement.
Check for condition of weatherproof cord seal, misalignment or binding of
moving parts, breakage of parts, deteriorated cover, and any other condi-
tion that may affect the tool’s operation. If damaged, have serviced before
using. Accidents can be caused by a poorly maintained awning.
7.
8.
9.
Ensure that the awning cover does not accumulate water. The weight from
even a seemingly small amount of water may create enough force to cause the
awning to fail, resulting in injury or property damage.
Use only accessories that are recommended by the manufacturer for your
model. Accessories that may be suitable for one awning may become hazard-
ous when used on another.
Service must be performed only by qualied repair personnel. Service or
maintenance performed by unqualied personnel could result in a risk of injury.
Page 5SKU 95295 For technical questions, please call 1-800-444-3353.
Page 6

10.
When servicing, use only identical replacement parts. Follow instructions
in the “Inspection, Maintenance, and Cleaning” section of this manual. Use
of unauthorized parts or failure to follow maintenance instructions may create a
risk of electric shock or injury.
11.
12.
13.
Do not allow awning to accumulate snow or other debris on top. Close
awning before snow. A heavy load on top may cause the cover to tear, cause the
mounting points to tear out of the wall, or cause the awning to collapse, causing
severe personal injury and/or property damage. Do not go under an awning with
accumulated debris on top.
Check and comply with all building codes that apply.
The warnings, precautions, and instructions discussed in this instruction
manual cannot cover all possible conditions and situations that may occur.
It must be understood by the operator that common sense and caution are fac-
tors which cannot be built into this product, but must be supplied by the operator.
SAVE THESE INSTRUCTIONS.
SPECIFICATIONS
Electrical Requirements 110 V~ / 60 Hz / 2.4 A
Motor Operating Temperature 59 – 104° F
Awning Size 10’ x 12’
Weight 96 lb.
UNPACKING
When unpacking, check to make sure that the item is intact and undamaged. If
any parts are missing or broken, please call Harbor Freight Tools at the number shown
on the cover of this manual as soon as possible.
REV 07i
Page 6SKU 95295 For technical questions, please call 1-800-444-3353.
Page 7

INSTALLATION INSTRUCTIONS
Note: For additional information regarding the parts listed in the following pages, refer
to the Assembly Diagram near the end of this manual.
1.
2.
This item’s brackets can be bolted directly onto a solid concrete wall, using ap-
propriate lag bolts and washers (not included). Due to the leveraging forces
created, this item will require a Header board (not included) if installed onto any
non-concrete structure.
Install proper scaffolding (not included) to allow safe access to the installation
area. Utilize safety equipment as required for the height you are working at. To
prevent serious injury, follow all instructions and precautions provided with
the scaffolding you will use.
Risk of serious personal injury from electric shock or other
hazards from damaged utility lines.
Verify that installation surface has no hidden utility lines
before drilling or driving screws. The installation location
must have no obstructions to the awning being extended or
retracted.
Make sure that the electrical circuit that this item will be
connected to is disconnected before installation, adjustment,
or maintenance.
1.
2.
3.
Header Installation
The header board must be 2” by 8” by 12’ and must be treated wood free from
defects. The header may also be painted before installation for aesthetic appeal.
Check to make sure that the mounting area is free from utility lines, especially
electrical conduits. Detect and mark all studs in the mounting area.
Using a level to ensure that the header is perfectly level, have assistants hold the
header while the pilot holes are drilled through the header and into each stud 2”,
a total of 4” deep. Secure the header with hardware appropriate for the wall that
you will secure the header to (hardware not included). The header should be
secured evenly to studs in at least 8 places.
Page 7SKU 95295 For technical questions, please call 1-800-444-3353.
Page 8

Bracket Installation
3’16” 3’ 16”
1.
2.
3.
4.
5.
end Bracket
(10)
Proper Bracket
Orientation
Header Board
(not included)
Hold the brackets in place and mark the pilot hole locations for the two end
Brackets (10), as shown in the diagram above. The end Brackets need to be po-
sitioned 16” from the end of the header. Make sure that the pilot hole markings
are vertically straight.
Mark pilot holes for the center Brackets (10) 3’ (center to center) in from the
markings for the end Brackets (10). Once again, make sure that the pilot hole
markings are vertically straight.
Double-check all pilot hole markings to ensure that all markings are spaced prop-
erly and are straight vertically and horizontally from one another.
Drill pilot holes at all locations 1/4” in diameter and 2” deep.
Install the Brackets (10) to the header using 3/8” x 2” galvanized wood screws
(not included). Do not tighten the bolts until you level the brackets using a spirit
level (not included).
1.
2.
3.
1.
Mechanism Installation
Using assistance, lift the awning mechanism up onto the oor of the scaffold from
the ground. Get onto the scaffold.
Lift the awning mechanism up and slide the Rear Beam (11) into place in the
Brackets (10). If the Rear Beam (11) does not slide into place easily, then some
Brackets may be crooked; set the mechanism down and correct Bracket align-
ment before proceeding. Make sure that the awning mechanism is oriented
properly.
Support the mechanism while sliding bolts up through the Brackets and secure
them on top with a washer, lock washer, and nut each.
Electrical Connection
A certied electrician must install the switch inside a water tight NEMA-approved
outdoor switch enclosure (not included). Make sure that the power cord is tted
with a weatherproof seal to prevent water from getting into the connection point.
To prevent misuse resulting in injury, the switch enclosure must either be
locked or be mounted out of children’s reach.
Page 8SKU 95295 For technical questions, please call 1-800-444-3353.
Page 9

2.
Wire color code:
Green ........ Ground
•
White .........Neutral
•
Red ...........Retract awning
•
Black .........Extend awning
•
3.
1.
2.
3.
1.
Take note of which switch position is to retract and which position is to extend the
awning. Note the control positions next to the switch in the enclosure.
Angle Adjustment
To prevent damage to the awning and personal injury,
have one or two assistants help support the awning while
adjusting the angle.
The awning’s angle should be adjusted with the awning retracted.
Slightly loosen the three Angle Adjusting Bolts/Nuts (r,e) on one side of the aw-
ning. Adjust that side of the awning to the desired angle. Tighten the Angle
Adjusting bolts.
Slightly loosen the Angle Adjusting Bolts on the other side of the awning. Ob-
serve the Level (21) while you adjust the angle of the awning. Once the level is
even, then tighten the Angle Adjusting Bolts.
Extension/Retraction Distance Adjustment
The Awning extension and retraction cutoffs are factory set.
2.
On the Left Roller Shaft (5) there are two recessed hexagon controls. The upper
control adjusts the extension distance, and the lower control adjusts the retrac-
tion distance.
Page 9SKU 95295 For technical questions, please call 1-800-444-3353.
Page 10

OPERATION INSTRUCTIONS
Read the ENTIRE IMPORTANT SAFETY INFORMATION section at the
beginning of this manual including all text under subheadings therein
before set up or use of this product.
In an emergency, to prevent an accident, the awning can be
immediately stopped by releasing the switch.
1.
2.
3.
4.
5.
6.
Push the switch to the extend position and hold it to extend the awning.
Release the switch to stop the awning in place.
Push and hold the switch to retract the awning.
The awning should automatically stop when fully extended and when fully retract-
ed. If not, the distance will need to be adjusted using the controls noted under
“Extension/Retraction Distance Adjustment”.
If the awning stops operating and will not respond to the switch, it is likely over-
heated. Allow the awning to cool for at least 15 minutes and then attempt to
operate it again.
The awning also includes a Manual Operation Handle (12) that can be hooked
onto the Manual Retractor (4) and turned to extend or retract the awning without
power.
MAINTENANCE AND SERVICING
Risk of serious personal injury from accidental starting or
electric shock. Disconnect the power supply before any
inspection, maintenance, or cleaning procedures.
1.
2.
3.
Damaged equipment can fail, causing serious personal
injury. Do not use damaged equipment. If abnormal noise or
vibration occurs, have the problem corrected before further
use.
BEFORE EACH USE, inspect the general condition of the tool. Check for loose
screws, misalignment or binding of moving parts, cracked or broken parts, dam-
aged electrical wiring, and any other condition that may affect its safe operation.
AFTER USE, clean external surfaces with clean, moist cloth.
WARNING! If the supply cord or switch are damaged, they must be re-
placed only by a qualied service technician.
Page 10SKU 95295 For technical questions, please call 1-800-444-3353.
Page 11

PARTS LIST
Part Description Q’ty
1 Rear Beam Cover 2
2a Left Roller Cover 2
2b Right Roller Cover 2
3a Left Roller Cover Bracket 2
3b Right Roller Cover Bracket 2
4 Manual Retractor 1
5 Left Square Roller Shaft 1
6 Roller 1
7 Right Round Roller Shaft 1
8 Angle Adjusting Bracket 2
9 Upper Hinge 2
10 Bracket 4
11 Rear Beam 1
12 Manual Operation Handle 1
13 Upper Hinge 2
14 Upper Arm 2
15 Upper Mid Hinge 2
16 Lower Mid Hinge 2
17 Lower Arm 2
18 Lower Hinge 2
19 Lower Pin 2
20 Front Beam Cover 2
21 Level 1
22 Rod 2
23 Front Beam 1
24 Motor (not shown) 1
Part Description Q’ty
a Bolt 6 x 25 2
b Bolt 10 x 35 6
c Bolt 8 x 70 2
d Bolt 10 x 60 2
e Angle Adjusting Bolt 10 x 65 4
f Bolt 6 x 50 4
g Bolt 5 x 40 4
h Bolt 8 x 12 6
i Lock Nut M8 2
j Bolt 5 x 10 6
k Bolt 4 x 10 2
l Pad 4
Angle Adjusting Bolt Cover
m
(not shown)
n Spring Washer Ø8 2
o Spring Washer Ø10 6
p Expansion Screw 12 x 100 2
q Nut M10 2
r Lock Nut M10 2
s Pin Ø14 x 60 2
t Pin Ø14 x 96 2
u Spring Washer Ø6 2
v Lock Nut M6 2
6
PLEASE READ THE FOLLOWING CAREFULLY
THE MANUFACTURER AND/OR DISTRIBUTOR HAS PROVIDED THE PARTS LIST AND ASSEMBLY
DIAGRAM IN THIS MANUAL AS A REFERENCE TOOL ONLY. NEITHER THE MANUFACTURER OR
DISTRIBUTOR MAKES ANY REPRESENTATION OR WARRANTY OF ANY KIND TO THE BUYER THAT
HE OR SHE IS QUALIFIED TO MAKE ANY REPAIRS TO THE PRODUCT, OR THAT HE OR SHE IS
QUALIFIED TO REPLACE ANY PARTS OF THE PRODUCT. IN FACT, THE MANUFACTURER AND/OR
DISTRIBUTOR EXPRESSLY STATES THAT ALL REPAIRS AND PARTS REPLACEMENTS SHOULD BE
UNDERTAKEN BY CERTIFIED AND LICENSED TECHNICIANS, AND NOT BY THE BUYER. THE BUYER ASSUMES ALL RISK AND LIABILITY ARISING OUT OF HIS OR HER REPAIRS TO THE ORIGINAL
PRODUCT OR REPLACEMENT PARTS THERETO, OR ARISING OUT OF HIS OR HER INSTALLATION
OF REPLACEMENT PARTS THERETO.
Record Product’s Serial Number Here:
Note: If product has no serial number, record month and year of purchase instead.
Note: Some parts are listed and shown for illustration purposes only, and are not avail-
able individually as replacement parts.
Page 11SKU 95295 For technical questions, please call 1-800-444-3353.
Page 12

ASSEMBLY DIAGRAM
Page 12SKU 95295 For technical questions, please call 1-800-444-3353.
 Loading...