

Page 1
omRon.
INSTRUCTION MANUAL
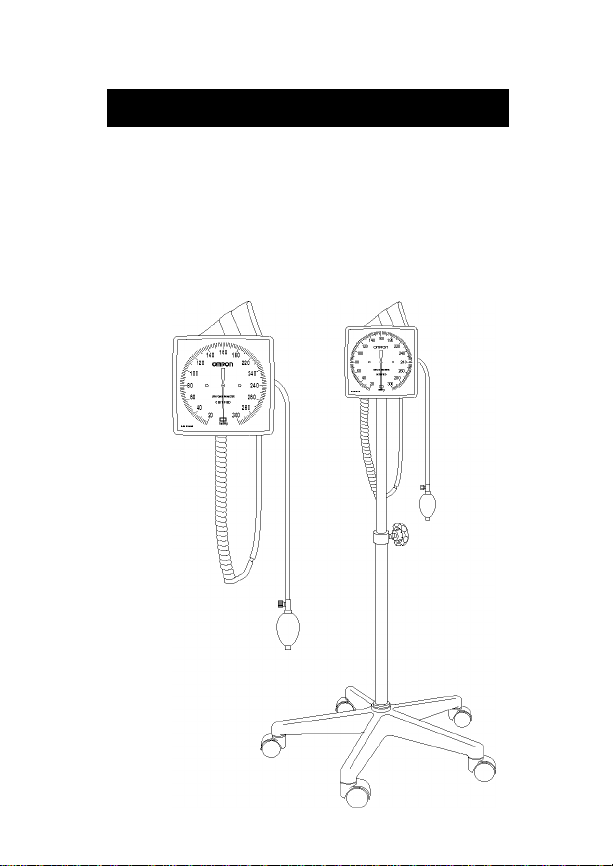
LARGE FACE
SPHYGMOMANOMETER
Models 11-675D and 11-675DNL
11-685 and 11-685NL
Page 2
Models:
COMPONENTS
ASSEMBLY INSTRUCTIONS
11-675D
11-675DNL
11-685
11-685NL
Square Face, Wall Mount
Square Face, Wall Mount, LATEX-FREE
Square Face, Floor Stand
Square Face, Floor Stand, LATEX-FREE
Omron Clock Aneroid (all models):
(1) Omron Clock Aneroid (see Models for type)
(1) Adult, Nylon Cuff, blue (model #21-071)
(1) Adult, Two-Tube Bladder (model #21-081 Latex, #21-081NL Latex-Free)
(1) Inflation Bulb with Deluxe Air Release Valve (model #21-141 Latex,
(1) Coiled Tube, 2.4meter (8ft.) length (model #21-321 Latex,
(1) Set of metal luer connectors (model #21-331S)
(1) Calibration tool
#21-125NL Latex-Free, #21-131 Valve)
#21-321NL Latex-Free)
Wall-Mount Kit (for models 11-675D and 11-675DNL):
(1) Wall-Mount Bracket
(1) Wall-Mount Plate
(4) Metal Wall Anchors
(4) Metal Screws
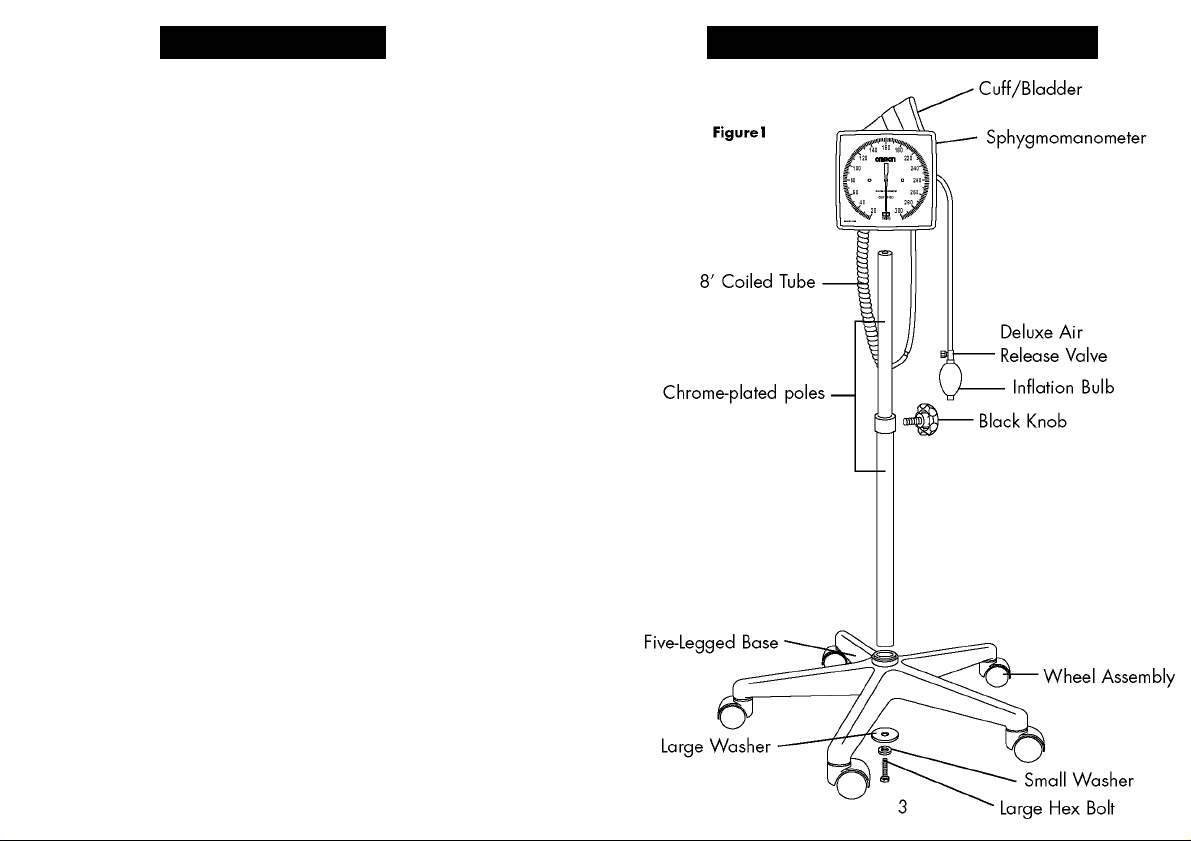
Floor Stand Kit (for models 11
(1) Five-legged base
(5) Wheel assemblies
(2) Chrome-plated poles
(1) Black Knob
(1) Large Washer
(1) Large Hex Bolt
(1) Small Washer
(1) Round-head bolt (spare)
2
Page 3

ASSEMBLY INSTRUCTIONS ASSEMBLY INSTRUCTIONS
Omron Clock Aneroid (all models):
1. Attach one end of the coiled tube (the end without the metal connector)
to the connector on the underside of the Omron Aneroid (Figure 2).
2. Attach the other end of the coiled tube (the end with ,, .
the metal connector) to the tube from the cuff and bladder
(the tube without the bulb assembly).
3. The cuff and bladder assembly can be stored in the
basket on the back of the aneroid. Once mounted
to the wall or affixed to a floor stand, the Omron
Aneroid is ready for use.
Connector
Figure 2
Wall-Mount (for models 11-675D and 11-675DNL):
Hold wall-mount plate against the wall at the desired location and
1.
mark the position of the mounting holes for drilling. Drill four (4) holes
and insert the metal wall anchors. Attach the wall-mount plate to the wall
by using the four metal (4) screws (Figure 3).
Loosen wing nut on the bottom of the Aneroid and adjust the unit
2.
to the desired angle. Tighten wing nut and slide the wall bracket
into the wall-mount plate (Figure 4).
The wall-mounted Omron Aneroid
3.
is now ready for use.
Figure 4
1 1'
$
Figure
4 5
Page 4

ASSEMBLY INSTRUCTIONS ASSEMBLY INSTRUCTIONS
Floor Stand Kit (for models 11-685 and 11-685NL)
1. Insert each of the five (5) wheel casters into each of the five (5) legs
of the five-legged base (Figure 6).
2. Insert the larger diameter chrome plated pole into the top of the
five-legged base.
3. Insert the large hex-bolt, the large washer, and one small washer from
the bottom center of the five-legged base into the bottom center
of the larger diameter chrome plated pole. Securely tighten the hex bolt.
4. Insert the smaller diameter chrome plated pole into the top of the larger
diameter pole. Insert the black knob into the top of the larger diameter
pole. Set the smaller diameter pole to the desired height and tighten
the black knob.
5. The floor stand is now complete. To attach the Omron Aneroid to the floor
stand, begin by removing the wing nut connecting the aneroid to the
wall-mount bracket (Figure 7).
6. Insert the small hex nut from the Omron Aneroid and one small washer
from the top of the hole where the wing nut was removed.
7. While holding the aneroid and small hex nut assembly in one hand, insert
the small hex nut into the top of the smaller diameter chrome plated pole.
Turn the pole counter-clockwise to attach both assemblies.
Securely tighten the assembly.
8. The floor-mounted Omron Aneroid is now ready for use.
On-Site Calibration:
1. Remove the coiled tube from the connector on the underside
of the aneroid.
2. Insert the calibration tool (or small flat-head screw driver) into the connector
(from where the coiled tube was removed).
3. Turn the calibration tool until the needle on the front of the gauge is centered
at the bottom of the gauge.
6
Page 5

OMRON HEALTHCARE, INC.
300 Lakeview Parkway
Vernon Hills, Illinois 60061
Telephone: 1-847-680-6200
Toll Free Order Number: 1-800-634-4350
www.omronhealthcare.com
Copyright © 2002 OMRON HEALTHCARE, INC
Printed in Japan
11-675685INST
 Loading...