

Omnitech 15331 Instruction Manual

Instructions Manual
UNIVERSAL REMOTE CONTROL
MODEL No.15331
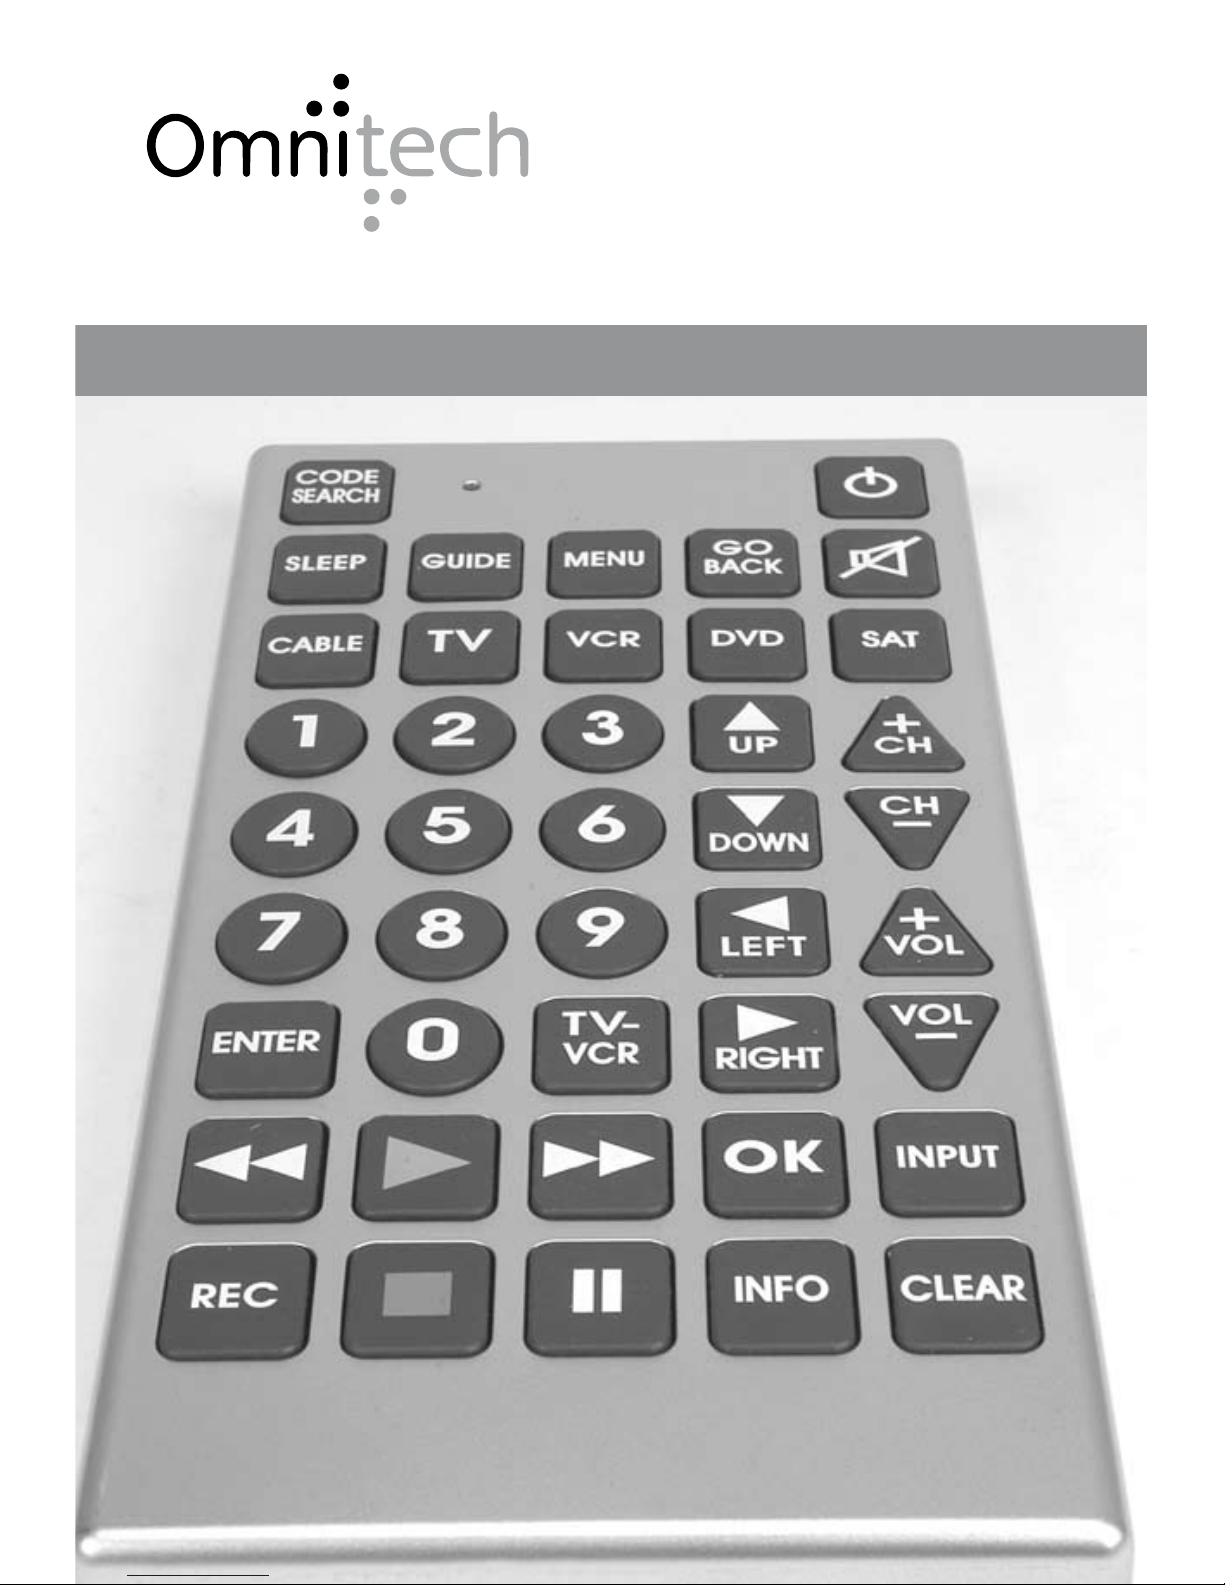
Giant
Universal Remote
About your Controller
Thanks for purchasing this Universal Remote Control. It is an easy way to operate up to eight electronic
devices, such as:
• Televisions,
• Video Cassette Recorders (VCRs)
• DVD players
• Cable and Satellite receivers
This controller has many functions, so please read this manual carefully. You may also need to re-read
the instruction manuals for the original devices / controls to refresh your knowledge of their functions.
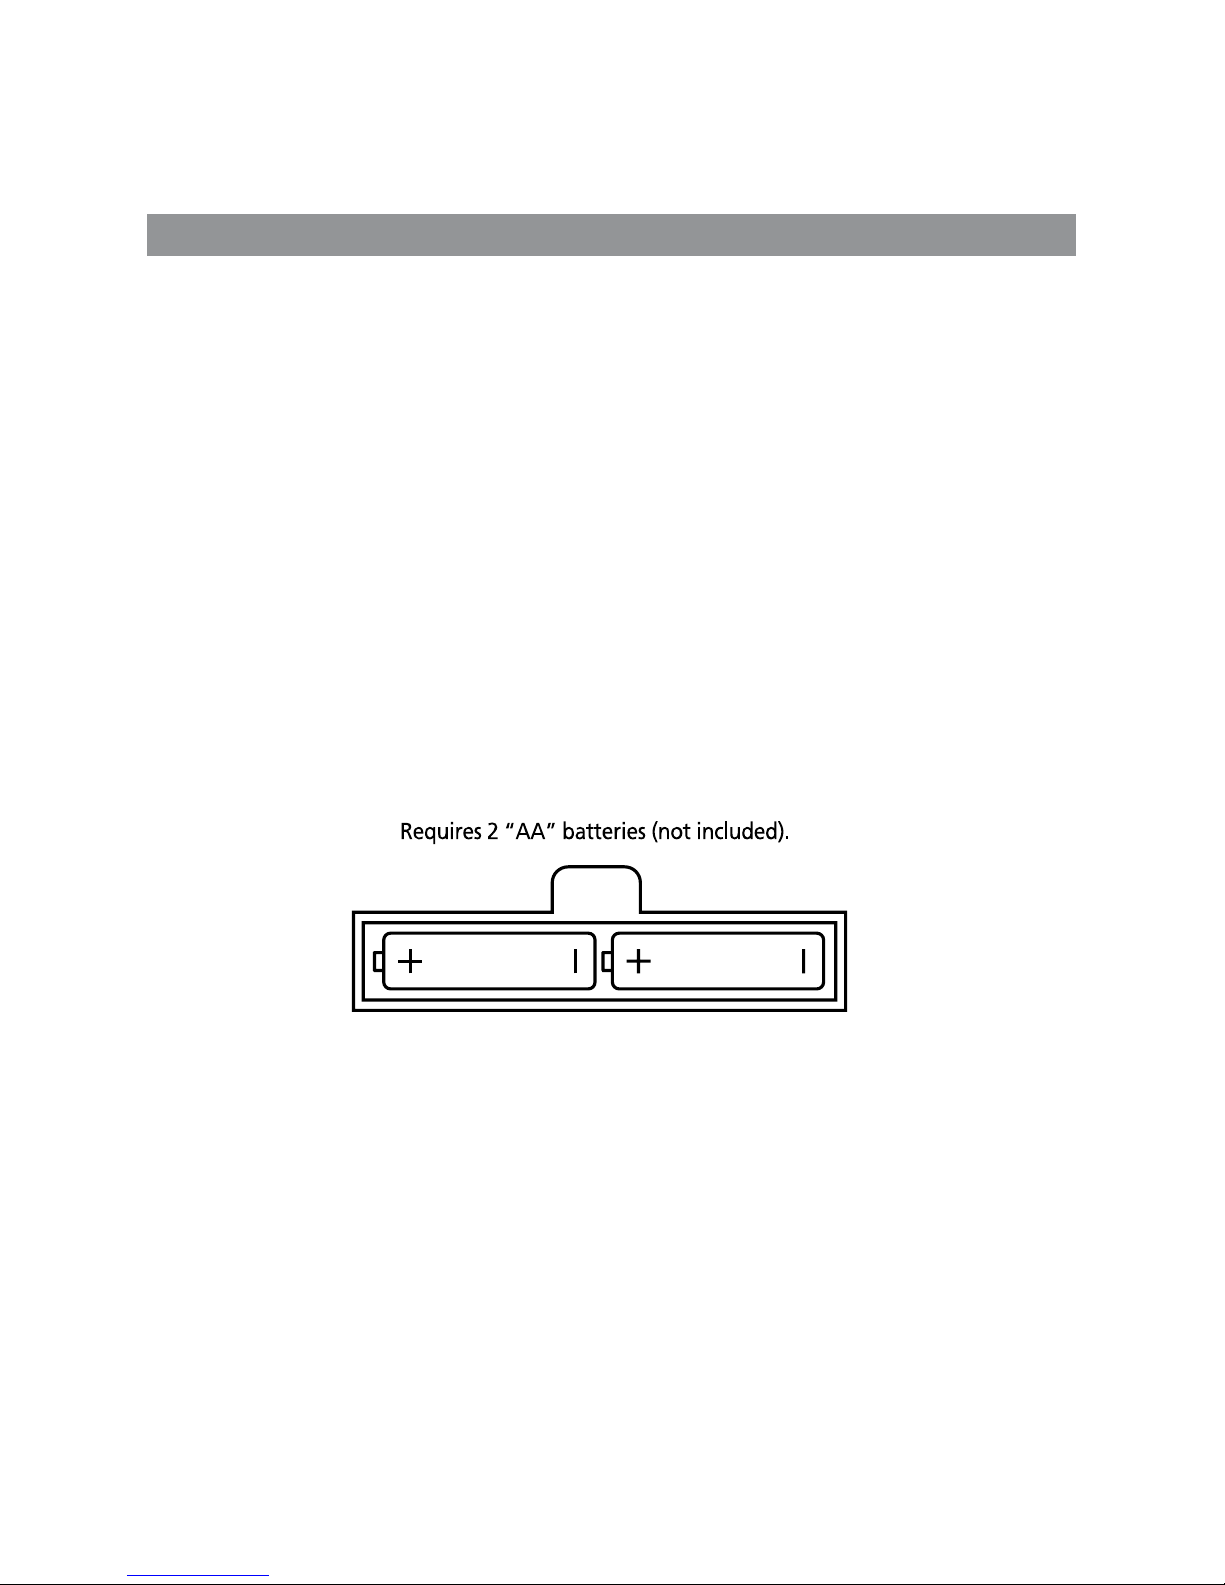
Battery Installation
Remove the cover from the battery compartment (on the back of the controller) and insert two "AA"
size alkaline batteries (not included), as per the diagram below. Take care that they are aligned
correctly.
Turn the controller on by pressing the On/Off button and the LED will light up. If it does not, re-check
the polarity of the batteries or try new batteries.
Battery Information
• Never mix different types of batteries (e.g. do not mix alkaline, carbon-zinc and rechargeable nickel
hydride batteries).
• Only use AA batteries in this controller.
• Do not mix old and new batteries.
• Do not attempt to recharge non-rechargeable batteries.
• When using rechargeable batteries, remove them and ensure they are fully recharged properly and
safely.
• Dispose of used batteries carefully and in accordance with your local regulations.
• Take care not to short circuit the battery terminals.
Instructions Manual
1

Your Controller’s Functions
On/Off Button – This will perform the same function as the On/Off/
Device/Power button on your original controller, usually turning the
target unit On/Off.
Code Search Button – use this to search while programming your
controller.
Signal Indicator LED Light – this light flashes to indicate the controller
is working.
Sleep Button – activates the target unit’s sleep function (if available),
allowing you to set the amount of time the target unit will turn off
automatically.
Guide Button – activates the target unit’s on-screen TV schedules (if
available on the target unit).
Menu Button – activates the target unit’s main menu. To navigate
through the menu use the arrow direction keys and use the Select
Button to select the currently highlighted option.
Go Back Button – returns you to the last channel viewed (functions in
the same way as the last/previous/recall channel function on the original
controller).
Mute Button – instantly mutes all sound on the target unit.
Cable/TV/VCR/DVD/Sat Buttons – these buttons allow you to quickly
select the devices associated with the controller.
Number Keypad (0-9) – these number buttons function in the same
way as on the original controller (e.g. to enter a channel number). They
are also used while programming the controller to enter the different
device codes (as described later in this manual).
Enter Button – this button is used on certain devices to confirm a
number selection (e.g. some TVs require that a number be confirmed
with the Enter button before changing channel). It will operate in the
same way as a unit’s original controller. It is also used in the while programming the controller (as
described later in this manual).
TV/VCR Button – switches between TV and VCR modes on a target VCR in the same way as your
original VCR’s controller.
Direction Buttons and the OK Button – use these to navigate up/down/left/right through any onscreen menus and options. The OK button will usually select the highlighted option (the controller will
always operate in the same way as the original controller. This feature is often controlled with the Info
button on some controllers).
VOL + & - Buttons – these buttons increase/decrease the current volume level gradually.
REVERSE,PLAY,FORWARD,REC,STOP,PAUSE:These buttons are for DVD/VCR/DVR use, and operate the
same as on your original VCR or remote. You must press the REC button twice to begin recording.
CH + & - Buttons – these buttons increase/decrease the current channel number by one.
The Rewind, Play, Forward, Record, Stop, Pause Buttons – these buttons operate DVD/VCR/DVR units
in the standard way, and in the same manner as your original controller. When using the Record
function you need to press the REC button twice to begin recording.
The Input Button – allows you to select the video inputs for your TV (if this function is available on
the original unit).
The Info Button – this shows the current date and time (if this function is available on the original
unit. This feature is often controlled with the Display button on some controllers).
The Clear Button – this button removes any current displays (menus, time, date etc.) from the screen
and returns you to normal viewing.
2

Setting the Codes on Your Controller
To associate this controller with the devices that you have, you will need to refer to the lists of device
types listed at the end of this manual. You will need to identify and input the correct device code for
your unit as follows:
1. Turn on the device that you want to set.
2. Look for the brand name under the specific device listing provided.
(Note: You will notice that some brands will have more than one 3-digit code. During the code input
process, you may have to try more than one 3-digit code that will match your device brand and model.)
3. Aim the remote control at the device and press down and hold CODE SEARCH button for at least 3
seconds until the red LED lights up solid red.
4. Press the device button for the item you wish to program, e.g. TV, DVD, VCR, etc. and the LED light
will blink once and then remain solid red.
5. Using the number keys, enter the 1 st set of 3-digit codes from the list. You will notice that each
number that you press, the LED will blink once. After you have entered the 3rd digit, the red LED will
turn off indicating that the code was recognized for the device.
(NOTE: If the code entered was not compatible, the red LED will flash several times. You will then need
to repeat step 3. You have 30 seconds to enter a code.)
6. After the red LED light has turned off. Press the ON/OFF key. If the device you are trying to program
powers off, then you have found the correct code. If the device does not power off, then you will need
to repeat the process again from step 3, using another 3-digit code.
7.Make a note of the 3-digit code for future use.
Automatic Search
There is another way to set up your controller, that does not use the brand code lists. You can let your
controller search through all of its available codes automatically in order to set the connection to the
target device. To do this, follow these steps:
1.Turn on the target device.
2.Point the controller at the target device and press and hold the Code Search button for around 3
seconds, until the LED light stays red.
3.Next select the type of device the target unit is by using the Cable/TV/VCR/DVD/Sat Buttons (i.e. if
it is a TV that you are trying to control, press the TV button). The LED light should then blink once,
then stay red.
4.Press the On/Off button on the controller slowly and repeatedly until the device you are trying to
connect with turns off. (Note: the LED light will blink each time you press the On/Off button). When
this happens, press the ENTER button in order to store the code and the LED light will turn off.
Setting the Sleep Function
This feature allows you to set a time after which the controller will automatically turn off a target
device. To do this press and hold the Sleep button for around 3 seconds until the LED light turns on
and stays on.
Next, use the number keys to set the number of minutes after which you want the device to power off
– from 01-99 minutes. Press OK to confirm. The LED will turn off and the timer will begin. Ensure that
you leave the controller pointing at the target unit.
You can cancel this function by pressing the On/Off button or by pressing and holding the sleep button
for around 3 seconds, until the LED flashes once.
Displaying Stored Codes
Use this feature to find out which 3 digit code is associated with which of your devices. Press and
3

hold down the Code Search button for around 3 seconds until the LED light turns on and stays red.
Press the device button you want to display the code for (e.g. press the TV button to find out your TV’s
code) and the LED light will blink once then stay red.
You now need to press each of the numbers from 0-9 in turn, while watching the LED light. When the
light blinks you have found the correct number. Doing this for the 3 digits will give you the correct
code.
For example, press 0, then 1, then 2, then 3, etc... The LED light will blink when you press the right
key. For example if the light blinks on 6, then that is the first number. You should now start again at 0,
then 1, then 2 etc... If the light blinks on 2 then the next digit is 2. Repeat this same procedure for the
third digit, so if it flashes on 8, the complete number is 628.
Note: once the 3rd digit has been successfully entered the LED will turn off.
Codes list
Cable box codes
VCR codes
TV Codes
DVD Codes
Satellite Codes
4
Manuel de l’utilisateur
Télécommande universelle géante
MODEL No.15331
 Loading...