

Page 1

MIRAGE
PR-2014H
This product manual contains important information about the safe installation and use of
this projector. Please read and follow these instructions carefully and keep this manual in a
safe place for future reference.
PR LIGHTING LTD.
Yingbin Road, Dashi Panyu, Guangzhou, 511430 China
http://www.pr-lighting.com
Page 2
Introduction
Thank you for purchasing our product Mirage PR-2014H. Please read this
manual carefully before you start to use this apparatus, that can protect you from
personal hurt or loss.
The Mirage PR-2014H adopts advanced procedure of design and manufacturing
and measures up to CE standard. The elegant outline design features its special
character. The apparatus uses an ELC-7/X 24V/250W lamp and has 8 colours
and 8 gobos, and it may be actived by sound. The high quality optical system
with adjustable focus produces clear and beautifil beam. Mirage PR-2014H uses
international protocal DMX512, and it can be used as Stand-Alone mode,
Controller mode, or Master/Slave mode for multi-units synchro runing.
Technical Specifications and Features
● Power Supply: AC 230V
● Frequence: 50Hz
● Power Consumption: 280 W
● Lamp: ELC-7/X 24V/250W
● Electric Strength: 1.5 KV
● Control Signal: Standard DMX 512
● Control Mode: Stand-Alone, Master/Slave and Controller
● Color Temperature: 3200K
● Colors: 8 colors, open and black-out
● Gobos: 8 gobos
● Dimensions: 320mm(L) x 220mm(W) x 240mm(H)
● Weight: 6.5 kg
● Others: Adjustable focus
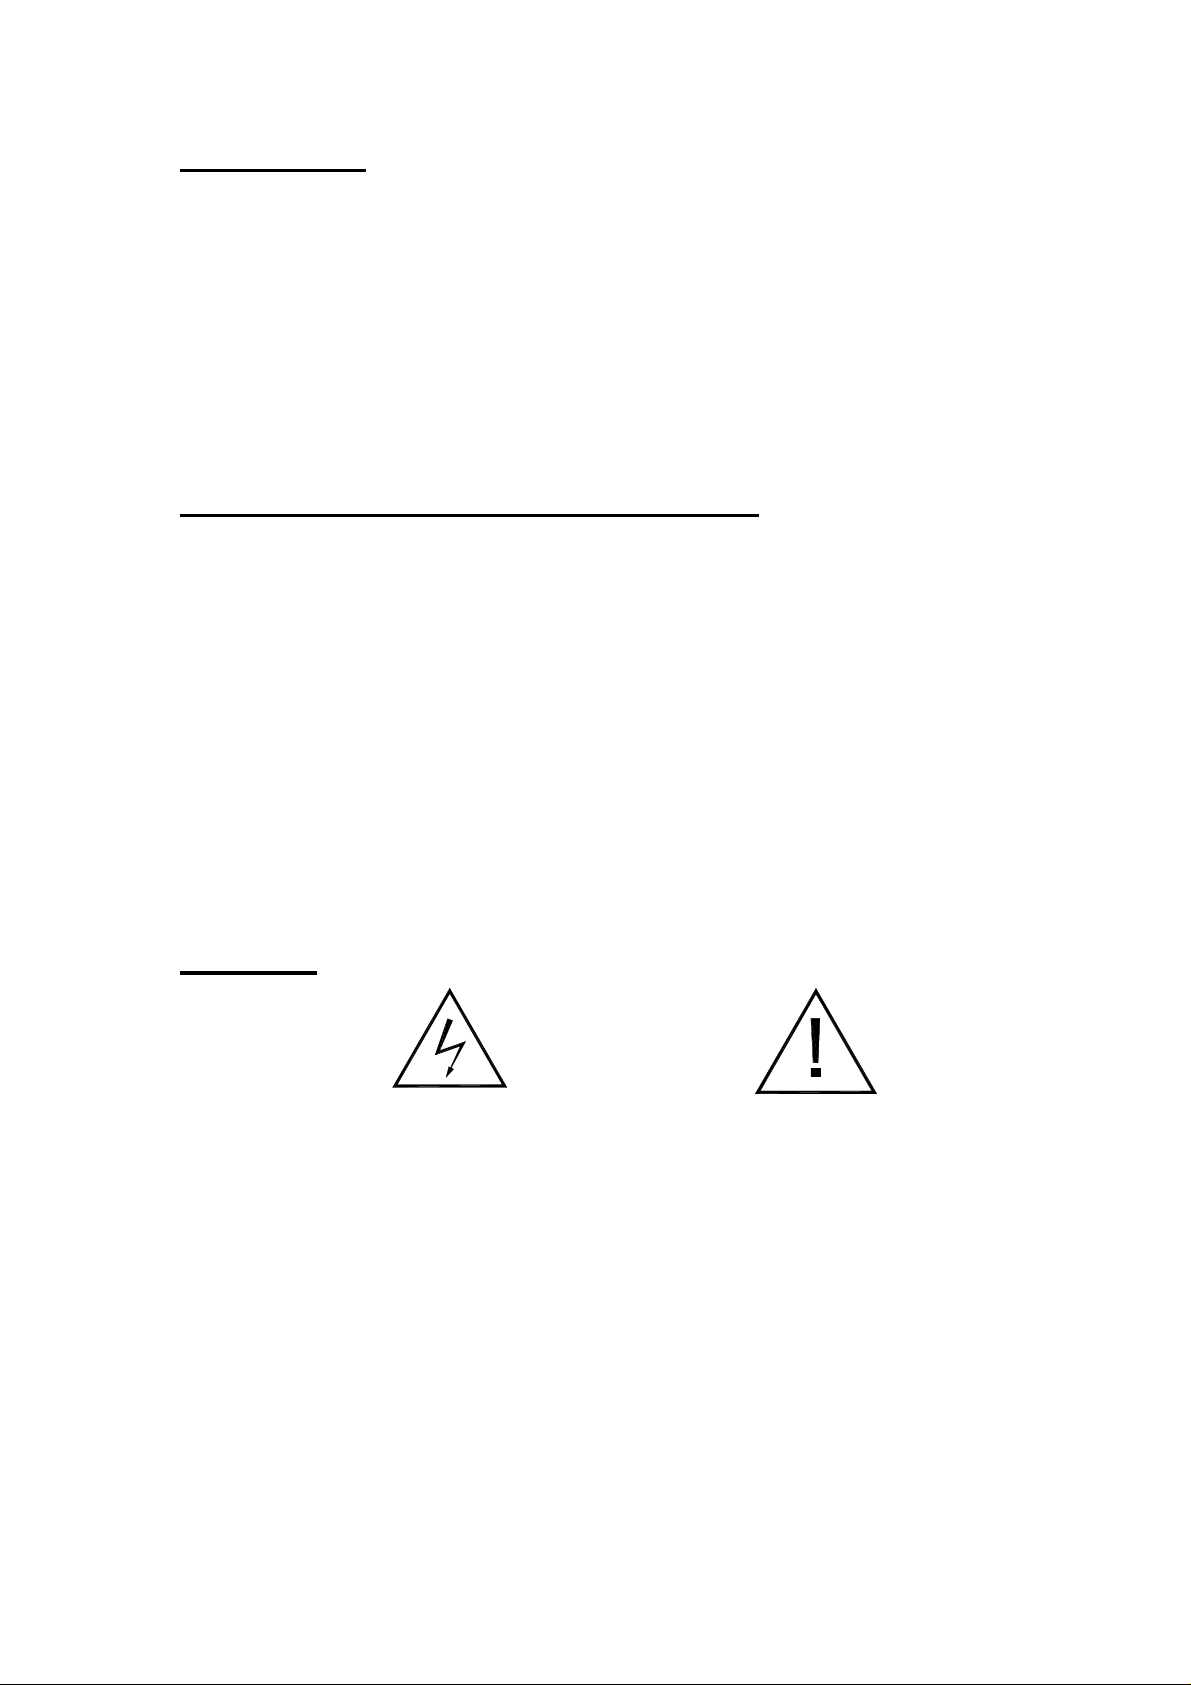
Warning!
Avoid shock hazard! Hot lamp!
!Refer to qualified technicians only before any service.
!Make sure power supply cut off before nstallation, maintenance and installing
lamp.
!Avoid using the power and lamp which do not match he specified requirements.
!The lamp reaches very high temperature. Keep away flammable and explosive
materials from the apparatus. Never touch the apparatus with hand when the
apparatus is working.
!Keep at least a distance of 3m between the apparatus and lamplight stricking
materials
!Avoid direct exposure to the light from the lamp. The light is harmful to the eye.
2/8
Page 3

Accessories
● Power cord (1 PCS)
● XLR Plug (1 PCS)
● XLR Socket (1 PCS)
● This manual (1 PCS)
Operation
● The apparatus is for indoor use only.
● Installation, operation, and maintenance by unprofessional personnel is not
permitted. Most damages are the result of unprofessional operation.
● Check there is no damage caused by transportation for your first usage.
● Before replacing lamp, please cut off the power supply and wait till the lamp is
cooled completely. The lamp temperature may be over 200°C.
● Open the cover, and seat the lamp properly. Do not touch the glass-bulb
bare-handed.
● Close the cover again. Never switch the lamp on when the cover is opened.
● Install the apparatus in the adequate ventilative place. Check the fan works
normally and the ventilation net does not block.
● Make sure the yellow/green power cord grounds correctly.
● The using fuse is 4A/250V. Please use the fuse with the same rating and type.
● When the power switch on, the apparatus automatically starts to run the
programmes of self test. After finishing the self test, the apparatus is ready for
operation.
● Never shake the apparatus during operation.
Stand-Alone Mode
● A DIP switch of the mirage PR-2014H is comprised of 10 switches.
● Do not connect the controller and the control cable. Set all 10 switches of the
DIP switch on the “OFF”. And the apparatus will run in the Stand-Alone mode.
● In the Stand-Alone mode, the apparatus may be actived by sound via the MIC
inside the luminaire. The apparatus will change the colors according to the
rhythm of music.
● Rotate the AUDIO switch to adjust the deviation for receiving the audio signal.
Master/Slave Mode
● Without using the controller, many luminaires can run synchronously by
linking them with each other in the Master/Slave mode.
● Select one luminaire as the master, and set the No 10 switch of the DIP
switch on the “ON”, and the rest switches on the “OFF”.
● Regard the other luminaires as the slaves, and set all No 1 switches of the
DIP switches on the “ON”, the rest all switches of the DIP switches on the
“OFF”.
● Connect the master luminaire’s output to the first slave luminaire’s input with
the XLR-XLR control cable, and connect the first slave luminaire’s output to
the second slave lumiuaire’s input with the XLR-XLR control cable. The rest
may be deduced by analogy. Eventually connect the last slave luminaire’s
output to a DMX terminator. (Please see the following figure)
3/8
Page 4

● In the Master/Slave mode, all the luminaires may be actived by sound via the
MIC inside the master. All luminaires will change synchronously colours
according to rhythm of music.
Caution:
be right. Otherwise injury or damage may result.
Notice:
connected with a DMX terminator. The DMX terminator is simply an XLR
connector with a 120Ω resistor connected across pins 2 and 3, which can
avoid the reflection during the DMX-512 signal transmission. (Please refer to
appendix 3: terminator connection)
You can only set one luminaire as the master, and the setting must
At the last slave luminaire in the chain, the DMX output has to be
Controller Mode
● Mirage PR-2014H adopts DMX 512 protocol. You may use controller to
control many luminaires via setting the No1 to No9 switches of the DIP
switches. (For detail please refer to appendix 1)
● Connect the controller’s output to the first luminaire’s input, and connect the
first luminaire’s output to the second luminaire’s input. The rest may be
deduced by analogy. Eventually connect the last luminaire’s output to a DMX
terminator. (Please see the figure above)
Notice:
connected with a DMX terminator. The DMX terminator is simply an XLR
connector with an 120Ω resistor connected across pins 2 and 3, which can
At the last luminaire in the chain, the DMX output has to be
4/8
Page 5

avoid the reflection during the DMX-512 signal transmission. (Please refer to
appendix 3: terminator connection)
● mirage PR-2014H adopts 3-pin XLR plug/socket. If you use 5-pin XLR
plug/socket, you should use a convertible cable as shown in appendix 2.
● In order to fully use mirage PR-2014H, we suggest you select our controller
which is designed specially for MANTIS series luminaires.
Channels
● mirage PR-2014H has 3 channels and uses DMX 512 protocol. (Please see
the following table)
CHANNEL DESCRIPTION
1 Gobo
2 Colour
3 Lamp ON/OFF
Maintenance
● Position the apparatus in a dry place. Avoid places where there is high
humidity.
● Interval use may prolong the life of the apparatus.
● To obtain adequate ventilation and optimal lighting output, the fan, ventilation
net and lens must be cleaned regularly.
● Please do not use any organic solvent, e.g. alcohol, to clean the housing of
the apparatus.
Important Statement
The apparatus is tested and packed properly by the manufacturer.
Please make sure the packing and / or the apparatus in good conditions before
installation and use. Any loss caused by improper use will not be assumed by
the manufacturer and / or dealers.
This manual is subject to change without notification.
5/8
Page 6

Appendix 1:
0 0 0 0 0 0 0 0 1 1 1 1 1 1 1 1
0 0 0 0 1 1 1 1 0 0 0 0 1 1 1 1
0 0 1 1 0 0 1 1 0 0 1 1 0 0 1 1
0 1 0 1 0 1 0 1 0 1 0 1 0 1 0 1 #1 #2 #3 #4 #5
Table for setting address of DIP switch (for the controller mode)
The following table lists the setting codes of the address of the DIP switches, and the
luminaires are from No1 to No171. Each DIP switch has 10 switches with the number of #1,
#2, #3, #4, #5, #6, #7, #8, #9 and #10. (For the M
irage PR-2014H
, set all #10 switches
on the “OFF”.)
In the table, “0” means the switch is on the “OFF”, and “1” on the “ON”.
For example, if you want to look up the address setting of the No 50 luminaire, you will find
the NO 50 luminaire row (#1, #2, #3, #4, #5) with the codes of “0”, “0”, “1”, “0” , “1” and
column (#6, #7, #8, #9) with the codes of “0”, “0”, “1” , “0”. So set the #3, #5 and #8 switches
on the “ON”, and set the #1, #2, #4, #6, #7, #9 and #10 switches on the “OFF”.
Setting Table of
Address Switches
#9
#8
0=OFF #7
1=ON #6
0 0 0 0 0
1 0 0 0 0
0 1 0 0 0
1 1 0 0 0
0 0 1 0 0
1 0 1 0 0
0 1 1 0 0
1 1 1 0 0
0 0 0 1 0
1 0 0 1 0
0 1 0 1 0
1 1 0 1 0
0 0 1 1 0
1 0 1 1 0
0 1 1 1 0
1 1 1 1 0
0 0 0 0 1
1 0 0 0 1
0 1 0 0 1
1 1 0 0 1
0 0 1 0 1
1 0 1 0 1
0 1 1 0 1
1 1 1 0 1
0 0 0 1 1
1 0 0 1 1
0 1 0 1 1
1 1 0 1 1
0 0 1 1 1
1 0 1 1 1
0 1 1 1 1
1 1 1 1 1
22 54 86
1 33 65
12 44 76
23 55 87
2 34 66 98
13 45 77
24 56
88
3 35 67 99
14 46 78
25 57 89
4 36 68
15 47 79
26 58 90
5 37 69
16 48 80
27 59 91
6 38 70
17 49 81
28 60 92
7 39 71
18 50 82
29 61 93
8 40 72
19 51 83
30 62 94
9 41 73
20 52 84
31 63 95
10 42 74
21 53 85
32 64 96
11 43 75
118 150
129 161
97
108 140
119 151
130 162
109 141
120 152
131 163
110 142
121 153
100 132 164
111 143
122 154
101 133 165
112 144
123 155
102 134 166
113 145
124 156
103 135 167
114 146
125 157
104 136 168
115 147
126 158
105 137 169
116 148
127 159
106 138 170
117 149
128 160
107 139 171
6/8
Page 7

Pin 5:N/C
Appendix 2
CONVERSION BETWEEN 3-PIN AND 5-PIN XLR SOCKETS
3-PIN PLUG:
Pin
1:GND(SCEEN)
Pin 2:Signal(-)
Pin 3:Signal(+)
5-PIN PLUG:
Pin
1:GND(SCREEN)
Pin 2:Signal(-)
Pin 3:Signal(+)
Pin 4:N/C
5-PIN PLUG:
Pin
1:GND(SCREEN)
Pin 2:Signal(-)
Pin 3:Signal(+)
Pin 4:N/C
Pin 5:N/C
3-PIN SOCKET:
Pin
1:GND(SCREEN)
Pin 2:Signal(-)
Pin 3:Signal(+)
Canon 3-PIN DMX512 CONNECTION
Pin1=Screen
Pin2=Signal Pin3=Signal +
7/8
Page 8

Appendix 3
TERMINATOR CONNECTION
120 Ω
DMX TERMINATOR CONNECTION
Connect a 120Ω(OHM) resistor
across pins 2 and 3 in an XLR plug
and insert into the DMX Out socket
on the last unit in the chain.
PR LIGHTING LTD.
Add: Yingbin Road, Dashi, Panyu, Guangzhou ,China
Post-Code:511430
TEL:(020)8478 1888
FAX:(020) 8478 6023
P/N: 321010073
Rev: 21:04:2003
8/8
 Loading...