

Omnii ST4000, ST4001, ST4005 Quick Start Manual
Features: Back of Snap Modules
Bottom Ports
Over
Type A (Host) USB port (5 VDC, 500 mA max)
None
Locking Clip
Hand Strap Slot
Powered DE9M Serial port
(9 pin, 5VDC, 1A max)
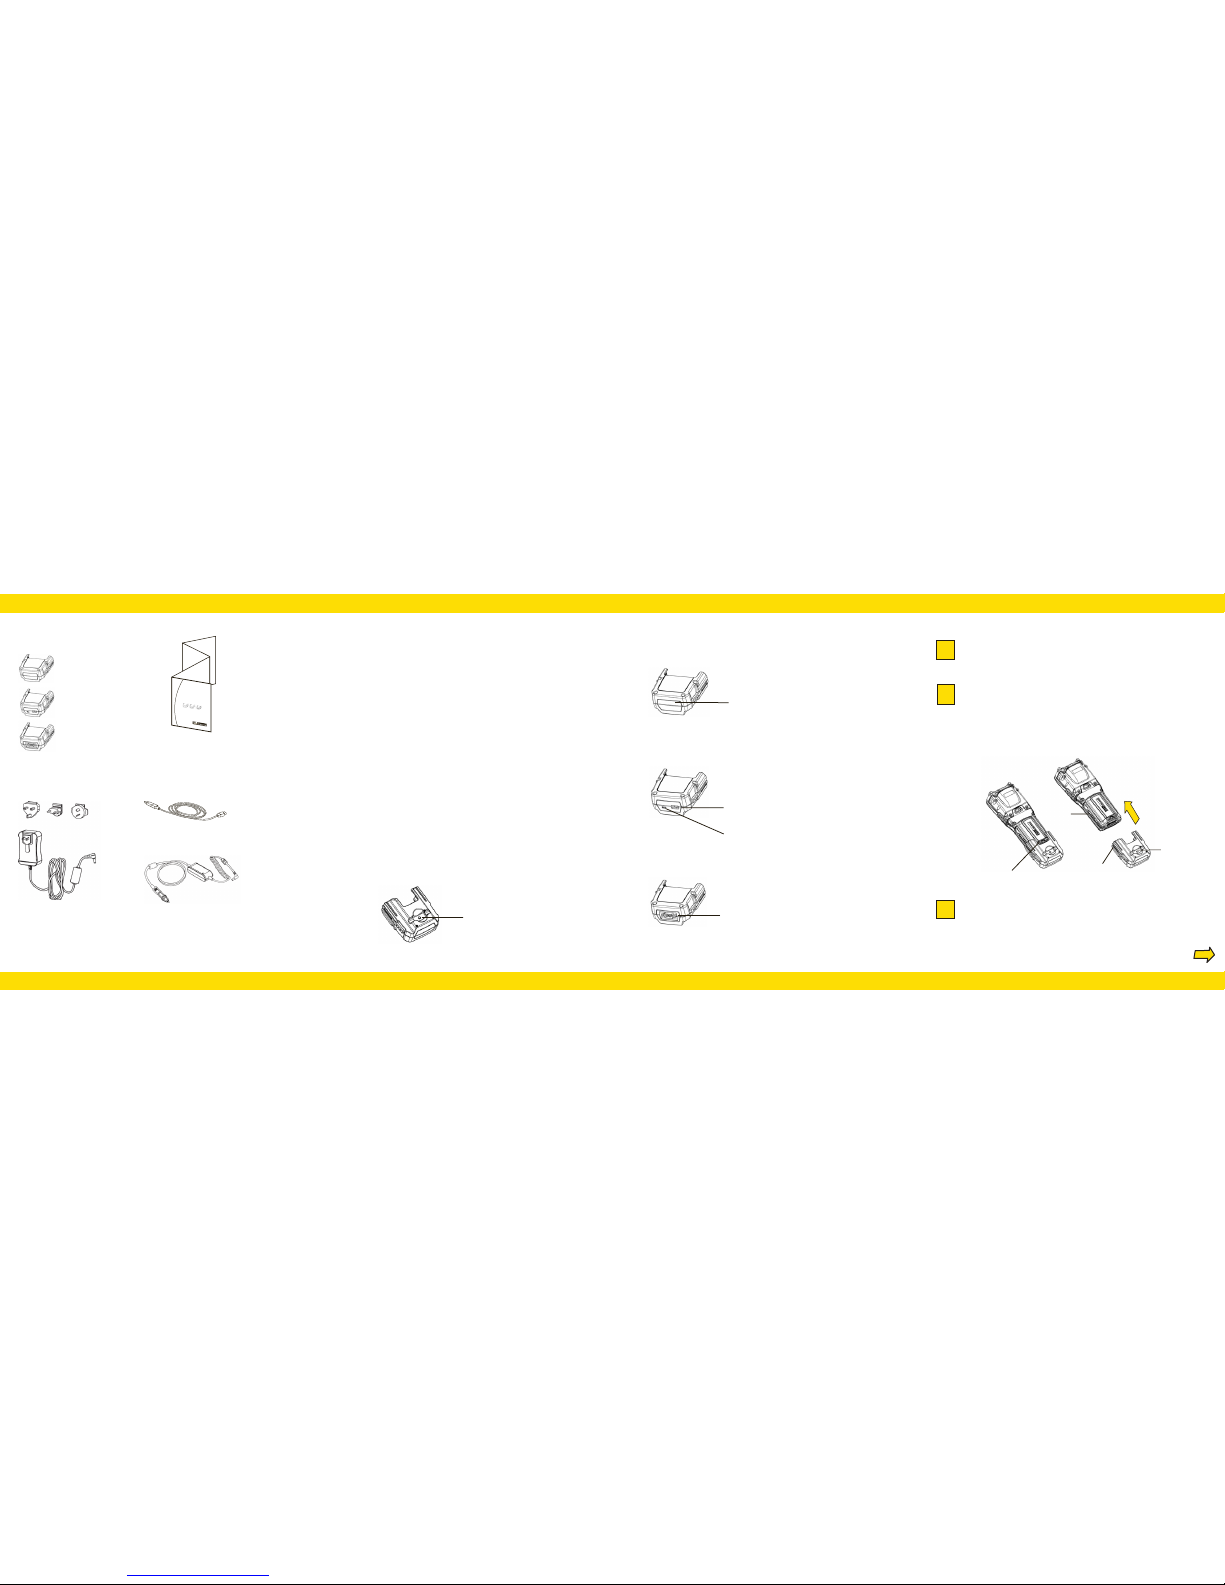
Features: OperationContents of the Box:
One of the following Snap Modules:
ST1050 AC Wall Adaptor and plugs
(12VDC, 2.5 A)
PX3058 USB Micro-B to Type A cable
This Guide
I
S
O
9
0
0
1
C
e
r
t
i
f
i
e
d
�
Q
u
a
li
t
y
M
a
n
a
g
e
m
e
n
t
S
y
s
t
e
m
Preparing the Equipment.
Getting Started
1
2
Attaching the Snap Module to Omnii.
.
Make sure that the adaptor connector and Omnii docking connector
are free of dust or any other debris before connecting them.
Snap Modules Quick Start Guide
Omnii
ST4000 (Charger)
ST4001 (USB Host/Client)
ST4005 (DE9M Serial)
Optional Accessories:
ST3113 Vehicle Power Outlet Adaptor
The Snap Module is a mobile adaptor for Omnii and is compatible with the AC Wall
Adaptor and the Vehicle Power Outlet Adaptor.
The following types of Snap Modules are available:
Model No. ST4000 (Charger only variant): powers and charges the hand-held.
Model No. ST4001 (USB Host/Client variant): powers and charges the hand-held. It
provides communications via USB 1.1/2.0 Host and USB 2.0 Client connectors and
provides a DC IN port. When attached to Omnii it allows ActiveSync or Windows Mobile
Device Center connectivity with your PC, connection to an AC wall adaptor (Model No.
ST1050) or a Vehicle Power Outlet Adaptor (Model No. ST3113), and the use of a USB
device such as a USB memory key or supported peripheral.
Model No. ST4005 (DE9M Serial variant): provides a powered DE9M serial connector.
It powers and charges Omnii, and provides serial communications to tethered devices.
The DE9M connector is capable of speeds up to 115,200 bps. Pin 9 is reserved for 5V
power out and is defaulted to off. To enable power to this port, in your Omnii desktop,
go to Control Panel>Teklogix Scanners, which opens the Scanner Settings menus. In
the Ports menu, select on for the Power parameter under the COM6 port.
Note: If you are using a hand or shoulder strap, there is no need to remove it before
installing the Snap Module, since the Omnii hand strap slot will still be accessible.
A slot in the side rail on each side of Omnii accommodates the locking clips
of the Snap Module. To attach the adaptor, align it with the Omnii base and
gently slide up until the locking clips snap into place.
DC IN Port
Side Rail
3
Connect the module to an AC or DC power source using the appropriate adaptor
cable. Then connect the adaptor’s DC plug into the Snap Module’s DC jack. You
can also attach an ST4001 or ST4005 Snap Module to the Omnii and use the Omnii
battery to power USB or serial peripherals, for enhanced mobility.
Connect the Snap Module to a Power Source.
DC IN Jack (12V, 2.5 A)
ST4005
ST4000
ST4001
Micro-B port (for ActiveSync© or
Windows Mobile Device Center)
ISO 9001 Certifi ed
Quality Management System
Rev. A
Psion Teklogix and Omnii are trademarks of Psion Teklogix Inc. Other product
names mentioned in this document are trademarks or registered trademarks of
other hardware, software, or service providers and are used herein for identifi -
cation purposes only.
Snap Modules Quick Start Guide
8000220
Omnii
4
Removing the Snap Module.
5
To remove the adaptor, press down on the base of the clip arms to release
them from the Omnii side rails and slide the adaptor off.
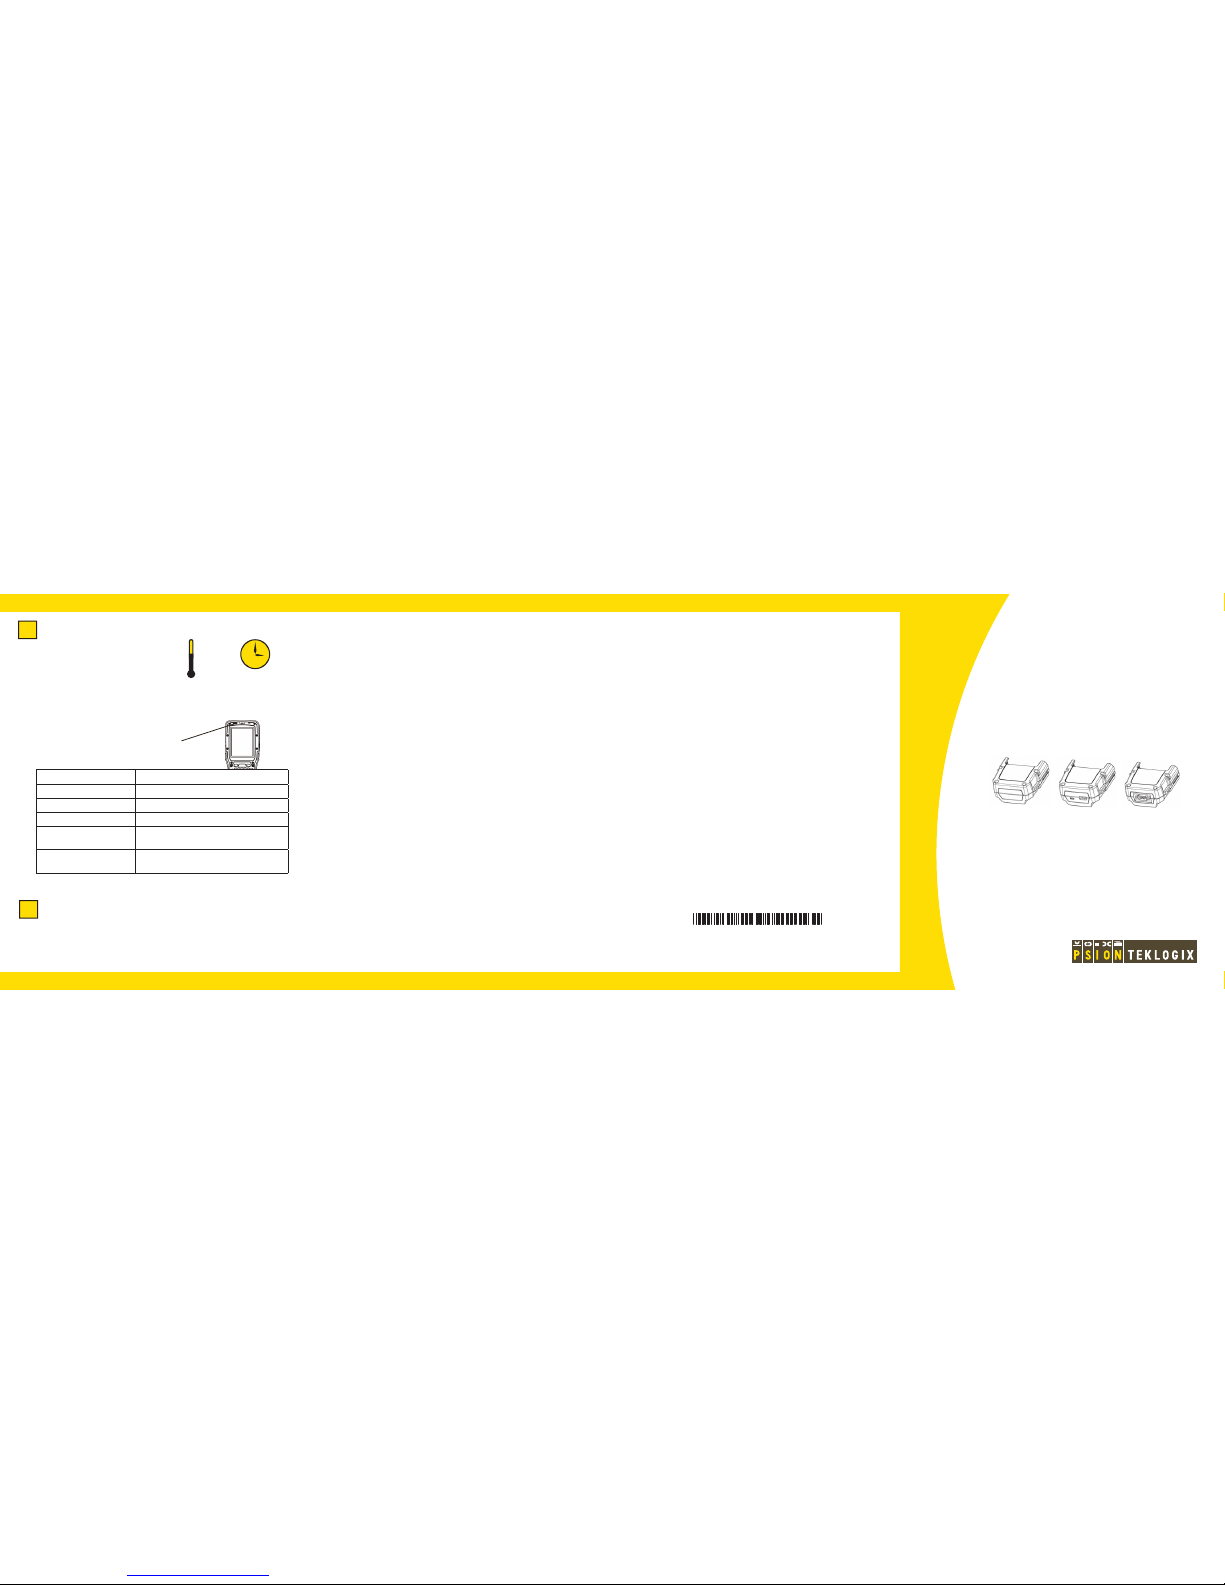
Charge LED Behaviour Function
OFF No battery detected.
Solid Green Battery charging complete.
Flashing Green Charge in progress.
Flashing Yellow Battery is not charging due to out-of-temperature
conditions.
Solid Red Unable to read battery or non Psion Teklogix
battery.
Omnii Battery Charge LED Behaviour
Note: Full battery performance is only
reached after the fi rst few charge/discharge
cycles.
3 h
0 - 40 °C
32 - 104 °F
Allow Omnii to charge for 3-4 hours before
fi rst use.
The far left LED on Omnii indicates charge status.
November 30, 2010 PN 8000220.A
 Loading...