

Page 1

Omegon USB hand microscope
Description of the parts:
Focusing knob - Turn to select the focus and magnification.
Introduction
The Omegon USB hand microscope provides you with an instrument with which you can
see even the smallest objects enormously magnified on your PC screen. This microscope
consists of an optical system and a CMOS sensor, which magnify your specimens and
make them visible digitally. The eight lighting LEDs are arranged in a circle to ensure the
specimen is always perfectly illuminated - allowing you to examine the object using the
supplied software or even save images or video sequences.
Set up and installation
Your microscope comes with a USB cable and a software CD. Make sure that your
computer has the necessary hardware before you install: a USB 2.0 port and Windows
XP, Vista, Win7, Win8 or Mac 10.4.
1. Plug the microscope cable into the USB port of your PC. The LED light will flash briefly,
meaning the cable is functioning correctly.
2. Insert the supplied CD into your CD-ROM drive
Page 2
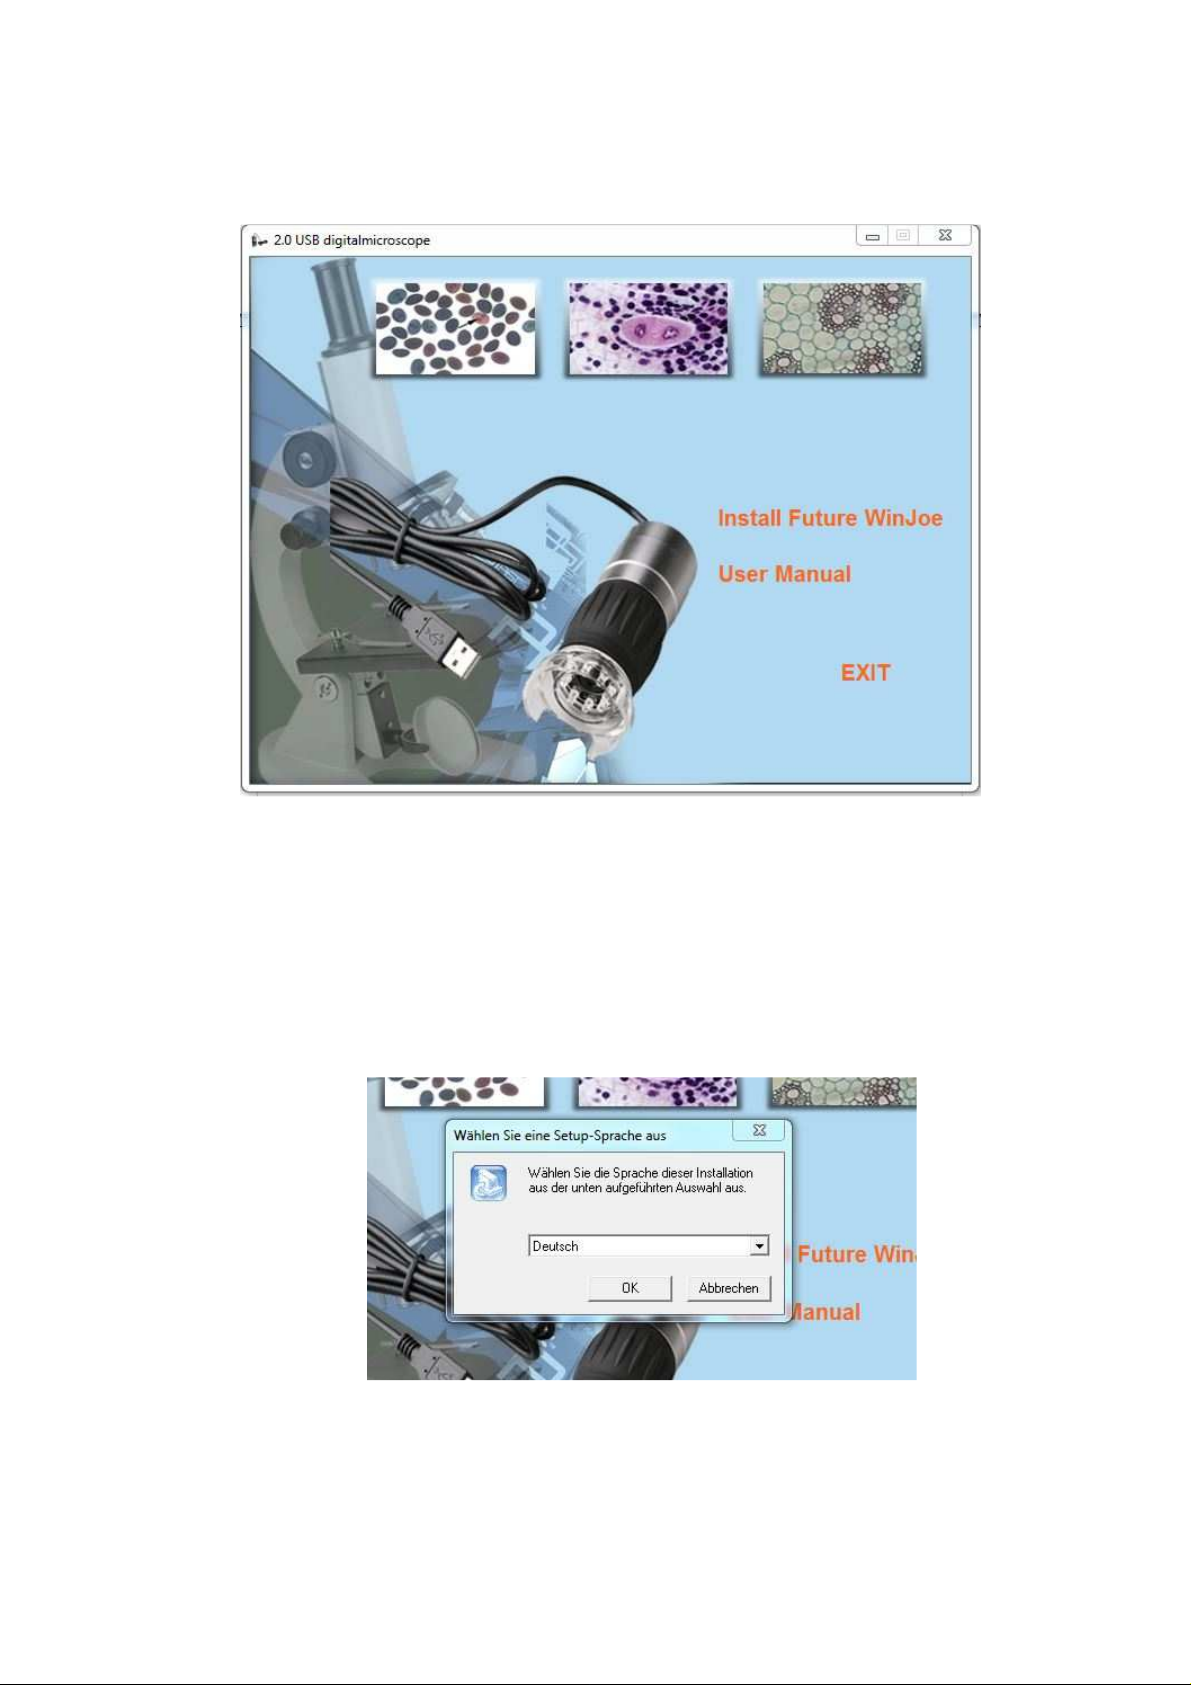
3. You will now see the start screen for installing the CD. Please click on "Install Future
WinJoe"
4. A small window will prompt you to select the language. You may select, for example,
German, English, French, Japanese, Russian or Spanish. After selecting, click on OK.
5. The welcome window then appears, click on "Continue"
Page 3

6 The license agreement will now appear. For continuing with the installation you must
confirm with "Yes"
7 The installation will now start. Wait until the installation process is complete.
Page 4
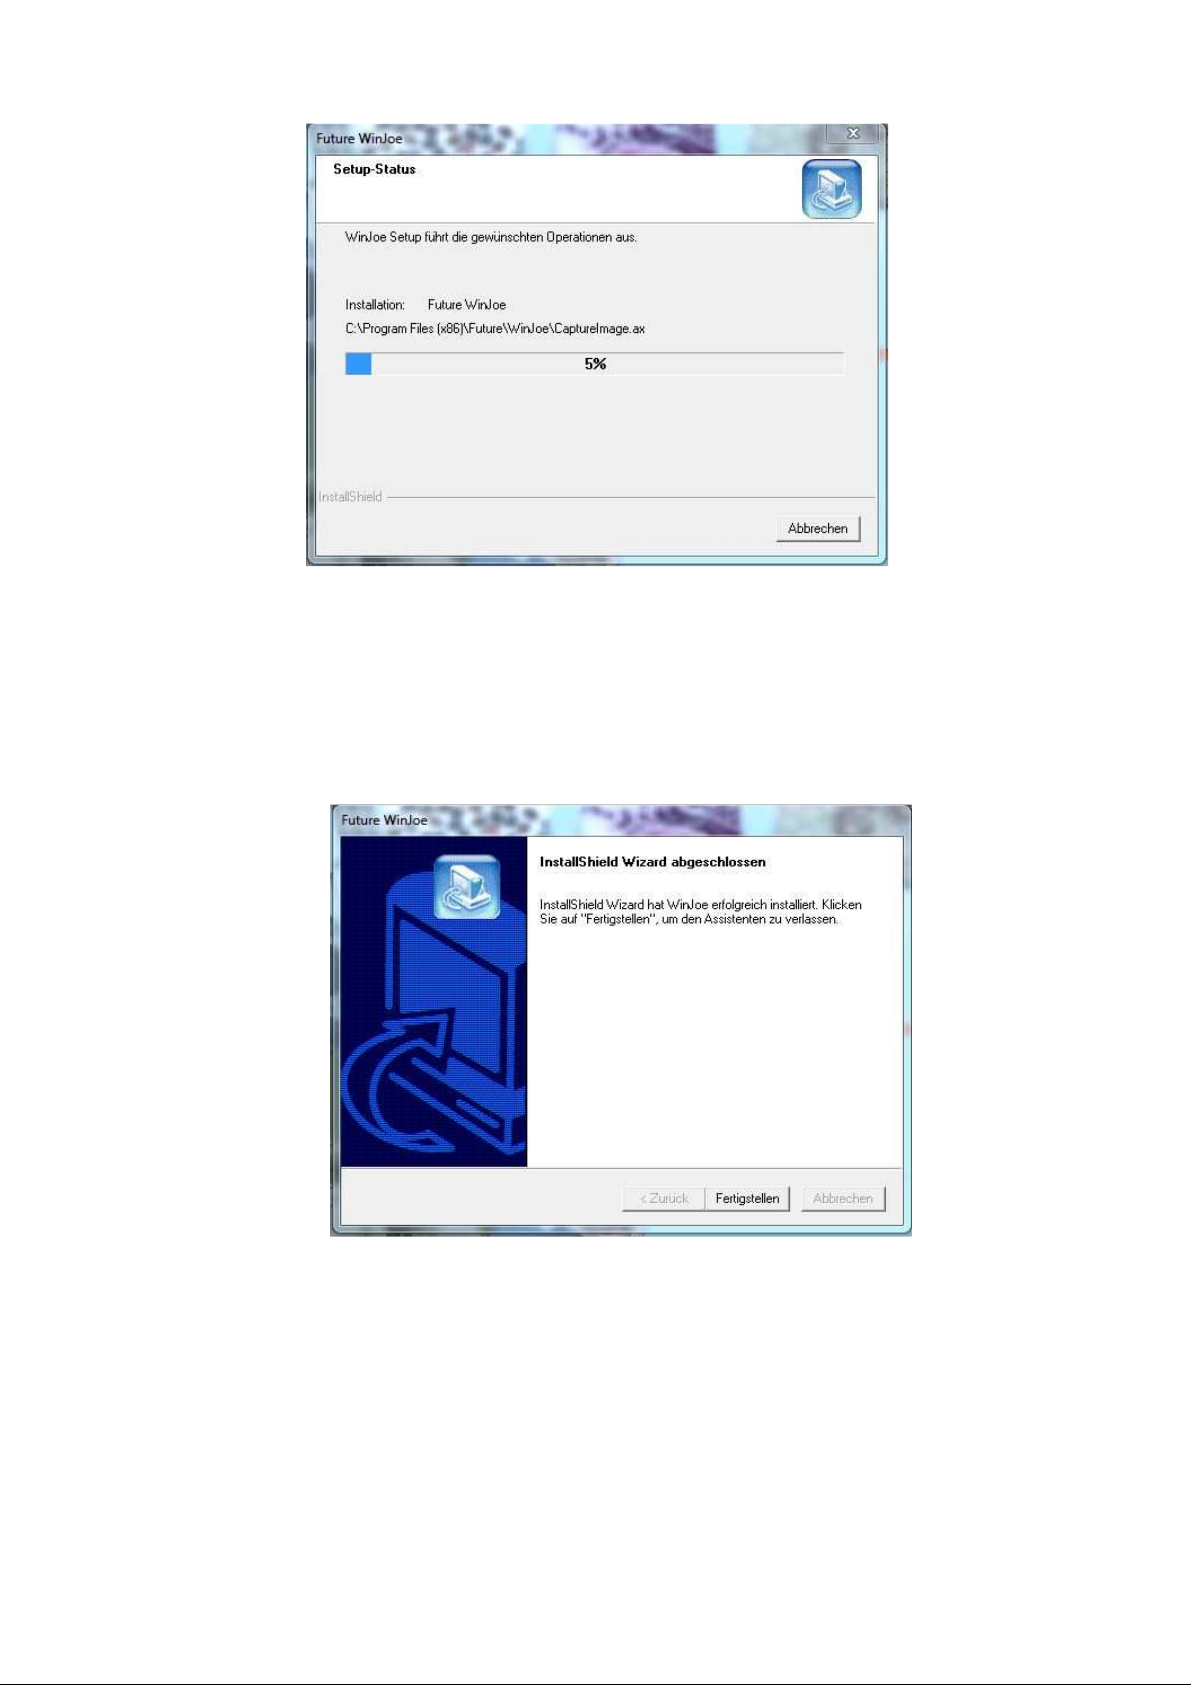
8 Finally, click on "Finish". The software is now installed and ready for use.
Observing and taking pictures with the USB microscope
Start the Future Win Joe program which is now installed on your computer. After starting
the program, the following start window will appear, from which you can carry out all the
various tasks:
Page 5

The live image from the microscope will now be displayed on the large grey area.
1. Make sure that the USB microscope is still connected to your USB port. Then click on
the webcam icon.
2. The live image from the microscope will now appear on the previously grey area. The
image will be blurred however. Put the microscope on an object, for example, a sheet of
graph paper, and slowly turn the focusing knob until the live image is in focus.
3. Now click on the camera icon with the mouse.
A photo is taken and saved in the media folder assigned. You will
see a preview of the saved images in the bottom bar of the program window.
4. Click on the webcam icon again to see the live image from the
microscope.
Recording a video
1. To take a video of the object click on the filmstrip icon.
Page 6

2. Recording will start and the current recording time run will be displayed at the bottom of
the window. Click on the filmstrip icon once more to stop recording. The finished film will
be saved in the Future Win Joe media folder.
Changing the magnification
The USB microscope provides magnifications from 40X to 200X. Change the
magnification by turning the focusing knob until you reach the magnification you require.
Other Features
Image processing:
After you have taken a photo, you can use the mouse to select an image from the preview
bar. The greyed-out editing tools then become active.
The icons shown below allow you to manipulate captured images – you can rotate,
resize, crop, use filters and even print them out or send them via e-mail.
It is also possible to save or export images separately using the folder
and disk icons.
Camera settings:
The camera settings icon lets you configure the camera. You can adjust the
brightness, contrast and exposure time. However, it is recommended to leave
the settings on "Standard". If you want to return to the original settings after chamging the
individual sliders, simply click on "Standard".
Image capture settings:
The image capture icon lets you select the video and image format as well as the
resolution desired and the location where the files are to be saved to.
Page 7

Recommended system requirements
Operating system: Windows XP, Vista, Windows7, Windows8, OS10.4
Pentium 4 2.0 GHz or higher
512 MB DDR RAM
USB 2.0 port
Technical data
Sensor
1/3.2” 2.0 megapixel, CMOS
Maximum resolution 1600x1200 pixels
USB port 2.0
Frame Rate 7.5 fps at 1600x1200
Preview mode 1600x1200, 1280x1024, 640x480, 320x240
Sensitivity 1.0V/Lux at 550nm
Spectral sensitivity 400-1000nm
Shutter type ERS (electronic rolling shutter)
White balance automatic
USB cable length 1.5 meters
Operating system Win XP, Vista, Win 7, 8, OS10.4
 Loading...