

Page 1
CDE-440 Series
Conductivity Process Cells
Page 2

Page 3

Instructions Manual
Conductivity Cells
CDE-440-001/CDE-440-01/CDE-440-1/CDE-440-5/CDE-440-01T/CDE-442
Index
Conductivity Cells.............................................................3
Mechanical Description.........................................................4
Technical Specifications ........................................................5
Installation...................................................................6
M a i n t e n a n c e.................................................................9
Troubleshooting..............................................................10
Page 4

Certificado de Garantia
1.
3.
Cell is composed basically by two boards or two concentric cylinders(electrodes), with well defined
geometry. The space between the boards or cylindres creates a solution collumn, being so the
measurement is independent from the total solution volume.
The boards or cylindres geomety used will be related to the solutions concentration for a better reading
of different samples we vary the distance (and;or) the board section.
The relation “distance” (d) over the “section” (s) determines the Cell Constante
In order to obtain good results it is necessary to choose the specific cell for the desired application. Three
factors are extremelly important in order to choose the right cell: the Electrical, the Mechanical and the
chemical.
! Electrical
When reading an electrolyte concentrationof high resistance, caused by low quantity of ions, the greater
sensibility will be obtained with bigger electrodes and with a small distance between them. Consequently,
Conductivity Cells
(K) .
d
s
= K .
we shall diminish the capacitive reatance of the cell-solution system, increasing the polarization tension
frequency supplied by the equipment.
We will need the inverse when the electrolite is very concentrate: small electrodes with long distances in
order to avoid saturation and the polarization effect at the electrodes.
The Cell will present low "K" for low conductivity electrolites and high "K" for those of high conductivity,
considering that the equipment must have an automatic exchange of the adequate frequency.
! Mechanical
Some significant factors are: the pressure, temperature, flow speed and the solid suspension presence.
only when all these factors are considered that will be achieved a satisfactory performance with a minimum
maintenance. When the systems temperature and pressure are higher than the specified values, it must
be installed a cooling system with a restraining valve before the cell contact.
In places where the flow speed is very low, it must be provided with a flow increase for a solution exchange.
solid presence will influence because of obstruction that they can cause at the electrodes or even a super
conduction (in metal cases).
! Chemical
It is necessary to consider the chemical aggressiveness and clogging caused at the electrodes, this can
modify the geometry, altering the constant value.
In these cases, the electrodes must be chemically aggressive and must be cleaned periodically.
2
Page 5

Certificado de Garantia
1.
4.
Based on process conditions, the cells must be build of material previously specified, such as: Stainless
Steel 316, Epoxy or PTFE with radial electrodes or SS316 annulars, Platinum, Titanium or others
depending on its resistance to the solutions chemical aggressiveness .
The electrical connection is done in isolated teminals with ceramic base located at the cast aluminum head,
SAE 323, with low oxydation degree, treated against corrosion and finished with electrostatic epoxy paint.
The head offers IP-67 protection, allowing the instrumentation cable to go thru by a ½ “NPT threaded hole
or a ½ “ cable knockout.
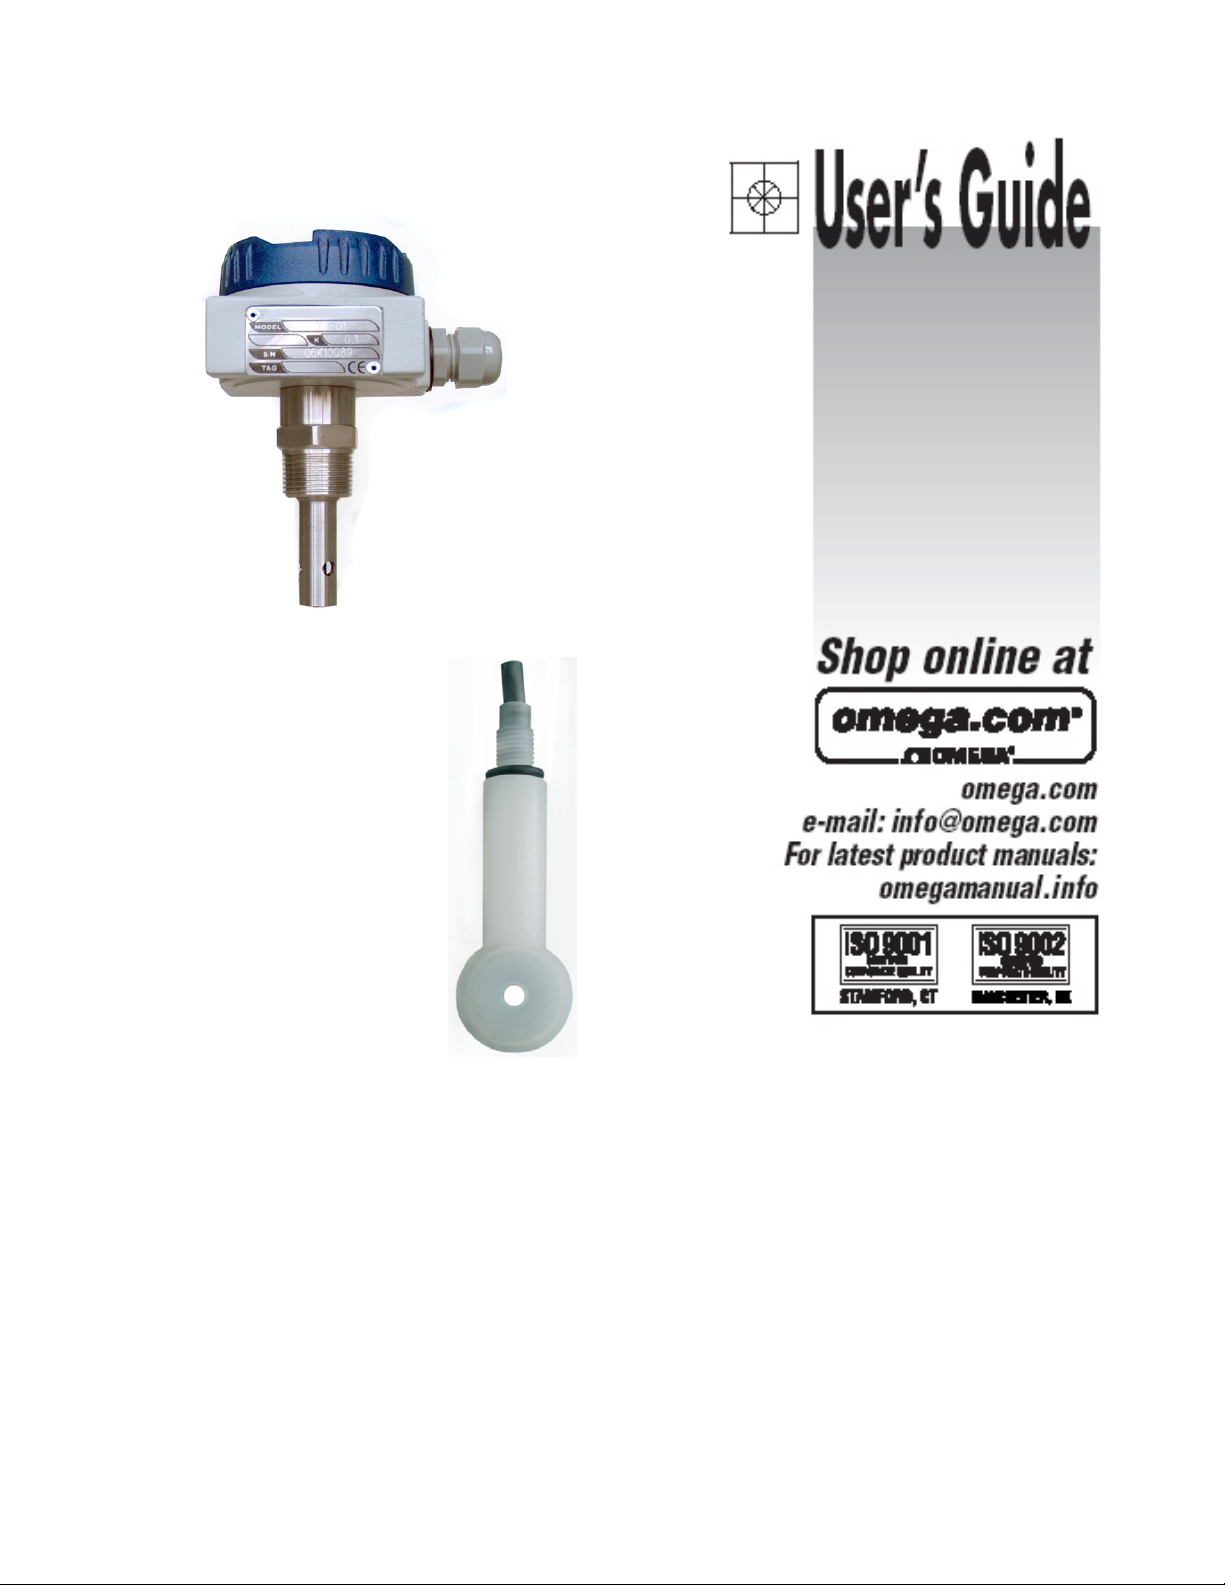
Mechanical Description
Cell Models CDE-440-001, CDE-440-01,
CDE-440-1, CDE-440-5 and CDE-44001T are called Insertion or Immersion
Cells.
Insertion Cell CDE-440-01
Cell Model CDE-442 is called Toroydal or
Electrodeless Cell, as it does not offer
electrodes. The body material could be
Epoxy or PTFE, where the Toroydal
nucleus (2) are located, indulging an
electromagnetic field, that will generate
an electrical current (called Focault
Current) proportional to the sample
concentration. This type of cell is
recommended for high clogging
concentration and highly chemically
aggressive.
This Cell can only be used with
Conductivity Analyzer Model# CDCN442.
Toroydal Cell CDE-442
3
Page 6

1.
Model CDE-440-001 CDE-440-01 CDE-440-1 CDE-440-5 CDE-440-1T CDE-442
Type
Insertion Torroid
Range (S/cm)
0.01µS
to 2mS
0.1µS to 20mS
1µS
to 100mS
10µS
to 150 mS
0.1µS
to 20mS
1mS
to 1S
Cell Constant (K) cm-1 0.01 0.1 1 5 0.1 NA
Temperature(@ Atm
Pressure)
0 to 100ºC 0 to 200ºC 0 to 100ºC
Max. Pressure(@25ºC) 10 Kgf/cm2 20 Kgf/cm2 10 Kgf/cm2
Insetion length(mm) 54 42 to 2000 60 90 100
Process Connection Threaded ¾ NPT
Threaded 1” ½
NPT
Threaded
Point
Body Material SS316 SS316 SS316 SS316 SS316 PTFE
5.
Certificado de Garantia
Technical Specifications
4
Page 7

Certificado de Garantia
1.
6.
Installation
Before you install your conductivity cell, please verify for any possible bubbles and if the sample is
constantly renewed.
ELECTRICAL CONNECTION
1. Prepare the cell installation point in area that offers good stirring, it is preferred to be close to the
equipment (maximum of 10 meters -32 feet ) and exempt of vibrations.
2. Verify if all threaded points are tied.
3. Proceed with the instrumentation cable connection originating from the equipment, going thru the cable
knockout of the electrical connection box and connecting it to the interconnection base.
Yellow
4
Green
Interconnection
Interconnection
Base
Base
3
Connection
Connection
Box
Box
1
2
Red
Black
4. Electrical installation example between the equipment and the cell.
F3F3
F2F2 F1F1
F4F4
TC-401TC-401
RS485RS485
++
1111
1717
NaNa
SHIELD
THERMO
MEAS
TERMOTERMO
55
5
4
3
2
1
VdVd
AmAm
44
33
Pr.Pr.
22
Vm.Vm.
..
BlindBlind
11
CN1CN1
S1S1
-- ++
CC
1010
1616
99
1515
NaNa
mA-2mA-2
S2S2
-- ++ --
CC
88
77
NaNa
mA-1mA-1
CC
66
1414
1313
S3S3
1212
CN3CN3CN2CN2 CN4CN4
2020
ACAC
1919
1818
Cable Knockout
5. Verify if the cable knockouts are firmly attached to its respective interconnection cables. This is
very important so the enclosure still offers IP-67. Sealing is crucial for a perfect performance
6. Be careful with humidity! It will diminish the impedance generating measuring errors. Verify the
cable press and if necessary, dry the area using a hair dryer.
7. Be careful when tying threaded areas, depending on the cable position, it can be cut!
Note: Cell model CDE-442 do not offer a connection box and it is necessary a good
instrumentation cable Sealing only at the equipment, as they do not offer connection cable.
5
Page 8

Certificado de Garantia
1.
6.
Installation (cont.)
Interconnection Cable
a) Do not cut on mend the cell cables!
Vd.Vd.
55
Am.Am.
44
Pr.Pr.
33
Vm.Vm.
22
Blind.Blind.
11
EQUIPMENTEQUIPMENT
Interconnection Cable
CELLCELL
GreenGreen
YellowYellow
Red Red
(Anode)(Anode)
(Cathode)(Cathode)
NTCNTC
CDE-442 Cell Interconnection
This cell type is also connected directly to the equipment connection barr, so cable terminal pin type are used for
some equipment cases.
Red
Colorless from Red
Black
Colorless from Shield
Blue
Colorless from Blue
6
Page 9

Certificado de Garantia
1.
6.
Installation (cont.)
Insertion Type
For a correct conductivity measurement, it is recommended to install the cell as shown on below
Illustration.
The liquid flow must go thru the Sensor and exit thru the holes located at the upper portion of the
sensor. See indicative arrows shown below, showing the recommended liquid flow.
Válve 2
Válve 1
Retractile Insertion Cell
For Retractable Insertion Cell installation, allow the liquid to exit thru the holes located on the upper
portion of the electrode or vice-versa.
FLOW
Torroydal Type
Torroydal cell CDE-442 generally must be installed in a Transfluency Body made out of lower
magnetic permeability material. Special attention must be observed regarding the sample flow being
CELL
CELL
RESERVOIR
Flanged
PIPING
Threaded Point
7
Page 10

Certificado de Garantia
1.
7.
All OMEGA equipments, are shipped from factory tested and calibrated. When under operation, the
Conductivity Cell must be maintained periodically (the frequency will depend on the process), which
would be basically cleaning, or if necessary, a new calibration.
Maintenance
Cleaning
Dip the electrodes in cleaning solution for 40 seconds, then wash throughly with deionized
water to avoid standard contamination, when it is time to perform a calibration.
Calibration
Equipments with range of 0 to 200µS or higher.
1. Dip cell 3 or 4 times in standard compatible with the equipment range. Wait 1 minute before you
can adjust the A.T.C. (Automatic Temperature Compensation), If necessary, move it vertically (up
and down) in order to eliminate any bubbles.
2. Proceed with the constant adjustment.
3. Repeat the operation "1" two or three times in order to confirm the value.
Calibration for Low Conductivity Reading(Ultra Pure Water)
Range 0.01µS thru 2µS
1. Assemble the Transfluency Cell and wash it well.
PVC TRANSFLUENCY
Hose Connection
1” Cap
1’’ Nipple
1’’ Elbow
Conductivity Cell
1’’ Nipple
Reducer 1’’
3/4”
2. Using a 500 mL beaker, place approximately 400 mL of deionized or distilled water. Using a
Conductivity Meter, adjust the conductivity value to approximately 50% of range value,
"contaminating" with high conductivity water (example: tap water).
3. Fill the transfluency with 146.9 uS/cm standard and return to the beaker many times in order to
rinse and eliminate contaminations. Finally leave the transfluency filled with the standard.
4. Verify the standard conductivity value and thru "constant adjustment" reproduce the same read
value at the equipment to be calibrated.
Repeat this operation many times until you can reproduce at least three times the calibrated value.
8
Page 11

Certificado de Garantia
1.
8.
1) When Calibrating the equipment, the function is not complete
Verify for humidity presence at probes header or at connection box of the equipment.
Another possibility could be the equipments interconnection cable and cell being cut or in short.
2) Reading above Range
First clean the cell and try to calibrate it. If this operation is not succefull, verify the point where the
cell is connected, making sure bubbles are not present and if the solution is flowing normally.
Troubleshooting
9
Page 12

Page 13

M-4506/0908
 Loading...