

Omano OM115-L, OM116-L, OM118-M3, OM118-M4, OM118-B4 Instruction Manual
...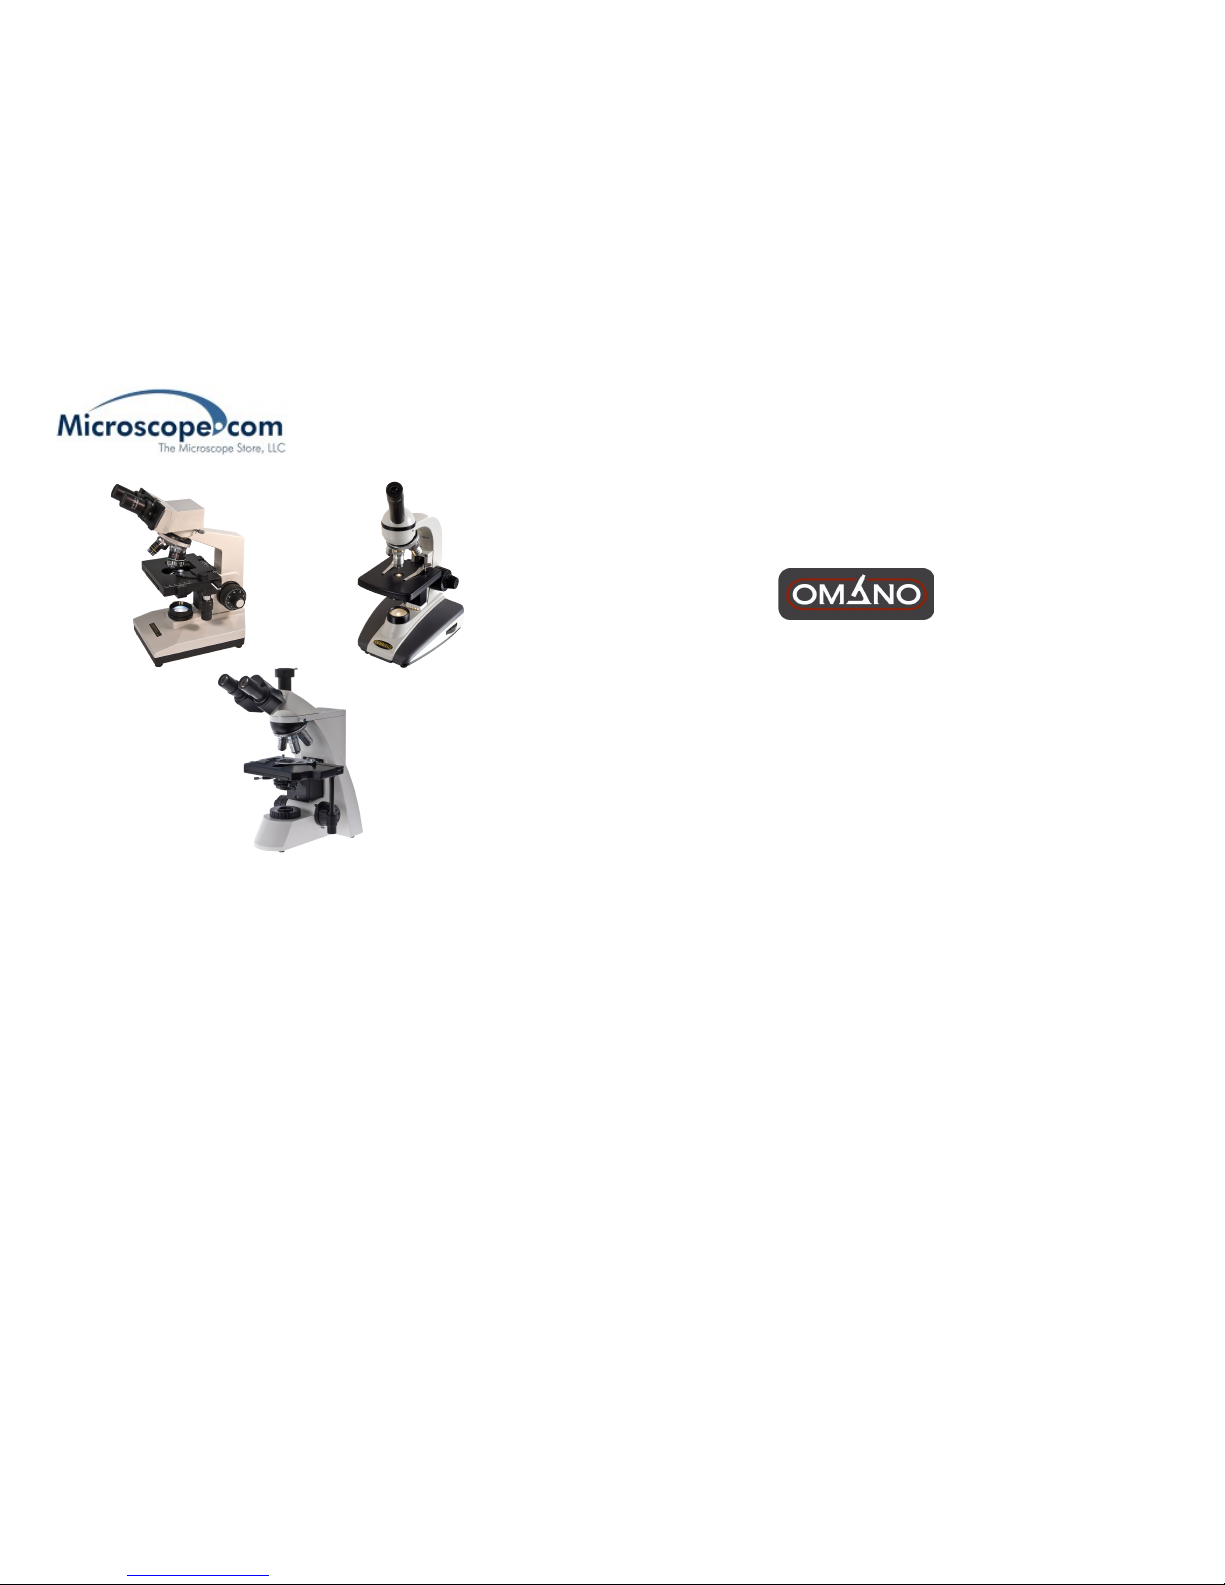
Compound Microscopes
Instruction Manual
Thank you for purchasing an Omano microscope. We hope you enjoy it!
It has been checked for quality before shipping, but please take time to ensure that
it has not been damaged in transit and that all the parts are included. Please
RETAIN ALL PACKAGING in case you need to return the microscope.

SAFETY
• WARNING – Lamp bulb can become extremely hot when in use and can cause burns. DO NOT TOUCH the lamp when in
use. Allow to cool for 15 minutes prior to handling.
• WARNING – RISK OF FIRE. Do not charge rechargeable LED microscopes for more than 2 hours.
• Do not dismantle any parts of the microscope, except where noted in the instruction manual. Dismantling the microscope will void the
warranty.
• In case of a problem with the microscope, call Microscope.com toll free on (877) 409-3556.
• Keep the microscope at temperatures between 0C – 40C / 32F – 104F, maximum humidity 85%.
• Do not place the instrument in direct sunlight or under direct indoor light. This environment can influence the quality of the specimen
imaging.
• Do not place the instrument in a dusty environment. When not in use, cover the microscope with the included dust cover.
• Keep the instrument on a level and sturdy surface.
• Carry the microscope in two hands, one hand under the base, the other holding the microscope arm.
ASSEMBLY
Some minor assembly may be required. If required,
1) Remove the microscope base from the packing material. Remove the microscope head from the packing material and place in the
focus block (ring holder). Tighten the thumbscrew to secure the head in position. You can view the microscope from either side of the
stand. Simply rotate the head through 360° and tighten the locking nut. If using a pole microscope, you can rotate the entire head and
focus block.
2) Remove and retain all packing material. Should you need to return the microscope, you will need the original packing material in good
condition under the terms of the Returns & Refunds policy.
3) Unwrap eyepieces and insert into oculars. If included, press eyecups on to the outside of eyepieces.
4) Tighten all locking nuts on the microscope.
 Loading...