

Olin DVC-330R, DVC-330P Operating Manual

1
Table of Contents
Operation guide……………………………………………………………………………………………………… 2
Maintenance and precautions for the camcorder…………………………………………………… 2
Maintenance and precautions for SD Memory card……………………………………………….. 3
System Requirements…………………………………………………………………………………………….. 4
Accessories……………………………………………………………………………………………………………… 5
Know Your Camcorder……………………………………………………………………………………………. 6
Buttons and Function Indicators…………………………………………………………………………….. 7
Getting Started………………………………………………………………………………………………………. 8
Basic Functions…..…………….……………………………………………………………………….…………… 10
Advanced Fuctions…………………………………………………………………………………………………. 11
Video Recording available options………………………………………………………………………….. 15
Still Photo available options……………………………………………………………………………………. 16
System Setting Available Options……………………………………………………………………………. 18
Connecting camcorder to Computer ……………………………………………………………………… 22
Connecting camcorder to TV………………………………………………………………………………….. 23
Specification…………………………………………………………………………………………………………… 23
Troubleshooting…….……………………………………………………………………………………………….. 25
Warranty................………………………………………………………………………………….…………….. 26

2
Operating guide
Thank you for purchasing this Digital Camcorder. Please read this manual thoroughly
before operating the unit, and retain it for future reference.
Note: The operating guide is prepared with latest available information. The specification
of unit in the package of is subject to change without prior notice.
− Avoid all contact with water, and dry hands before using.
Maintenance and precautions for the camcorder
− Do not expose the camcorder to extreme high or low temperature or leave it in
direct sunlight.
− Avoid using the camcorder when this is a storm or lighting.
− Do not use organic solvent to clean lens. Clean only with soft dry cloth.
− Use only the accessories supplies by the manufacturer.
− Do not use batteries of different specifications.
− Remove batteries during long periods between usages.
− Dispose of used batteries according to the instructions.
3
Maintenance and precautions for SD Memory
card
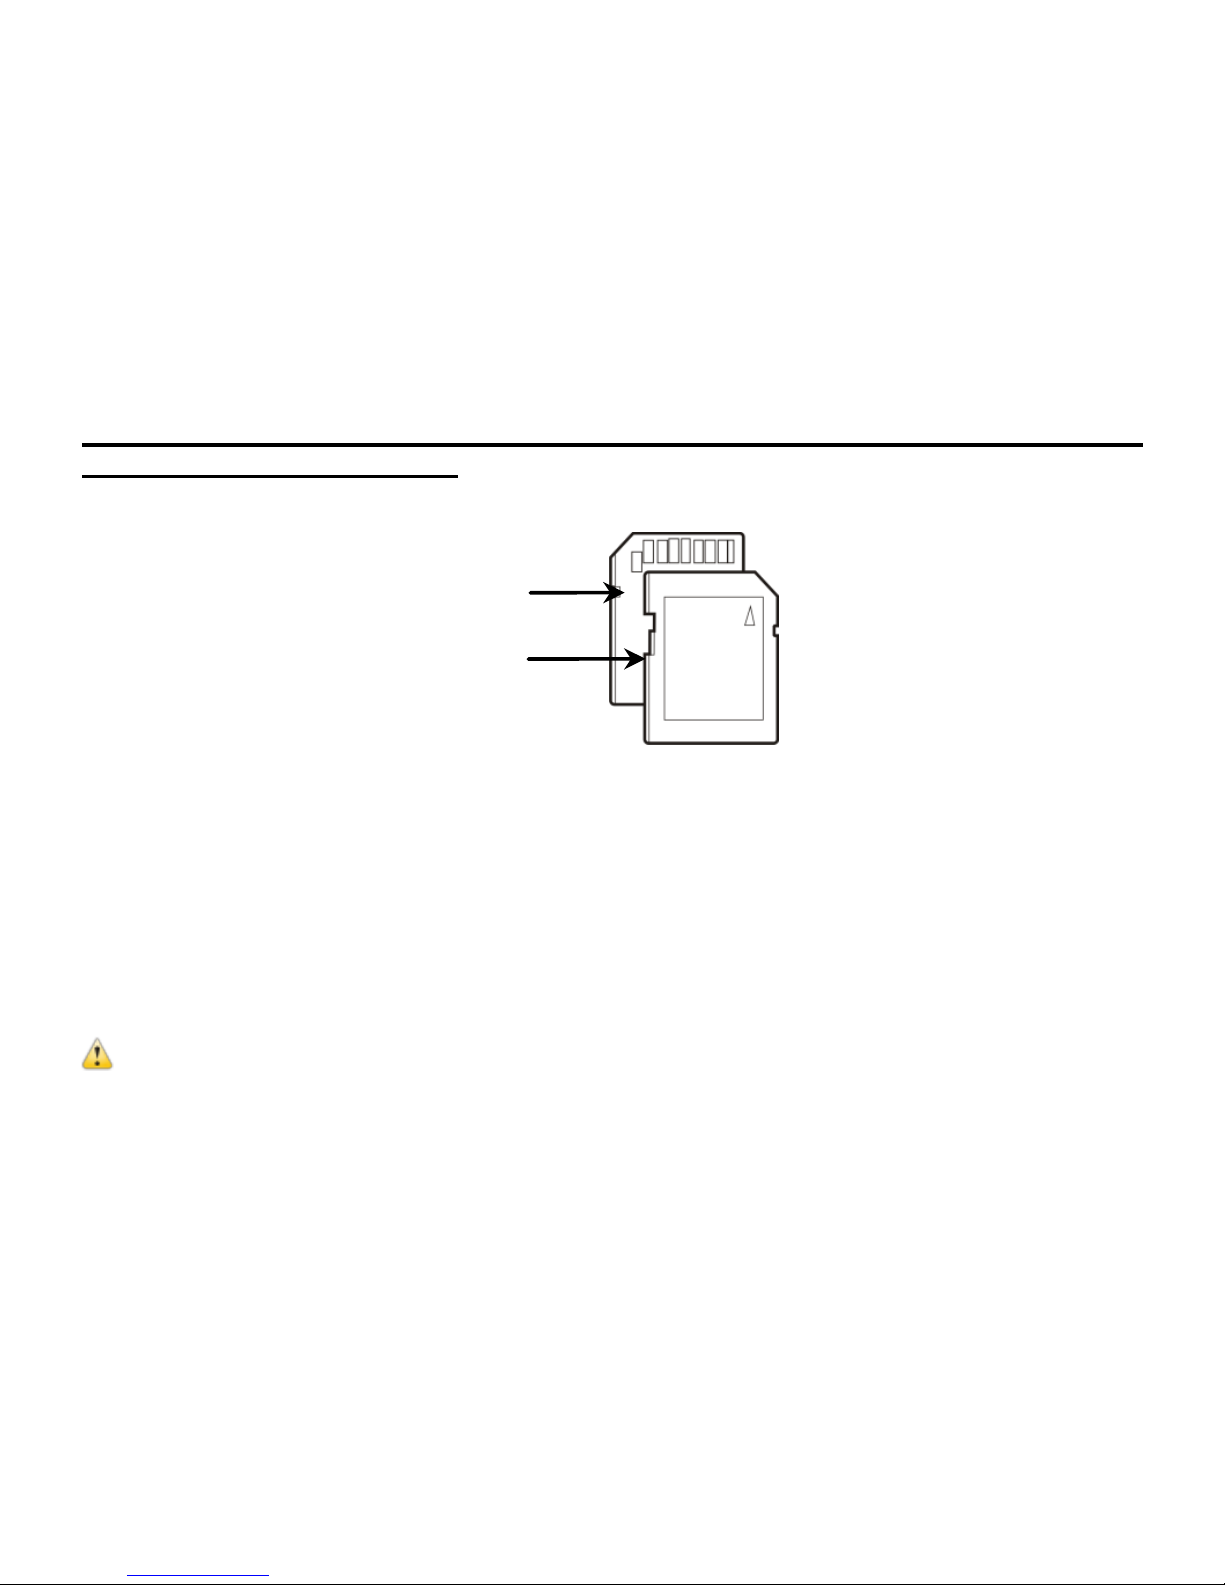
SD Memory Card
• Please note that the SD card has tiny LOCK slider on the side for write
protection of the SD memory card that helps avoid inadvertent deletion of
image files. Set this slider to “un-LOCK” position for storing still images or
recording videos.
• SD Memory card is delicate electronic device; do not open, bend or overheat
the card.
• Keep the card away from strong magnetic field and dirty / harsh environment.
Note: If your SD card has been used previously with other devices / cameras or is
brand new – the card may require to be formatted – please ensure you save all valuable
records before formatting.
Contact pins / connectors
Write protection LOCK
switch

4
System Requirements
You may use the computer to download images and videos from your camcorder.
Make sure that your computer complies with (below) minimum requirements:
System Requirements
Operating System
Microsoft Windows XP
CPU
Intel Pentium4 1GHZ
Memory 512MB
CD-ROM/DVD Drive 24x CD-ROM DRIVE or above
Hard Drive space 1GB free HDD space
USB port Standard USB1.1 or USB2.0 port
5
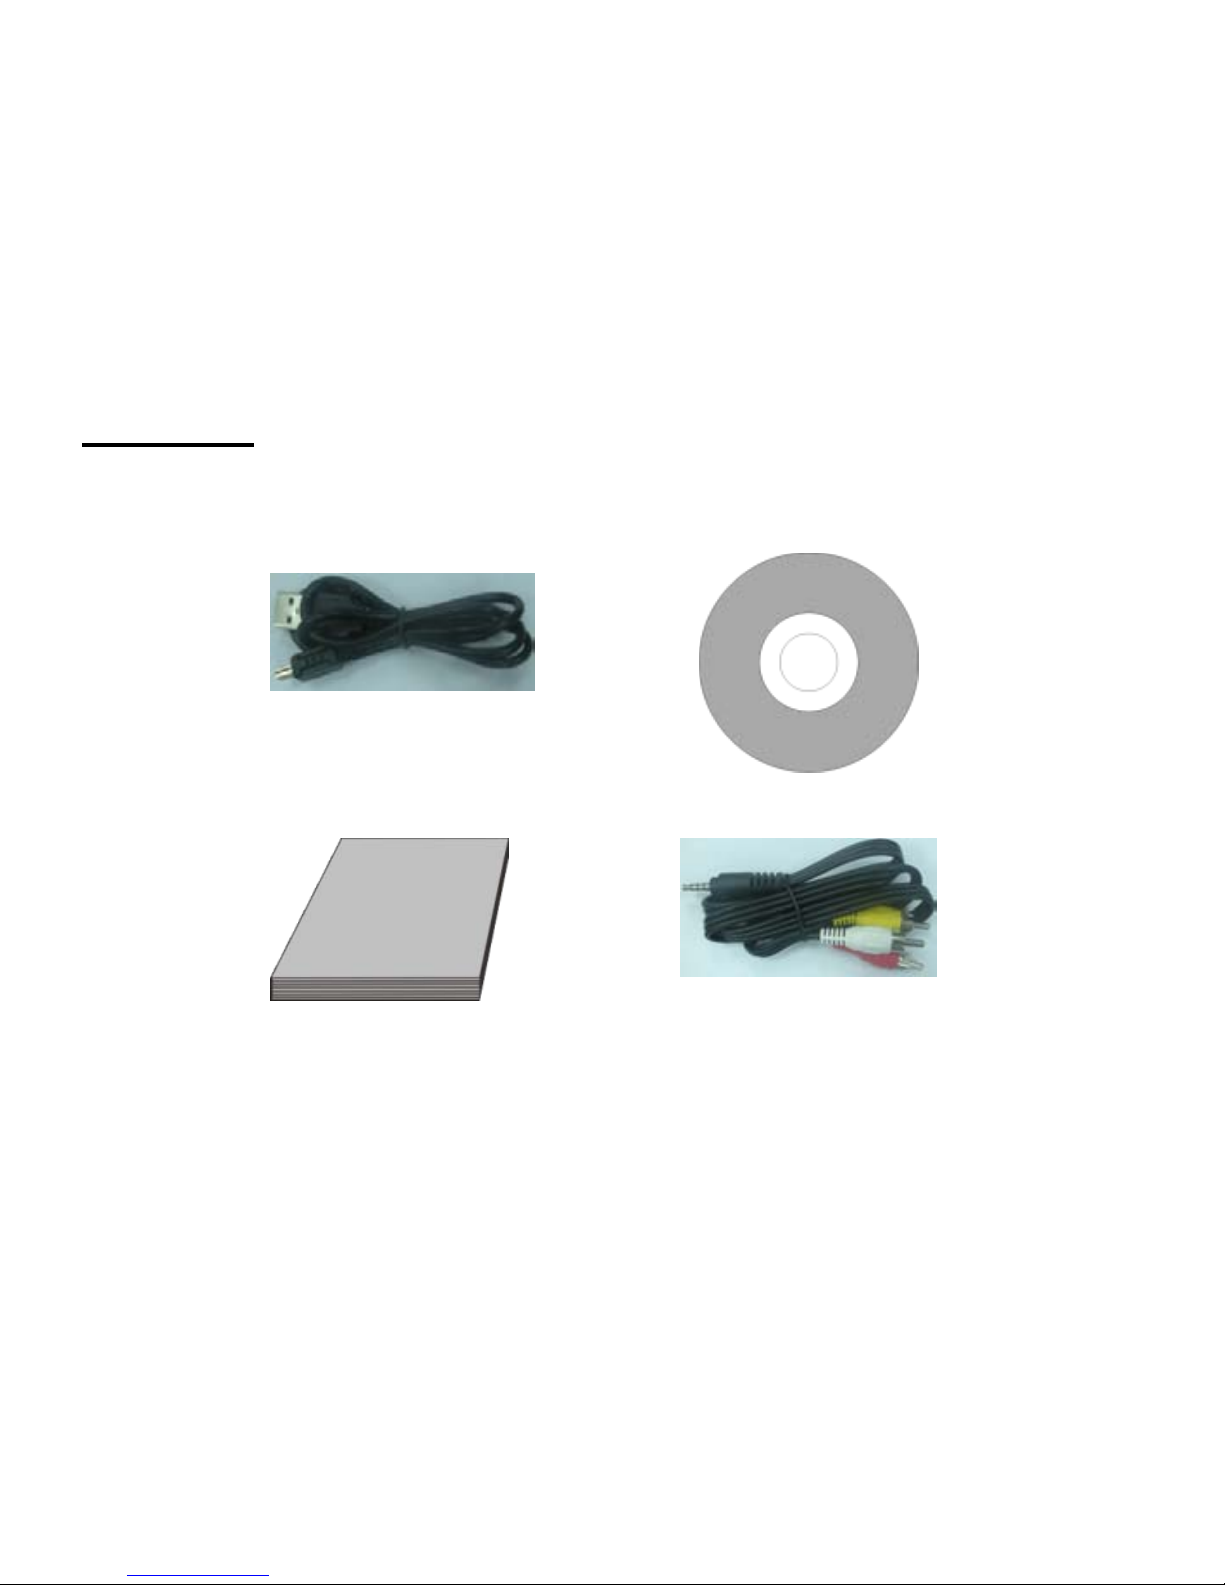
Accessories
The following accessories are packed together with the camcorder:
USB Cable Installation CD
User Manual TV Cable

6
Know Your Camcorder
1.Zoom in Botton
2.Playback Botton
3.Zoom out Botton
4.AV interface
5.Mini-USB interface
6.Lanyard roller
7.Working indicator light
8.Power Button
9.Left/Timer Button
10.Up/Disp Button
11.OK Button
12.Right/Light Button
13.Down Button
14.Speaker
15.Delete Button
16.MODE Button
17.MENU Button
18.Shutter Button
19.Microphone
20.Fill light
21.Timer light
22.Battery cover
23.Lens
24.Tripod socket
25. SD card slot

7
Buttons and Function Indicators
Buttons/Indicator
Function
Power Button Press to turn camcorder ON and OFF
SHUTTER Button
Press to start / stop video recording or taking Still Photo
Zoom IN
Zoom OUT
Press to zoom in scene
Press to zoom out the scene
MENU Button
Press to enter or exit the MENU selection
MODE Button
Press to select desired mode: Video Recording or Taking
Still Photos
PLAYBACK Button Press to enter / exit the PLAYBACK Mode
UP /DISP Button
- Press to scroll UP available options in the Menu
- Display OSD Information, or Turn Off/On the screen
DOWN Button
-Press to scroll DOWN available options in the Menu
LEFT/Timer
Button
- Photo Mode: set to take a photo in 2s or10s
- Playback Mode: select previous file
RIGHT/Light
Button
- Playback Mode: select next file
- Video/Photo Mode: Turn on/off LED light
OK Button
- Press to enter submenu or select the option in Menu

8
- Playback mode: Press to start /stop video playing
Delete Button
-Video/photo Mode: Press to delete the last record
-Playback Mode: Press to delete the selected file
Fill light
To extend the brightness of the objects
Timer Indicator Indicator blinks when self-timer starts counting down
GETTING STARTED
Note:
You require 3* AAA alkaline batteries and SD/SDHC Memory Card to operate the
camcorder. These accessories are supplied separately. The supported capacity of SD/SDHC
memory card by this camcorder is up to 32GB.
Loading Batteries
- Open the Battery cover and insert three new AAA alkaline batteries into the battery
compartment.
- Sure inserting the batteries according to the correct polarity marks (+ or -)
- Close the battery cover.
9
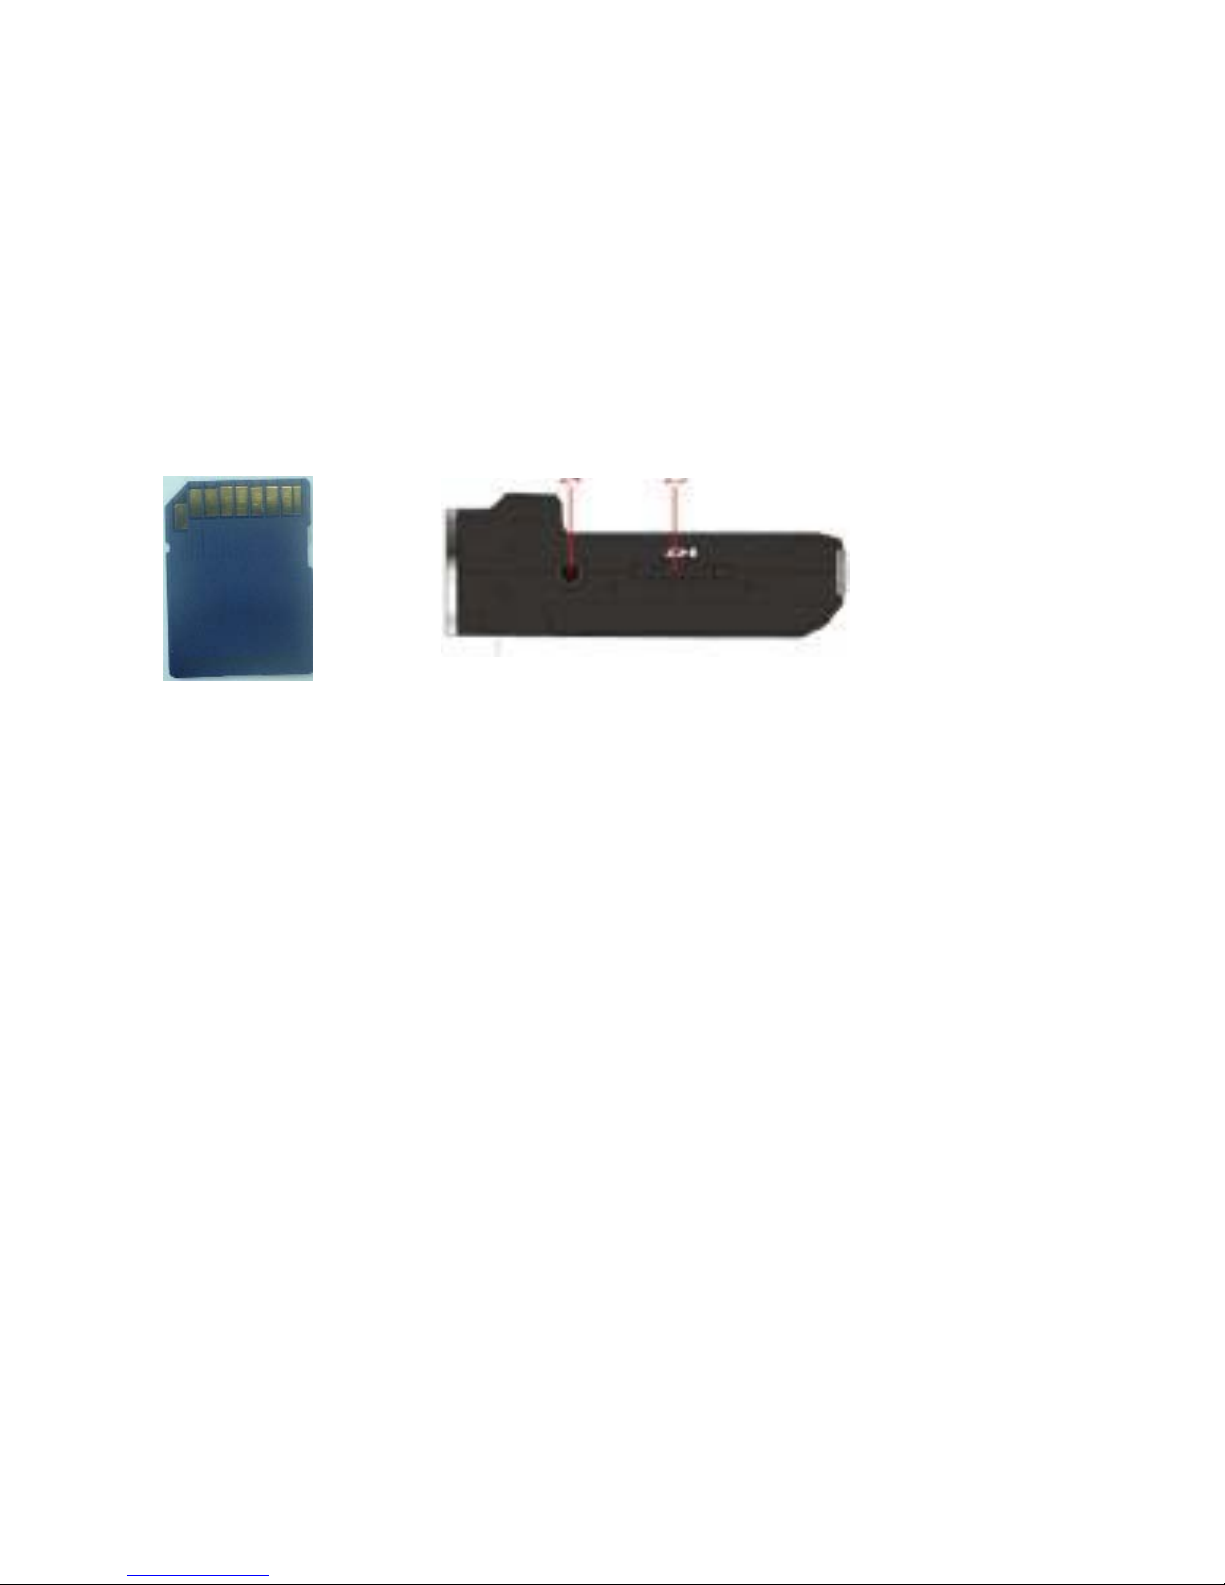
Installing SD Memory Card
- Position and insert SD Memory card into the SD card slot.
- Note the orientation of the card and insert as indicated. Press it down until the card is
firmly locked. Do not force card during insertion as the card or card slot could become
damaged.
To remove or replace the card, press the card down. The card will pop up and you may
remove the card from the camcorder.
Notes:
The card has a tiny “LOCK” slider located on the side. Set this slider to “non-LOCK”
position before inserting and taking video or still images.
Turn OFF the camcorder before inserting / removing or changing the memory card;
Insert the memory card according to the position mark. Do not force. If the card
cannot be inserted easily please check card alignment and position then repeat
installation.
 Loading...