

Page 1
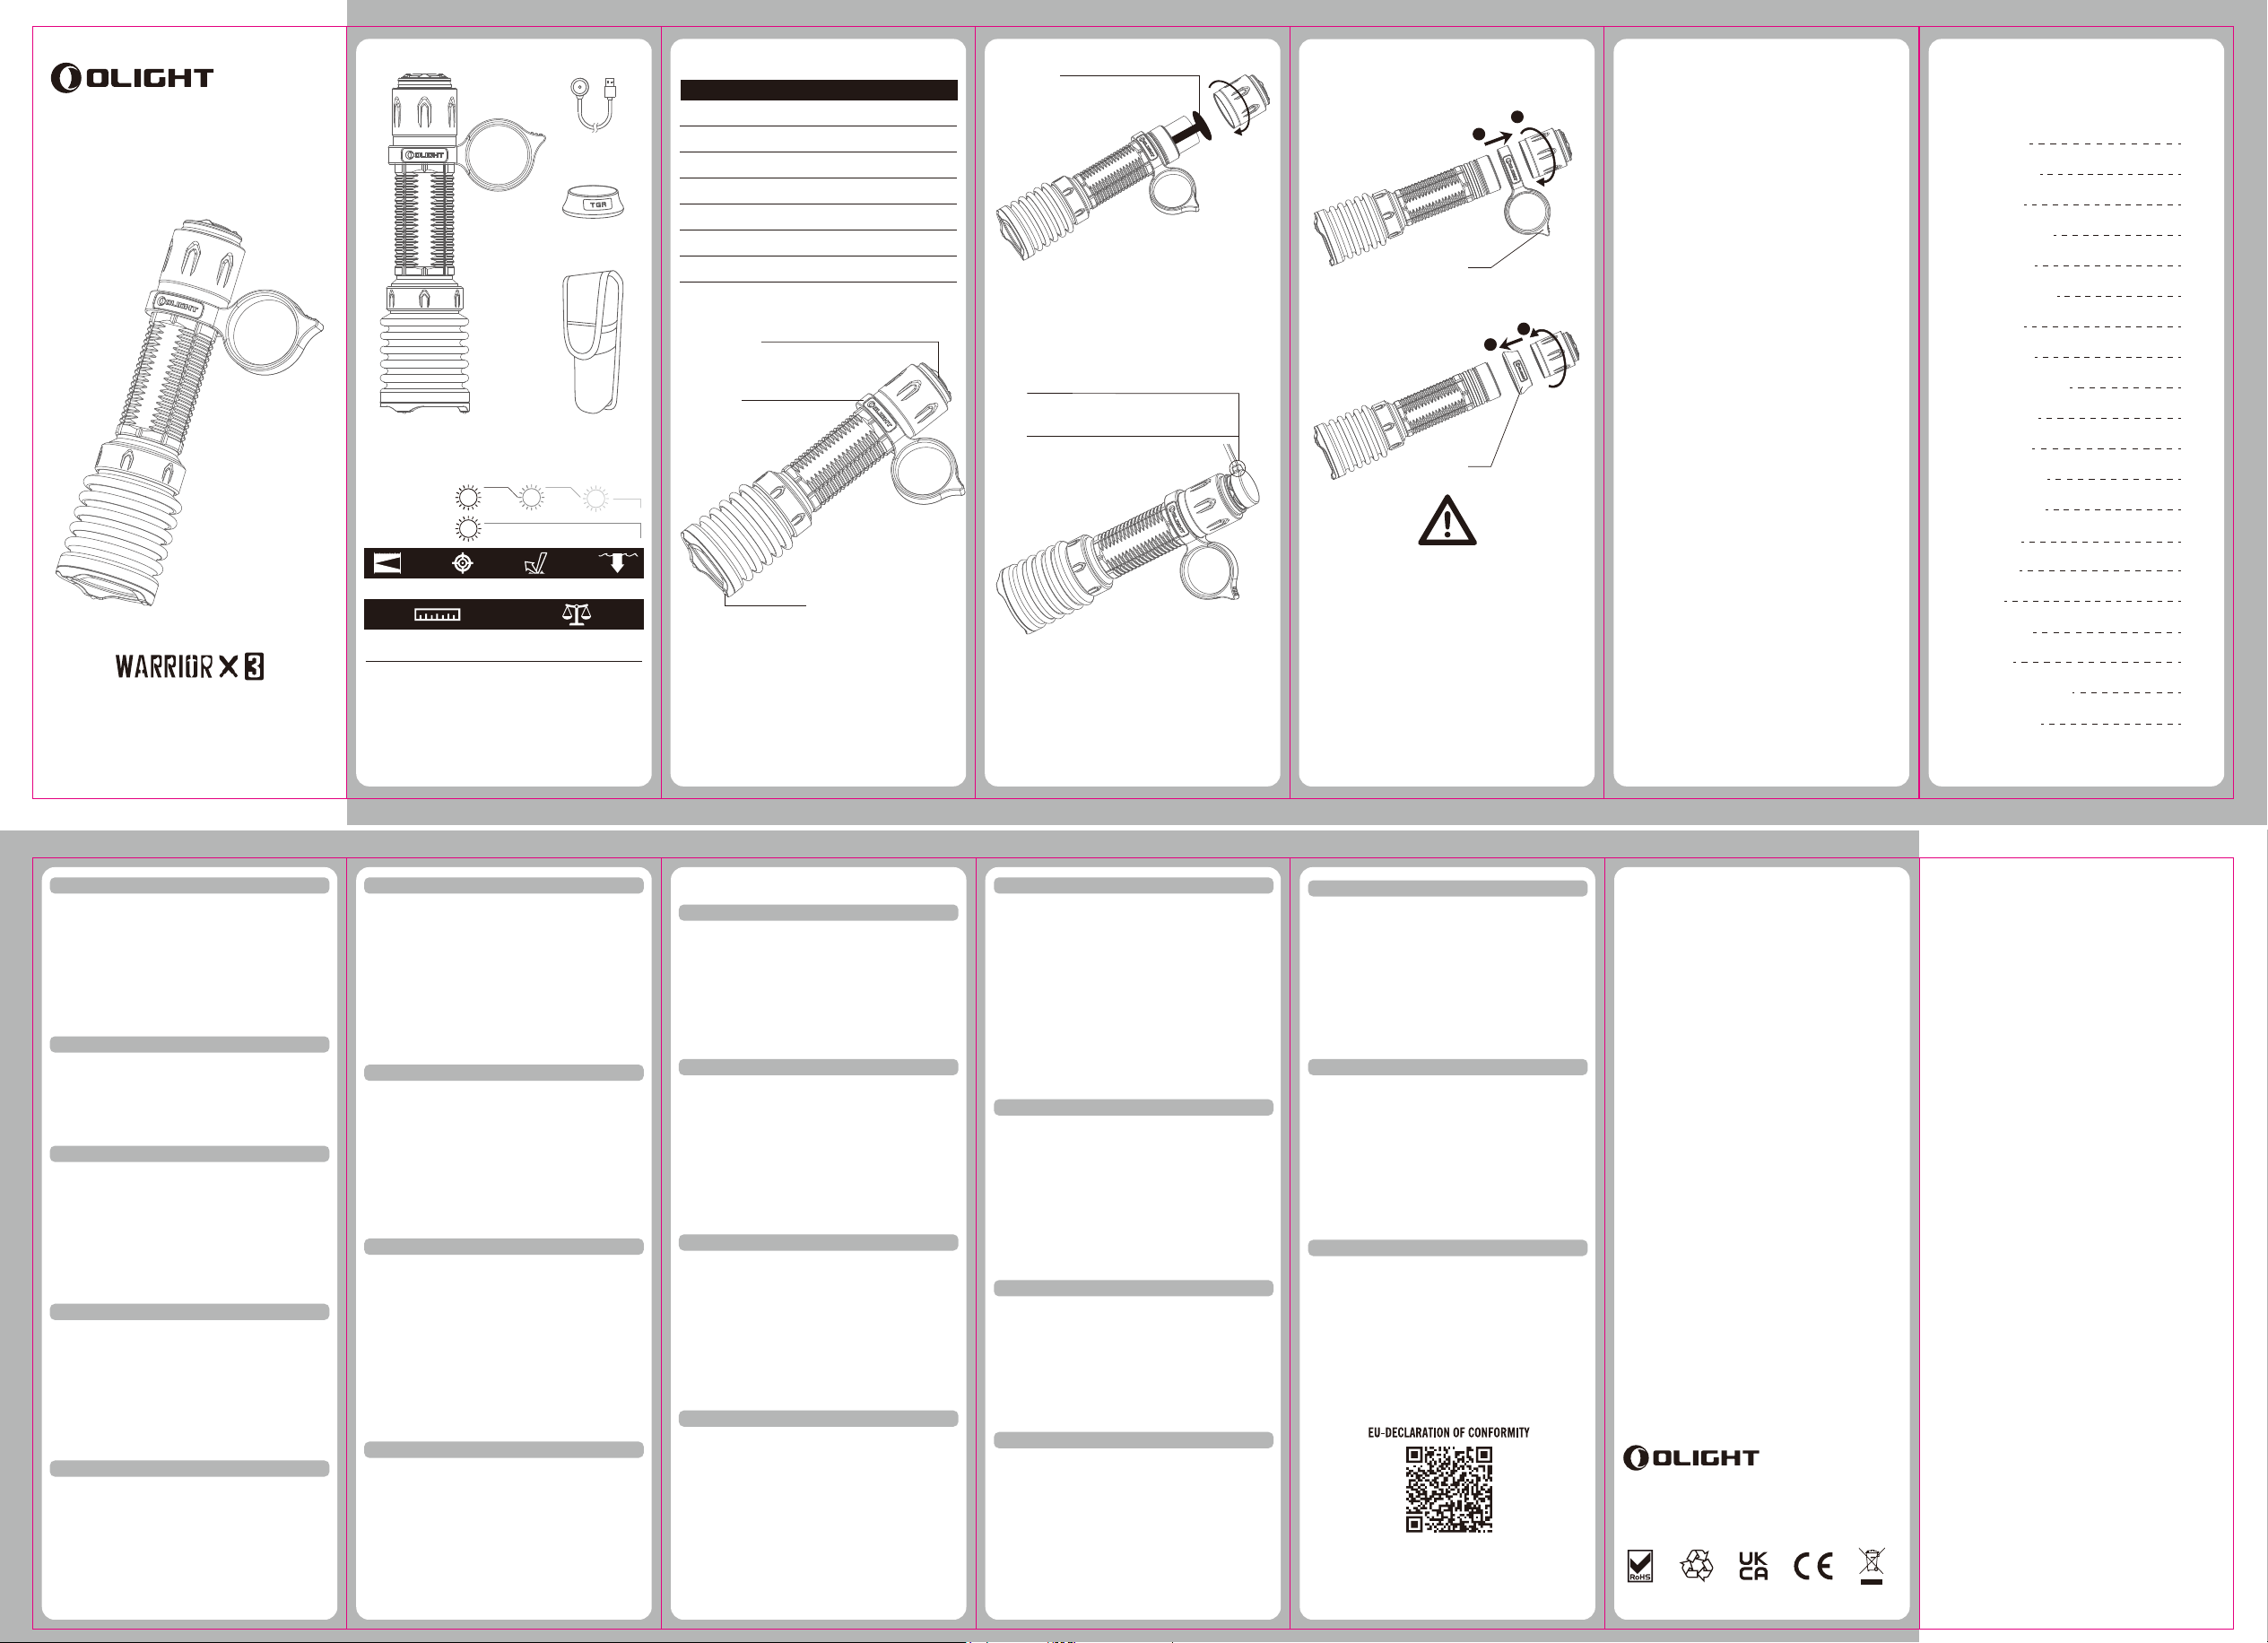
USER MANUAL
Thank you for purchasing this Olight Product. Please read
this manual carefully before use and keep it for future
reference!
IN THE BOX
USB Magnetic
Charging Cable
Silicone
Tactical Grip Ring
Warrior X 3
(With Battery and Warrior Ring)
Holster
SPECIFICATIONS
2,500 lumens
HIGH
LOW
560m
(L)149.5*(D)39mm
(L)5.89* (D)1.54in
All above specifications are test results based on ANSI/NEMA FL1-2009
Standard. The tests are performed using the battery included in the flashlight.
The tests are performed indoors under a room temperature of 25
degrees celsius with windless conditions. The runtime may vary
depending on the external temperature and ventilation conditions, and
these biases may affect the results of testing.
Note: The maximum output brightness will decrease as the battery
voltage decreases.
100%
100%
300 lumens
78,000cd 2m
40%
2.5min
129min
255g/ 8.99oz
(Including Battery and Warrior Ring)
12%
13min
8h
IPX8
USB MAGNETIC CHARGING CABLE -- MCC3
Parameter Specication
Charging cable
Input
Charging pattern
Maximum
charging current
Voltage of fully
charged battery
Charge indication
Time to fully charge
USB type A - magnetic charging connector, length: 0.5m
USB A - Type DC 5V 2A
CC&CV
2A
4.2V±0.05V
Red: charging
Green: full (over 95%) or disconnected with flashlight
5.5 hours
PRODUCT OVERVIEW
Magnetic Tailcap
Tail Switch
WarriorRing
ZirconiumBead
AVAILABLE BATTERY
• 1 x customized 5000mAh 21700 rechargeable lithium-ion battery
BATTERY INSTALLATION
Before first use, unscrew the tailcap and remove the insulating
film within the battery compartment before screwing the tailcap
back on tightly. If the battery needs to be changed, make sure
that the positive end of the new battery faces the flashlight
head when you put it in.
Insulating lm
Remove the insulating film
Unscrew
CHARGING
Vibrating Power Indicator
It helps to alert if the battery is low (power≤20% vibrate once
every 5 minutes; power≤10% vibrate once per minute; power≤5%
vibrate once every 10 seconds).
GREEN
Charging Completed
RED
Charging
* Before first use please fully charge the product.
* Connect the USB end of the magnetic charging cable to an external
USB power source, then attach the other end of the cable to the
magnetic charging port of the light. It takes no more than 5.5 hours to
fully charge the light. (For reference only. When the USB power source
is insufficient to provide 5V 2A power capacity, the charging time will
be longer.) The red indicator means charging, while the green indicator
means charging completed (battery level>95%).
* Only charge with standard MCC3, not compatible with other MCC.
TGR (TACTICAL GRIP RING) INSTALLATION
a.
Unscrew the tailcap and remove the Warrior Ring.
2
WarriorRing
b. Install the silicone TGR and tighten the tailcap.
Silicone TGR
DANGER
• DO NOT shine the light directly into human eyes. This may
cause temporary blindness, or permanent damage to the eyes.
• DO NOT cover the flashlight's head or place the head on the
ground when the flashlight is on. The radiation energy may
cause damage to the flashlight itself, or even result in the
burning of flammable objects nearby.
• DO NOT use non-protected rechargeable batteries.
• DO NOT use the battery if the casing is broken.
• DO NOT take the battery out of the flashlight for charging.
WARNING
• Keep out of reach of children.
1
Unscrew
2
1
Tighten
• DO NOT activate high mode repeatedly under high temperature to
prevent the flashlight body from overheating and hurting the
user’s hand.
• The tail switch may not work while immersed in sea water or
other conductive media. Please try to keep it clean and dry.
• If the product is left unused or carried and transported, please
loosen the tailcap a half turn to avoid accidentally activating the
flashlight.
•Store the battery with care. If the battery needs to be changed,
please take good care of the battery taken out. DO NOT mix it
with the conductive metals.
NOTICE
• DO NOT short-circuit the tail switch cap with the surrounding
ring. A short circuit in this case will result in a weak electric
discharge between them and may lead to a complete battery
drain if it is in this state for too long.
• The magnetic tail switch cap is easy to attract iron debris.
Please keep the tail switch cap and the ring surrounding it clean.
EXCLUSION CLAUSE
Olight is not liable for damages or injuries sustained
resulting from the usage of the product inconsistent
with the warnings in the manual.
( EN ) English
( CN ) 简体中文
( FI ) Finnish
( NO ) Norwegian
( SV ) Swedish
( NL ) Nederlands
( PL ) Polska
( DE ) Deutsch
( HU ) Magyarország
( RU ) Русский
( ES ) Español
( RO ) Romanesc
( UA ) Ukrainian
( JP ) 日本語
( KR ) 한국어
( TH ) ไทย
( FR ) Français
( IT ) Italia
( SK ) Slovenskýjazyk
( PT ) Português
CONTENTS
01
01
01
01
01
02
02
02
02
03
03
03
03
04
04
04
04
05
05
05
( EN ) English
HOW TO OPERATE
Click the tail switch lightly to produce a low light output or press
the tail switch hard to produce a high light output.
Single click (click and release quickly) the tail switch to turn the
flashlight on or off.
When you press and hold the switch, the flashlight will be in
momentary mode; when you release the tail switch, it will turn off.
) 简体中文
( CN
如何操作手电
轻按输出低亮档,重按输出高亮档。
单按(按下并快速释放)开启或关闭手电。
长按并保持,手电开启,按键释放时手电同步关闭。
( FI
) Finnish
VALAISIMEN KÄYTTÖ
Käytä alhaista valotehoa painamalla kytkintä kevyesti ja korkeaa
valotehoa painamalla kytkintä kovaa.
Kytke valaisin päälle ja pois päältä painamalla kytkintä kerran
lyhyesti.
Käytä valaisinta hetkellisesti pitämällä kytkintä käytön ajan
painettuna. Valo sammuu kun kytkin vapautetaan.
) Norwegian
( NO
HVORDAN BRUKE
Klikk lett på bryteren for å produsere et svakt lys, eller trykk hardt
på bryteren for høy lyseffekt.
Enkelt klikk (klikk og slipp raskt) på bryteren for å slå lommelykten
av eller på.
Når du trykker og holder inne bryteren, vil lommelykten være i
øyeblikkelig modus, når du slipper bryteren, vil den slå seg av.
( SV
) Swedish
BYTA EFFEKTLÄGE
Klicka på knappen lätt och lampan kommer lysa med svag styrka
eller klicka på knappen hårt för att lampan ska lysa med hög ljusstyrka.
Klicka en gång (tryck släpp snabbt) på knappen för att tända/släcka
lampan.
När du klickar och håller ned knappen, kommer lampan tändas
momentant, när du släpper knappen, slocknar lampan.
01 02 03 04 05
( NL
) Nederlands
HOE TE BEDIENEN
Klik zachtjes op de staartschakelaar om een laag lichtrendement te
produceren of druk hard op de staartschakelaar om een hoog
lichtrendement te produceren.
Eén keer klikken (snel klikken en loslaten) op de staartschakelaar
om de zaklamp in of uit te schakelen.
Als u de schakelaar ingedrukt houdt, bevindt de zaklamp zich in
tijdelijke modus; als u de staartschakelaar loslaat, wordt deze
uitgeschakeld.
( PL ) Polska
INSTRUKCJA UŻYTKOWANIA:
lekkie wciśnięcie tylnego przycisku spowoduje uruchomienie latarki
w trybie najniższym. Mocne wciśnięcie tylnego przycisku
spowoduje włączenie trybu najwyższego.
Pojedyncze wciśnięcie tylnego przycisku spowoduje włączenie lub
wyłączenie latarki.
Wciśnięcie i przytrzymanie tylnego przycisku spowoduje chwilowe
włączenie, puszczenie przycisku wyłączy latarkę.
) Deutsch
( DE
BEDIENUNG
Durch leichtes Drücken des Endkappenschalters erhält man eine
niedrige Lichtleistung, durch festeres Drücken des Endkappenschalters erhält man eine hohe Lichtleistung.
Durch einmaliges Drücken des Endkappenschalters (schnelles
Klicken und Loslassen) wird die Taschenlampe an- oder
ausgeschaltet.
Wenn Sie den Endkappenschalter gedrückt halten, leuchtet die
Taschenlampe im Momentary Modus; Wenn Sie den Endkappenschalter loslassen, wird die Taschenlampe ausgeschaltet.
( HU ) Magyarország
A HASZNÁLAT MÓDJA
Nyomja meg finoman a hátsó zárókupakon lévő kapcsolót az
alacsony fényerőfokozat üzemmód kapcsolásához. A lámpa erős
fényerőfokozatra kapcsolásához nyomja be teljesen a hátsó
zárókupakon lévő kapcsolót.
A hátsó zárókupakon lévő kapcsoló gyors teljes benyomásával és
felengedésével a lámpa bekapcsolható, illetve kikapcsolható.
A kapcsoló benyomásának és nyomva tartásának idejére a lámpa
bekapcsol, majd a kapcsoló felengedésekor kikapcsol.
( RU ) Русский
Инструкция
Легкое нажатие активирует режим 300 люмен,
полное нажатие активирует режим 2500 люмен.
Для вкл/выкл фонаря необходимо быстро нажать
и отпустить торцевую кнопку.
Если нажать и удерживать кнопку, фонарь будет
гореть до тех пор, пока Вы ее не отпустите.
( ES ) Español
CÓMO OPERAR
Pulse suavemente el interruptor remoto para producir poca luz de
salida o pulse fuerte el interruptor remoto para producir mucha luz
de salida.
Un Sólo Clic (pulse brevemente) el interruptor remoto para
encender o apagar la linterna.
Cuando mantiene pulsado el interruptor, la linterna estará en modo
momentáneo; Cuando suelta el interruptor remoto, se apaga.
( RO ) Romanesc
MOD DE OPERARE:
Apasati butonul usor pentru a porni in modul mic sau apasati
butonul ferm (tare) pentru a porni modul maxim.
Apasare normala (apasati scurt apoi eliberati) pentru a porni sau
opri lanterna.
Atunci cand apasati și mentineti apasat butonul, lanterna va intra
în mod iluminare momentan; la eliberarea butonului din spate
lanterna se va stinge.
( UA ) Ukrainian
Як працює:
Легке натискання на торцеву кнопку вмикає
економний режим яскравості; сильніше
натискання переводить ліхтарик у стандартний
режим світіння.
Одне швидке натискання кнопки (натисніть і
одразу відпустіть) вмикає і вимикає ліхтарик.
Якщо натиснути і так утримувати кнопку, ліхтарик
світитиме, і вимкнеться, якщо кнопку відпустити.
( JP ) 日本語
使用方法
ご使用前に電池カバー部の電池絶縁シールを取り外
してください。
テールスイッチを軽く押すとLowモードで常時点
灯。
強く押すとHighモードで点灯します。
テールスイッチをシングルクリック(クリックして
素早く離す)するとライトが点灯・消灯します。
テールスイッチを長押すと(指はスイッチから離し
ないまま)ライトが点灯します、スイッチを離すと
消灯します。
(KR) 한국어
작동 방법
테일 스위치를 가볍게 누르면 로우 라이트가
켜지고 끝까지 눌러주면 하이 라이트가 켜집니다.
테일 스위치를 한번 클릭하여( 클릭 후 빠르게
풀다) 전원을 ON/OFF 할 수 있습니다.
스위치를 누른 채로 유지하면 일시적으로
라이트를 켤 수 있으며 스위치에서 손을 떼면
라이트는 꺼집니다.
( TH ) ไทย
ไฟฉาย Warrior X 3 มีโหมดต่าง ๆ
อยู่หลายโหมดซึ่งสามารถกำหนดได้โดยการกดสวิทซ์ท้ายหนักหรือเบา
สำหรับการเปิดปิดไฟฉาย ทำได้โดยการกดสวิทซ์ท้ายแล้วปล่อย
ไฟฉายจะเปิด ทำอีกครั้งเพื่อปิดไฟฉาย
ส่วนการเปิดหรือปิดชั่วคราว ได้โดยการกดสวิทซ์ท้ายครึ่งนึงค้างไว้
ไฟฉายจะติด และไฟฉายจะดับเมื่อปล่อยสวิทซ์ท้าย
( FR ) Français
COMMENT L’UTILISER
Presser légèrement le bouton arrière pour activer le niveau de
sortie faible ou presser plus fort pour activer le mode fort.
Un simple clic (presser et relâcher rapidement) allume et éteint la
lampe.
Lorsque vous pressez et maintenez le bouton, la lampe s’active
momentanément ; lorsque vous relâchez le bouton la lampe
s’éteint.
( IT ) Italia
FUNZIONAMENTO
Premere leggermente l'interruttore posteriore per produrre
un'emissione di luce bassa o premere con forza l'interruttore
posteriore per produrre un'elevata emissione di luce.
Con un solo clic (fare clic e rilasciare rapidamente) l'interruttore
posteriore per accendere o spegnere la torcia elettrica.
Quando si tiene premuto l'interruttore, la torcia si trova in modalità
momentanea; quando si rilascia l'interruttore, si spegne.
( SK ) Slovenskýjazyk
AKO POUŽÍVAŤ
Ľahko stlačte spínač koncovky, aby ste dosiahli slabý svetelný
výkon, alebo stlačte silnejšie koncový spínač, aby ste dosiahli
vysoký svetelný výkon.
Jedným kliknutím (rýchlym kliknutím a uvoľnením) koncovým
spínačom zapnite alebo vypnite svietidlo.
Keď stlačíte a podržíte spínač, svietidlo bude vo chvíľkovom
režime; pri uvoľnení koncového spínača sa vypne.
( PT ) Português
COMO OPERAR
Pressione levemente no interruptor traseiro para obter luz fraca ou
pressione o interruptor traseiro com força para obter luz forte.
Pressione uma vez (clique e liberte rapidamente) o interruptor
traseiro para ligar ou desligar a lanterna.
Quando mantiver o interruptor pressionado, a lanterna entra no modo
momentâneo e desliga-se quando libertar o interruptor traseiro.
EU-Declaration of Conformity can be found here:
https://olightworld.com/ec-declaration
WARRANTY
Within 30 days of purchase: Contact the original seller for
repair or replacement.
Within 5 years of purchase: Contact Olight for repair or
replacement.
Battery Warranty: Olight offers a one year warranty for all
rechargeable batteries.
MCC Magnetic USB Charging Cable: One year.
The other no warranty fragile or low-value fittings like
lanyard and clip, you can contact post-sale in 30 days after
purchase if it has quality drawback or damage under normal
use condition. Over 30 days or damage under abnormal use
condition, the conditional quality assurance will be provided
as appropriate.
USA Customer Support
Global Customer Support
Visit www.olightworld.com to see our complete
product line of portable illumination tools.
Dongguan Olight E-Commerce Technology Co., Ltd
4th Floor, Building 4, Kegu Industrial Park, No 6 Zhongnan Road, Changan
Town, Dongguan City, Guangdong, China.
Made in China
3.0061.6010.9000
A. 10. 31. 2021
THANK YOU!
 Loading...