

Page 1

Rev. Orig
Issue Date: 1/14/2010
Doc. # K-07.1982.0000
Page 1 of 4
Johnson Outdoors
125 Gilman Falls Rd Building B
Old Town, Maine 04468
1-800-8-KAYAKS
http://www.neckykayaks.com
ACS Seat
Replacement Kit
* Note - This kit is to replace boats that contain a standard Extrasport seat with Deck
Brackets. This kit will not work for Ratchet style seats*
KIT CONTENTS
Ref. Letter Part Number Description Quantity
A
B
C
D
E
F
G
H
TOOLS REQUIRED: Phillips Screwdriver, or Screw gun with Phillips Head Bit, Drill with ¼” bit.
07.3238.0000
07.2000.0556
01.1315.1547 ¼-20 Stamped Washer 4
07.2890.0000 ¼-20x1 ¼” Truss Bolt 4
01.1315.1603 ¼-20x1” Truss Bolt
07.2118.0000 ¼” Bonded Sealing Washer
01.1315.2592 Deck Brackets 2
1.1331.0845 Seat Bungee 1
ACS Seat Assembly 1
Seat Stabilizer
2
4
4
B
F
E
G
H
C
D
Please read and understand all of the instructions before attempting installation
Step 1: Remove Old Seat:
A
1. Remove the old seat by backing out the 4 bolts on the sides of the cockpit using a screw gun with a
Phillips Head bit or a Phillips Head screw driver. With the 4 Bolts removed take the seat out of the
cockpit.
2. Place Seat (A) in boat. Insert 1”1/4-20 Truss Bolt (E) through a 1/4” Bonded Washer (F) then through
the Bow most seat hole. Repeat on the other side of the Cockpit. See Fig. #1 & Fig. #2
2.A For Old Town Models – Use the 1 ¼” ¼-20 Truss Bolts (D) and the ¼-20 Stamped Washers (C).
Fig. #1 Fig. #2
Page 2
Rev. Orig
Issue Date: 1/14/2010
Doc. # K-07.1982.0000
Page 2 of 4
Johnson Outdoors
125 Gilman Falls Rd Building B
Old Town, Maine 04468
1-800-8-KAYAKS
http://www.neckykayaks.com
ACS Seat
Replacement Kit
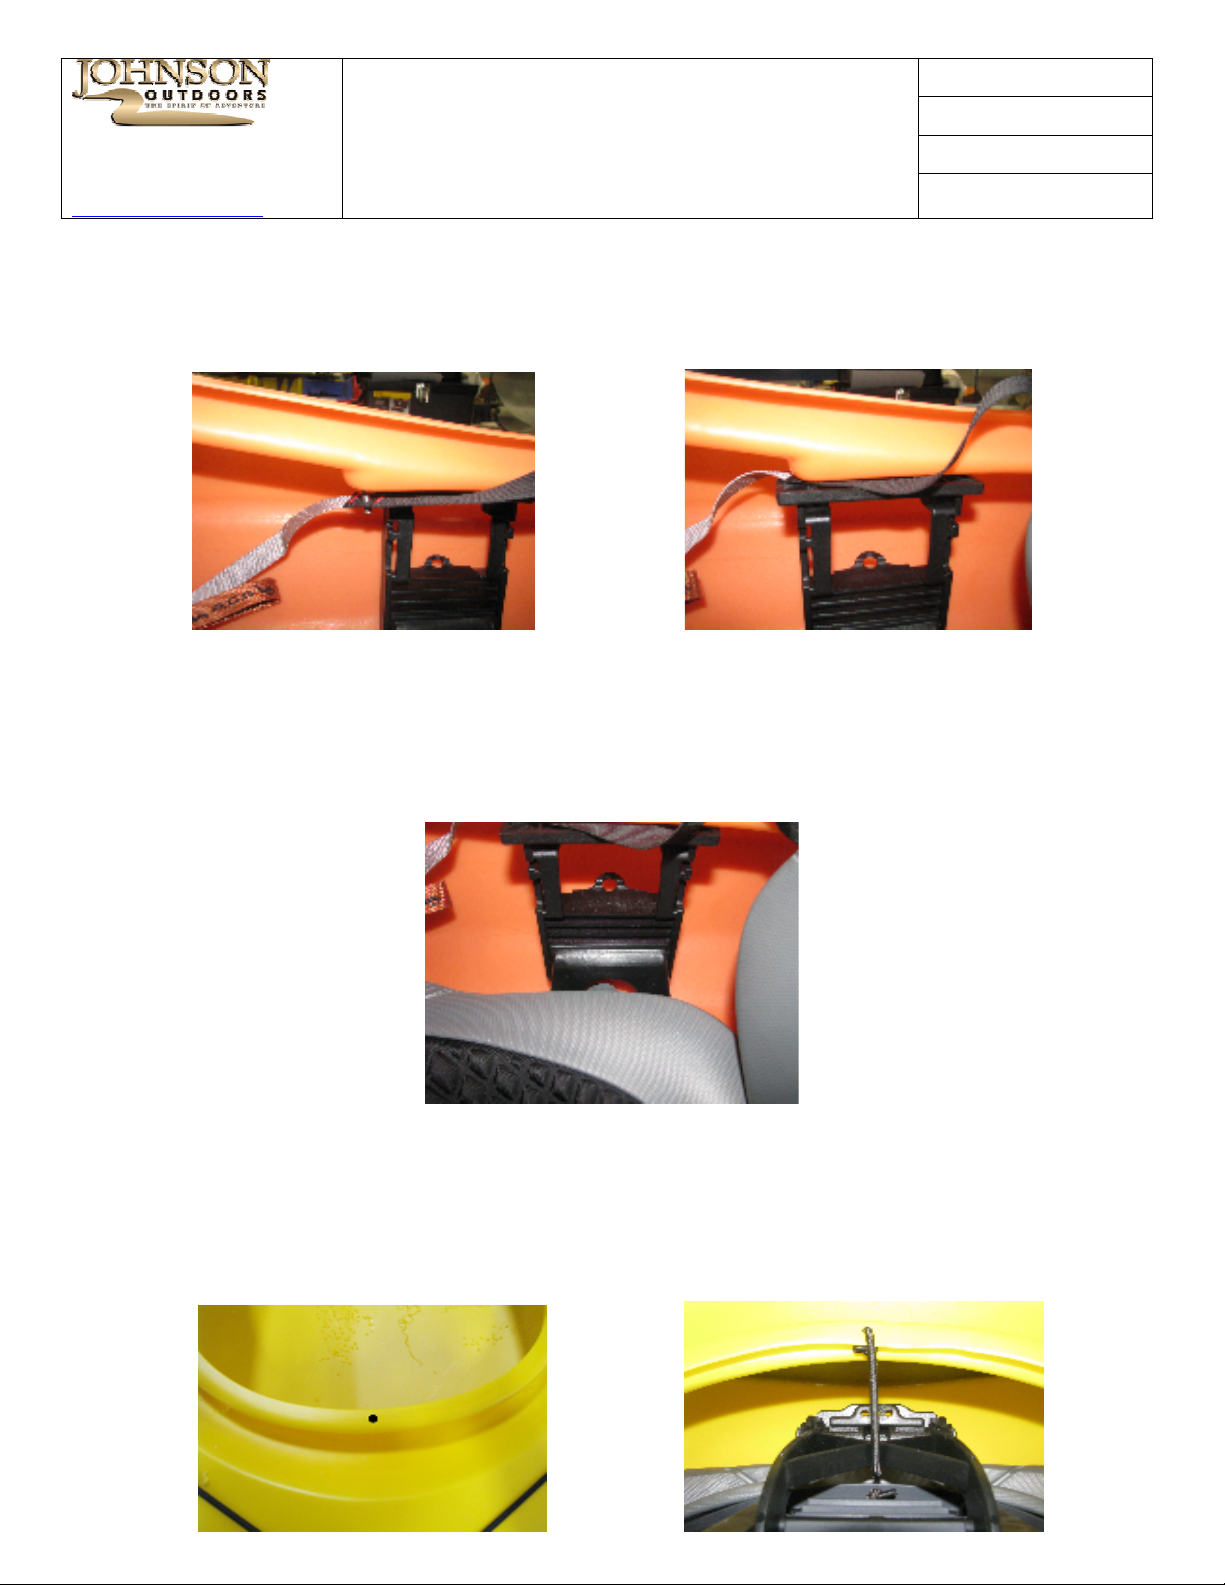
3. Thread bolt through hole in seat strap making sure strap is untwisted. See Fig. #3. Screw Bolt into bow
hole of a Deck Bracket (G) ensuring the little loop on the bracket faces to the outside of the boat. Make
sure strap comes out between bow and stern hole of Deck Bracket. See Fig. #4. Repeat on the other
side of seat.
Fig. #3 Fig. #4
4. Use another Truss Bolt and Washer and attach bracket through Stern hole. Repeat on the other side.
5. Insert the tabs of the seat into the brackets making sure that the seat rests on the hull floor and is not
elevated. You must use the same rung of the bracket on each side of the seat. See Fig. #5
Fig. #5
6. With a 1/4” bit drill a hole in the center - Stern end of the cockpit rim. See Fig. #6. Tie an overhand
knot in the 9” Bungee (H) and run it down through the hole in the seat bracket then up and over the
bracket on the back of the seat. Then run it down through the hole at the back of the cockpit and tie a
double overhand knot. See Fig. #7
Fig. #6 Fig. #7
Page 3
Rev. Orig
Issue Date: 1/14/2010
Doc. # K-07.1982.0000
Page 3 of 4
Johnson Outdoors
125 Gilman Falls Rd Building B
Old Town, Maine 04468
1-800-8-KAYAKS
http://www.neckykayaks.com
ACS Seat
Replacement Kit
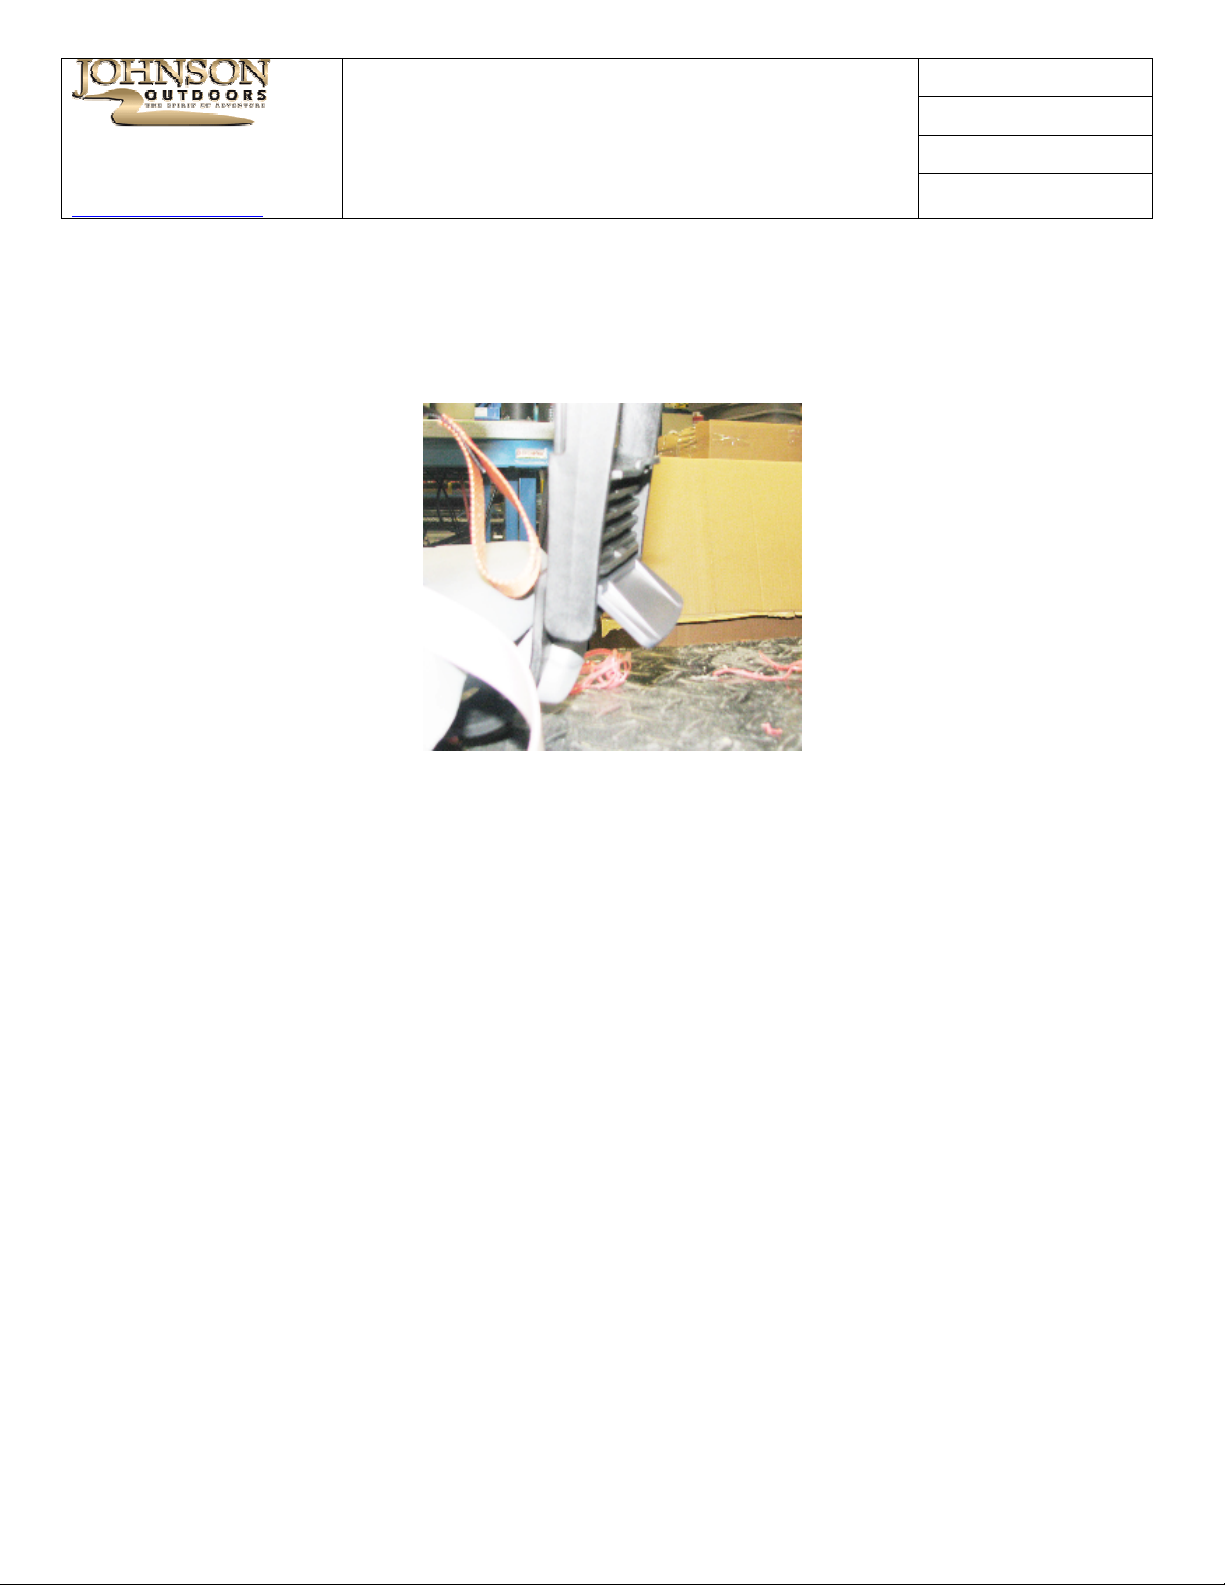
7. Optional – If, when installed, your seat moves from side to side, you can install the Stabilizers (B) on the
backside of the bracket (opposite side from where the seat clicks into the bracket). Snap the Stabilizer
into the bracket one rung down from where the seat snaps in. See Fig. #8
Fig. #8
 Loading...