

Oktober MK16s, MK32, MK, MK19s Operation Manual
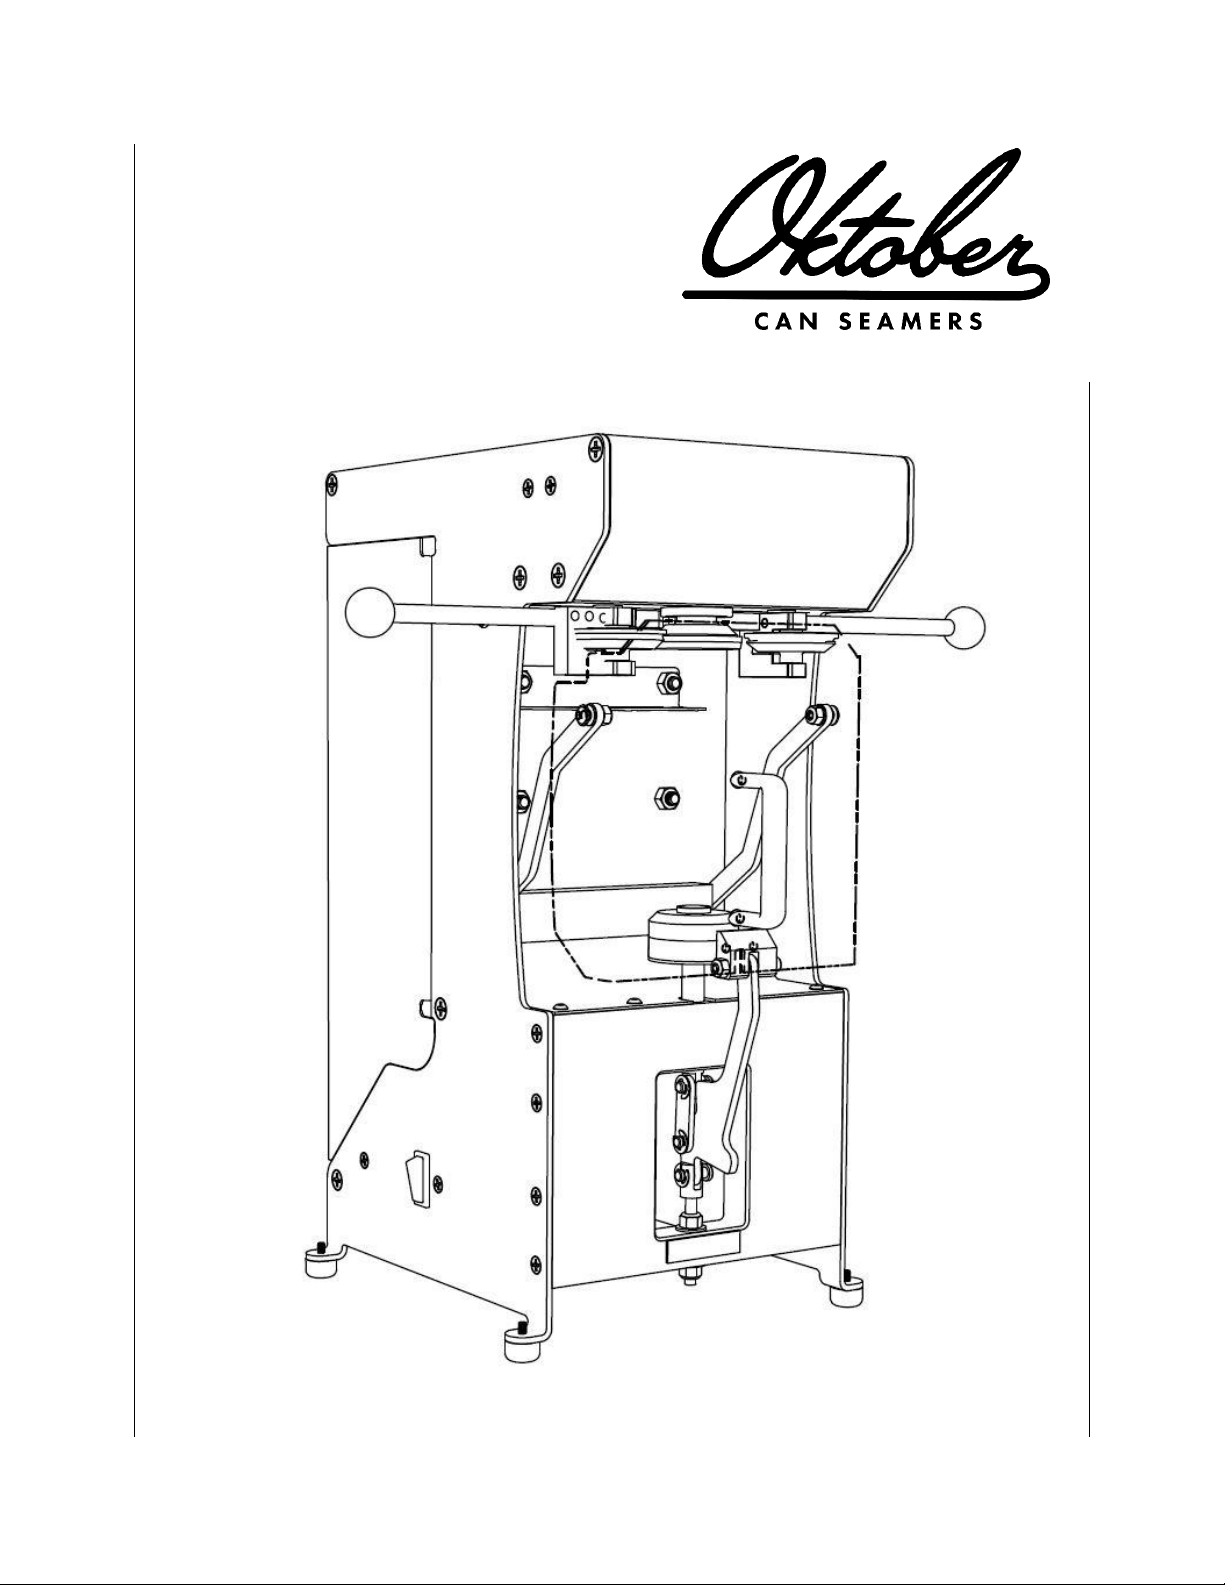
OKTOBER CAN SEAMERS
MKseries
Operation Manual
Version 2. May 17, 2019
SET-UP
Check out the how-to videos on our website!
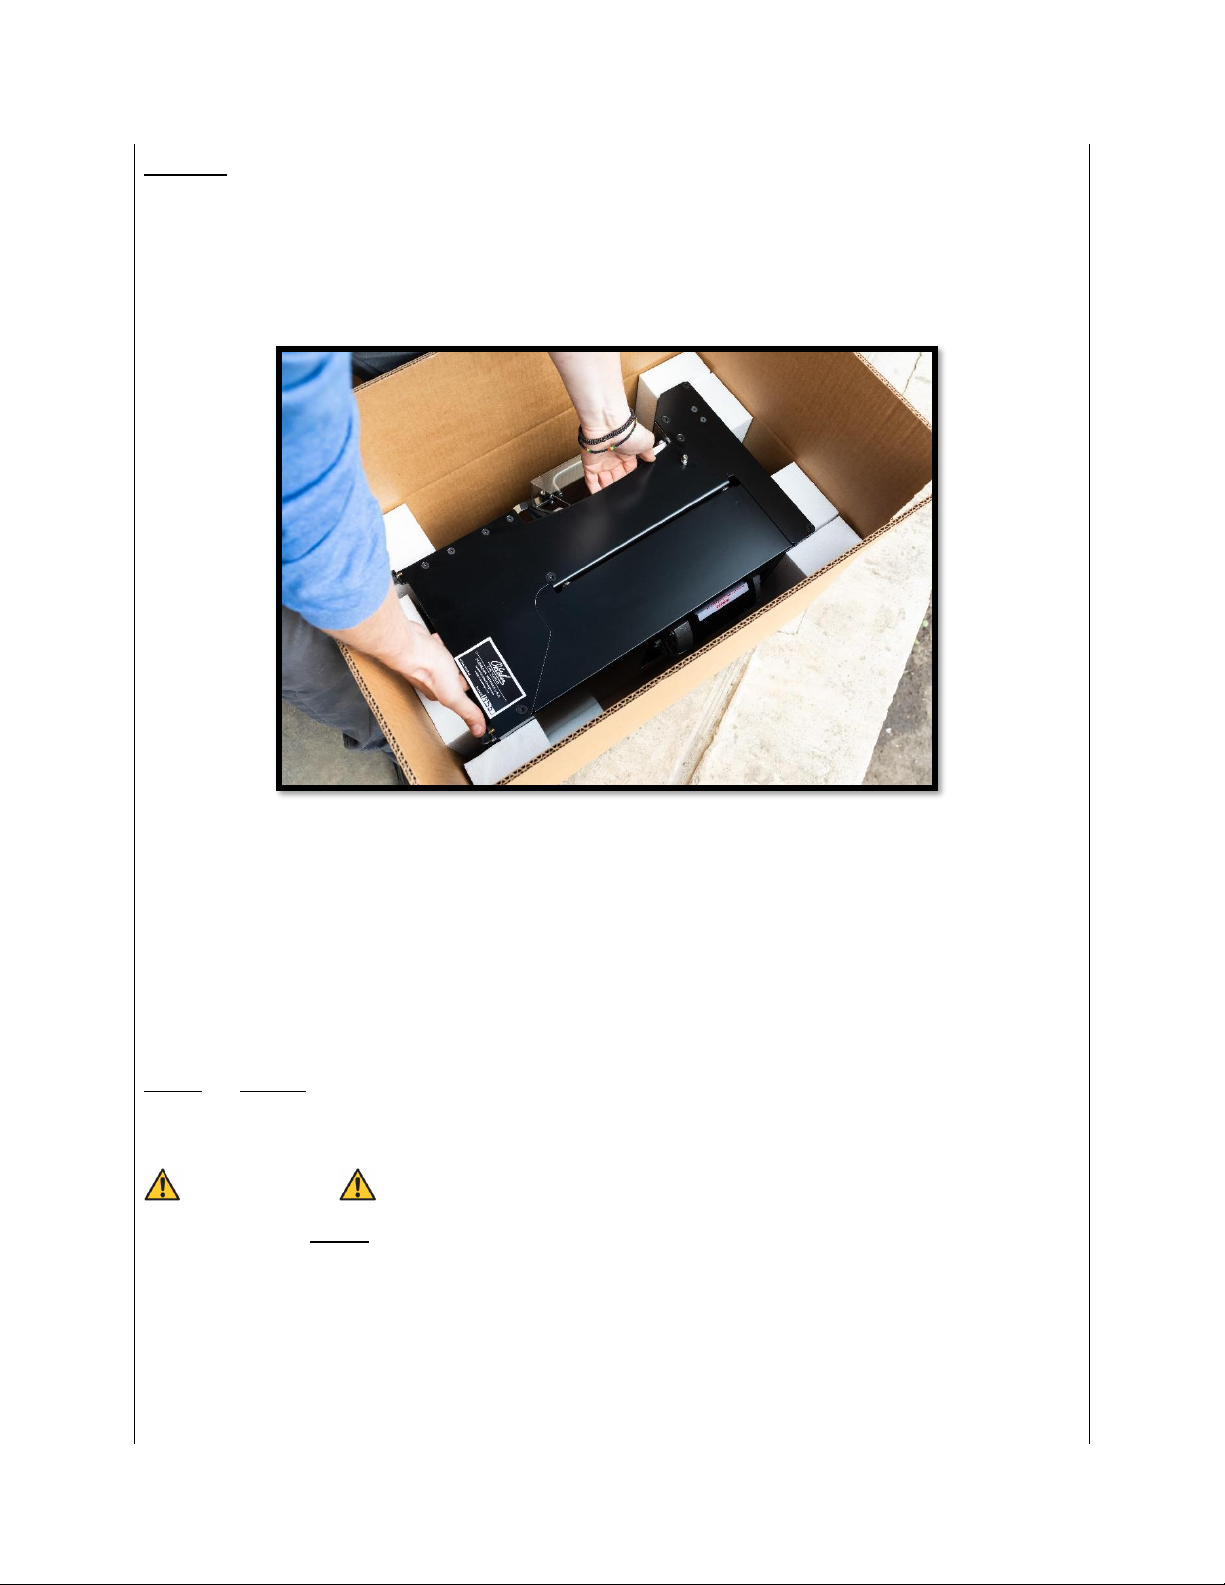
To remove your seamer from its box, lift as shown below. It is heavy (~45lbs) so
use caution while lifting.
Locate your seamer on a flat, level tabletop or bar-height surface. Make sure
there is enough room around the seamer to move around it easily.
Attach the lever arms (located in the accessories box that comes with the seamer)
by threading them into the holes located on the roller housings. !ATTENTION!
Use a 7/16in wrench on the nut located between the shaft and knob to tighten
the handle into the roller housing. If the handle’s threads back out they will
bend or break over time.
!ATTENTION! Canning is done in a wet environment, so always plug the
seamer into a GFCI outlet to avoid shocking hazards.
The power cable is located “under” the seamer and held on with paper tape. You
can either tilt it forward and reach under to remove the cable or pull off the back
cover. The cover is attached using magnets. Just pull back to remove the cover.
-------------------------------------------------------------------------------------------------------------

!!!SAFETY PRECAUTIONS!!!
-Since canning is likely to create a wet environment, make sure the flooring
around the seamer is non-slip.
-Always plug the seamer into a GFCI outlet to avoid shocking hazards.
-Pay attention to things like loose clothing, long hair, etc. The can and upper and
lower chucks will be spinning and can cause injury if anything gets wrapped
around them.
-Never reach into area around the upper chuck and rollers while operating. The
rollers can pinch or draw-in fingers and objects and cause injury.
-Never remove the top cover while operating. The spinning belt and motor will be
exposed and can cause injury.
-Never remove the switch enclosure box, or the motor connection panel while the
seamer is plugged in. There are open live connections inside each that risk a
shocking hazard.
-------------------------------------------------------------------------------------------------------------
POWER REQUIREMENTS
Short Circuit Current Rating:
120V: 220V:
Rated Frequency
120V: 60Hz 220V: 50Hz
Full Load Current
120V: 220V:
-------------------------------------------------------------------------------------------------------------
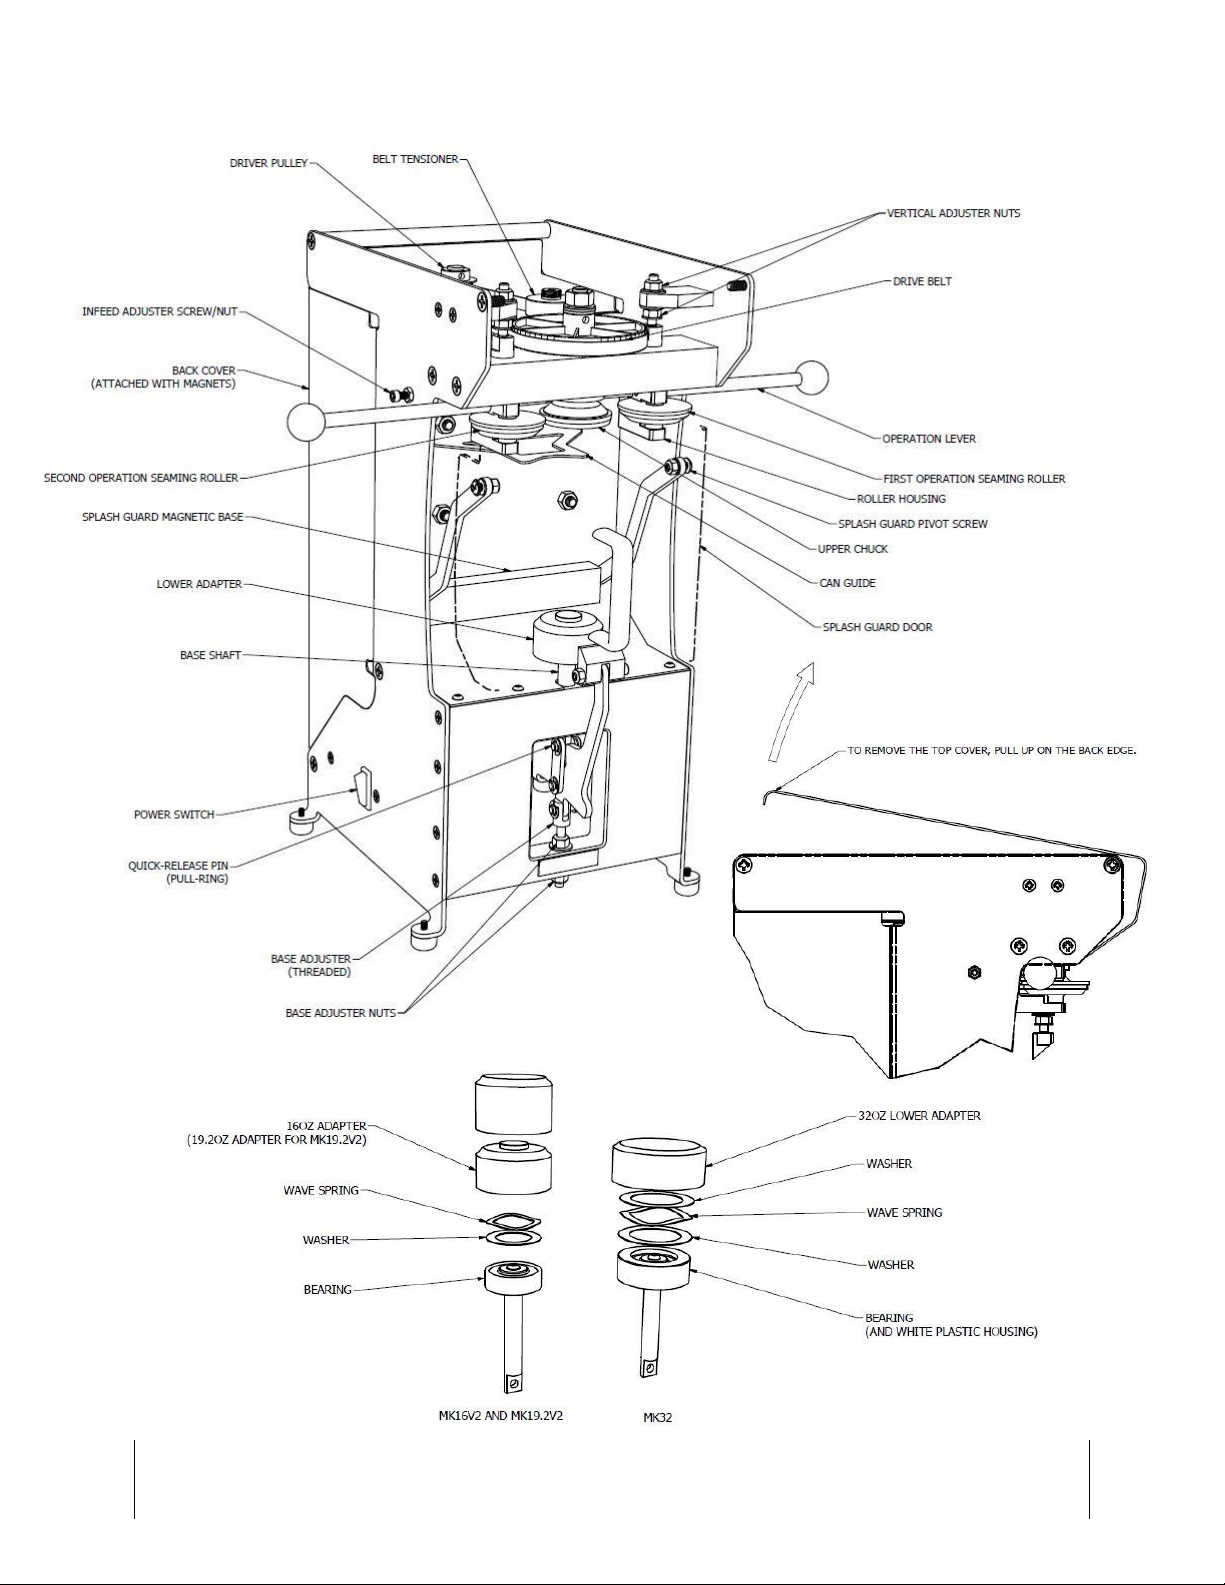
MKseries SEAMER DIAGRAM

GETTING STARTED
Your seamer comes calibrated and ready to go so you shouldn’t need to adjust
anything. If you do have an issue, check the troubleshooting list at the end of the
manual. There are a few things that may need to be adjusted due to shipping,
issues, etc.
There are two issues that come up with MKseries seamers… broken handles
(operation levers) and broken base adjusters. As long as the handles are
tightened into the roller housings, they will last the life of the seamer. As long as
the base shaft is kept clean and greased (see daily maintenance) the threaded
base adjuster will also last the life of the seamer. Both are easy to replace, but its
always easier to maintain them than to replace them.
Terminology
Can Body- the main (bottom) part of a can
Can End- the “top” of the can

Seaming
Seaming is super simple. The basic idea is to rotate the right handle all the way to
its stop, back it off to its starting position, then do the same for the left handle.
The can spins fast enough that the speed you go isn’t super critical, but you don’t
want to slam the handles in either. Keep in mind that it doesn’t take much force
to seam the can. As soon as the lever has hit its hard-stop the operation is
completed. Make sure to read through the detailed instructions below. It is a
good idea to run through the steps a few times without a can to get a feel for it.
Helpful tip: The can-guide (see above diagram) is capable of holding the can
upright and in the correct position to close the splash guard door. Set the can
onto the lower adapter and lean it back against the guide. Pull your hand out of
the machine and then close the splash guard door.
 Loading...