

Page 1
Consumables and Optional Accessories
• T oner Cartridge: Part # 52106701
• Image Drum: Part # 56116901
• 1 MB Non-battery backup memory expansion card:
Part # 70029101
• 2 MB Non-battery backup memory expansion card:
Part # 70029201
• 1.5 MB Battery backup memory expansion card:
Part # 70031501
• 2.5 MB Battery backup memory expansion card:
Part # 70031601
• 4 MB Battery backup memory expansion card:
Part # 40231622
• Telephone Handset: Part # 70031801
• Second Paper Tray, model UST-550 with 500-page
additional capacity: Part # 70029401
• PC Interface Kit, with interface board, bidirectional
cable, and software: Part # 58241701
OKIFAX
®
5300 Plus
and
5600 Plus
Quick
Start
SELECT
FUNCTION
AUTO REC
AUTO DIAL
SEARCH
REDIAL
HYPHEN
HOOK
V. REQUEST
STD
COPY
FINE
LIGHT
EX FINE
DEF
PHOTO
3
ABC
MN
2
6
JKL
1
WXY
5
9
GHI
TUV
4
8
#
PRS
OQZ
7
0
*
START
START
STOP
STOP
ALARM
DARK
NORMAL
OKIFAX is a registered trademark of Oki Electric
Industry Company, Ltd.; marque déposée de Oki
Electric Industry Company , Ltd.
© 1998 Okidata PN 59288401
Page 2
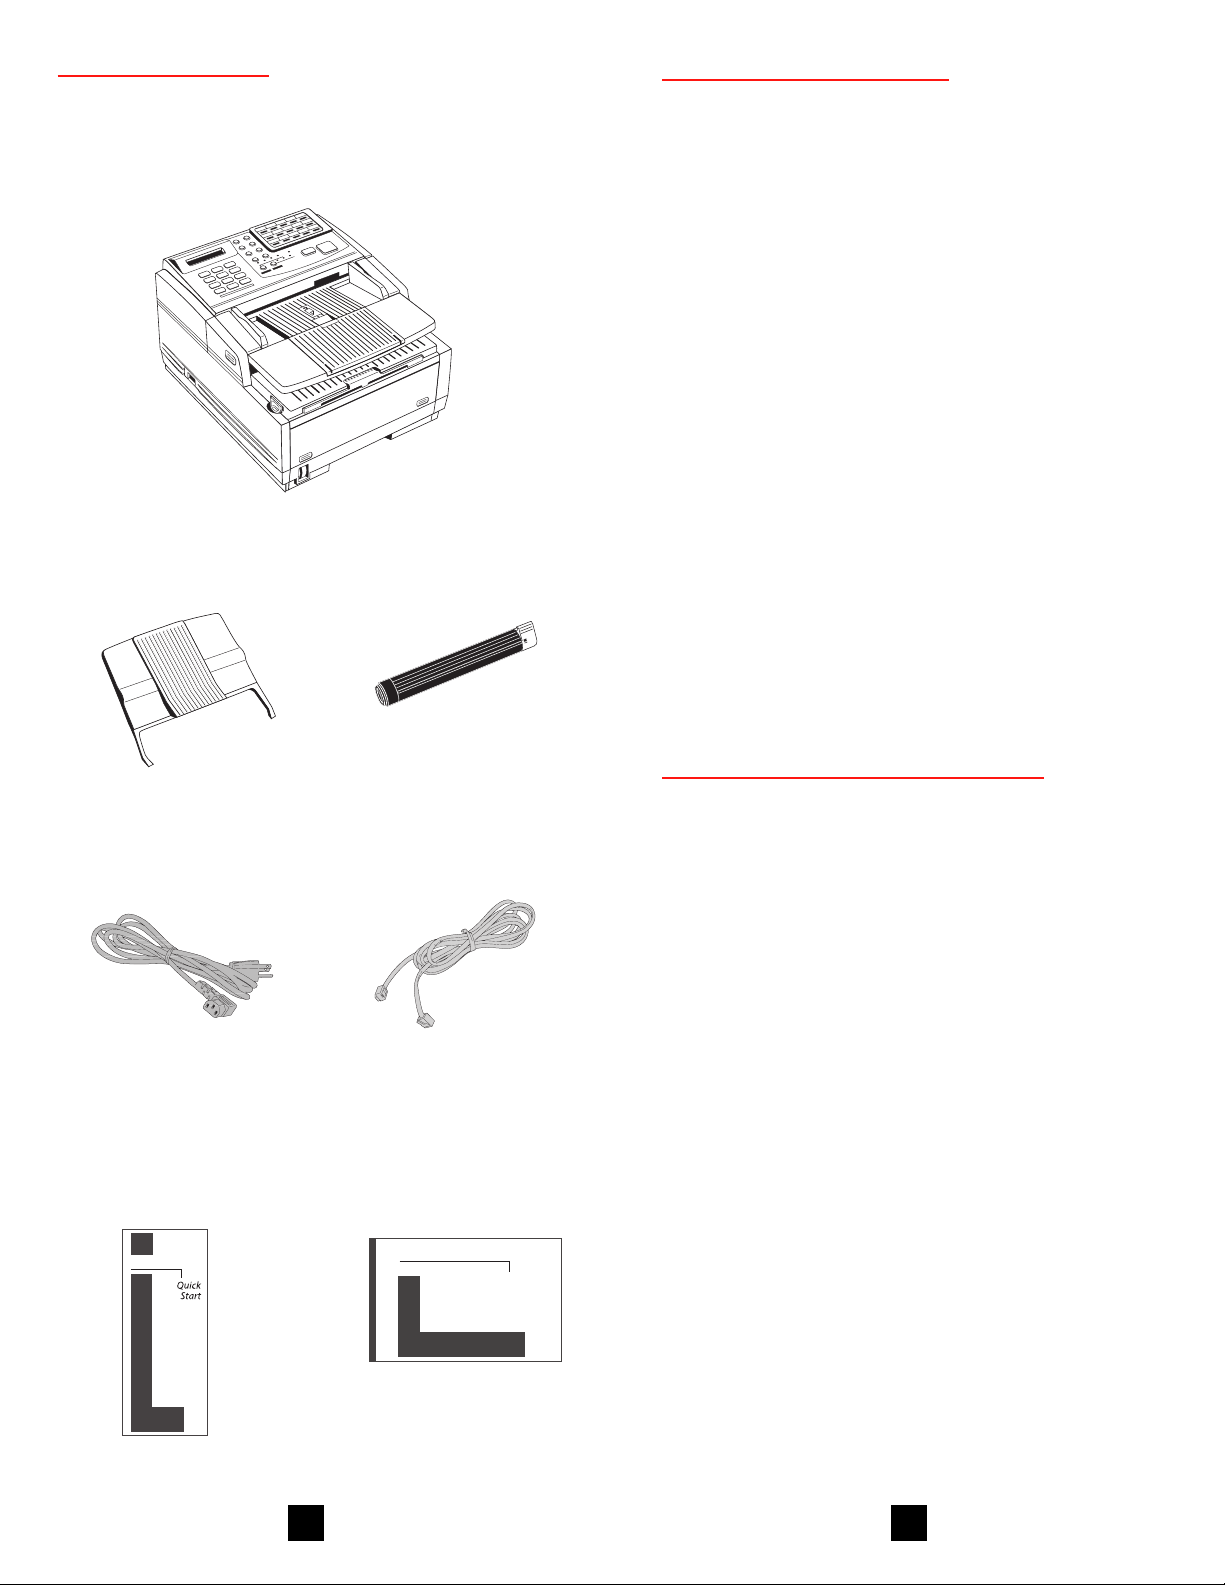
Check Contents
OKIFAX 5300 or 5600 Fax machine
➊
(with Image Drum Cartridge installed)
➋
➌
Toner Cartridge Life
• How long your toner cartridge lasts depends on the
print density—the percentage of the page that prints
black.
• A typical letter has 3% to 5% print density; graphics
usually have higher density. Higher print density
means toner is used up faster.
• At 5% print density, a toner cartridge will print an
average of 2,000 pages. Remember, this is only an
average: actual results may vary.
Note: The first toner cartridge in your new unit has to
fill the drum reservoir and saturate the developing
roller with toner. For this reason, it will need to be
replaced sooner than subsequent cartridges—after
about 1,000 pages.
• We recommend that you use genuine OKI consum-
able products in your OKIFAX. OKI’ s microfine,
Toner CartridgeDocument Stacker
spherical toner gives you the best print quality.
• Order Part #52106701.
See your handbook for ordering information.
Power Cord
➍
Quick Setup
➏
Instructions
OKIFAX
Telephone Cord
➎
OKIFAX 5300/5600
➐
Handbook
OKIFAX
Handbook
Image Drum Cartridge Life
The life of an image drum depends on a number of
factors, including:
• Temperature and humidity
• The type of paper you use
• The number of pages per job.
Since these vary as you use your OKIFAX, drum life
estimates are only approximate. An image drum can
last up to 20,000 pages of continuous printing.
• “Change Drum Soon”: This message means that the
image drum may be reaching the end of its life. You
don’t have to replace it right away—your OKIFAX
won’t suddenly stop working—but you should have
a replacement drum and toner cartridge handy. You
can keep using the current drum as long as print
quality is satisfactory. See your handbook for details
on how to replace the image drum and clear the
message.
• Order Part #56116901
See your handbook for ordering information.
1
10
Page 3

Copying a Document
Need Support or Service?
After loading the document:
Adjust resolution (YES key) and contrast (NO key)
if needed.
Press Copy.
Enter number of copies on the numerical keypad. Then
press Start. If you wait more than 3 seconds, copying
starts automatically.
DEF
ABC
PQRS
1
GHI
4
7
*
*
OPER
3
2
MNO
JKL
6
5
WXYZ
TUV
9
8
0
0
+
#
If you have any questions or need support for your
OKIFAX, there are several ways you can get help:
• Call 1-800-OKIDATA (1-800-654-3282). Both
automated support and support personnel are
available 24 hours a day, 7 days a week for your
convenience.
• Visit our internet web site at http://
www.okidata.com for online information,
documentation, and printer drivers.
• Use the Okidata Faxable Facts automated
document retrieval system by calling
1-800-654-6651, 24 hours a day, 7 days a week.
Request a catalog or document, and enter your
fax number. Your request is faxed in minutes.
• Contact your local Authorized OKIFAX Dealer.
To locate one in your area, please call
1-800-OKIDATA 24 hours a day, 7 days a week.
Setting up Your Fax Machine
See your Handbook for more information.
Printing a Cleaning Page
If you notice repeating marks or imperfections on your
printouts, try printing a cleaning page.
The cleaning page process:
• Removes residual impurities from printing surfaces.
• Reduces problems such as repeating marks, blotch-
ing, and shading.
To print a cleaning page:
1. Make sure there are no messages in memory.
2. Press the Select Function key.
3. Press the 10/Message Print from Memory key.
4. Press the Yes
If this does not solve your problem, see the Problem Checklist in your handbook for other posssible
solutions.
button. The cleaning page prints.
Install the Document Stacker
1 Slip the document stacker indents over the tabs on
the rear of the unit so that they click into place.
9
2
Page 4

Remove the Protective Sheet
1
DEF
3
ABC
2
MNO
6
JKL
5
GHI
4
PQRS
7
0
*
#
OPER
WXYZ
9
TUV
8
0
*
1. Lift up the document table.
T
C
N
E
L
IO
E
T
S
C
N
U
F
AUTO REC
DEF
3
ABC
N
2
M
1
JKL
5
GHI
TUV
4
8
PRS
Z
7
OQ
0
*
2. Press in the cover release buttons on the side of the
copy stacker until it clicks open. Lift up the stacker.
AUTO REC
DEF
3
ABC
2
MN
1
JKL
5
GHI
TUV
4
8
PRS
7
OQZ
0
*
START
AUTO DIAL
SEARCH
REDIAL
STOP
ALARM
HYPHEN
HOOK
V. REQUEST
STD
DARK
COPY
FINE
NORMAL
LIGHT
EX FINE
PHOTO
6
XY
W
9
#
N
SELECT
CTIO
FUN
START
AUTO DIAL
SEARCH
REDIAL
STOP
ALARM
HYPHEN
HOOK
V. REQUEST
STD
DARK
COPY
FINE
NORMAL
LIGHT
EX FINE
PHOTO
6
WXY
9
#
Faxing a Document
See your Handbook for more information.
After loading the document,
Manual
Enter fax number using the numerical keypad,
then press Start.
DEF
ABC
1
GHI
4
PQRS
7
*
*
One Touch Dialing
Press the key for the fax number you want.
12 3 4 5
TUV
OPER
3
2
MNO
JKL
6
5
WXYZ
+
9
8
0
0
#
3. Take out the image drum cartridge.
T
N
SELEC
NCTIO
FU
AUTO REC
F
E
D
3
C
B
A
N
2
M
6
L
1
JK
5
I
H
G
V
TU
4
8
S
PR
Z
Q
7
O
0
*
START
AUTO DIAL
SEARCH
REDIAL
STOP
ALARM
HYPHEN
HOOK
V. REQUEST
STD
DARK
COPY
FINE
NORMAL
LIGHT
EX FINE
PHOTO
Y
X
W
9
#
PUSH
PUSH
4. Remove the protective sheet — don’t touch the
green drum surface!
7
6
8
910
11 12 13 14 15
OKIFAX 5600 Plus: for keys 16—30, lift up the main
keypad.
Auto Dialing
Press Auto Dial.
Using the numerical keypad enter the two-digit number
for the fax number you want. Then press Start.
3
+
8
Page 5

Loading Documents
See your Handbook for more information.
5. Replace the image drum cartridge.
Document Guidelines
• Size: 5.8"—8.5" wide, 5"—14" long
• Basis weight: 13—28 lb.
• Surfaces clean
• Not wrinkled, stapled, or clipped
• Rectangular
• Multipage documents should be the same size and
shape, neatly aligned
• Maximum number of pages: 30 pages, normal
weight paper (20 lb.); 15 pages for light or heavy
weight paper
1. Adjust document guides to the width of the
document
T
C
N
E
L
IO
E
T
S
C
N
U
F
AUTO REC
DEF
3
ABC
2
M
1
JKL
5
GHI
TUV
4
8
PRS
7
OQZ
0
*
START
AUTO DIAL
SEARCH
REDIAL
STOP
ALARM
HYPHEN
HOOK
V. REQUEST
STD
DARK
COPY
FINE
NORMAL
LIGHT
EX FINE
PHOTO
N
6
WXY
9
#
PUSH
Install the Toner Cartridge
1. Remove the sponge and discard.
T
C
N
E
L
IO
E
T
S
C
N
U
F
AUTO REC
DEF
3
ABC
N
2
M
6
1
JKL
5
GHI
TUV
4
8
PRS
7
OQZ
0
*
START
AUTO DIAL
SEARCH
REDIAL
STOP
ALARM
HYPHEN
HOOK
V. REQUEST
STD
DARK
COPY
FINE
NORMAL
LIGHT
EX FINE
PHOTO
XY
W
9
#
PUSH
2. Stack documents neatly, and insert face down.
Readjust the document guides for a snug fit.
3. OKIFAX grips the documents and pulls the
bottom page into the machine.
Warning: Be careful when handling the
toner cartridge. Do not let toner spill on
your clothing or other porous materials. If
you experience any problems with toner,
see the Safety chapter at the beginning of
the OKIFAX handbook.
2. Unwrap the toner cartridge and gently shake it to
distribute the toner. Then carefully peel the tape
from the bottom of the toner cartridge.
7
4
Page 6

3. With the ridged side facing up and the blue lever
on your right, insert the toner cartridge into the
image drum unit, left end first.
SELECT
FUNCTION
AUTO REC
START
AUTO DIAL
SEARCH
REDIAL
STOP
ALARM
HYPHEN
HOOK
V. REQUEST
STD
DARK
COPY
FINE
NORMAL
LIGHT
EX FINE
F
E
D
PHOTO
3
C
B
A
N
2
M
6
L
1
JK
Y
X
5
W
9
I
H
G
V
U
T
4
8
#
S
R
P
Z
Q
7
O
0
*
4. Push the lever forward to secure the cartridge.
Connecting Your Fax Machine
LINE: Connect to
phone line.
SELECT
FUNCTION
REC
AUTO
DEF
3
ABC
2
MN
6
1
JKL
5
GHI
TUV
4
8
PRS
7
OQZ
0
*
START
AUTO DIAL
SEARCH
P
REDIAL
STO
ALARM
HYPHEN
HOOK
UEST
V. REQ
STD
PY
DARK
CO
AL
RM
FINE
NO
LIGHT
EX FINE
TO
PHO
WXY
9
#
5. Close the copy stacker—push down until you hear
both sides click into place.
SELECT
FUNCTION
REC
TO
AU
IAL
D
TO
START
AU
H
C
SEAR
IAL
P
RED
STO
EN
ALARM
YPH
K
H
O
O
EST
H
U
V. REQ
K
STD
PY
DAR
O
C
AL
E
RM
FIN
O
N
T
H
LIG
EX FINE
TO
O
DEF
PH
3
ABC
2
MN
6
1
JKL
5
WXY
9
GHI
TUV
4
8
#
PRS
7
OQZ
0
*
6. Close the document table.
TEL 1, TEL 2: Connect
to optional handset or
to answering machine.
POWER: Connect
power cord to
OKIFAX first, then
to grounded outlet.
Programming Checklist
See your handbook for instructions for how to enter:
❒ Your fax number and identification—required by
law: Page 23
❒ Your voice telephone number: Page 23
❒ Date and time—required by law: Page 21
❒ Fax mode: Page 22
❒ One Touch dial keys: Page 30
OKIFAX 5300 Plus: 15 available
OKIFAX 5600 Plus: 30 available
❒ Auto Dial numbers: Page 32
OKIFAX 5300 Plus: 64 available
OKIFAX 5600 Plus: 99 available
❒ Groups of programmed numbers: Page 53
OKIFAX 5300 Plus: 10 available
OKIFAX 5600 Plus: 20 available
T
C
N
E
L
IO
E
T
S
C
N
U
F
AUTO REC
DEF
3
ABC
N
2
M
6
1
JKL
5
GHI
TUV
4
8
PRS
7
OQZ
0
*
START
AUTO DIAL
SEARCH
REDIAL
STOP
ALARM
HYPHEN
HOOK
V. REQUEST
STD
DARK
COPY
FINE
NORMAL
LIGHT
EX FINE
PHOTO
XY
W
9
#
5
6
 Loading...