

OilExTech EssenEx-100 Owner's Manual
EssenEx-100
TM
Microwave Essential Oil Extraction Kit
Produced by
Fast, Easy & Affordable
Works with lavender, citrus,
mint, rosemary & MORE!
Invent ed & produced in Co rvallis, O regon • U.S. & Int ’l Patent s Pending
Serial N umber:
Operator’s Manual
EssenEx-100
TM
Microwave Essential Oil Extraction Kit
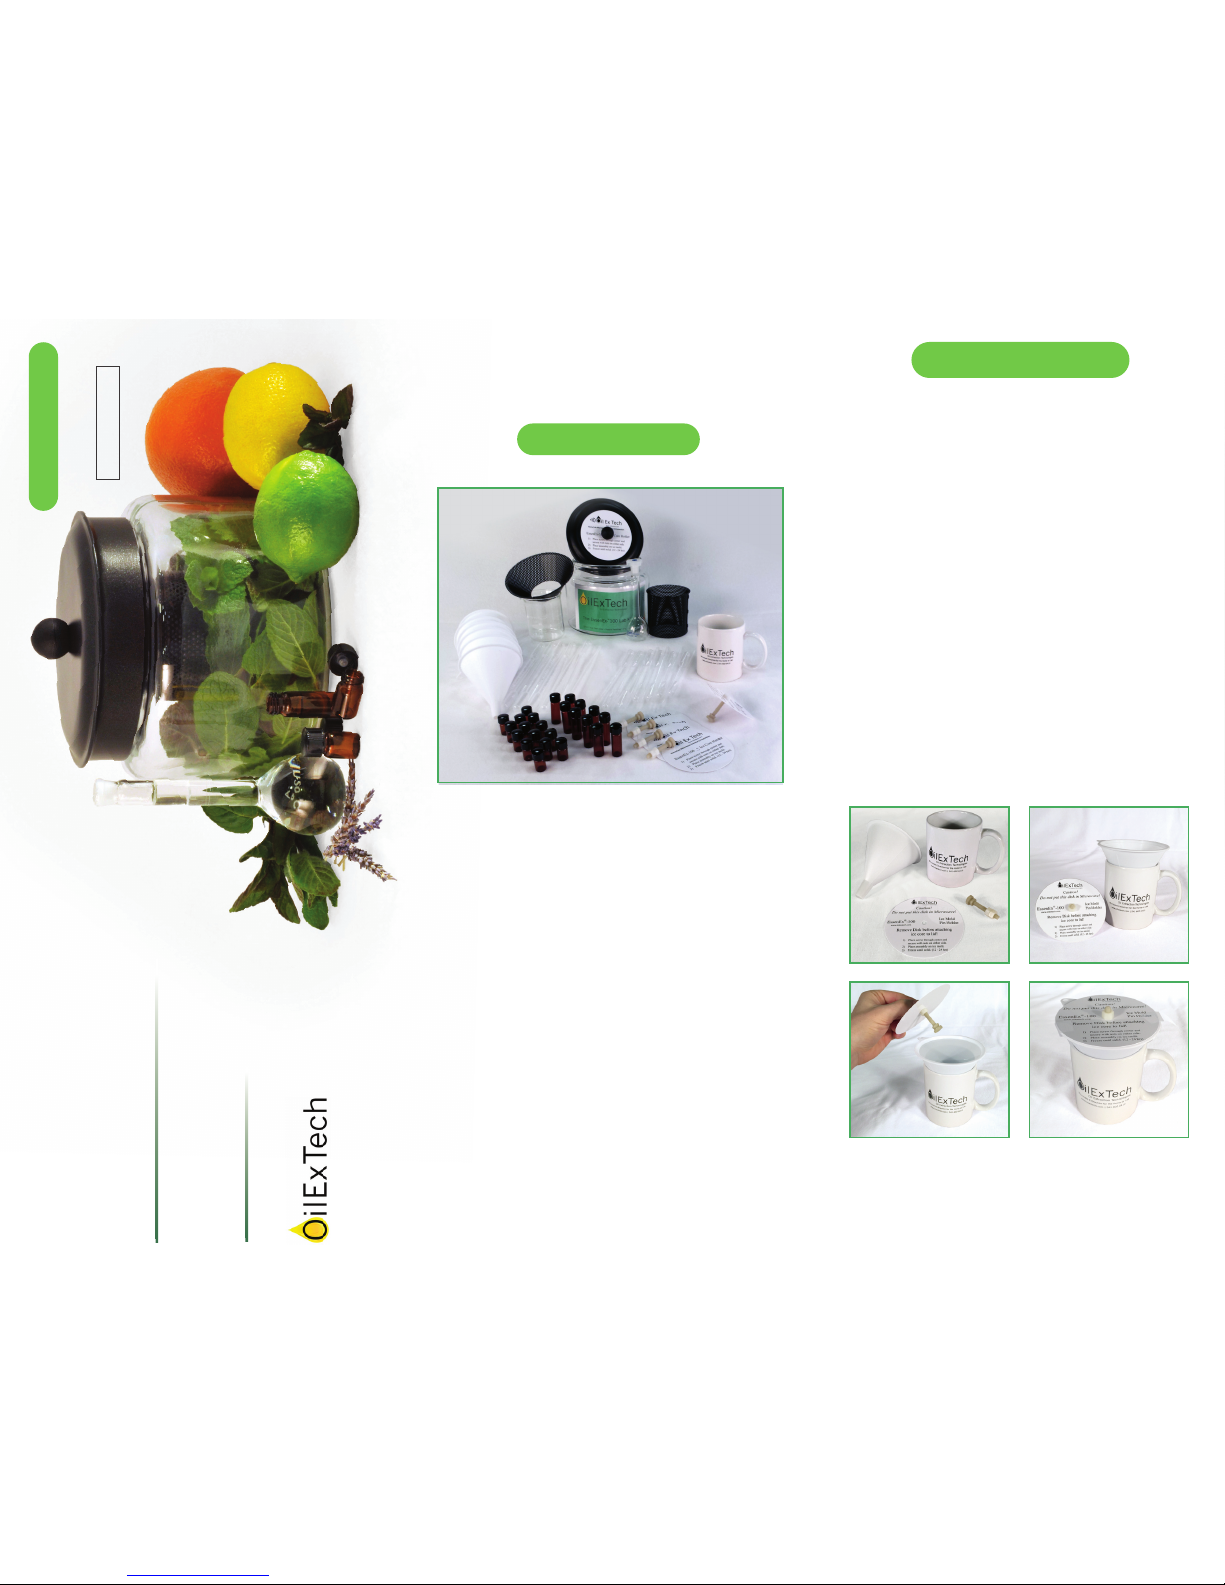
The EssenEx-100 includes:
Operator’s Manual
Freeze the Ice Cores
We recommend you run all components
through dishwasher before using.
Ice cores must be prepared in advance before
using the EssenEx-100. Place an ice core mold
upright in the OilExTech mug. Attach an ice
core disk to the threaded end of an ice core
pin between the two nuts. Leave about 5/8” of
the threads exposed at the end. Fill the ice
core mold with cold water to the fill line just
below the top of the mold. Center the disk on
the ice core mold with the ice core pin
extended down into the water. If needed, you
may use tape to secure disc to the ice core
mold and keep the pin centered. Place the
mug and ice core mold on a level sur face in
the freezer and freeze until solid. Freezing
may take up to 24 hours.
1x • EssenEx-100 Microwave Oil Extractor (7″ x 7″)
1x • Cone Shield
1x • Cylinder Shield
1x • 250 mL Condensate Beaker
2x • 1mL Pipettes
4x • 1/2 Dram Vials
1x • 50 mL Volumetric Flask
1x • OilExTech Mug
1x • Ice Mold
10x • Extra 1/2 Dram Vials**
5x • Extra Ice Molds**
10x • 1 Dram Vials**
10x • 1mL Pipettes**
10x • 3mL Pipettes**
** only included in EssenEx-100 Complete Kit
Fill the EssenEx-100
Assemble the Lid & Ice Core
Place the lower shield in the center of the
EssenEx-100 glass container with an empty ice
core mold upside-down on top of it. Place
approximately 50-200 grams of plant material
into the container around the lower shield.
Fresh plant material is required. You can
rehydrate dried plants with approximately 1:1
ratio of plant to water. Plant material should
be evenly and loosely distributed around the
lower shield. Do not tightly pack the plant
material. Remove the ice core mold and place
the 250 mL condensate beaker into the lower
shield. Place the upper shield into position,
resting level on the rim of the glass container.
Allow frozen ice core to thaw for 30 minutes
at room temperature to avoid cracking.
Slowly remove the ice core from the ice core
mold. Remove the upper nut and disk from
the ice core. Suspend the ice core from the
inside of the lid and secure by screwing on the
lid’s knob. Place the lid with the ice core onto
the unit.
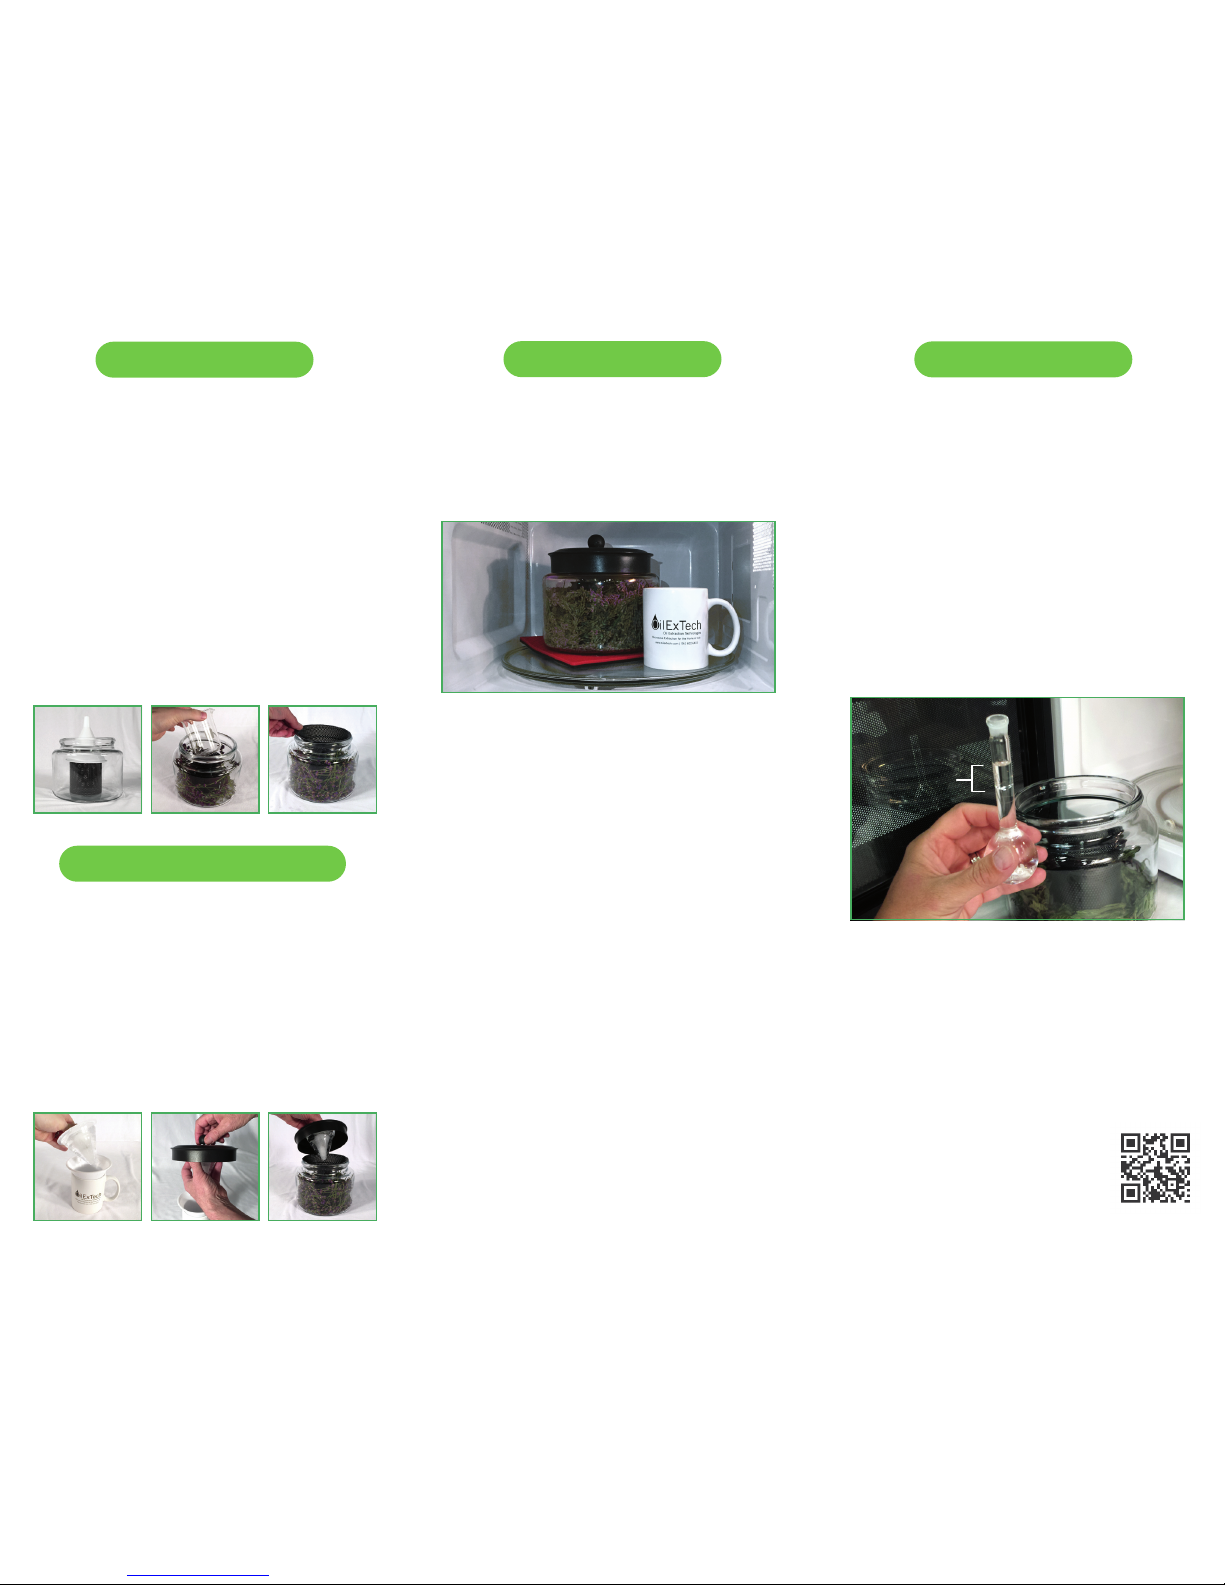
Microwave
Fill the provided mug 3/4 full with water.
Then place an insulator such as a pot holder
or silicone pad on the turn table inside the
microwave. Finally, place the EssenEx-100 on
the pad with the mug next to it.
Select full power on the microwave and run
for about 6-8 minutes (for standard
microwaves ranging from 900W-1100W). More
powerful microwaves may require less time.
The first several times you run the system,
observe how much ice is left after each run. It
is important for some ice to be lef t at the end
of the run to ensure all the residual vapors
condense. An excess of ice could indicate a
longer run time is needed, not enough plant
material was used, or the plant material
is too dry.
After the microwave cycle ends, let the
EssenEx-100 cool for at least 5 minutes before
removing it from the microwave. Caution: The
EssenEx-100 may be very hot; do not touch it
with your bare hands. After removing, let the
unit cool for an additional 15 minutes before
opening. This will allow time for any residual
vapors to condense. Do not place the
EssenEx-100 on a cold surface or in cold water
while it is hot as this can increase the risk of
the glass container cracking.
EssenEx-100 & mug
inside microwave
Separate the Oil
Remove the lid and upper shield. Carefully
remove the condensate beaker and place on a
level surface. Oil will be floating as a thin film
on the surface of the condensate. Carefully
pour the first 1/4 liquid into the 50 mL
volumetric flask in one slow and continuous
motion. Fill most of the neck of the flask.
Approximately 95% of the available oil should
pour out in the initial separation.
The oil will float to the top of the condensate
in the neck of the flask making it easier to
remove. Use a pipette to carefully draw off the
oil. Transfer the oil to a glass vial for storage.
Warranty : To the extent consistent with applicable law,
the seller makes no warranty expressed or implied
concerning the use of this produc t other than indicated
in this user manual. Bu yer assumes all risk of use and/or
handling of this material when such use and/or handling
is contrar y to user manual direc tions. OilExTech
guarante es this product to be free of manufacturing
defect for a period of 1 year from the original
date of purchase.
Rev. 4 - July 2015
© 2015 OilExTech, LLC
1110 NE Circle Blvd.
Corvallis, OR 97330
Phone: 541-602- 6410
oilextech.com
oil separates
to the top
 Loading...