

Page 1
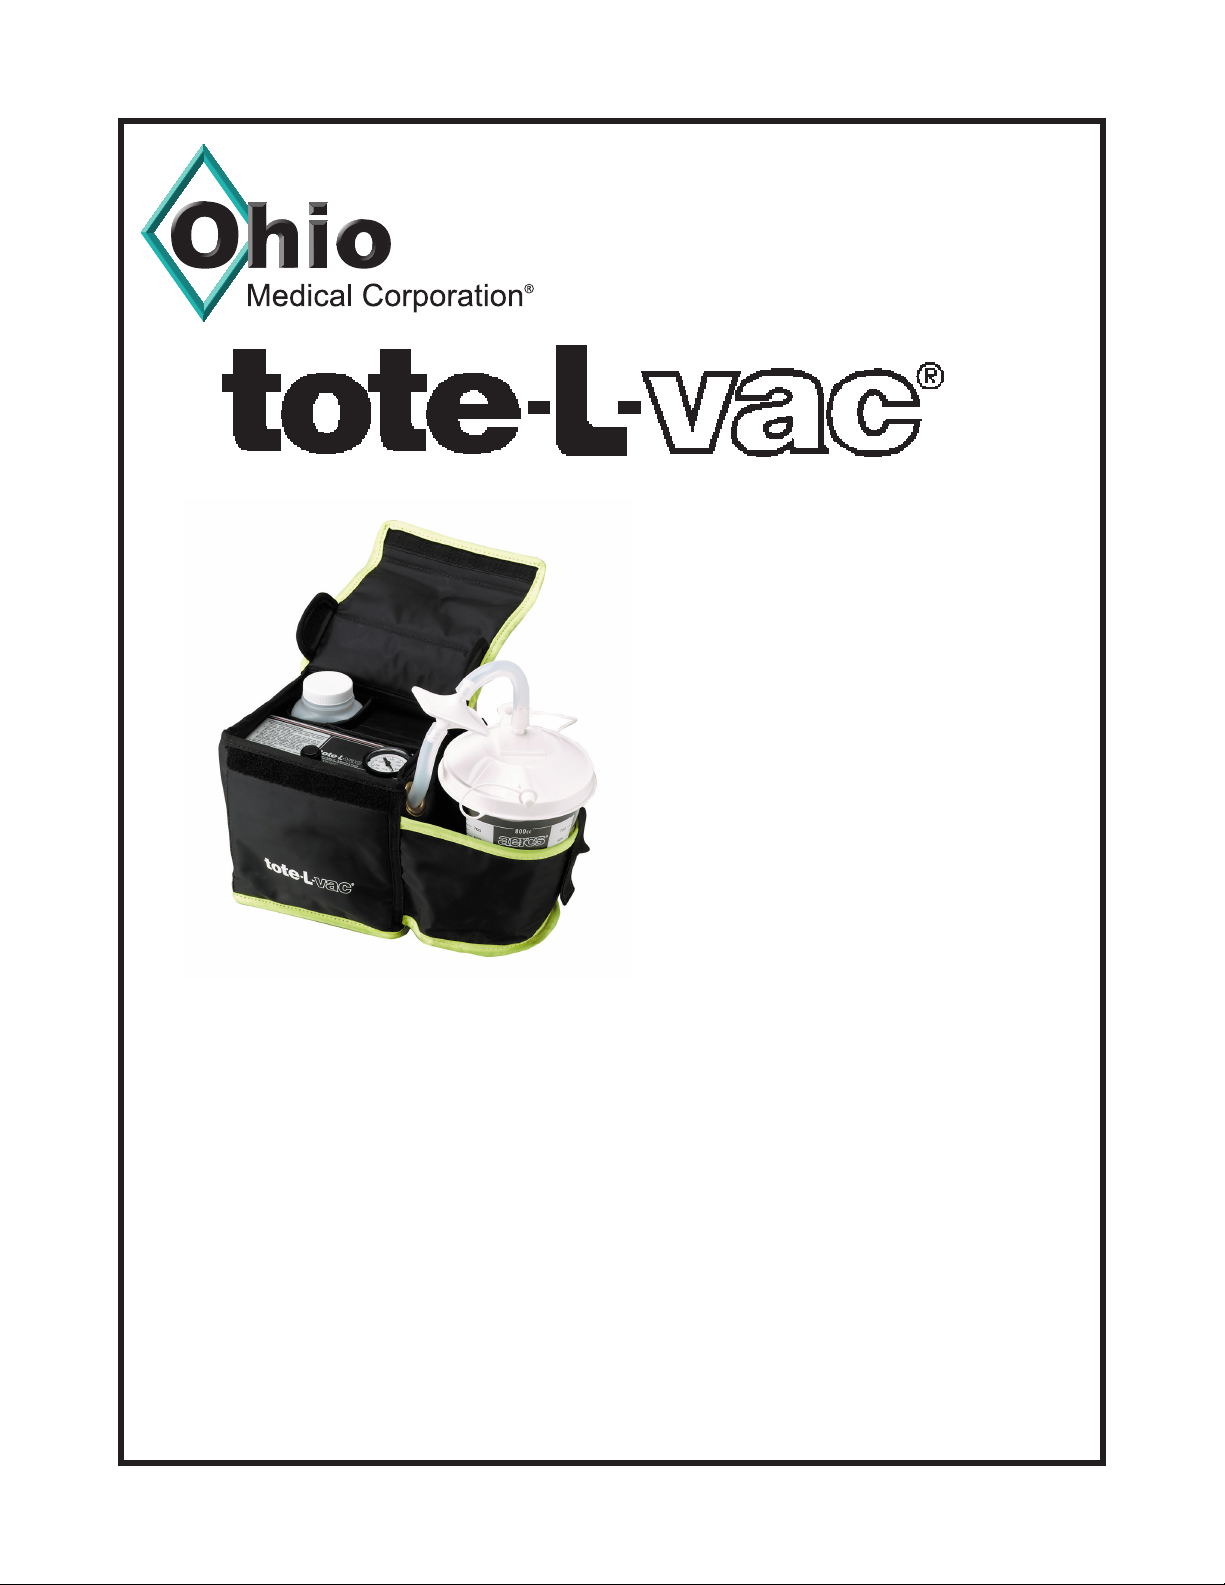
Battery
Powered
Aspirator
PART NUMBER:
AI4900000 (110 Volt)
749200 (220 Volt)
OPERATOR / MAINTENANCE
M A N U A L
RX ONLY
Ohio Medical Corporation
1111 Lakeside Drive
Gurnee, Illinois 60031
1-847-855-0500
Tollfree: (866) 549-6446
www.ohiomedical.com
Page 2

2
The purpose of the Tote-L-Vac® is to perform tracheal and oral aspiration procedures on either a normal or
emergency basis.
The Ohio Medical Tote-L-Vac® is a battery powered, portable aspirator designed for the EMS and Home
Healthcare markets. It comes equipped with an 800cc canister, a Yankauer tip with 6 ft tubing, rinsing water
bottle and an A/C battery charger.
Manual Contents:
1. INSTRUCTIONS FOR USE . . . . . . . . . . . . . . . Page 3
2. MAINTENANCE . . . . . .. . . . . . . . . . . . . . . . . . Page 4
3. TROUBLESHOOTING . . . . . . . . . . . . . . . . . Page 6
4. DEVICE SPECIFICATIONS . . . . . . . . . . . . . . Page 7
Caution, consult instructions for use
Serial Number
Ohio Medical Corporation
Gurnee, IL 60031
www.ohiomedical.com
If you require additional information, please contact Ohio Medical’s sales department at 1-866-549-6446 or your
local Ohio Medical Distributor.
Ohio Medical Corporatoin, 1111 Lakeside Drive, Gurnee, Il 60031 (866) 549-6446 - Fax: (847) 855-6218
www.ohiomedical.com - AI4900500 (Rev.8) 09/2014
Page 3

3
IMPORTANT: This device is for use only by persons properly trained in medical suction techniques
and in the operation of suction equipment. Improper use could cause injury. Thoroughly read this
operation manual and familiarize yourself with the operation of the Tote-L-Vac® before using this
device.
DANGER: POSSIBLE EXPLOSION HAZARD IF USED IN THE PRESENCE OF
FLAMMABLE ANESTHETICS.
1. INSTRUCTIONS FOR USE
A. PRIOR TO INITIAL USE
Upon receiving your new Tote-L-Vac®, perform the following initial tests to ensure that your unit is in good
working order and that no damage has occurred during shipment.
1. Visually inspect all components for physical damage that may have occurred during shipping.
2. Turn the Tote-L-Vac® “ON” by switching the “POWER” button to “ON”. Listen to verify that the vacuum pump
starts. If the pump fails to start, recharge the battery per the following instructions.
a. The Tote-L-Vac® is supplied with a battery charger. To charge the battery, simply plug the AC powercord
into its electrical outlet and connect the other end to the jack connector on the control panel.
NOTE: When the charger is charging the battery, the red LED will be illuminated. When the battery is
charged, the green LED will be illuminated. Initial charging may take up to 12 hours, depending upon the
condition of the battery.
CAUTION: Do not run the unit while the charger is plugged in.
3. Occlude the vacuum on the Tote-L-Vac® by placing your nger over the patient port of the collection canister
and adjust the vacuum level by turning the “VACUUM REGULATOR” knob. Verify that the vacuum gauge
reects a change in vacuum level while turning the vacuum regulator knob. Also verify that you feel vacuum
at your nger tip. Adjust the vacuum level to maximum vacuum and verify that, at maximum, the gauge
indicates at least 550mm Hg. Turn the unit “OFF” by switching the “POWER” button to “OFF”.
4. Remove the rinsing water bottle (located in the Tote-L-Vac®, next to the battery) and ll with water. Place the
rinsing water bottle back into the Tote-L-Vac®.
The Tote-L-Vac® is now ready to be placed into service.
OPERATING INSTRUCTIONS
1. Ensure that the vacuum source tubing, coming from the pump, is connected from the vacuum port of the
collection canister. Tubing should also connect the patient port of the collection canister to the aspirating tip
that will be used.
2. Turn the unit “ON” by switching the “POWER” button to the “ON” position.
3. Pinch the patient tubing closed. Using the “VACUUM REGULATOR” knob, adjust the vacuum level to the
least amount of vacuum that will be necessary to properly suction the patient.
4. Release the pinched tubing and suction the patient as needed.
5. Turn the unit “OFF.”
Ohio Medical Corporatoin, 1111 Lakeside Drive, Gurnee, Il 60031 (866) 549-6446 - Fax: (847) 855-6218
www.ohiomedical.com - AI4900500 (Rev.8) 09/2014
Page 4

4
IMPORTANT: This device is for use only by persons properly trained in medical suction techniques
and in the operation of suction equipment. Improper use could cause injury. Thoroughly read this
manual and familiarize yourself with the operation of the Tote-L-Vac® before using this device.
DANGER: POSSIBLE EXPLOSION HAZARD IF USED IN THE PRESENCE OF
FLAMMABLE ANESTHETICS.
REPROCESSING AND CLEANING INSTRUCTIONS
1. Discard all contaminated parts after any suctioning procedure has been performed. These components may
include the collection canister, the patient side suction tubing, in-line lter, aspirating tip, and rinsing water
bottle.
2. Wipe the surface of the unit clean with mild antiseptic and a soft clean cloth. Do not allow any cleaning
solution to spill into the carrying bag.
3. Place a new collection canister and the necessary suction tubing and aspirating tip with the Tote-L-Vac®.
4. Recharge the battery.
DAILY INSPECTION
To ensure that your Tote-L-Vac® will be ready to use when it is needed, it is a good practice to check the unit
out on a regular daily basis, or as your own Standard Operating Procedures may require. The inspection should
include a few simple steps:
1. Charge the battery if necessary.
2. Occlude the vacuum on the Tote-L-Vac® by placing your nger over the suction tubing or by pinching it
closed, and adjust the vacuum level by turning the “VACUUM REGULATOR” knob. Verify that the vacuum
gauge reects a change in vacuum level while turning the vacuum regulator knob. Also verify that you feel
vacuum at your nger tip. Adjust the vacuum level to maximum vacuum. Verify that, at maximum, the gauge
indicates at least 550mm Hg. Turn the unit “OFF” by switching the “POWER” button to “OFF.”
3. Make sure that the collection canister, as well as the suction tubing and aspirating tip, are in good condition
and properly connected and that the rinsing water bottle is lled with water.
2. MAINTENANCE
BATTERY
Charging: To charge the battery, simply plug the battery charger into the jack connector located on the control
panel of the Tote-L-Vac® and into a standard 110 volt wall outlet. Initial charging may take up to 12 hours,
depending upon the condition of the battery.
Battery Life: A number of factors may affect the life of the battery, such as the frequency of use in terms of
repeated charging and discharging, and mechanical abuse such as repeated and vigorous jarring.
Ohio Medical recommends changing the battery every 1-3 years, depending on the frequency of use. Inability to
retain charge is the most detectable sign of a deteriorated battery. It is time to replace the battery when it loses
its charge rapidly after a full recharge cycle.
Ohio Medical Corporatoin, 1111 Lakeside Drive, Gurnee, Il 60031 (866) 549-6446 - Fax: (847) 855-6218
www.ohiomedical.com - AI4900500 (Rev.8) 09/2014
Page 5

5
To avoid damaging your aspirator unit, please be sure to use only batteries sold by Ohio Medical Corporation. Also
use the battery charger provided to you with your Tote-L-Vac® Aspirator to eliminate the chance of overcharging
your batteries and perhaps damaging the aspirator itself.
BATTERY REPLACEMENT PROCEDURE
1. Disconnect the AC battery charger.
2. Fully open the top of the Tote-L-Vac® carrying case by separating the Velcro strips along the sides of the top
cover, exposing the battery and the rinsing water bottle.
3. Lift the battery out of the carrying case.
NOTE: Remember the orientation of the old battery as the new one will be mounted in the same way.
4. Disconnect the battery at the connector.
5. Install new battery into the carrying case.
PUMP
CLEANING PROCEDURES
The heart of the Tote-L-Vac® is a DIAPHRAGM pump. Over time, foreign particles may accumulate on the
internal parts of the pump from aerosolized aspirant. It is recommended that the pump head be disassembled
and cleaned when a decreased performance is noted.
WARNING: Never FLUSH your diaphragm pump with any liquid solution, as this may
damage your pump.
1. Disconnect the AC battery charger.
2. Disconnect the vacuum side tubing from the collection bottle.
3. Open the unit as described in the battery replacement procedures and remove the battery.
4. Disconnect the battery at the connector.
5. Separate the Velcro strips along the edges of the control panel and lift the control panel/pump assembly out
of the case.
6. Remove the silastic tubing from the back of the gauge.
7. Remove the silastic tubing from the aluminum junction block that connects to the vacuum regulator.
8. With a straight blade screw driver, loosen two pan head screws from the square aluminum tting block.
9. Remove the control panel from the pump by sliding the panel out of the bracket which is attached to the
pump.
10. Note the position of the U-shaped bracket on the top of the pump and the orientation of the pump head.
Remove four (4) screws on the top of the pump. Remove the U-shaped bracket and the pump head cover
to expose the diaphragm.
11. With a mild soap solution and warm water, wash the surface of the diaphragm. DO NOT allow any of the
water to get past the diaphragm and into the chamber that houses the piston.
12. Wash the underside of the pump head with the same soap solution as you used on the diaphragm.
Ohio Medical Corporatoin, 1111 Lakeside Drive, Gurnee, Il 60031 (866) 549-6446 - Fax: (847) 855-6218
www.ohiomedical.com - AI4900500 (Rev.8) 09/2014
Page 6

6
13. Thoroughly dry with a soft cloth. When the cleaned surfaces are thoroughly dry, remount the pump head,
replace the U-shaped bracket, and tighten the four 4 screws.
14. Slide the control panel back onto the U-shaped bracket. Tighten the two small pan head screws on the
aluminum junction block.
15. Reconnect all tubing on the control panel assembly.
16. Replace the control panel/pump assembly in the case. Reconnect the battery, slide the battery back into the
case, and connect the collection bottle tubing.
VACUUM REGULATOR
The vacuum regulator may accumulate aspirant after the pump has been in service for an extended period
of time. When disassembling the pump for cleaning, it is suggested that the regulator also be cleaned as a
preventative measure.
1. Follow the steps for opening the unit which were outlined earlier.
2. Remove the vacuum regulator by loosening the locknut. Disassemble the regulator and wash all regulator
parts with mild soap solution and warm water. Wipe all parts thoroughly dry with a piece of cotton cloth
before reassembling.
CAUTION: NEVER DISASSEMBLE THE TOTE-L-VAC® WHEN THE
BATTERY IS CONNECTED.
TROUBLESHOOTING
Symptom #1: PUMP DOES NOT TURN ON WHEN THE POWER SWITCH IS DEPRESSED.
POSSIBLE CAUSES: 1) Battery is not charged 2) Faulty Wiring 3) Pump is not operational.
POSSIBLE SOLUTIONS: 1) Recharge the battery. 2) Make sure that the Tote-L-Vac® is disconnected from its
battery. Remove the control panel/pump assembly from the carrying case. Check all the electrical connections
to make sure they are not loose. If all electrical connections are OK, the pump motor has probably failed. 3)
Replace the pump per the instructions in the maintenance portion of this manual.
Symptom #2: PUMP RUNS WHEN THE SWITCH IS DEPRESSED, BUT THERE IS NO VACUUM AT
OUTLET.
POSSIBLE CAUSES: 1) Faulty tubing connections, 2) Kinked or obstructed tubing, 3) The regulator or pump is
dirty, 4) Pump is not working properly.
POSSIBLE SOLUTIONS: 1) Make sure that the collection canister lid is properly seated on the canister and that
the safety overow in the lid is not stuck in the “UP” position. Verify that all tubing connections are secure. 2)
Make sure that the Tote-L-Vac® is disconnected from its battery. Remove the control panel pump assembly from
the case and verify that all tubing connections are tight and secure. Visually inspect all tubing and the suction
regulator for obstructions or kinks in tubing. Clean or replace suction tubing as required. Remove and clean the
suction regulator per the procedure described in the Maintenance section of this manual. 3) Clean the pump per
the procedure described in the Maintenance section of this manual. 4) Replace the pump.
Ohio Medical Corporatoin, 1111 Lakeside Drive, Gurnee, Il 60031 (866) 549-6446 - Fax: (847) 855-6218
www.ohiomedical.com - AI4900500 (Rev.8) 09/2014
Page 7

7
Symptom #3: VACUUM GAUGE READS ZERO WHEN VACUUM IS AVAILABLE AT THE VACUUM
OUTLET.
POSSIBLE CAUSES: 1) Faulty tubing connections 2) Gauge is broken.
POSSIBLE SOLUTIONS: 1) Make sure that the Tote-L-Vac® is disconnected from its battery. Open the unit and
verify that all tubing connections are tight and secure. 2) If tubing connections are veried to be leak free and the
vacuum gauge still reads zero, it is most likely that the gauge is broken. Replace the gauge.
Symptom #4: BATTERY WILL NOT TAKE A CHARGE.
POSSIBLE CAUSES: 1) Battery charger not working 2) Battery is old and cannot retain charge.
POSSIBLE SOLUTIONS: 1) Replace the battery charger 2) Replace battery per the procedure described in the
Maintenance section of this manual.
4. DEVICE SPECIFICATIONS
PUMP
12 VDC oil-less diaphragm type
PERFORMANCE
Vacuum Range: Up to 550 mm Hg
Free Air Flow: 36 LPM
CONTROLS
Vacuum Regulator: Rotary type on panel
Vacuum Gauge: 0-30”/760 mm Hg on panel
BATTERY
Type: Rechargeable sealed lead-acid
Capacity: 12 volts, 3 ampere-hour
Average Run Time: 30 minutes when fully charged
Charge Time: 8 hours or less to 85% charging, depending on initial charge of battery.
Charge Method: 110 or 220 outlet with supplied charger.
COLLECTION DEVICE
Canister: Disposable plastic with mechanical shutoff.
Capacity: 800cc standard
PATIENT SIDE TUBING
Tubing: 6’ Disposable sterile plastic
Suction Tip: Disposable Yankauer with control vent
PHYSICAL DIMENSIONS
Overall Height: 7 in.
Overall Width: 12 in.
Overall Depth: 6.5 in.
Weight: 9 lbs.
Ohio Medical Corporatoin, 1111 Lakeside Drive, Gurnee, Il 60031 (866) 549-6446 - Fax: (847) 855-6218
www.ohiomedical.com - AI4900500 (Rev.8) 09/2014
Page 8

Ohio Medical Corporation (866) 549-6446 - Fax: (847) 855-6218
1111 Lakeside Drive, Gurnee, IL 60031
www.ohiomedical.com - AI4900500 (Rev.8) 09/2014
 Loading...