

Page 1
lUMINAr
GUIDE
2013
VER 4.9.12 2013
Page 2

2
FEATURES
PAGE
3
PAGE
9
PAGE
27
OPERATION
SETTINGS
FRONT VIEW 3
SIDE VIEW 4
OSD 5
OSD - TOP 6
OSD - LEFT 7
OSD - BOTTOM 8
POWER 10
GENERAL 12
GAIN 13
VISIBLE ZOOM 14
FIELD OF VIEW 15
COLOR 16
FOCUS 17
COUNTING 18
MODE 19
SNAPSHOT 20
VIDEO 21
PLAYBACK 22
AUDIO 23
TEXT SUBTITLES 24
GPS 26
DISPLAY 28
STATUS BAR 28
TITLE 28
GPS 28
TEMP SENSOR 28
LANGUAGE 28
DISPLAY MODE 29
VIDEO OUT 29
EXPOSURE 30
COLOR ADJ 30
SYSTEM INFO 31
DATE/TIME 31
DEFAULT SETTING 32
Page 3
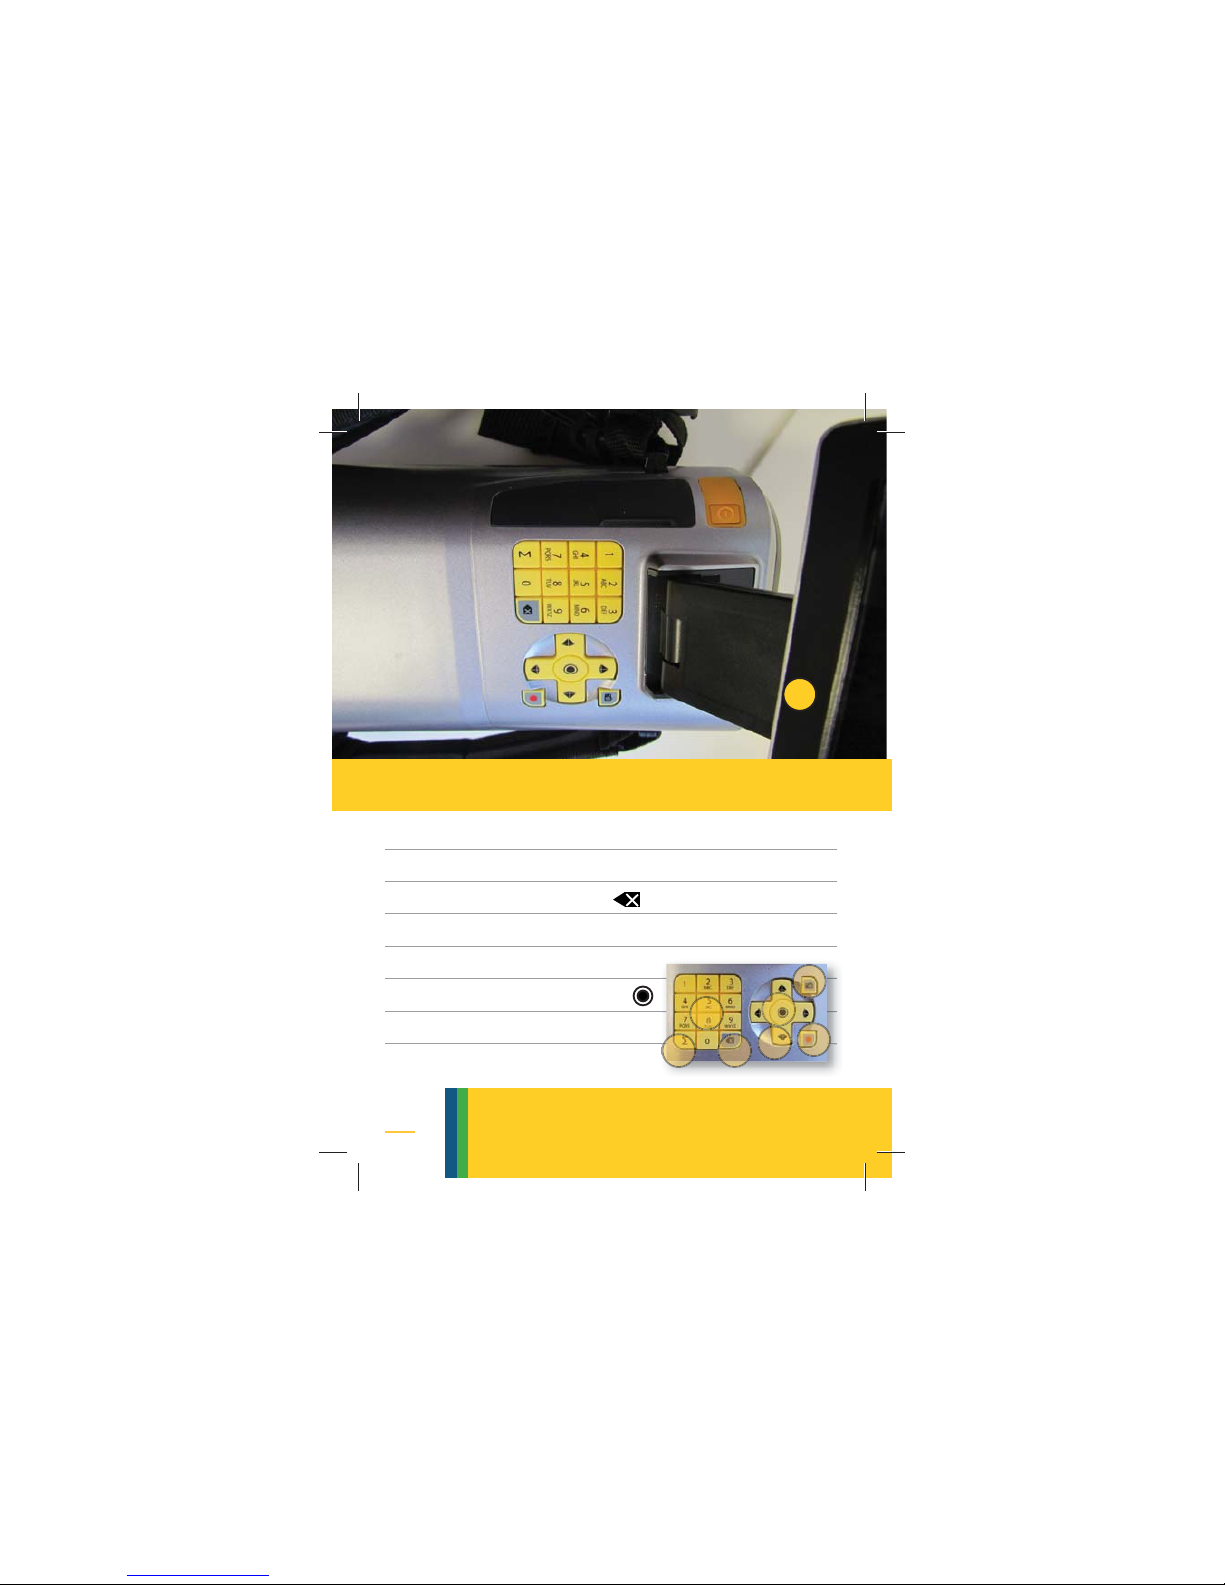
3
1 Adjustable LCD
2 Keypad
3 Exit from menu
4 Hotkey [Σ] - Provokes Counting
5 Navigation arrows
6 Menu & Selector
7 Stills capture
8 Video recording
1
2
3
4
5
6
7
8
front view
FRONT VIEW
Page 4
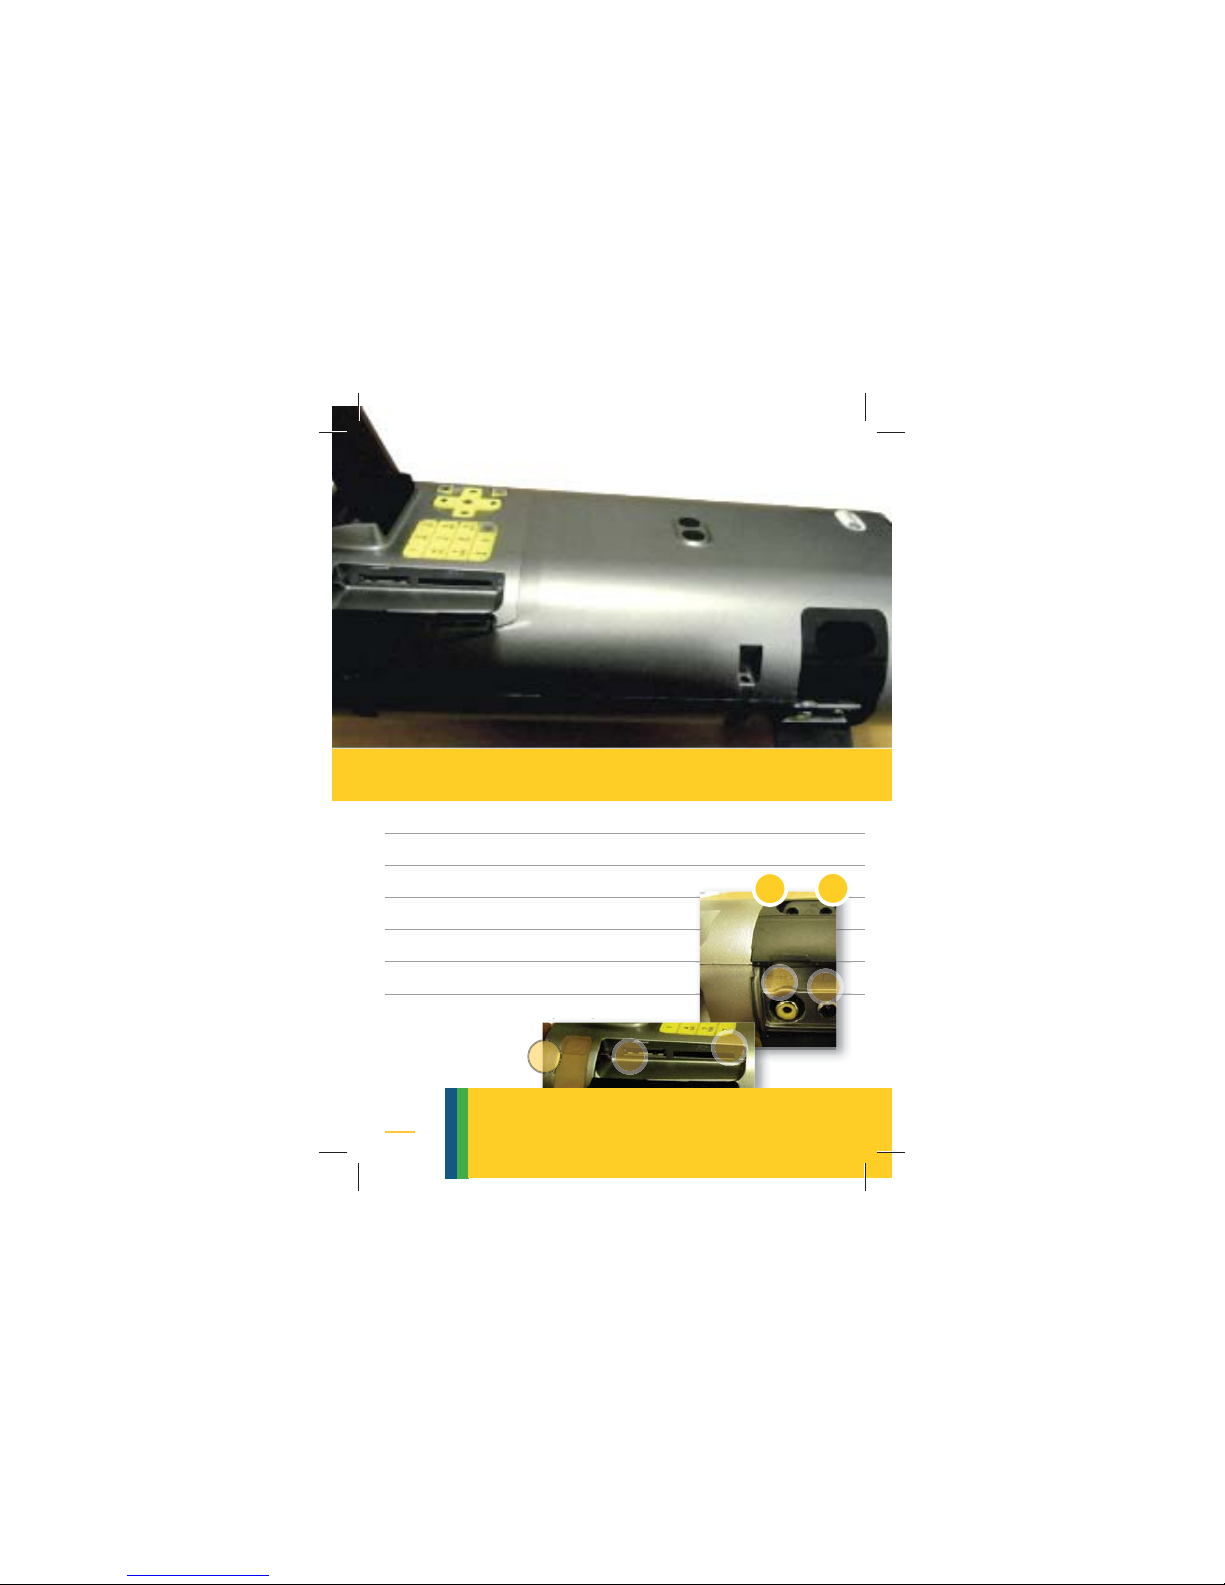
4
9 Power on/off
10 Aux / Temperature & Humidity inlet
11 SD card
12 Video out
13 AC/DC inlet
14 Mic inlet
15 Earphone inlet
13
12
14
15
ne inlet
11
9
10
side view
SIDE VIEW
Page 5
5
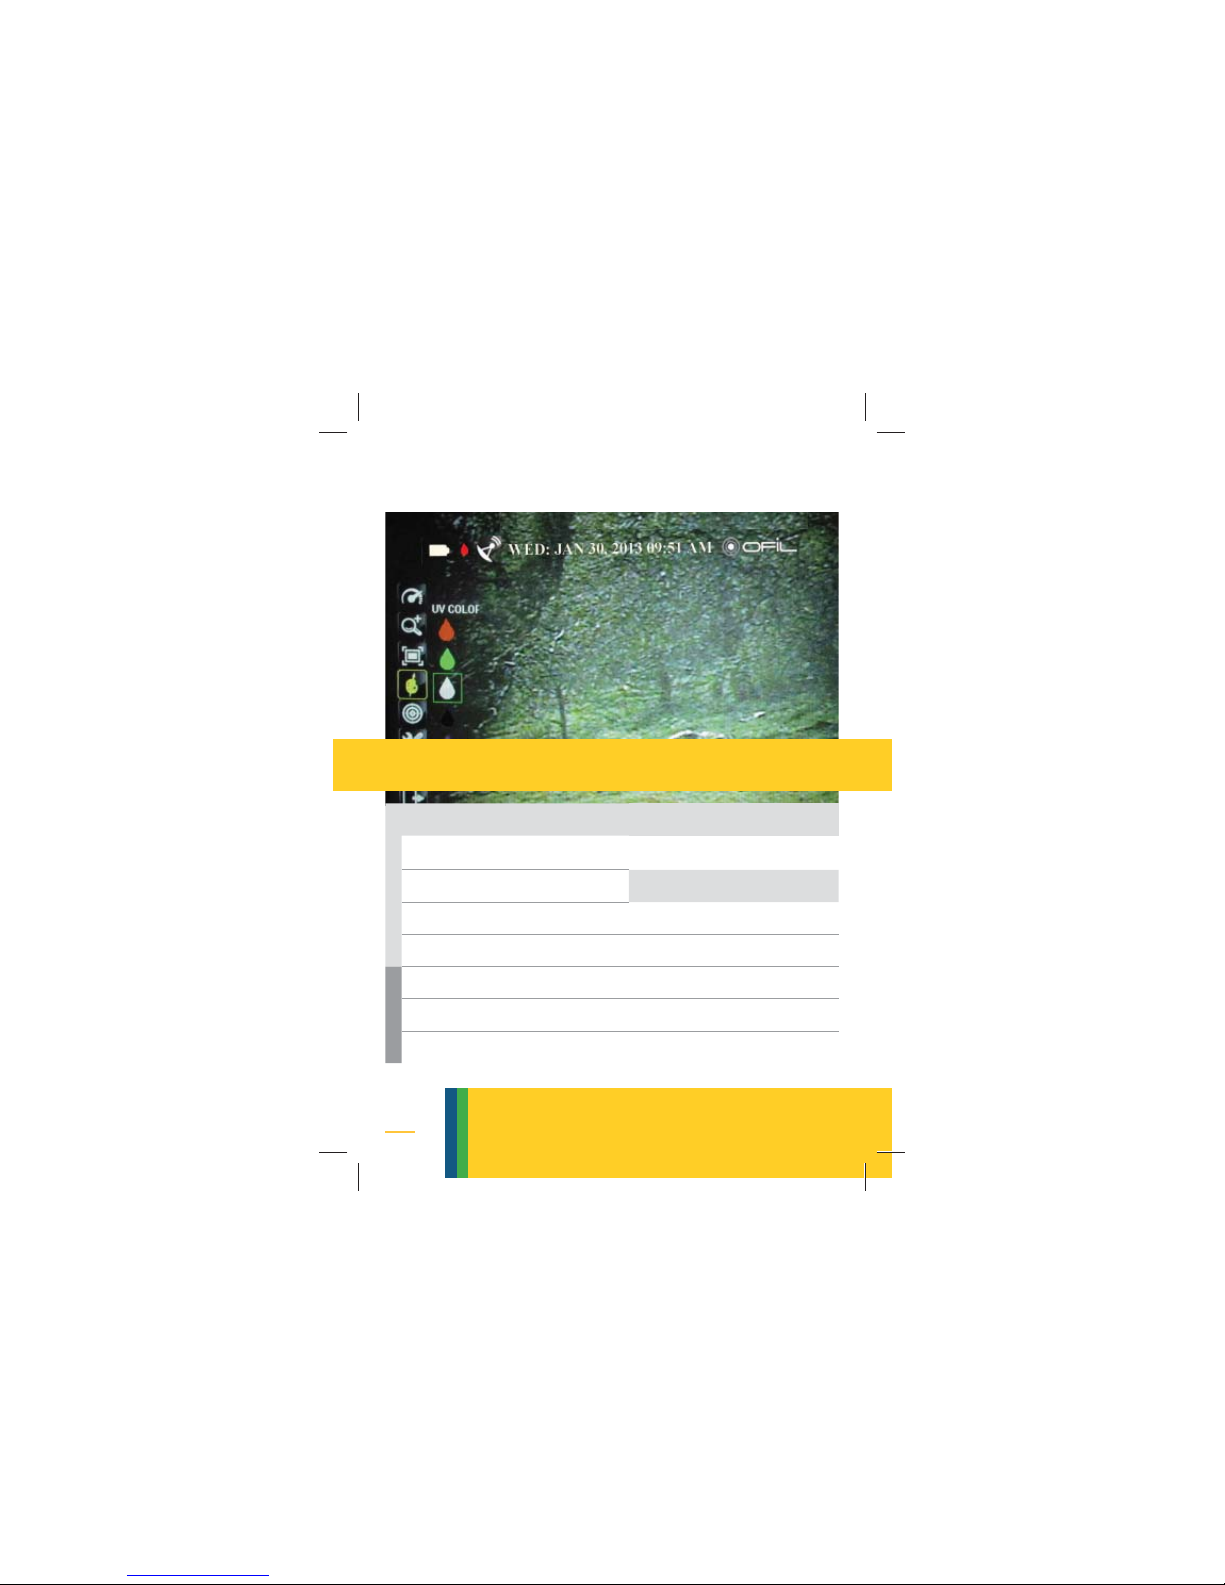
Top OSD Left Side OSD
16 Power source 23 Menu
17 Corona color Bottom OSD
18 GPS signal 24 Camera Mode
19 Date & Time 25 Focus
20 GPS Data 26 Field of View
21 Temp & Humidity 27 Gain
22 Video/Stills on 28 Counting
first line
second line
OSD
OSD - ON SCREEN DISPLAY
Page 6
6
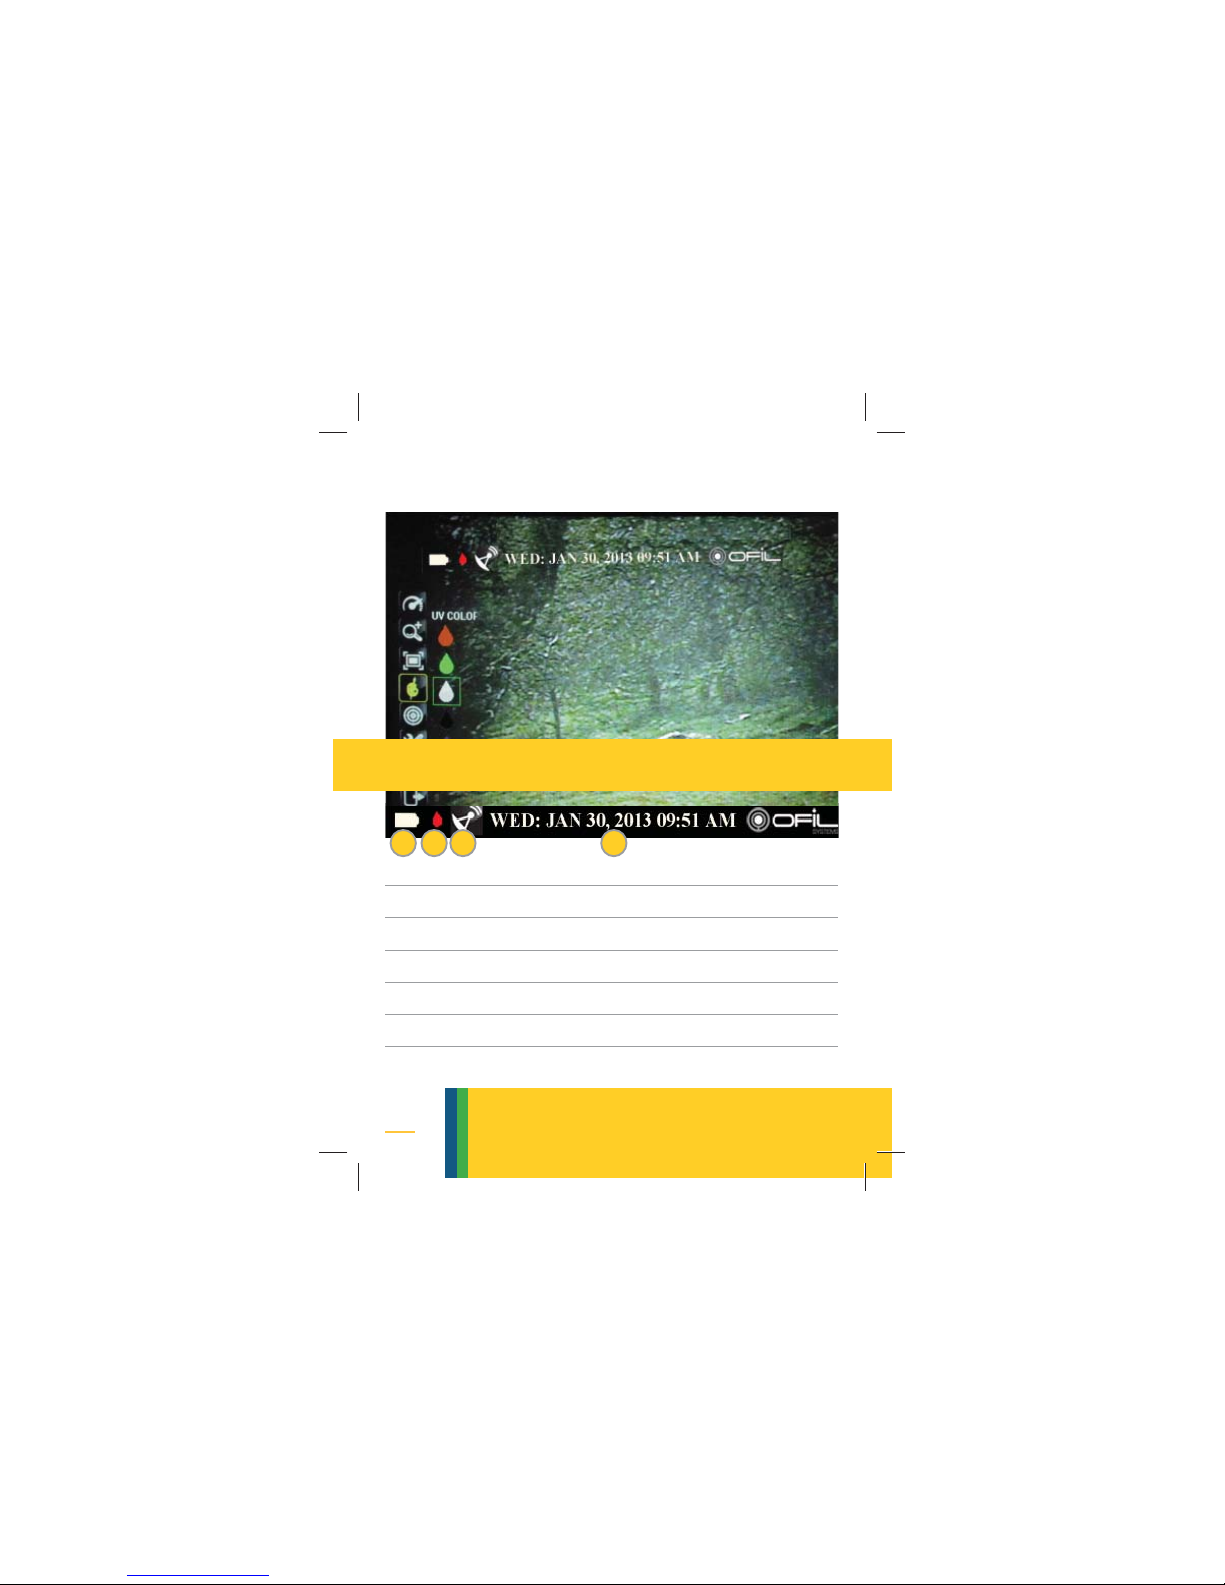
16 Power source - Battery or AC
17 Corona color - Hue
18 GPS signal - Red no | Green on
19 Date & Time - Day: MMDD,YYYY hh:mm
20 GPS Data - Latitdue & Longtitude
21 Temp & Humidity - if sensor is attached
22 Video recording - Red | Stills - Yellow
16 17 18 19
OSD - top line
OSD - TOP LINES 1
&
2
Page 7
7
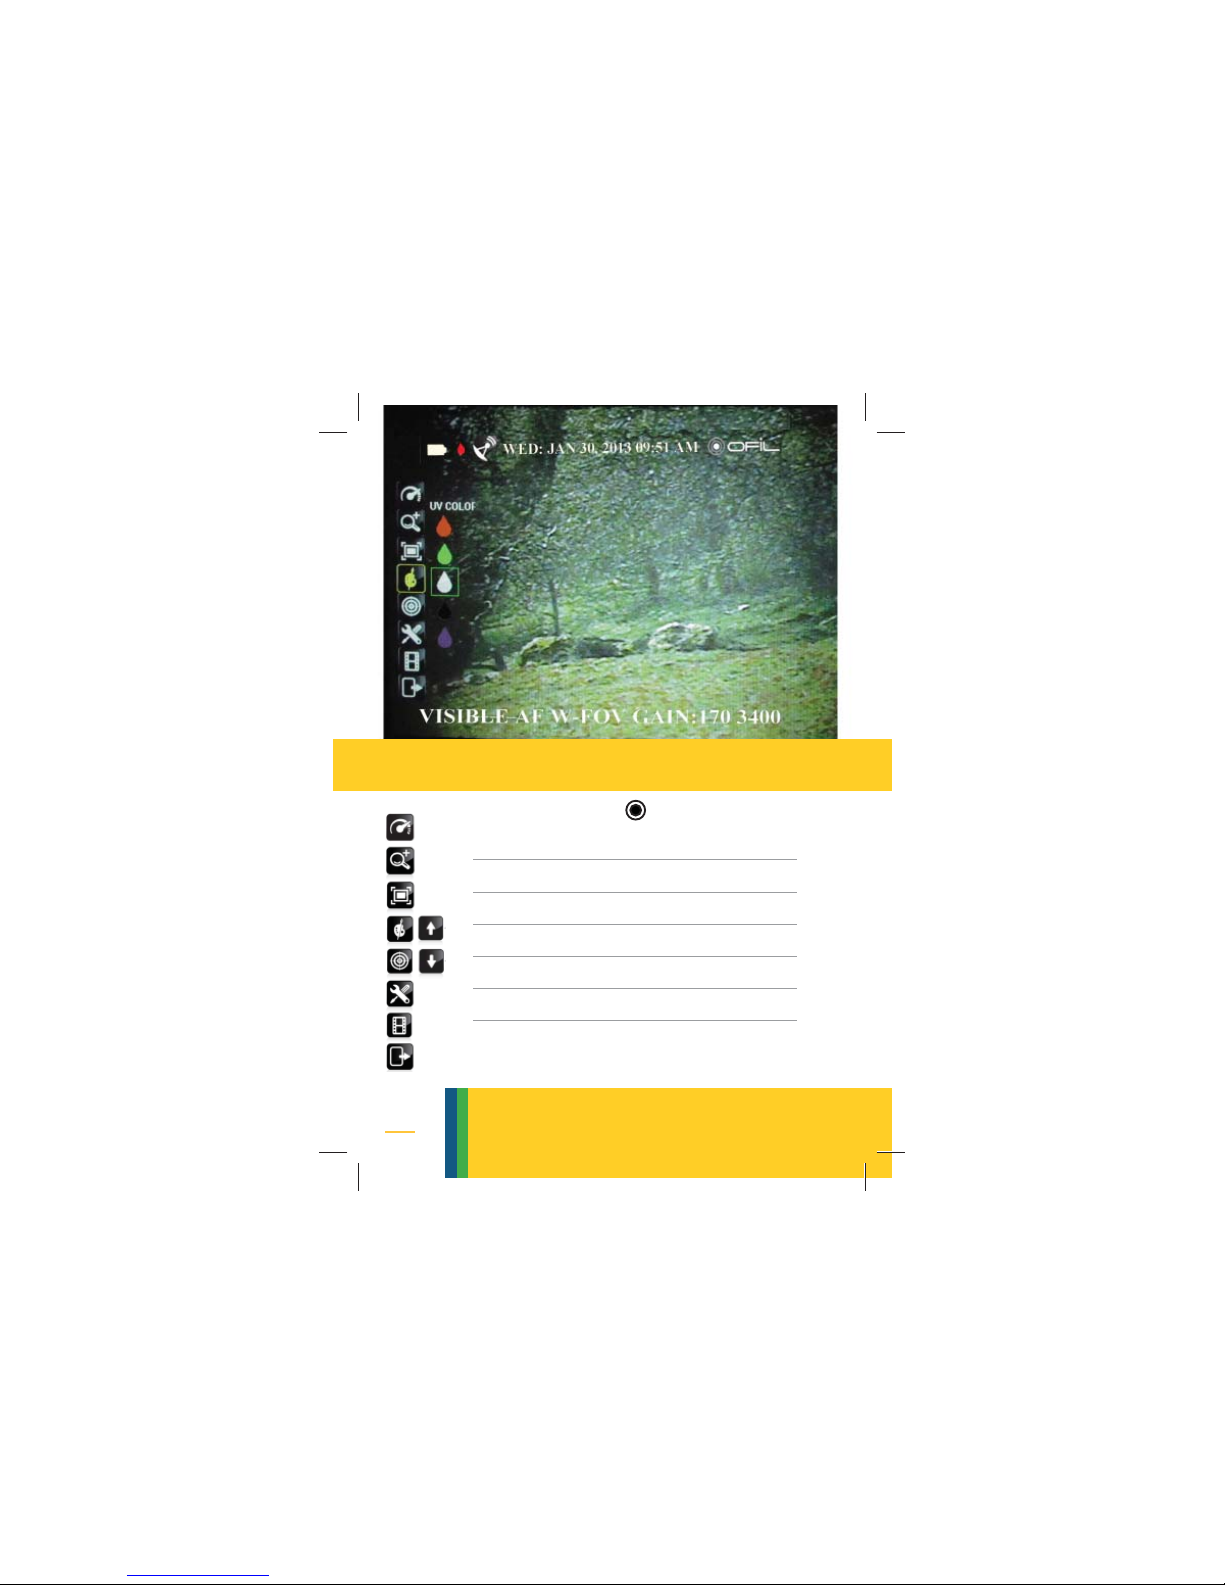
23 Gain - page 13
24 Zoom - page 14
25 FOV (field of view) - page 15
26 Corona Color - page 16
27 Focus - page 17
28 Settings - page 28
29 Playback - page 22
30 Exit
Triggered by
menu
OSD - LEFT - MENU
Page 8
8
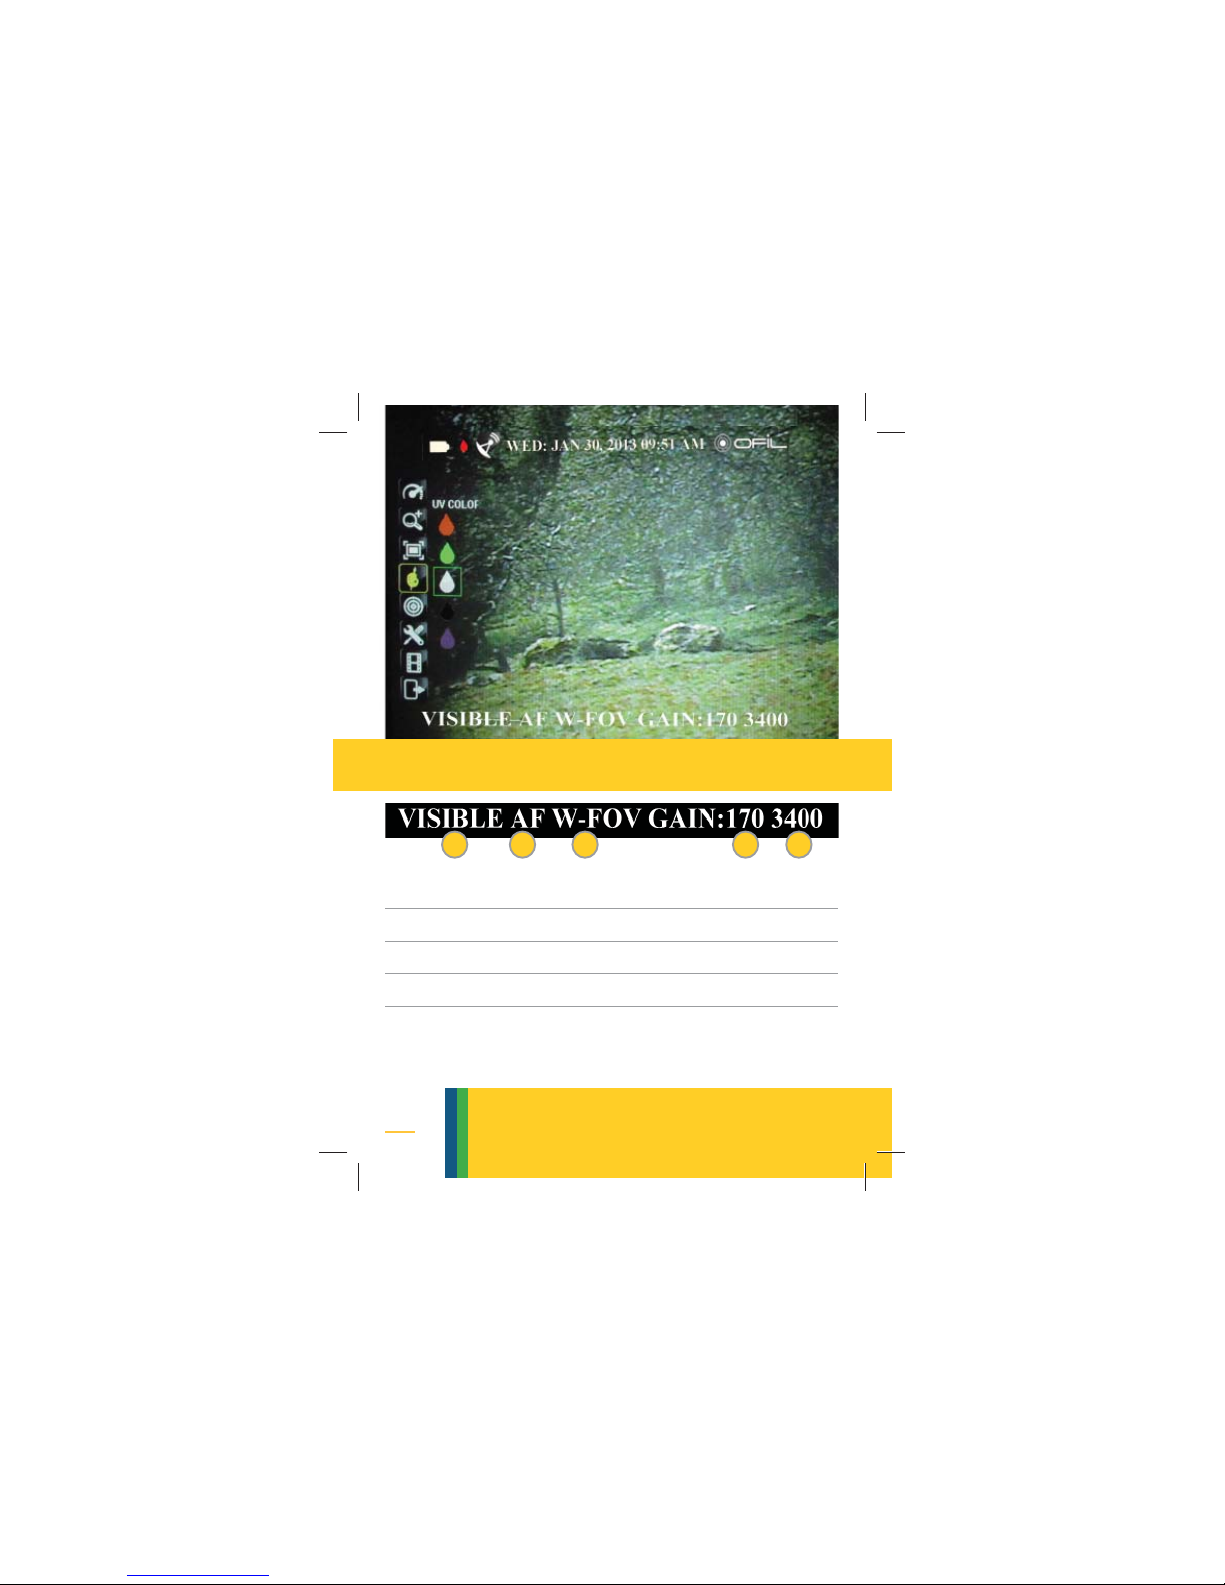
31 Camera Mode - Visible | UV | Combined
32 Auto Focus - AF | Manual Focus - MF
33 Wide FOV - W-FOV | Narrow FOV N-FOV
34 Gain value
35 Counting
31 32 33 34 35
OSD - bottom
OSD - BOTTOM
Page 9
9
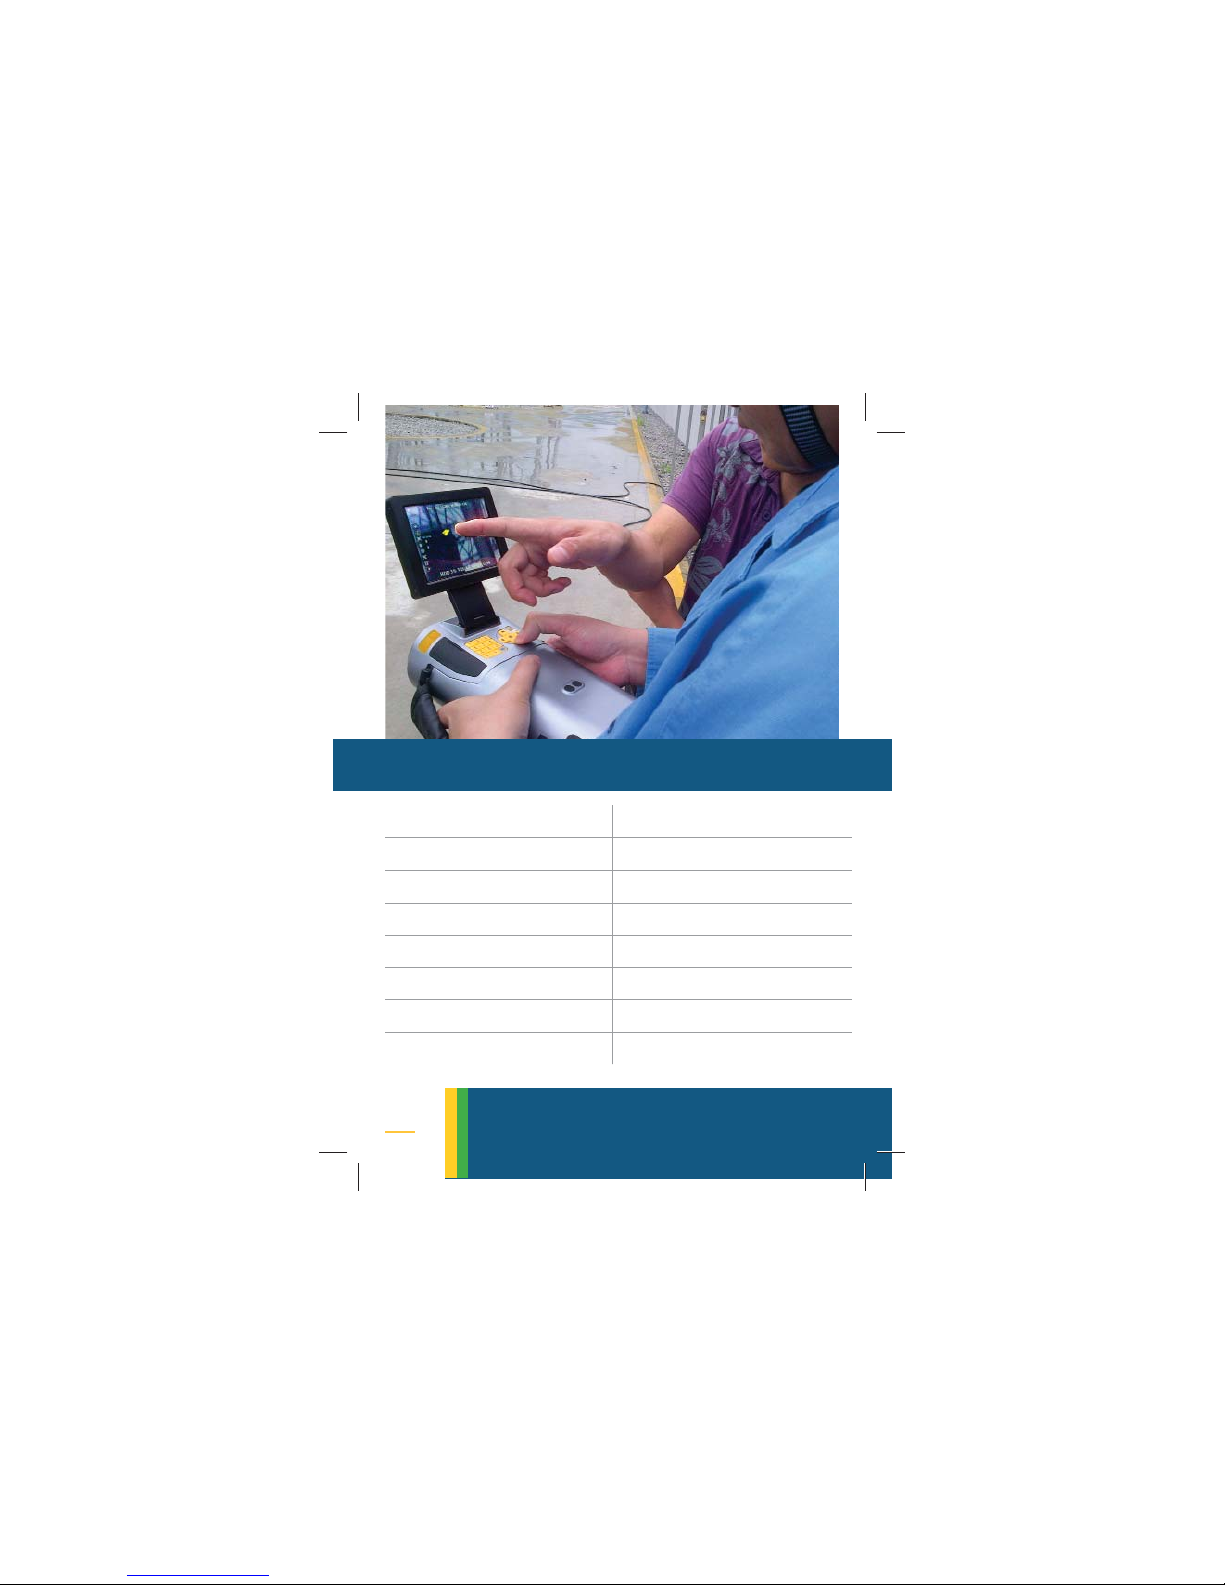
OPERATION
1 Power 9 Mode
2 General 10 Snapshot - stills
3 Gain 11 Video recording
4 Visible Zoom 12 Playback
5 Field of View 13 Audio recording
6 Corona color 14 Text subtitles
7 Counting 15 GPS
8 Focus 16 Settings
operation
Page 10
10
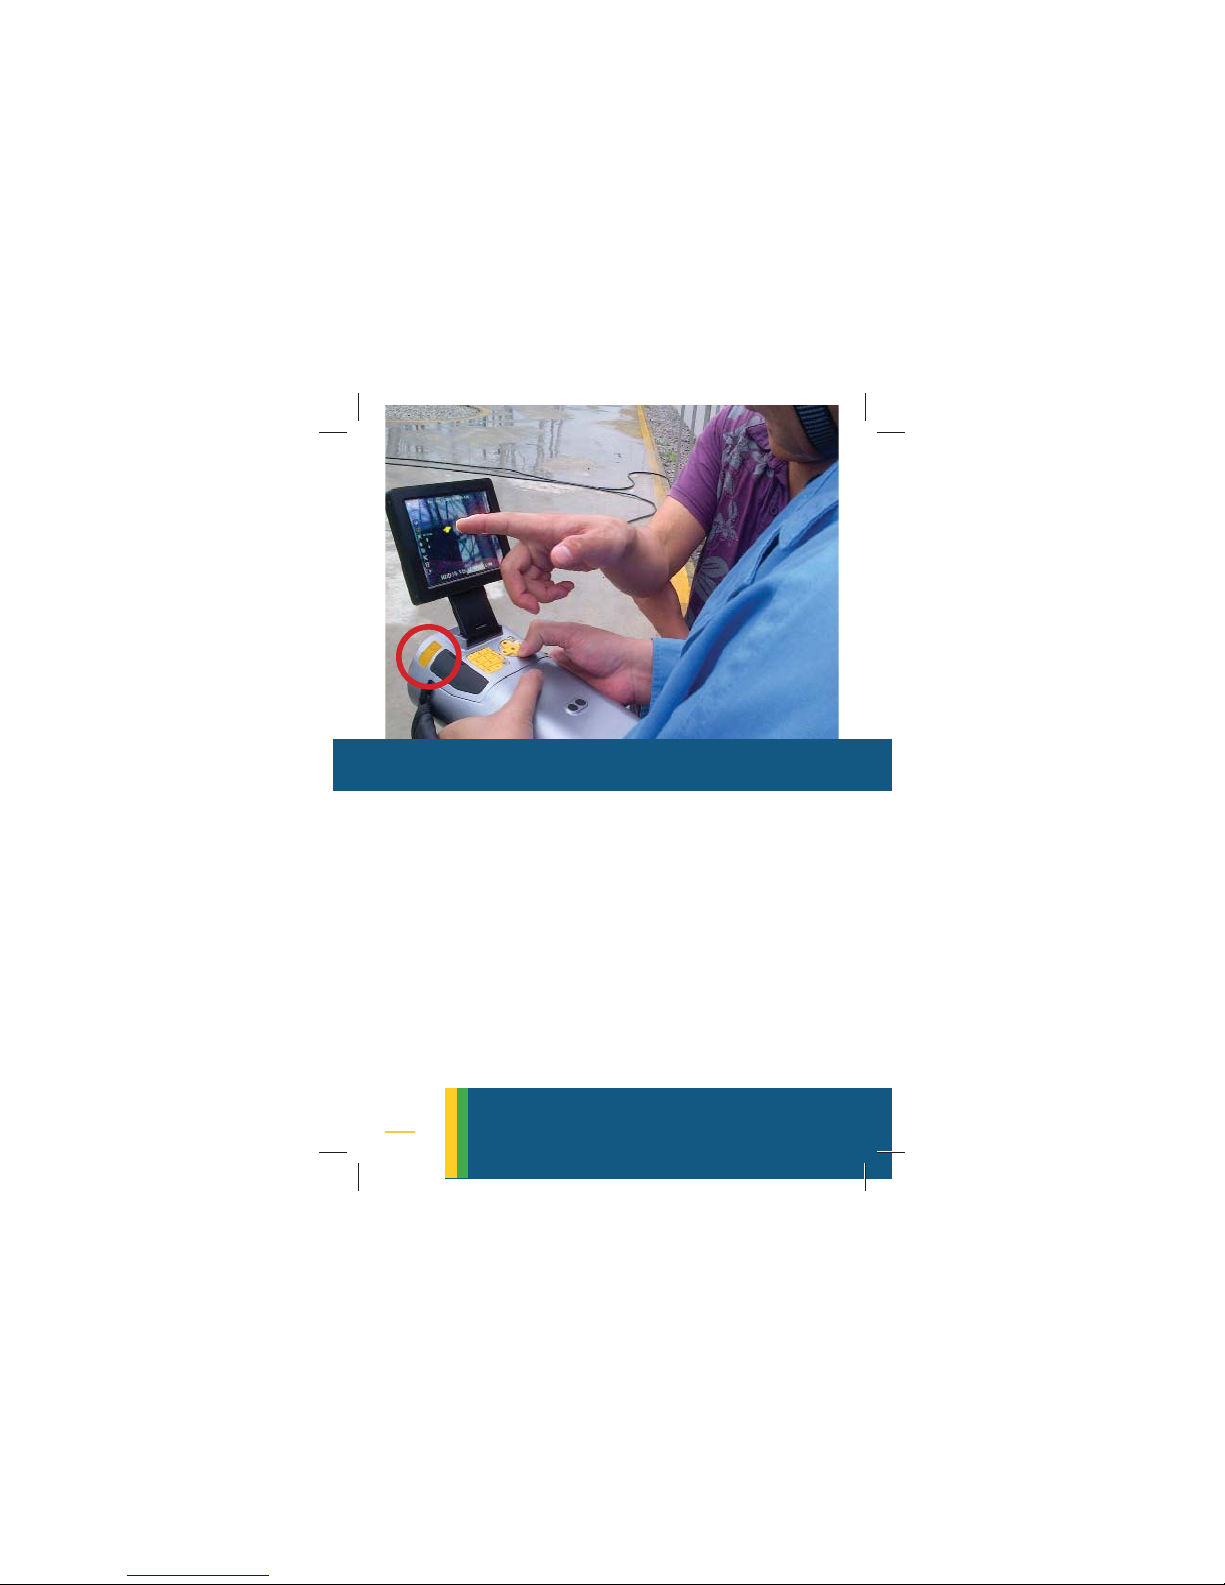
1. POWER
• Short press on the power butten to turn on,
long press to turn off
• A green LED turns on for a couple of seconds
• Wait 2 minutes while the systems initializes
POWER SOURCES:
• Rechargeable Battery
• AC/DC input 5V, 6A
• Plug in/out the AC/DC when the camera is
off
power
Page 11
11
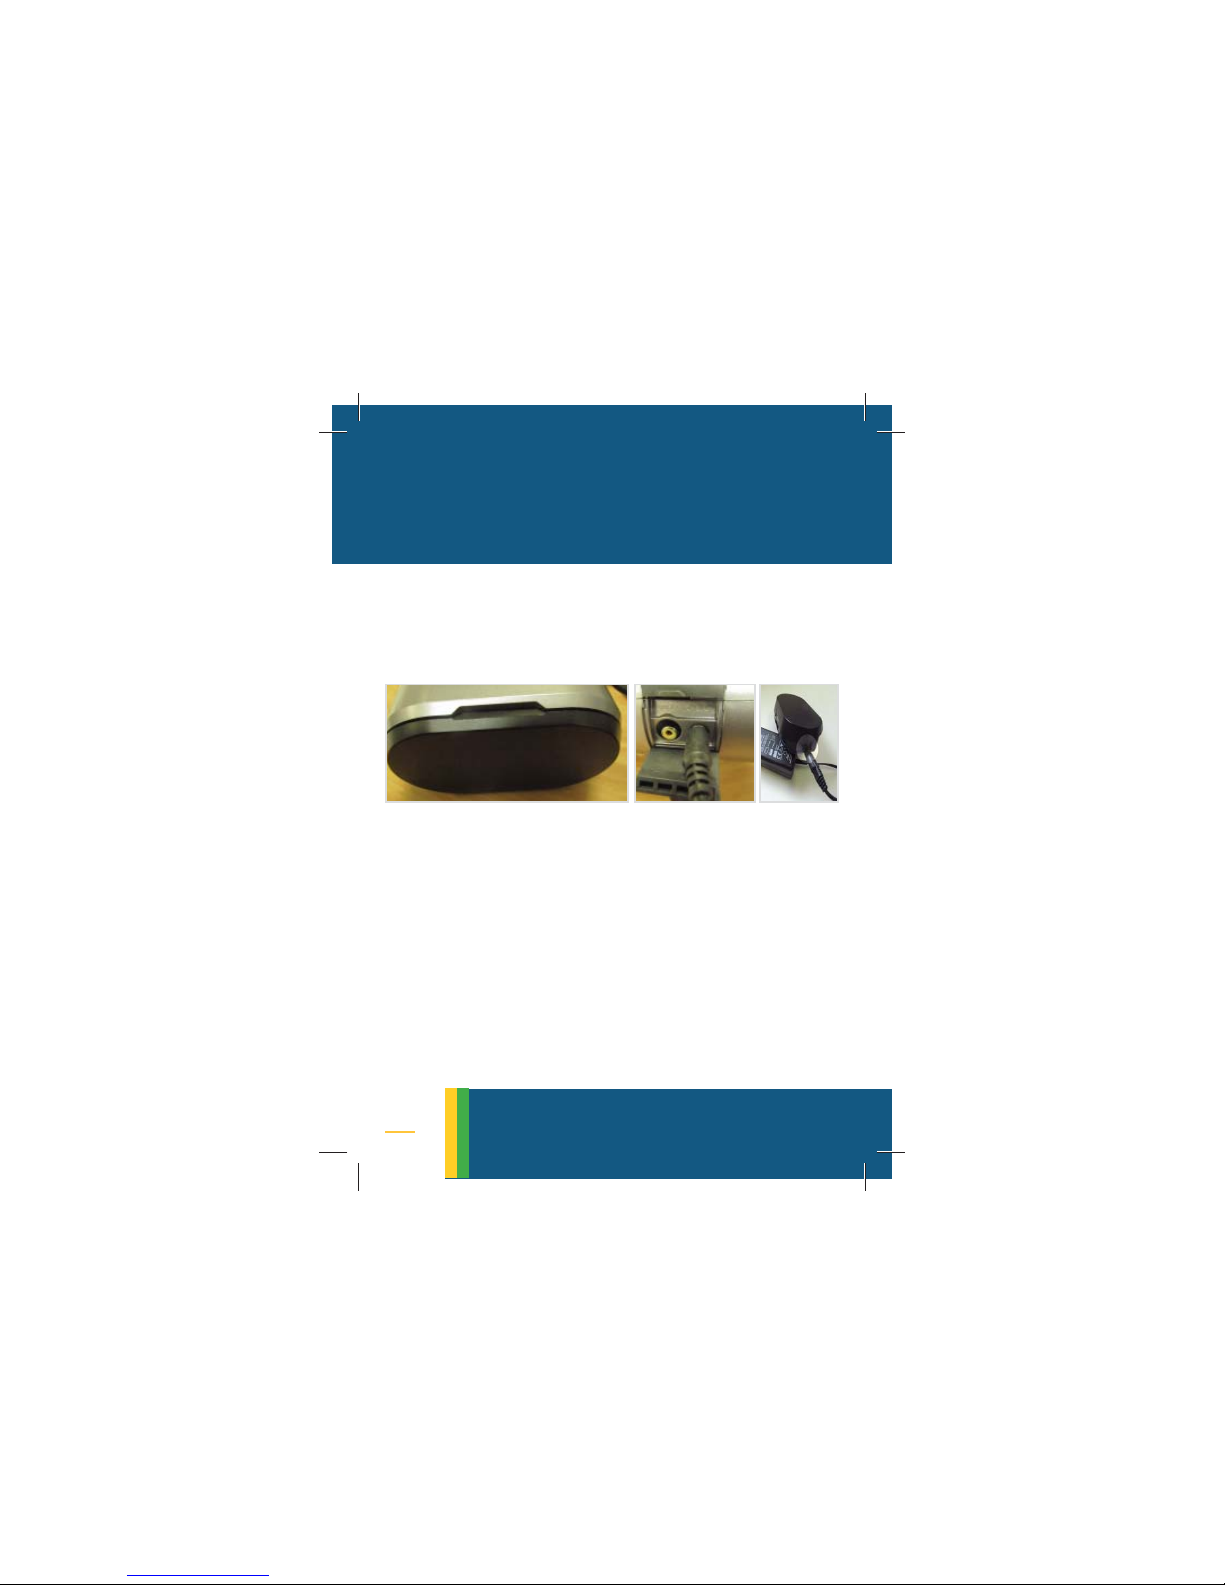
1. Detach the battery from the Luminar: press on
the top & bottom seats and pull
2. First connect the battery to the charger
3. Then, connect the charger to a power source
4. Full charge takes about 12 hours
AC/DC INPUT 5V, 6A
1. Plug in the AC/DC cable to the Luminar
2. Connect to a power source
3. The camera gives priority to electricity supply
1. POWER
BATTERY:
A full battery can last about 3 hours.
CHARGING THE BATTERY:
1 2 3
1 2 3
power
Page 12

12
2. GENERAL
1. Functions are listed in the on-screen menu
2. The menu appears when clicking on the SELEC-
TOR and is removed by pressing on or
on the exit icon
3. To select/disselect a function item from the
menu use the
UP/DOWN/SELECTOR buttons
4. A green frame indicates which function is in
focus
5. The UP/DOWN button arrows move the green
frame
6. The SELECTOR button changes the color of an
icon white/yellow yellow/white
7. A yellow icon indicates a selected function.
A white icon indicates an idle function
8. Some functions have a sub-menu. The green
frame will indicate which sub-menu item is in
focus
9. The green frame can be moved when all
main menu icons are white
general
Page 13
13
3. GAIN
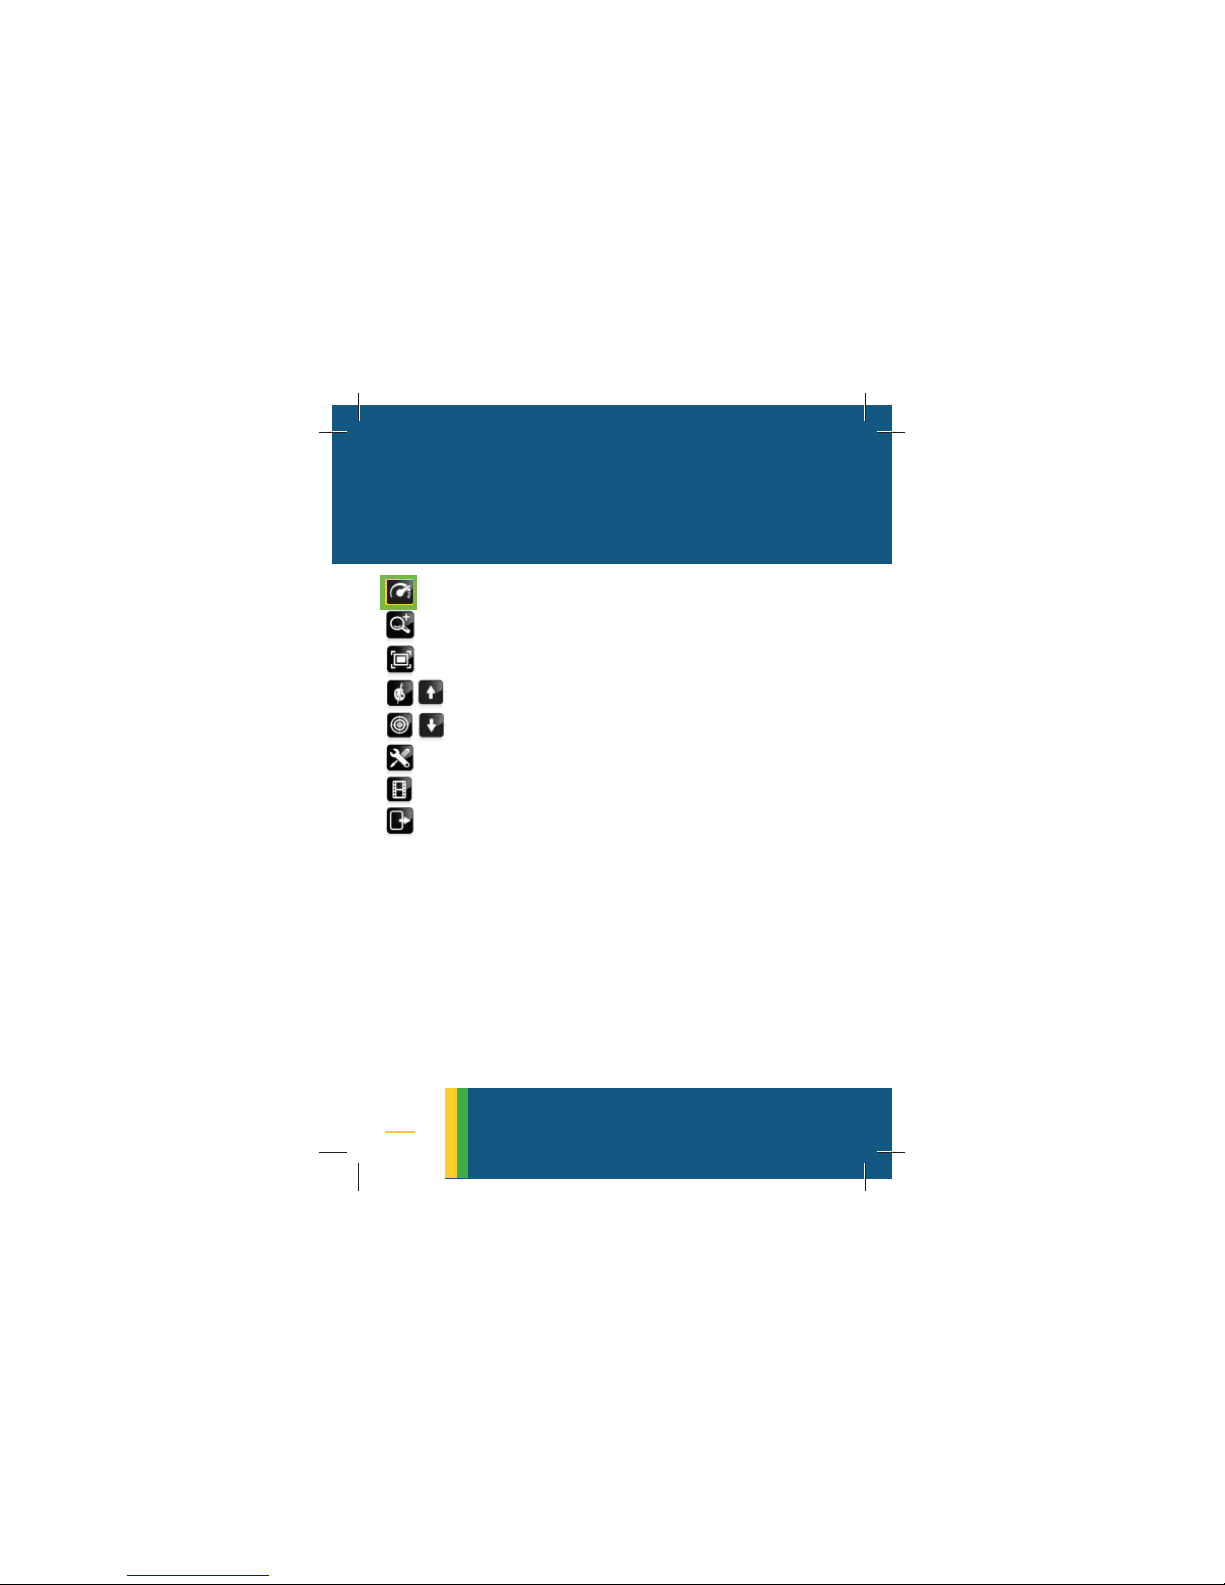
• Gain controls the sensitivity to UV and
is manifested graphically as the size
and number of UV spots on the screen
• With a higher gain it is easier to
detect corona sources. With a lower
gain the emitting source is better
conceived
• Gain values start at 0 and end at
250
• Default value is 150
• Move the green frame to the Gain
icon
• Click on the
SELECTOR button to turn on
the Gain Function
• Use the
UP/DOWN arrows to control
the gain values
gain
Page 14
14
5. VISIBLE ZOOM
• Zoom is used to magnify the visible
image
• Once corona is detected, zoom-in to
get more detailed data
• While zooming the camera enters
automatically the
VISIBLE-MODE (no UV
displayed and no counting). When
exited the COMBINED-MODE is restored
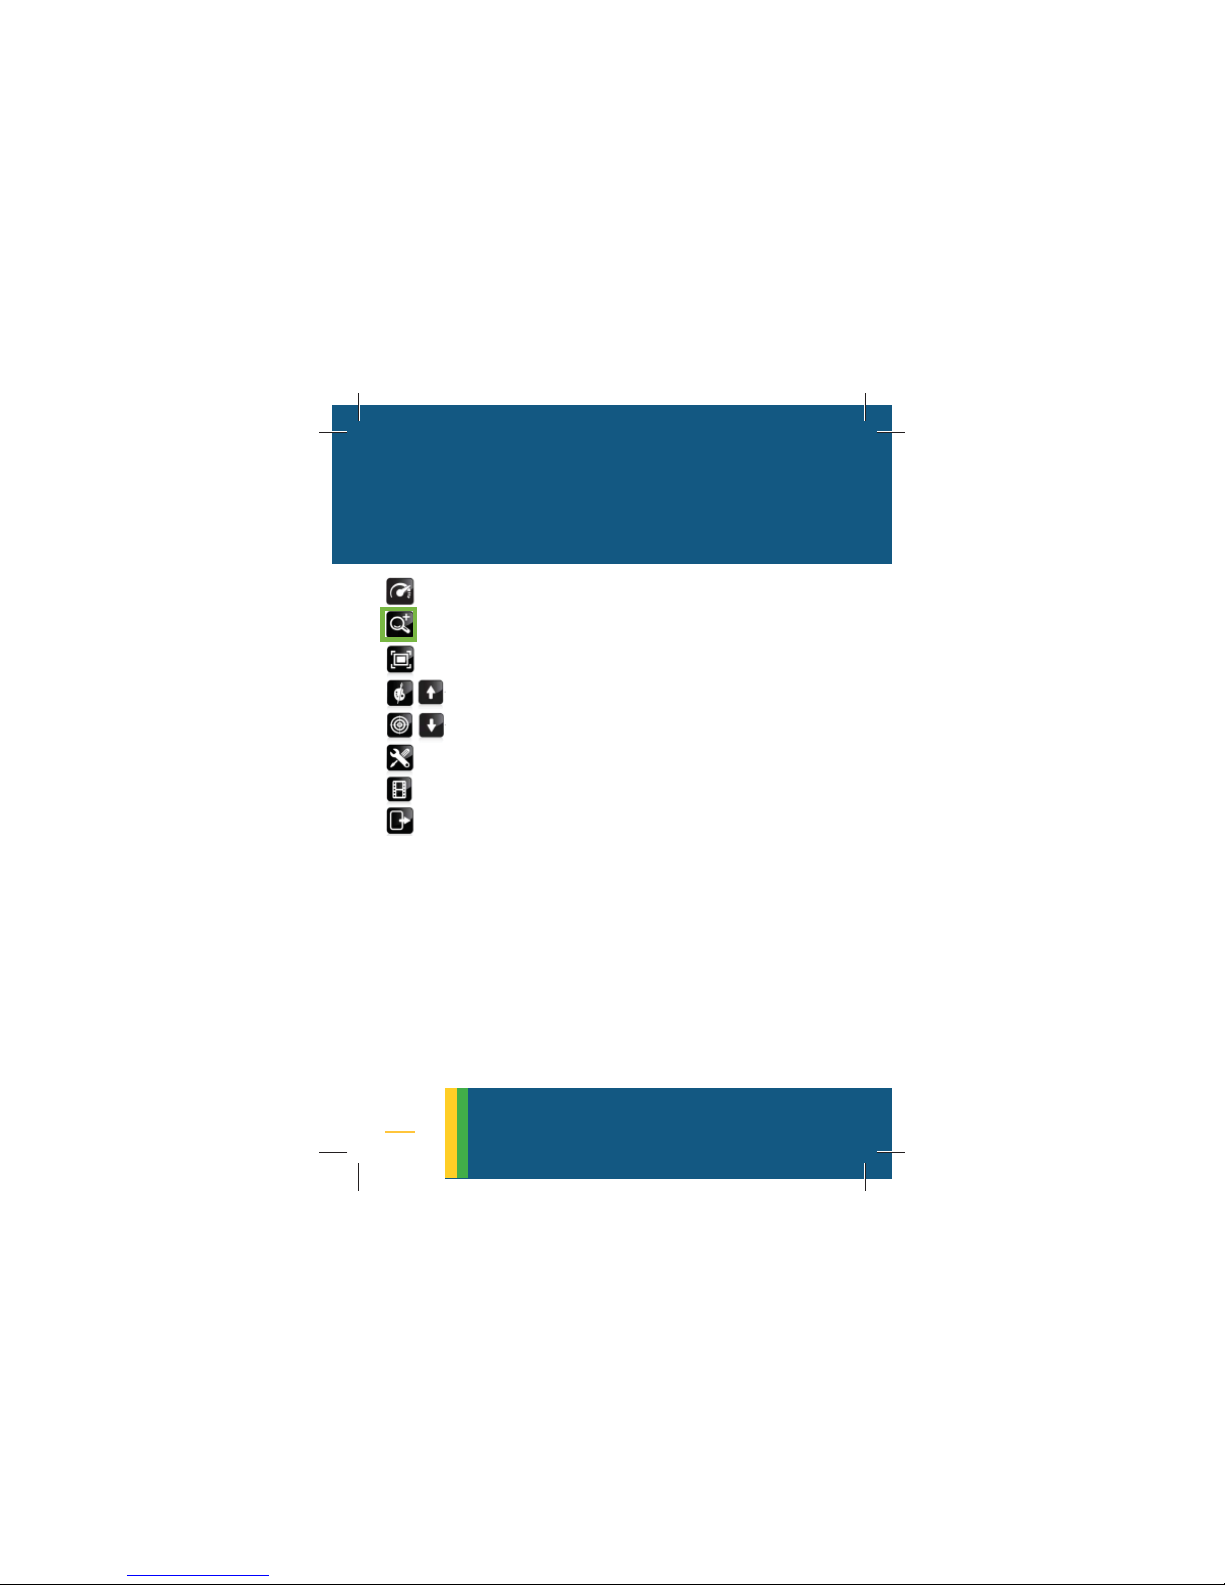
• Move the green frame to the visible
zoom icon
• Click on the SELECTOR button to turn on
the visible zoom function
• Use the
UP/DOWN arrows to zoom in
and out
• A long press on either arrows activates the fast zoom. Maximum zoom
is attained within one second
visible zoom
Page 15
15
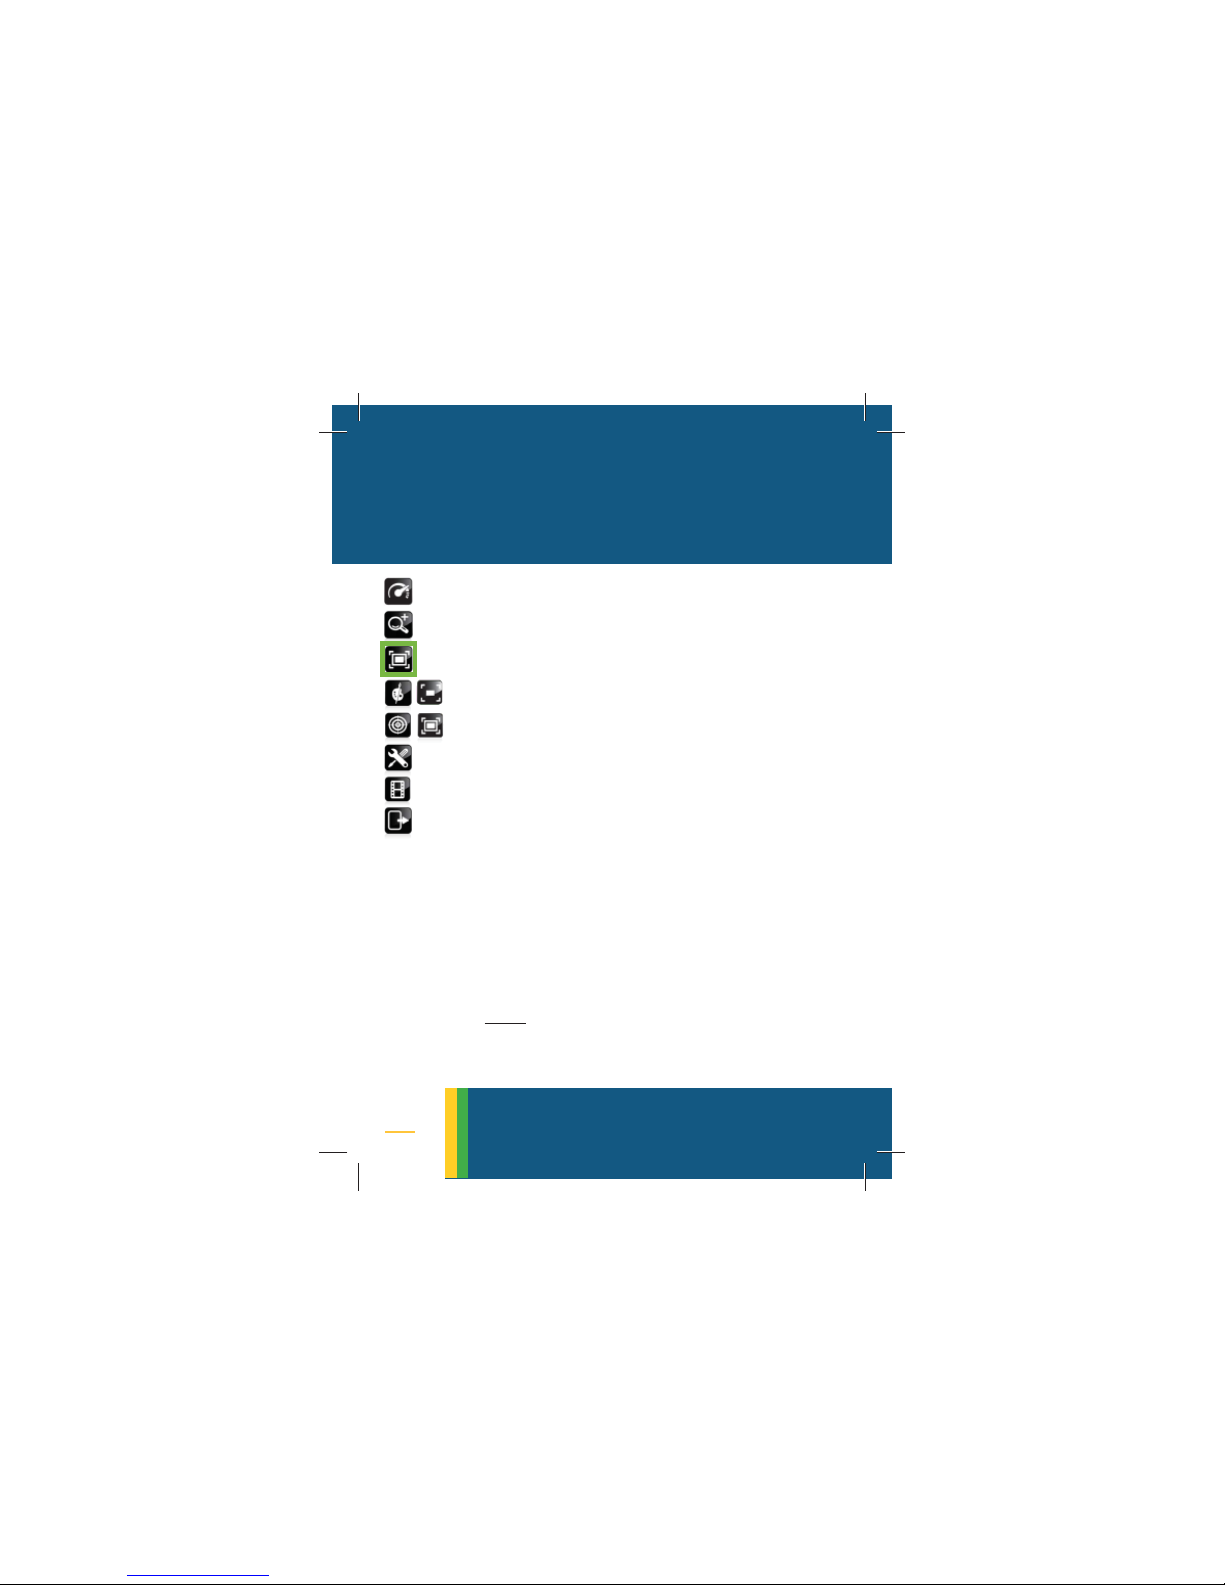
5. FOV - FIELD OF VIEW
• Affects the working distances & the
resolution of the image. Wider
FOV
is used for shorter distances from the
target object. Narrower FOV provides
higher image resolution
• Move the green frame to the FOV
• Click on the
SELECTOR button to turn on
the FOV function
• A sub menu with 2 options of narrow
and wide views appears
• Move the green frame to the desired
view
• Click on the
SELECTOR to select the view
• The status line will read: W-FOV for
wide FOV and N-FOV for narrow
• NOTE: narrow 5
o
x 3.75
o
wide 10
o
x 7.5
o
field of view
Page 16
16
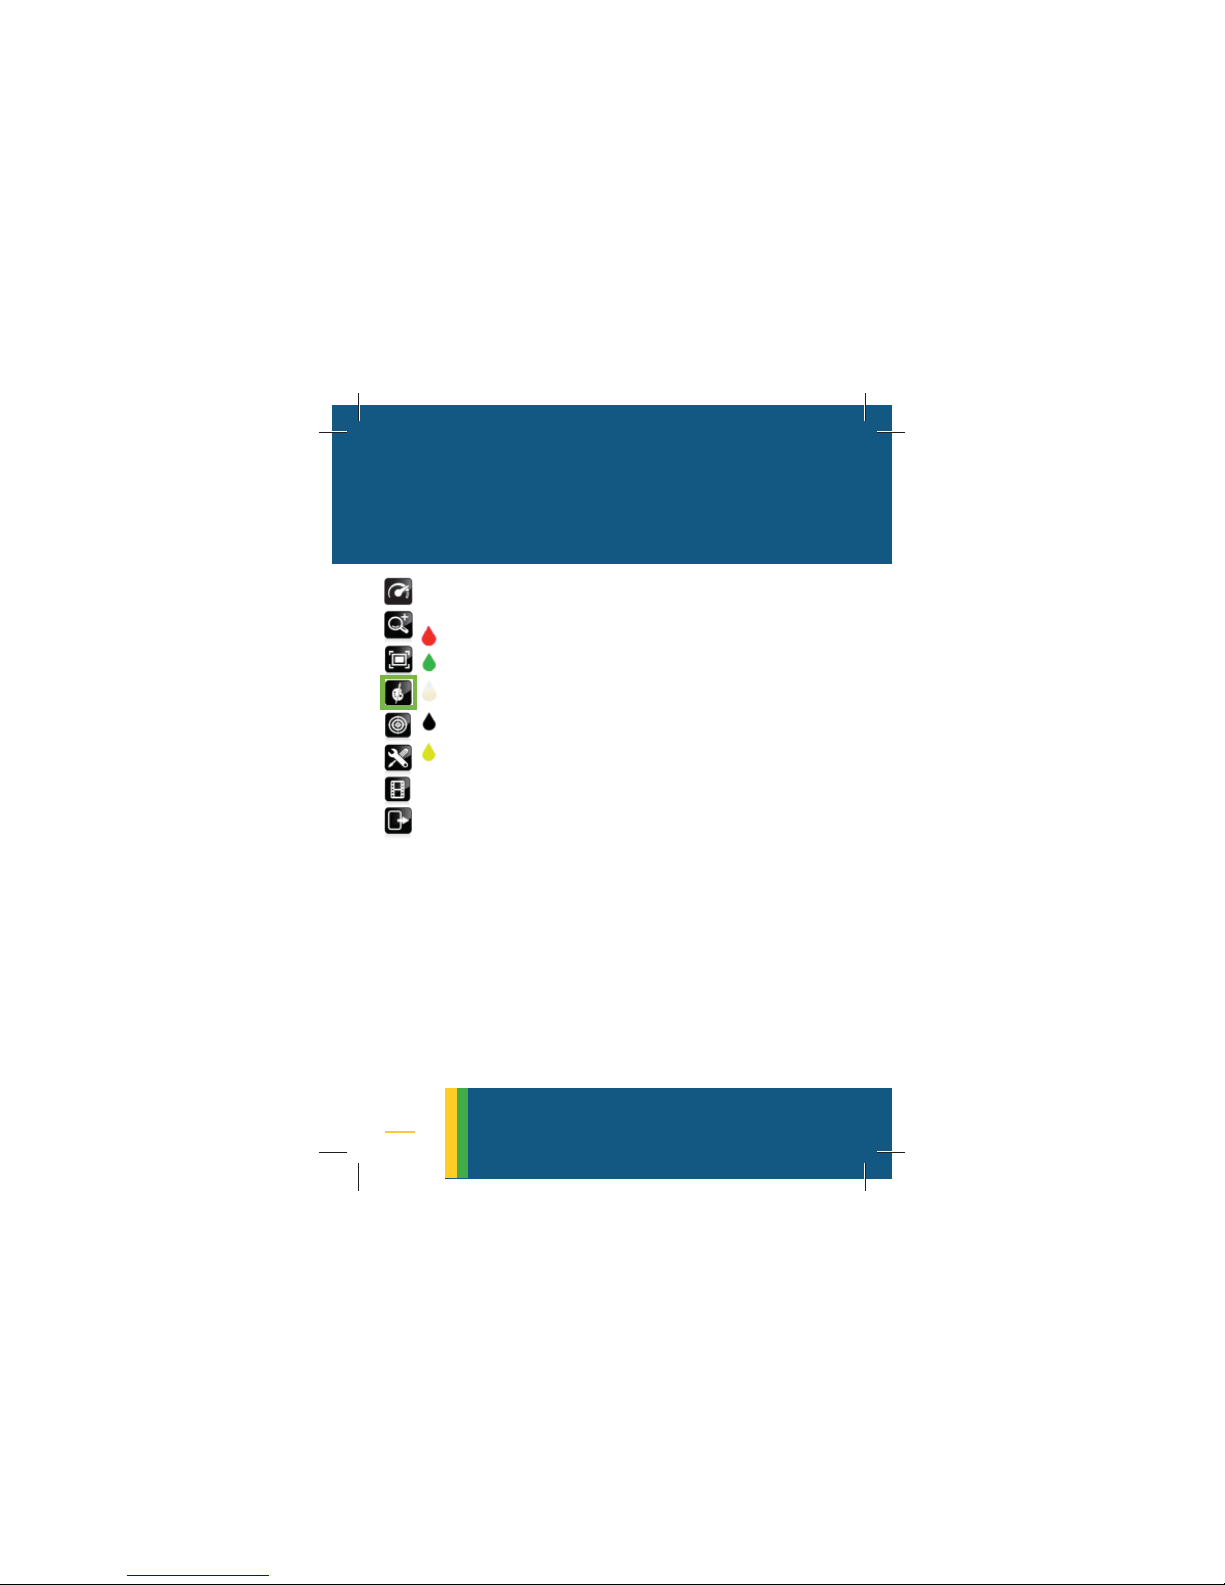
6. CORONA COLOR
• Select from a palette of 5 colors to
make the corona signal conspicious
• Move the green frame to the color
icon
• Click on the
SELECTOR to turn on the
color function
• A sub menu with 5 color swatches
appears: Red, Green, White, Black,
Yellow
• Use the
UP/DOWN arrows to move the
green frame to the preferred color
• Click on the SELECTOR to make a selec-
tion
• An indication of the selected color is
displayed on the screen
corona color
Page 17

17
7. FOCUS
• The focus mechanism manages simultaneously both visible & UV channels
• By default the camera is in auto focus
(AF) mode
• Switch to manual focus when the
corona source is behind a fence or
during poor lighting conditions
• Move the green frame to the focus
• Click on the selector to turn on the
FOCUS function
• A sub menu with 2 options: AF (Auto
Focus) MF (Manual Focus) appears
• Move the green frame to the desired
focus mode and click on the SELECTOR
• In MF change the focus with the UP/
DOWN arrows
• The OSD bottom status line will display the selected mode as MF or AF
focus
Page 18
18
8. COUNTING
• Counting displays the counted detected UV signals and is available
while in combined mode. Counting is
unavailable during zooming
• The counting value represents an average of a couple of measurements. It is
therefore advised to wait for the result
to become stabilized
• Counting values are qualitative indication of the corona in an area enclosed by a square frame. Values are
displayed in the
OSD bottom status line
with a preceeding “c:”
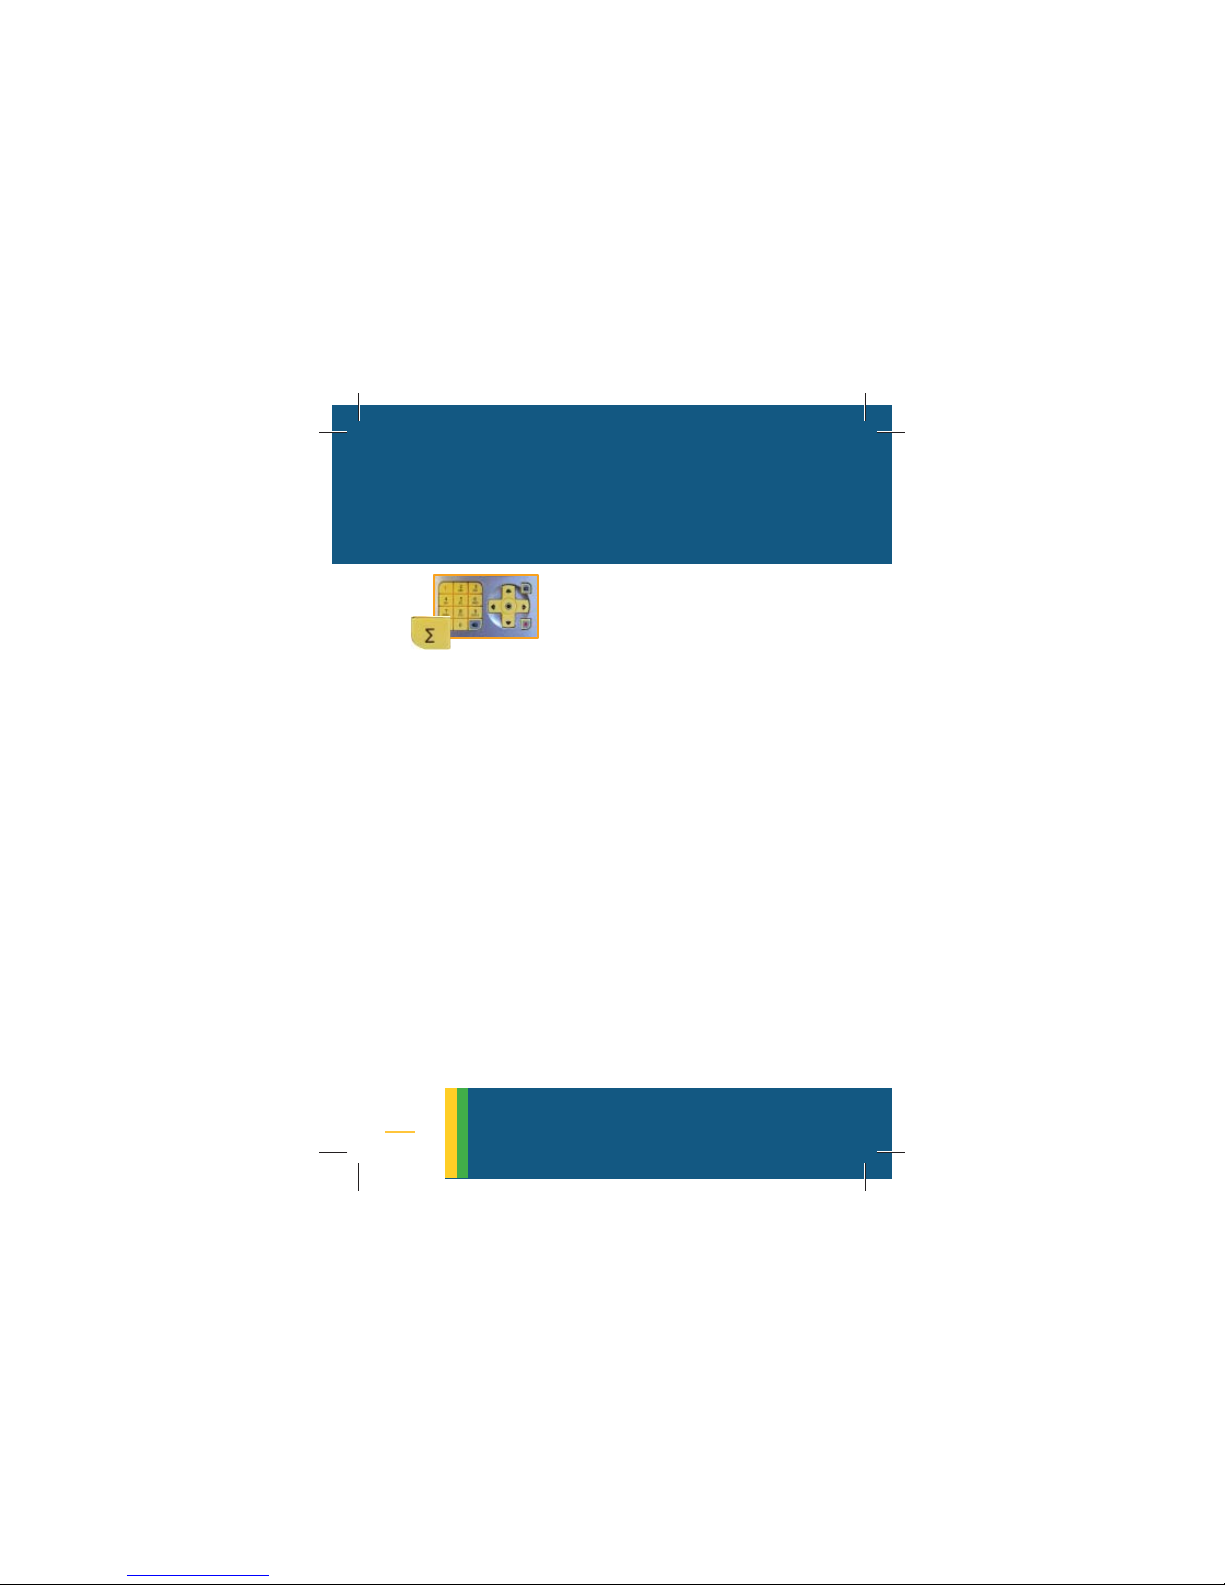
• To change the size of the counting
frame click on the hotkey [Σ]
• Each click changes the size of the
frame
counting
Page 19
19
9. MODE
• Display modes: COMBINED | UV | VISIBLE
•
COMBINED - both visible & UV spectral
ranges are deployed
•
VISIBLE - only the visible spectral range
is deplyed - no corona
• UV - if corona is detected it will be
displayed, else the display is black
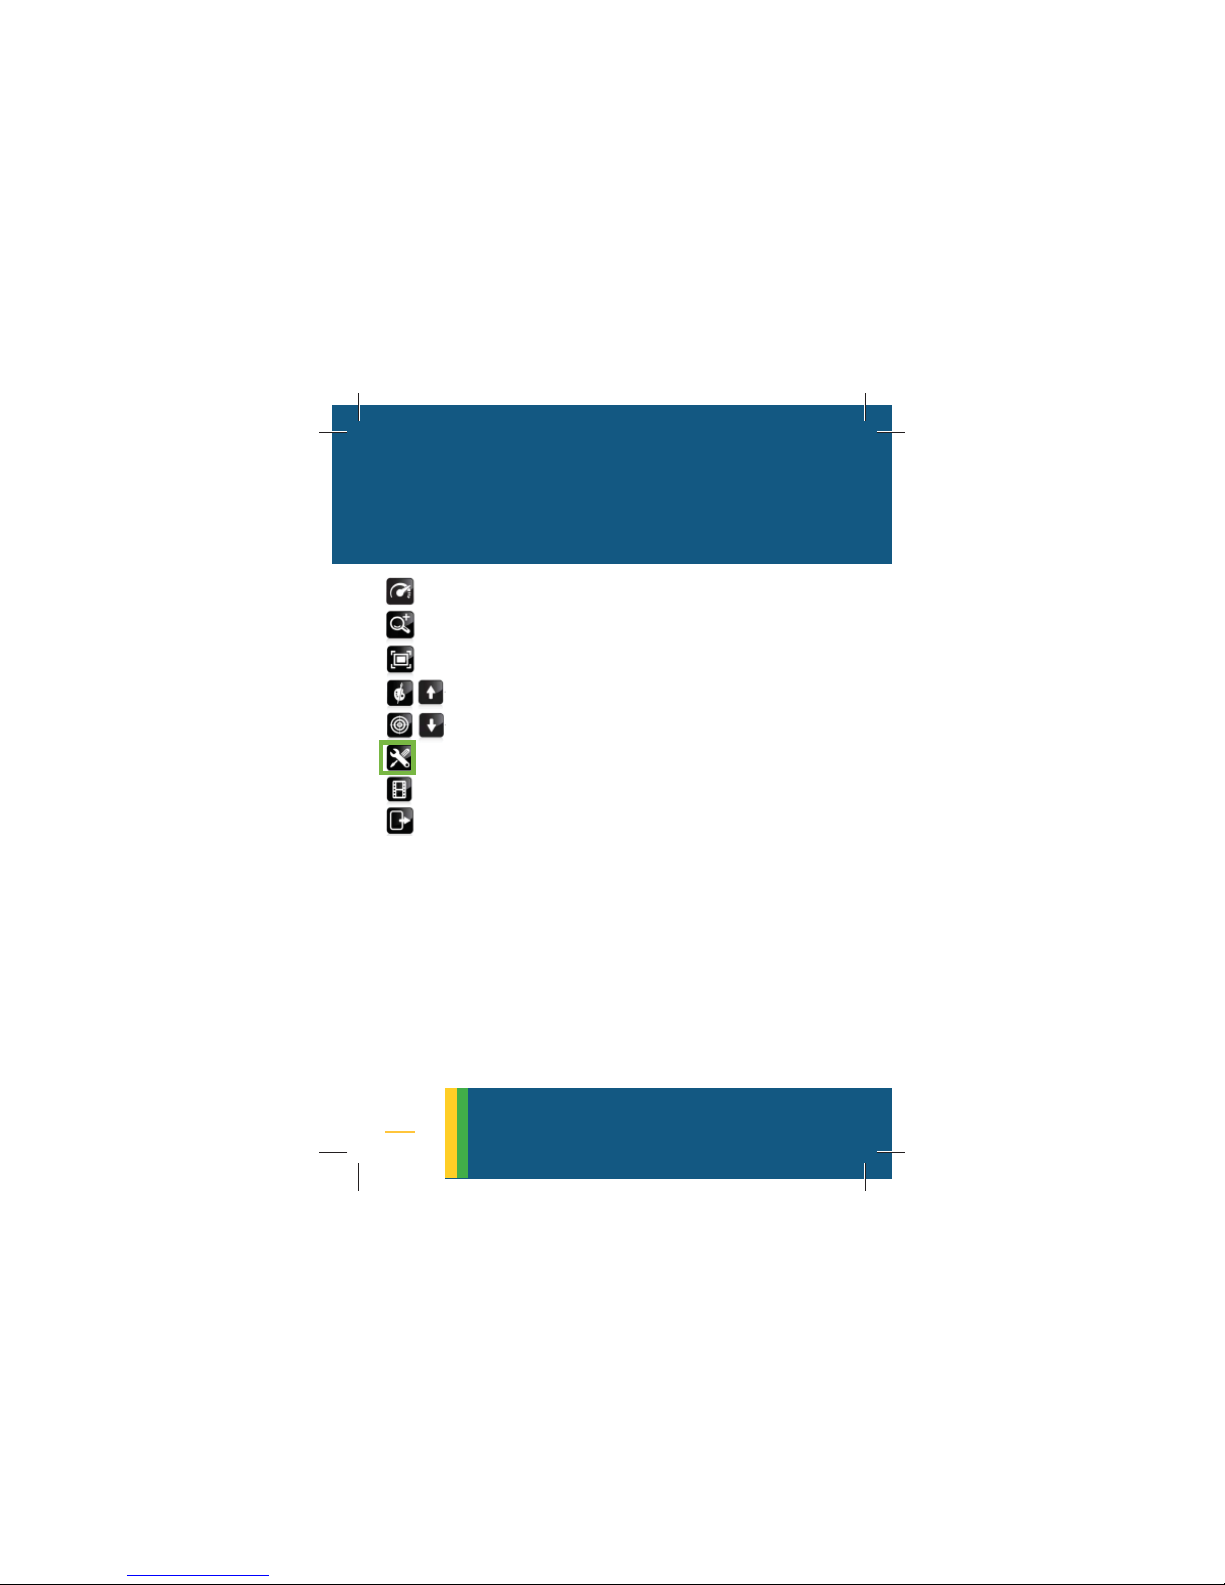
• Select the
SETTINGS icon
• Select the
DISPLAY button
• Click on the SELECTOR to open a list
• Move the green frame to a mode
• Click on the
SELECTOR to enable the
selected mode, move to
OK and click
on the
SELECTOR to save and leave
• Move to EXIT and click on the SELECTOR
• The
OSD bottom status line will display:
Combine or Visible or UV
mode
Page 20
20
10. SNAPSHOT - STILL
• To capture a still picture click on the
PICTURE button
• A yellow circle will be displayed on
the montior during recording
• The picture format is “bmp”
• Pictures are stored in the SD card
• To preview a stored picture navigate
to
PLAYBACK (P. 22)
NOTE: corona is a flashing phenom-
enon and can be evasive. To ensure
corona has been captured take multiple pictures per scene
snapshot
ENSURE SD CARD IS INSERTED
DO NOT EJECT SD CARD WHEN THE CAMERA IS ON
Page 21
21
11. VIDEO RECORDING
• To record a video clip click on the
RECORDING button
• A red circle will be displayed on the
montior during recording
• The video format is “avi”
• Video clips are stored in the SD card
• To preview a stored video clip navigate to
PLAYBACK (P.22)
•
NOTE: for documentation and reporting
purposes it is advised to include as
much information as possible in the
status lines: GPS data, ambient conditions of temp & humidity (optional
accessory), voice narration & counting
video recording
ENSURE SD CARD IS INSERTED
DO NOT EJECT SD CARD WHEN THE CAMERA IS ON
Page 22

22
12. PLAYBACK
• Playback lets reviewing images and
videos that are stored on the SD card
• Move the green frame to the
PLAYBACK
and click on the selector
• To see a stored image/video move
the green frame to the
IMAGE/VIDEO
icon and click on the SELECTOR to get a
list of files
• Use the
UP/DOWN arrows to navigate
to a picture/video and click on the
selector to preview the picture/video
• Nomenclature:
M-month | D-day | Y-year | h-hour |
m-minute | s-seconds
Still pictures
OFIL_MMDDYYYYhhmmss.bmp
Video clip:
CH01_MMDDYYYYhhmmss.avi
playback
Page 23
23
13. AUDIO RECORDING
• Add narrations to your video clips with data
obout the condition of the inspected object
• Narrations are handy when processing the
video clips and for reports
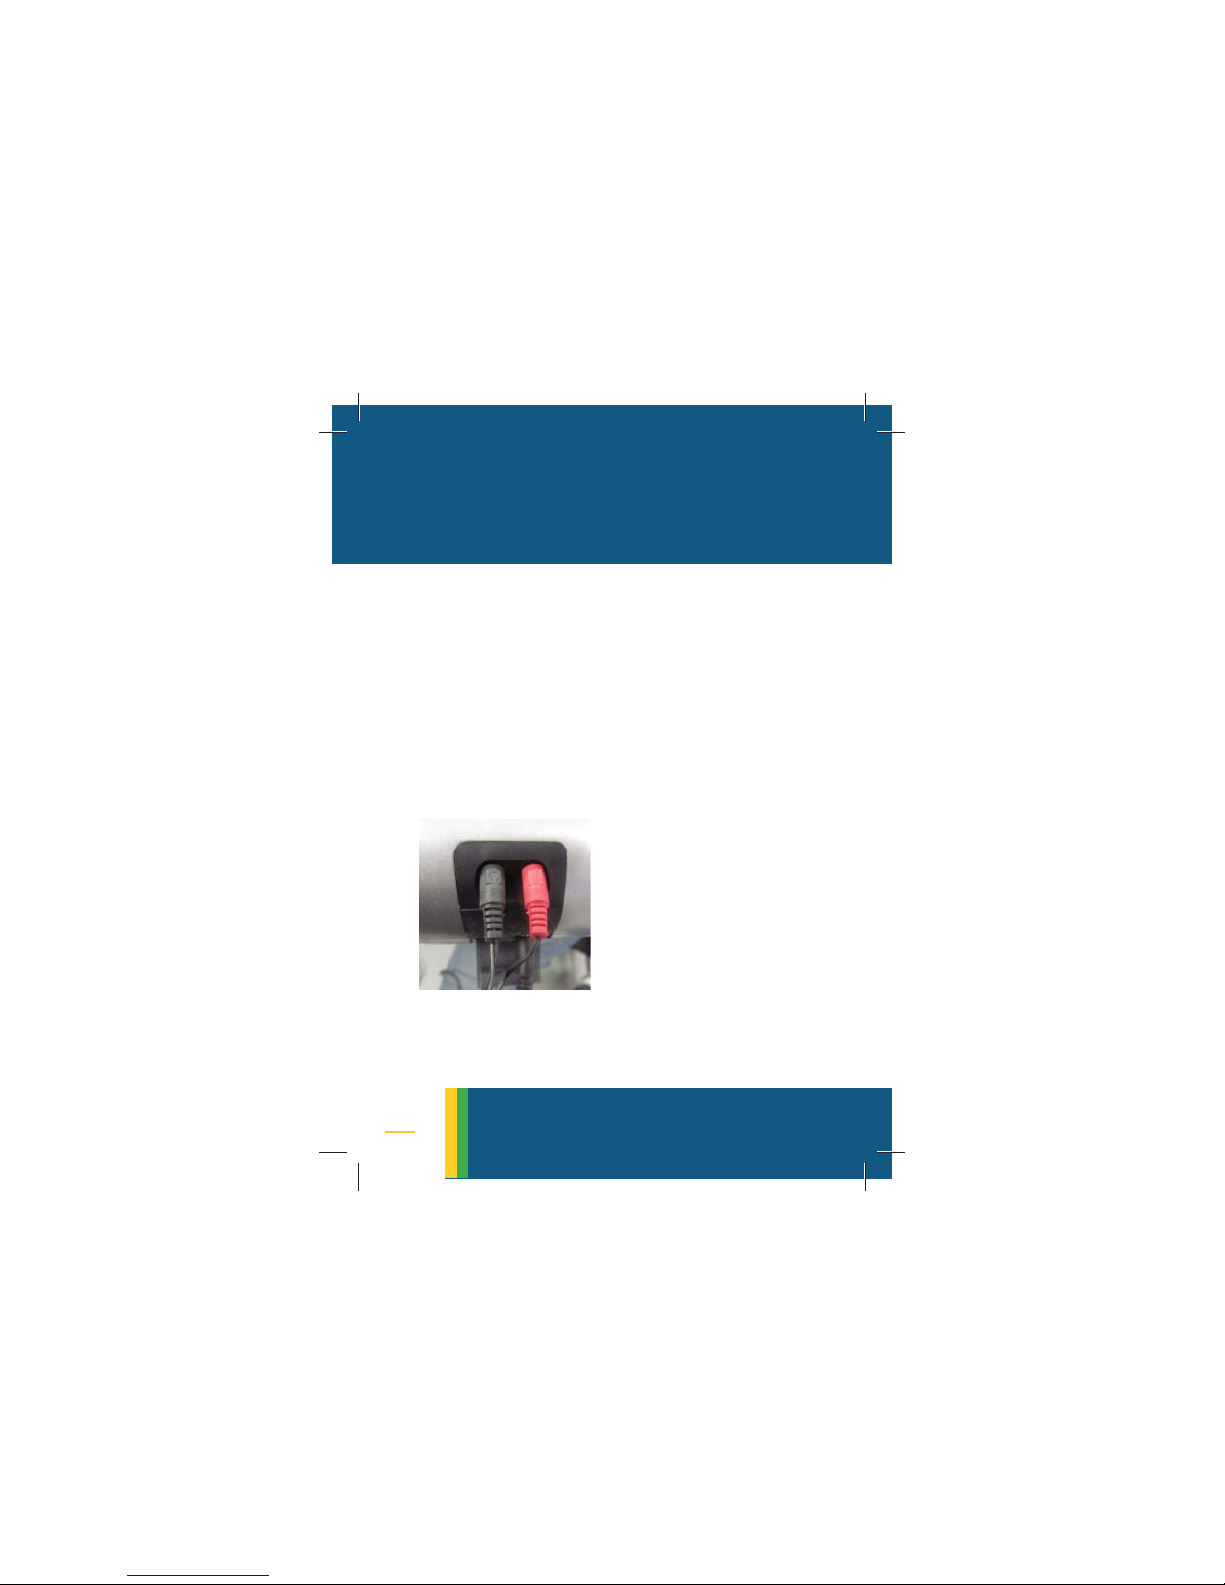
• To add narrations plug-in the microphone
and click on
VIDEO RECORDING. Match the
icons on the plugs to those on the camera
(the mic is closer to the battery)
• Narrations will be recorded with a movie
clip and played during playback
audio recording
NOTE:
It is recommended to
keep the mic 30cm (1
foot) away from the
mouth to get a clean
recording
Page 24

24
14. TEXT SUBTITLES
• Add short titles to your pic/video
• You can prepare 8 lines of titles
though use only one at a time
• To add titles select the
SETTINGS icon
• Move the green frame to
CAMERA and
click on the
SELECTOR
• Select CAMERA TITLE by clicking on the
SELECTOR
• You will get 8 empty text boxes
• Select a line
• How to enter text:
option 1: yellow keypad
• Click on a key until you get to the
desired character. Click the selector
• The cursor moves forwards automatically
• To repeat a letter click on the SELECTOR
text subtitles
Page 25

25
14. TEXT SUBTITLES
• [Σ] - shift
• Back arrow - erase
• 0 - space
option 2: virtual keypad
• Use the UP/DOWN arrows to navigate
• Use the
SELECTOR to pick a character
• To retype a character - use the
SELEC-
TOR again
• Shift - enables/disables caps lock
• Back arrow - erase
- leave the editor
• In the
TITLE SELECT square text box enter
the line number of the title that will
appear on the screen. Navigate with
the right/left arrows and select the
number from the virtual keyboard or
click on the keypad
• To leave the titles options select
OK to
save and leave, or cancel to ignore
changes and leave
text subtitles
Page 26
26
15. GPS
• Use GPS data to distinguish between
similar inspected objects and locations
• By default the GPS is turned off and
no
GPS icon is displayed
• To turn the
GPS on select SETTINGS
• Select DISPLAY
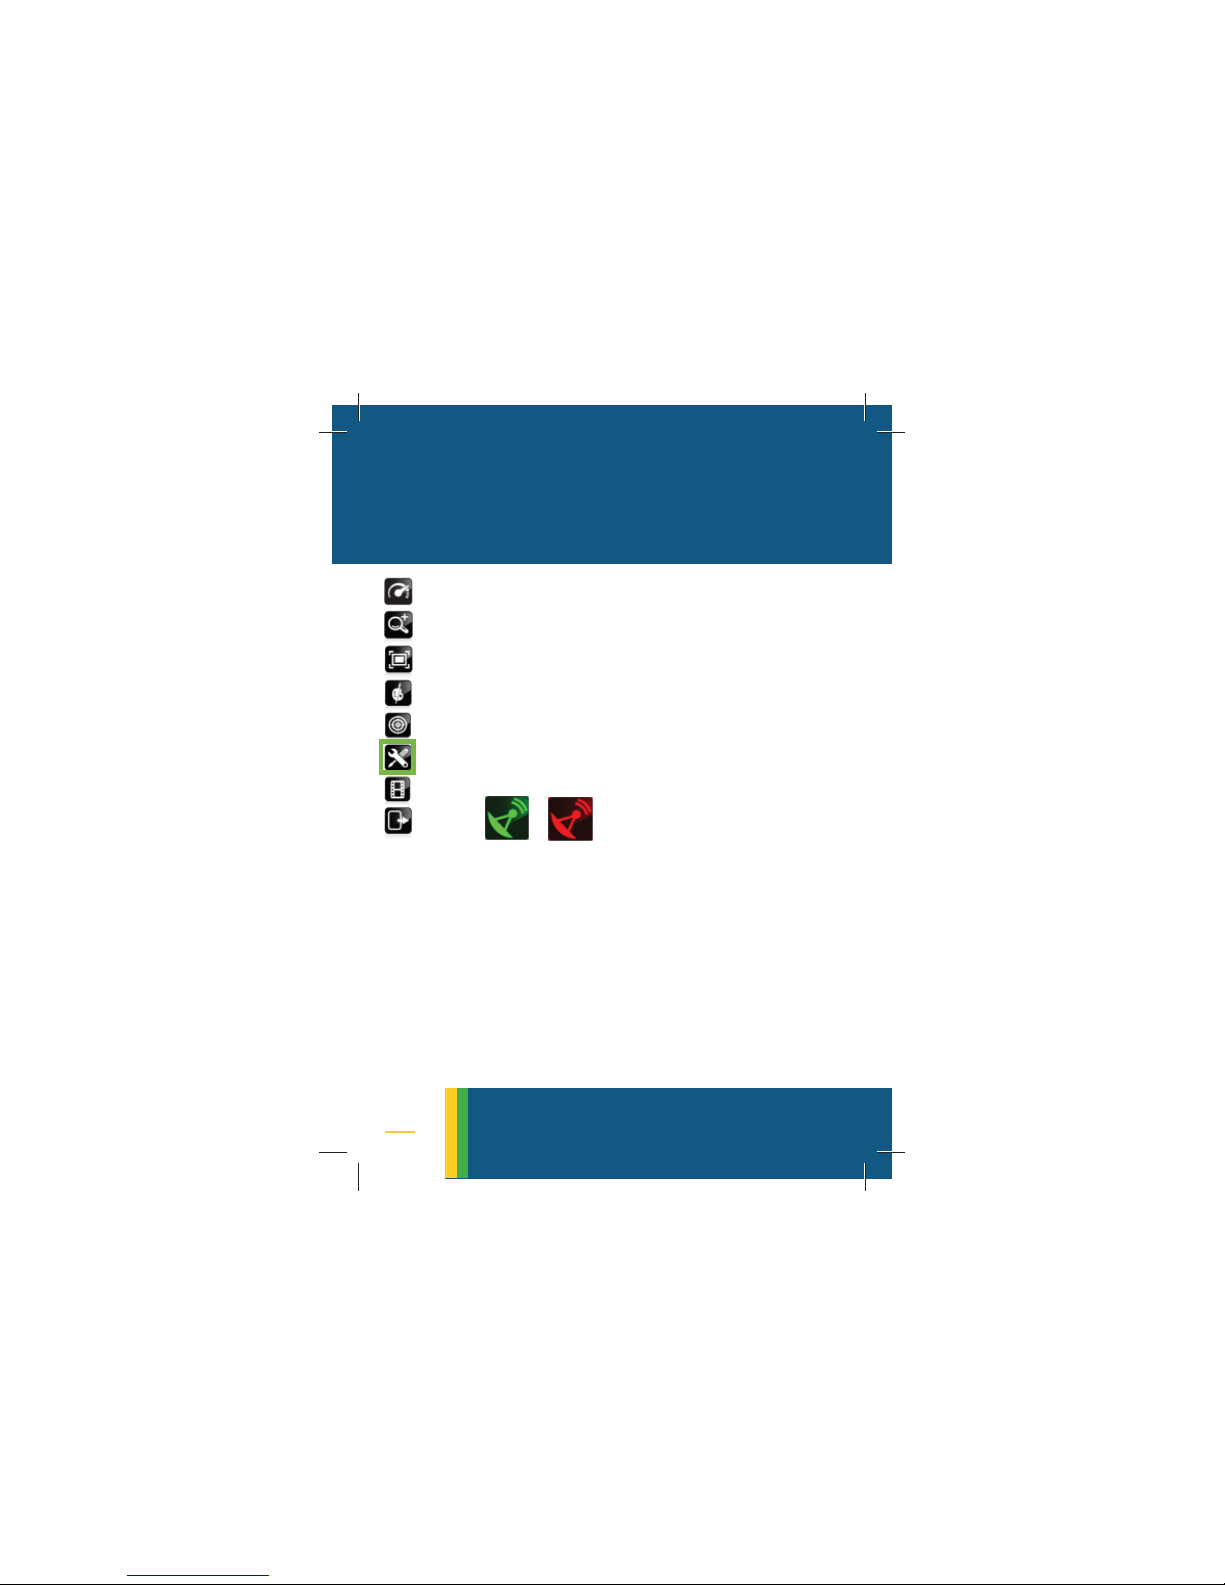
• Select GPS. GPS icon appears on the
LCD
Red - no inception, Green - sync
• When GPS is turned on the following
options are available in the menu
•
ON - the GPS reading appears both
on the captured media and on the
LCD
• ON REC - the GPS reading is embe-
ded in the captured media and is
not displayed on the LCD
GPS
Page 27
27
• Move the green frame to the SETTINGS
• Click on the selector to turn on the settings options
• A new sub-menu opens up with the
following control-buttons:
• Use the up/down arrows to move
the green frame to a selected control
button
• Use the selector to turn on the selected control
16. SETTINGS
settings
DISPLAY CAMERA SYSTEM
Page 28
28
Display: OSD | DISPLAY MODE | VIDEO OUT
SETTINGS
OSD - on screen status line display
STATUS BAR: ON/OFF
Selecting ON will display the bottom line
TITLE: ON/OFF
Selecting ON will display the selected title
line (see page.24)
GPS: (see page.26)
TEMPERATURE SENSOR: ON/OFF
Selecting on will display the temperature
and humidity values, provided the sensor
is attachend (optional accessory)
LANGUAGE: English
Localization is optional per customers
request
To exit - move the green frame to
OK/CANCEL and click on the selector
settings - display
Page 29
29
Display: OSD | DISPLAY MODE | VIDEO OUT
SETTINGS
DISPLAY MODE
SEE PAGE 19
VIDEO OUT
LCD (DEFAULT)
EXTERNAL MONITOR - image will be dis-
played on an external monitor. The green
led turns on and the
LCD turns black. To
get back to a regular display restart the
camera.
To exit - move the green frame to
OK/CANCEL and click on the selector.
settings - display
Page 30
30
Camera: TITLE | EXPOSURE | COLOR
SETTINGS
CAMERA TITLE SEE PAGE 25
CAMERA EXPOSURE
EXPOSURE
AUTO (DEFAULT) | ½ | ¼| ⅛|⁄| ⅓
The exposure rate is the time per second
the camera shutter is open. It affects the
brightness of the captured image. The
smaller the exposure time the darker the
object. Use
AUTO to allow the camera
adjust itself optimally.
COLOR ADJUSTMENTS
BRIGHTNESS|CONTRAST|SATURATION|HUE
To get to a feature move the green frame
using the up/down arrows. To change
values use the right/left arrows.To apply
changes click on
APPLY.
settings - camera
Page 31
31
System: INFORMATION | DATE/TIME | SLEEP
MODE | DEFAULT SETTINGS | SOFTWARE UPDATE
SETTINGS
SYSTEM INFORMATION
Technical information about the firmware,
hardware, kernel version etc.
DATE/TIME
Update/modify the date/time.
Use the up/down arrows to navigate
vertically, and the right/left arrows to
change values.
To save and exit use the UP/DOWN ar-
rows to focus on
OK and then click on
the
SELECTOR.
SLEEP MODE
The default value is 5 minutes. After 5
minutes if idle [not during recording nor
settings - system
Page 32
32
System: INFORMATION | DATE/TIME | SLEEP
MODE | DEFAULT SETTINGS | SOFTWARE UPDATE
SETTINGS
(contd.) during video-out, or playback]
the system hybernates.
During hybernation the green led is on.
To restart click on any key.
Sleep mode assists extending battery life
time.
DEFAULT SETTINGS
This option restores factory original settings.
If selected your saved selections will be
cancelled.
The default original factory settings are
displayed in pages 35-36.
SOFTWARE UPDATE
Firmware updates will be sent to you with
instructions.
settings - system
Page 33
33
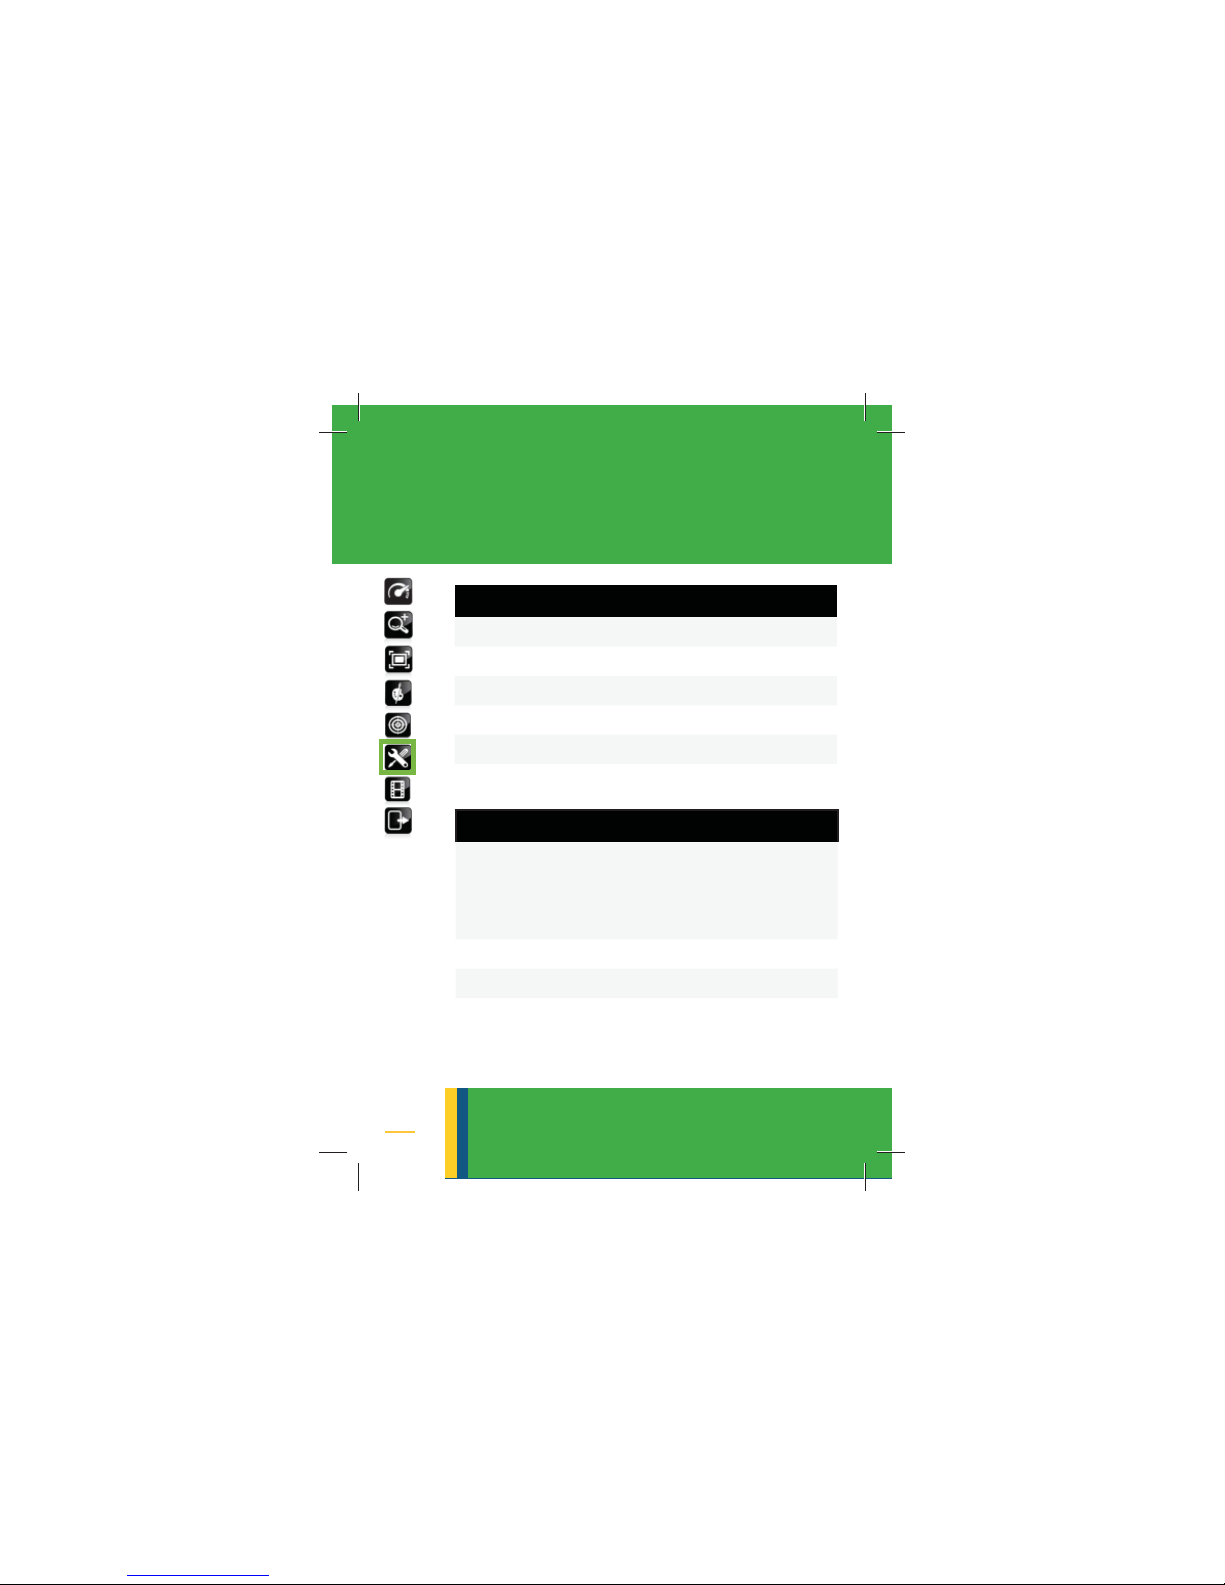
SETTINGS
settings - default values
MENU ITEM
Gain 150
Vis Zoom Off
FOV NFOV
Corona Color White
Focus Auto Focus
DISPALY
OSD Status - on
Title – off
GPS – off
Temp Sens. - off
Display Mode Combine
Video Out LCD
Page 34
34
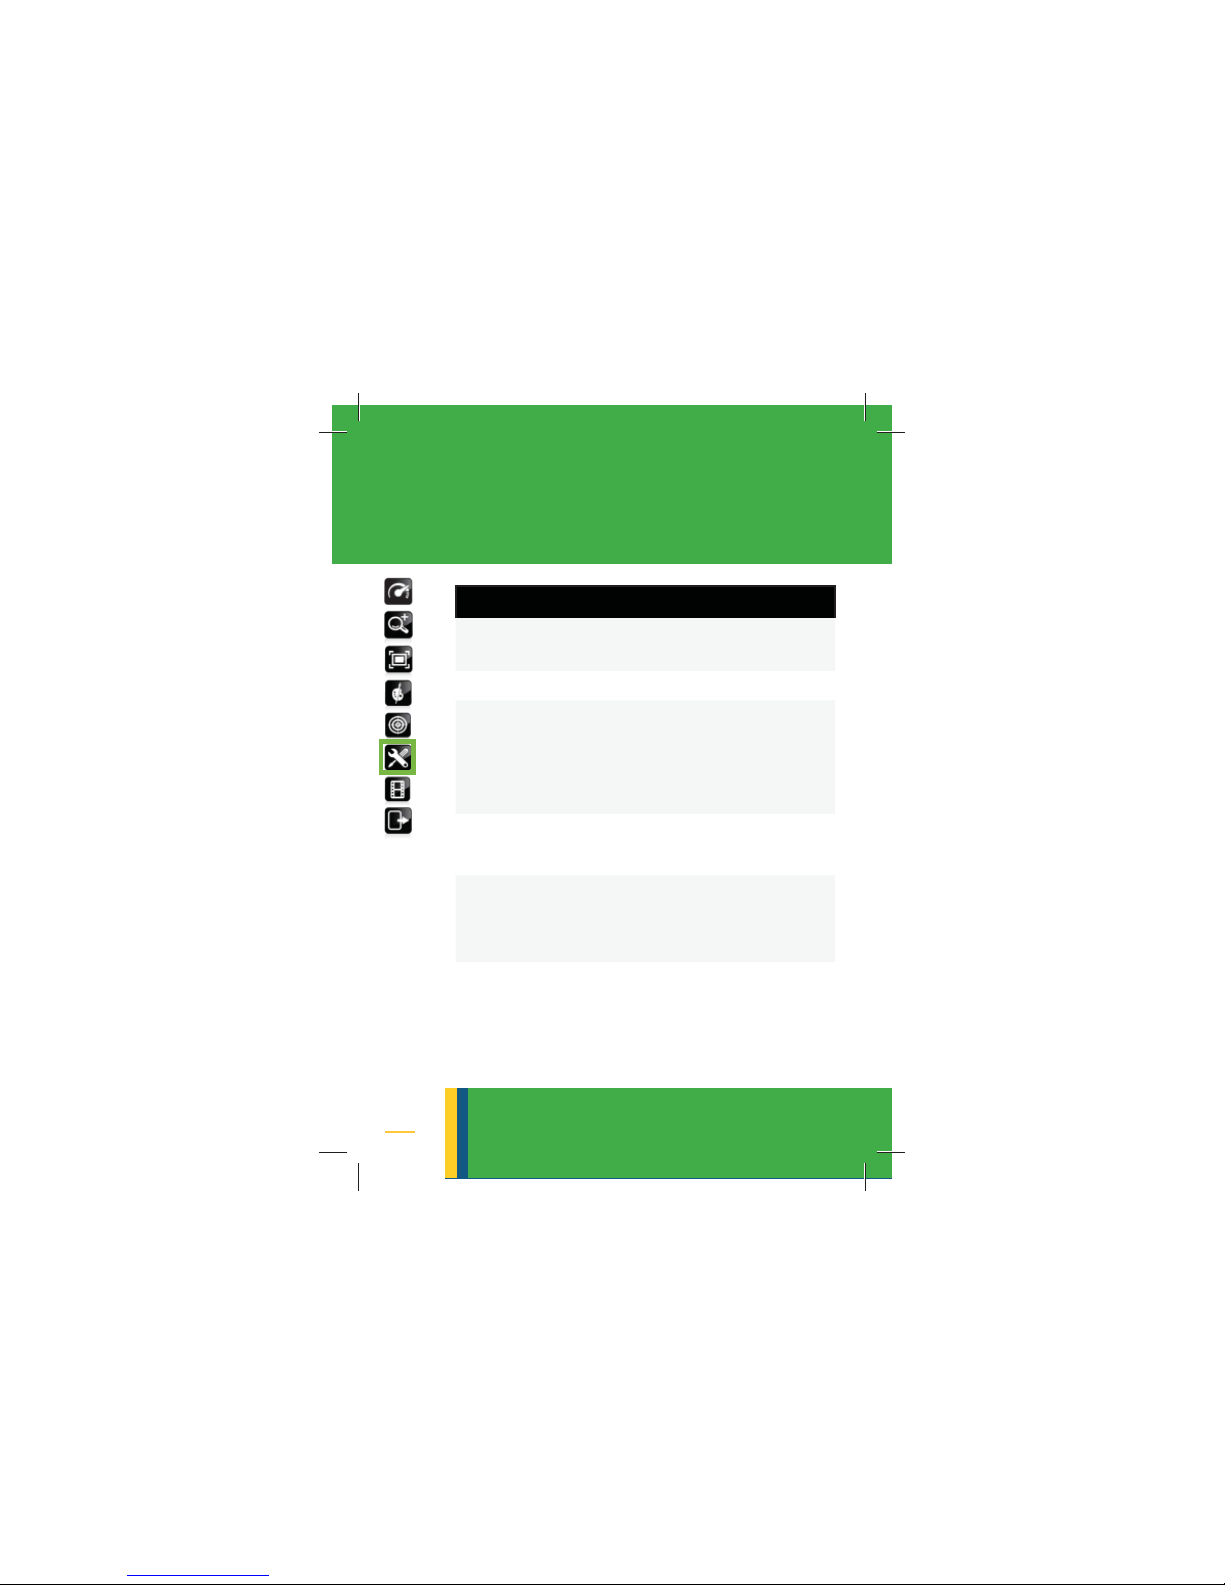
SETTINGS
settings - default values
CAMERA
Camera Title All lines empty
Line No1 is selected
Camera Exposure Auto
Color Adjustments Brightness - 200
Contrast - 144
Saturation – 128
Hue – 0
Sleep Mode 5 min.
Date & Time 01.01.2013
00:00
Page 35

Notes:
 Loading...