

Odyssey Shooting Star ODY-1020 Instruction Manual
Instruction Manual
ODY-1020
Ages 8+
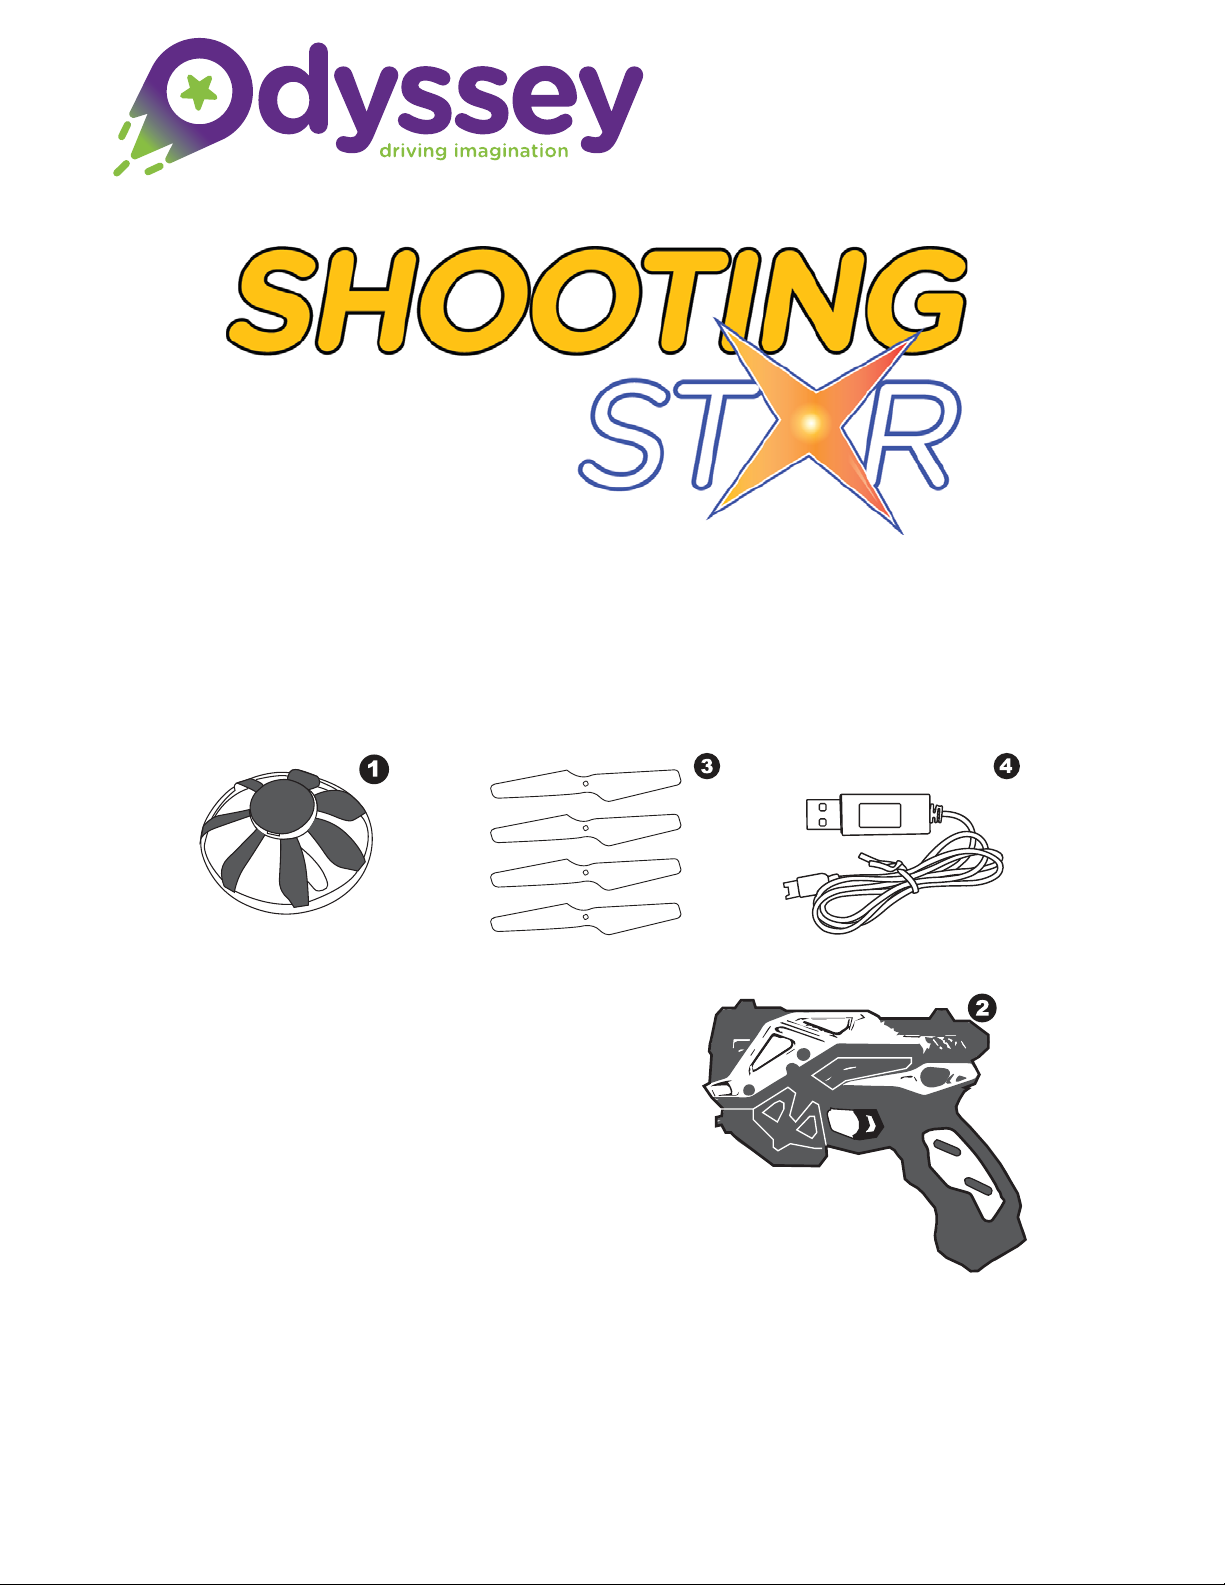
INCLUDED CONTENTS:
1. LED Floating Star Disc
2. RC Star Blaster
3. Replacement Blades
4. USB Charging Cable
Thank you for your purchase of the Odyssey
Shooting Star. You’re just moments away from
creating a stunning light show!
1
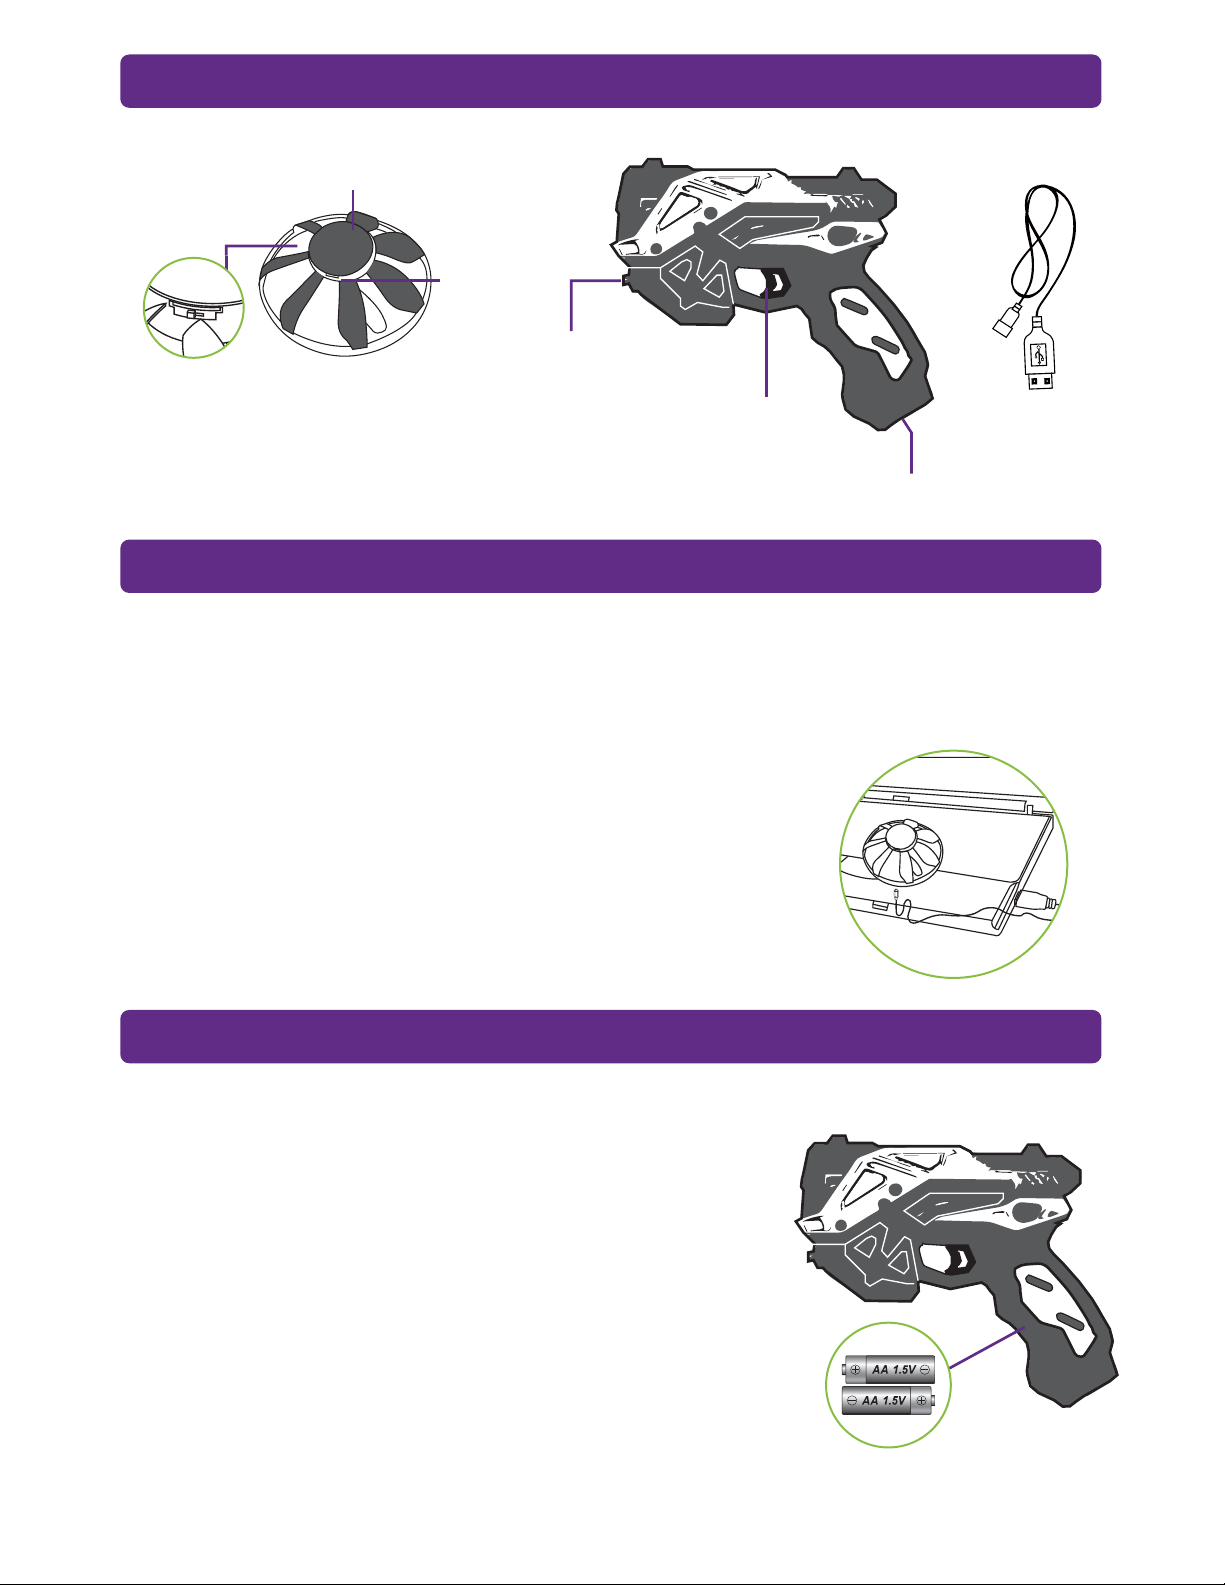
COMPONENTS
LED FLOATING DISC STARBLASTER TRANSMITTER USB CABLE
LED Light
Charging
Point
ON/OFF Button
ON/OFF Switch
Throttle Trigger
(Floating Disc Up & Down)
START/STOP Disc Button
CHARGING THE FLOATING DISC
1. Locate the charging slot near the ON/OFF switch on the underside of the disc and
carefully plug in the small end of the USB charging cord.
2. Connect the USB end of the charging cable to a computer USB port. While charging,
the red LED light inside the USB will be off. Once the red light turns on, the charge is
complete.
NOTICE:
- Do not overcharge the battery.
- Do not charge for longer than 30 minutes, even if the
indicator light has not turned on.
- Do not leave the unit unattended whilst charging.
- Always charge under adult supervision.
- Lithium ion batteries can be flammable if misused.
STARBLASTER TRANSMITTER BATTERY INSTALLATION
1. Unscrew the screw holding the battery lid closed. Lightly pull the clip to pull away the
lid from the transmitter body.
2. Insert 2 x AA batteries into the compartment, making sure
to match polarities.
3. Firmly replace the lid and tighten the screw to secure the
battery compartment.
NOTICE:
- If the transmitter will not be stored and unused for an
extended period of time, please remove the batteries.
- Check the batteries regularly for potential leakage or
corrosion that may occur.
- Use the polarity marking to install in the correct orientation.
- It is not recommended to mix different battery types.
- Remove exhausted or drained batteries.
2
 Loading...