

Page 1
FOR AGES
14
+
APP v. 1.0.2
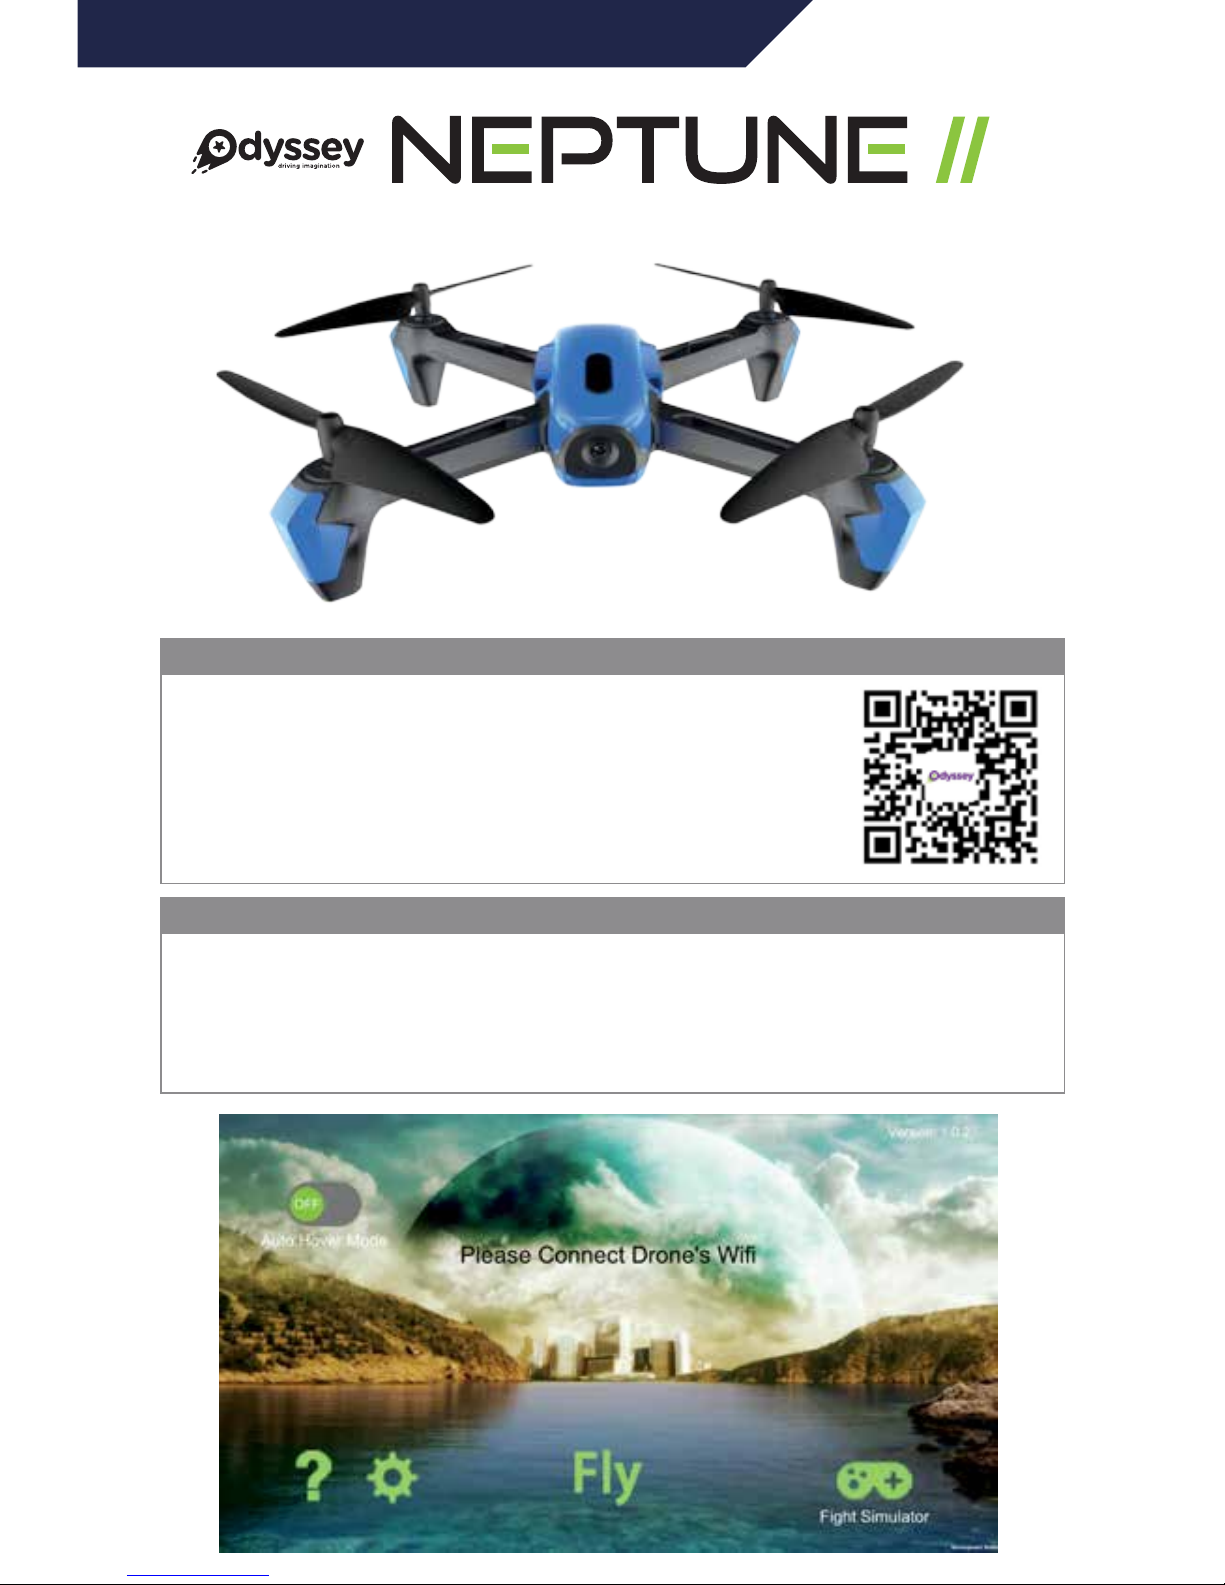
DOWNLOAD the ODY NEPTUNE II APP
CONNECTING YOUR PHONE to the NEPTUNE II’s WiFi SIGNAL
By downloading and installing the Odyssey Neptune App on your
smartphone, you can also fly your Neptune II by Touch Gravity Sensor,
Touch Throttle Controls, and Waypoints.
Scan the QR code or search for ODY Neptune 2 in the App Store.
You will not need to use your Radio Controller.
Enter the WiFi set up on your smartphone. Search for the signal that says Neptune 2 WiFi
XXXX where the XXXX will be replaced by a random 4-digit number that the Neptune II drone
automatically generates. Once it is connected, you can open the ODY Neptune 2 app to
proceed with operation of the drone.
NOTE: If you have the app running without having connected the WiFi signal, you will be
greeted by the screen below.
ODY NEPTUNE II APP INSTRUCTION MANUAL • Model no. ODY-1950WIFI
Page 2
This setting will turn your mobile device into the controller and will allow your drone to move in any direction
that you move your phone. You will not need to direct the drone with the throttle sticks in this setting.
Step 1: Power up the Neptune II drone, connect to the WiFi, and then open the app. Tap the OFF button.
Step 2: Press the Ignition button.
Step 3: Press the Auto Take Off button
Step 4: Keeping your phone horizontal, tap the Gravity Sensor icon at the top of the right throttle stick.
Step 5: Keep your thumb in contact anywhere on the phone screen and move your phone in any
direction—the drone will follow.
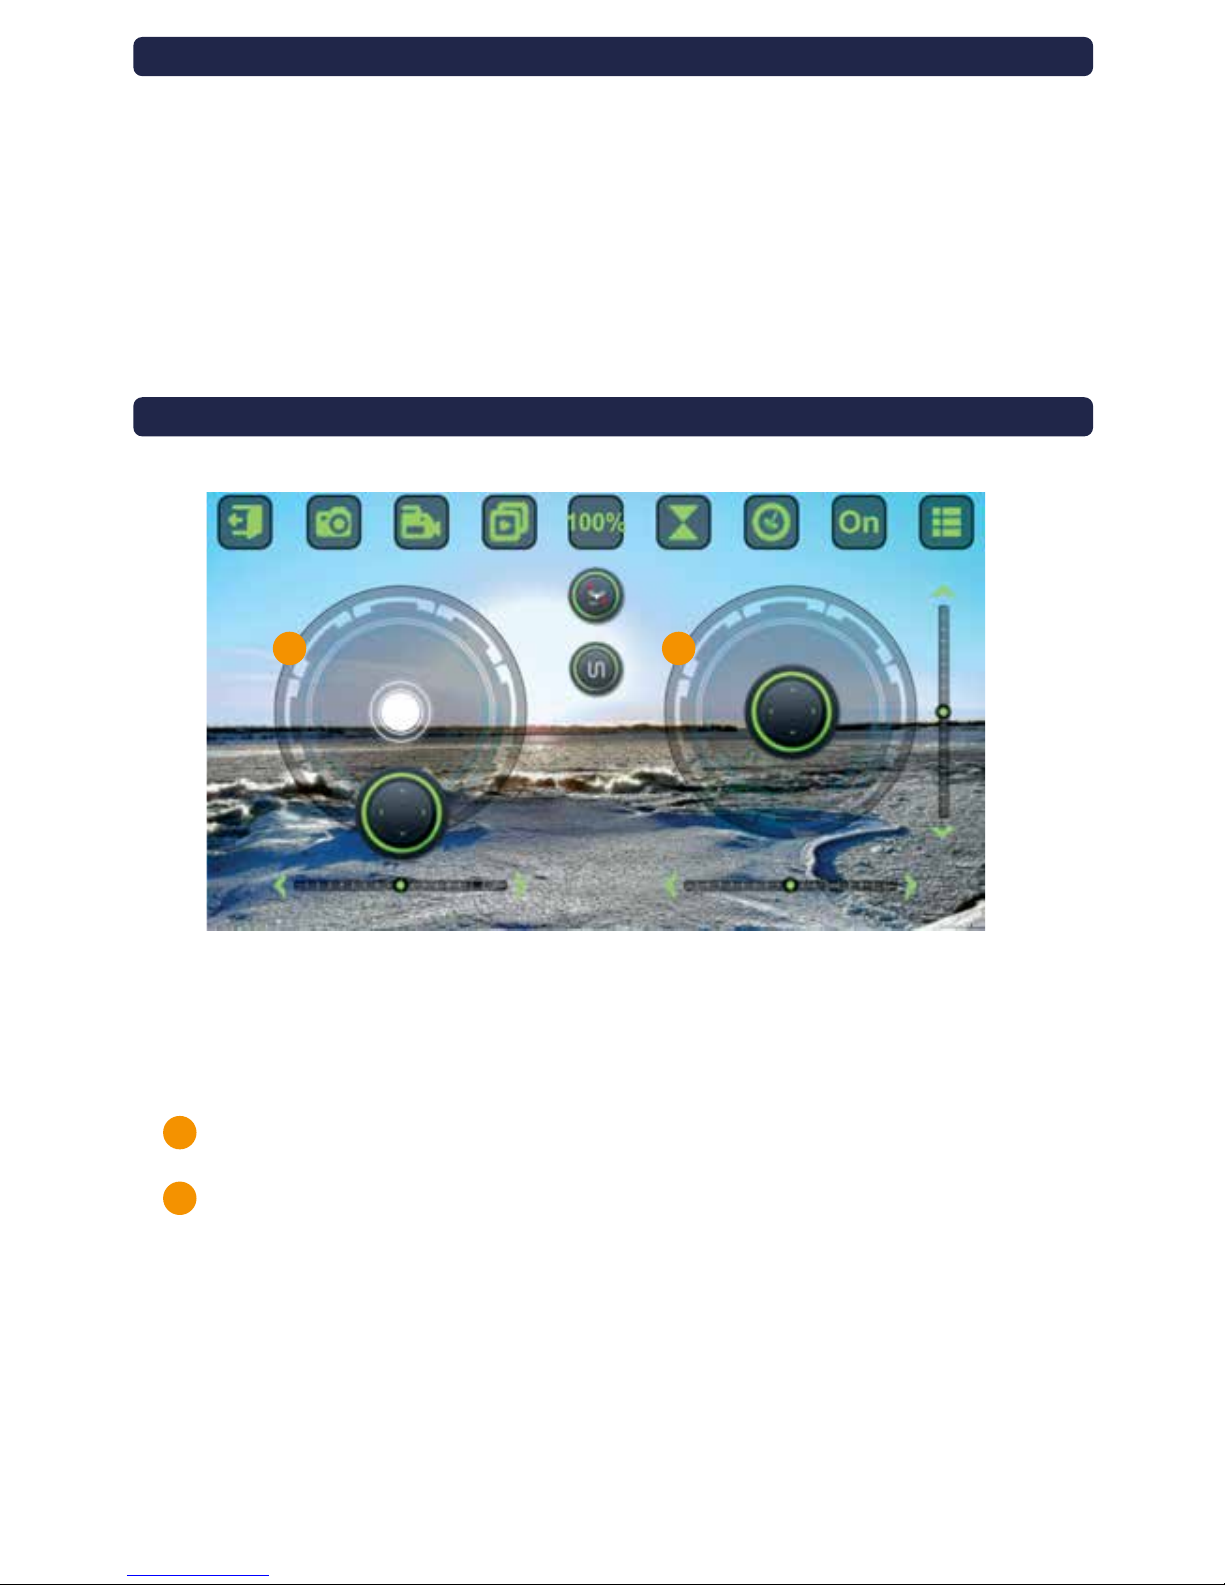
The directions below are for touch control, which requires you to tap and push the virtual throttle
sticks on the phone. This method is the most common way of flying drones.
•Step 1: Power up the Neptune II drone, connect to the wi-fi, then open the app. Tap the OFF button.
•Step 2: Press the Ignition icon.
•Step 3: Press the Auto Take Off icon.
Ascending/Descending – Left Throttle Stick
Ease the lef t throttle stick icon upward to make the Neptune II drone climb higher.
Ease the lef t throttle stick downward to lower the drone.
Forwards/Backwards – Right Directional Stick
Ease the right throttle stick (Directional Stick) icon up and down to make your drone go forward
and backward.
Side Flight Left or Right – Right Directional Stick
Push the right directional stick icon left or right to side fly your drone.
Speed
There are three speeds on the drone that can be selected by tapping the speed icon.
•Speed 1: Tap ONCE for Slow speed (30% of maximum).
•Speed 2: Tap TWICE for Medium speed (60% of maximum).
•Speed 3: Tap THREE TIMES for Fast speed (100% of maximum speed).
Landing
Gently tap the Auto Landing icon until landing on the ground. There is also an emergency STOP
button that can be pressed to end the flight at any time.
Auto Landing
To land your drone automatically, lower your throttle stick to the bottom.
USING THE GRAVITY SENSOR TO FLY
TOUCH THROTTLE CONTROL
A
A
B
B
Page 3

To calibrate the drone back to normal settings, use the Trim settings found below the left
and right throttle stick, icons.
There are the four adjustments you can make to the flight characteristics:
Turning: If your drone drifts left or right, press the roll trim button located below the right
directional stick until centered.
Forward/Backward Trim: If your drone drifts backward or forward, press the pitch trim
button, located to the right of the right directional stick, until centered.
Side to Side: If the Neptune II drone is spinning in circles or drifting in a rotation, press the
right and left rotation, below the left throttle stick, until centered.
Auto Reset: To bring the drone back to a horizontal and stable flight, click the “One Push
Reset ” for gyro calibration.
CA
A
A A
B
B
B
C
C C
B
ADJUSTING THE TRIM SETTINGS ON THE NEPTUNE II DRONE
Page 4

Note: When you connect your phone to the drone’s WiFi, your phone will ask you if you want to allow your
camera to access photos. Choose “Yes” to allow the drone to take photos and save them to your gallery.
Step 1: When your drone is stable in flight, aim the camera at yourself or subject.
(Note: You can also reverse the camera by tapping the camera reverse button.)
Step 2: Tap the camera or video icon to take a photo or video.
Step 3: To view your photos, land your drone and tap the Image Gallery button.
Step 4: In the Image Gallery, you will see a camera icon and a video icon with a list of files. These files are
your photos. Tap a photo to view it or delete it.
Step 5: Your photos/videos are also saved to your phone’s camera roll. To view the photos, go to your
gallery to the most recent photos. Or access the Neptune II folder if your phone has created it for the photos.
Step 6: Share your photos with your friends!
Back/Return: Return to the previous Menu
Record a Video: Use the camera on your drone to record a video.
Image Gallery: Access your photos and videos and view them.
Speed Control: Change your speed to 30%, 60%, and 100%
Ignition: Open ignition menu.
Gravity Sensor: Fly the drone by using the phone’s movements as the controller.
Show/Hide Wheel: Show or hide the throttle and directional sticks from your screen.
Power Switch: Press to power on and off
Extra Settings: Expands menu to see additional buttons.
Camera Reverse: Changes the camera from selfie mode to standard mode.
VR Mode: Enable VR Mode
Smart Fly Tech: Press to enable Smart Fly (Headless Mode)
Gyro Calibration: Press to calibrate the drone’s internal gyrometer
Video Resolution: Press to switch between VGA and 720p resolutions
360º Flip: Press to perform a 360ºflip
Left Side Trim: Tap to center the drone if it’s tilting too much to the left side.
Right Side Trim: Tap to center the drone if it’s tilting too much to the right side.
Left Turning Trim: Tap to center the drone if it’s turning too sharply to the left.
Right Turning Trim: Tap to center the drone if it’s turning too sharply to the right.
Forward Trim: Tap to center the drone if it’s tilting too far forward.
Backward Trim: Tap to center the drone if it’s tilting too backward.
Left Joystick – Throttle: Moves the drone up, down, and rotates it right or left.
Right Joystick – Directional: Moves the drone side to side and forward and backward.
1.
2.
3.
4.
5.
6.
7.
8.
9.
10.
11.
12.
13.
14.
15.
16.
17.
18.
19.
20.
21.
22.
23.
TAKING SELFIES WITH YOUR NEPTUNE II DRONE
MENU & BUTTON QUICK REFERENCE GUIDE
1 2 3 4 6 7 8
9
10
11
12
13
14
15
16 18 1917
21
5
20
22
23
 Loading...