

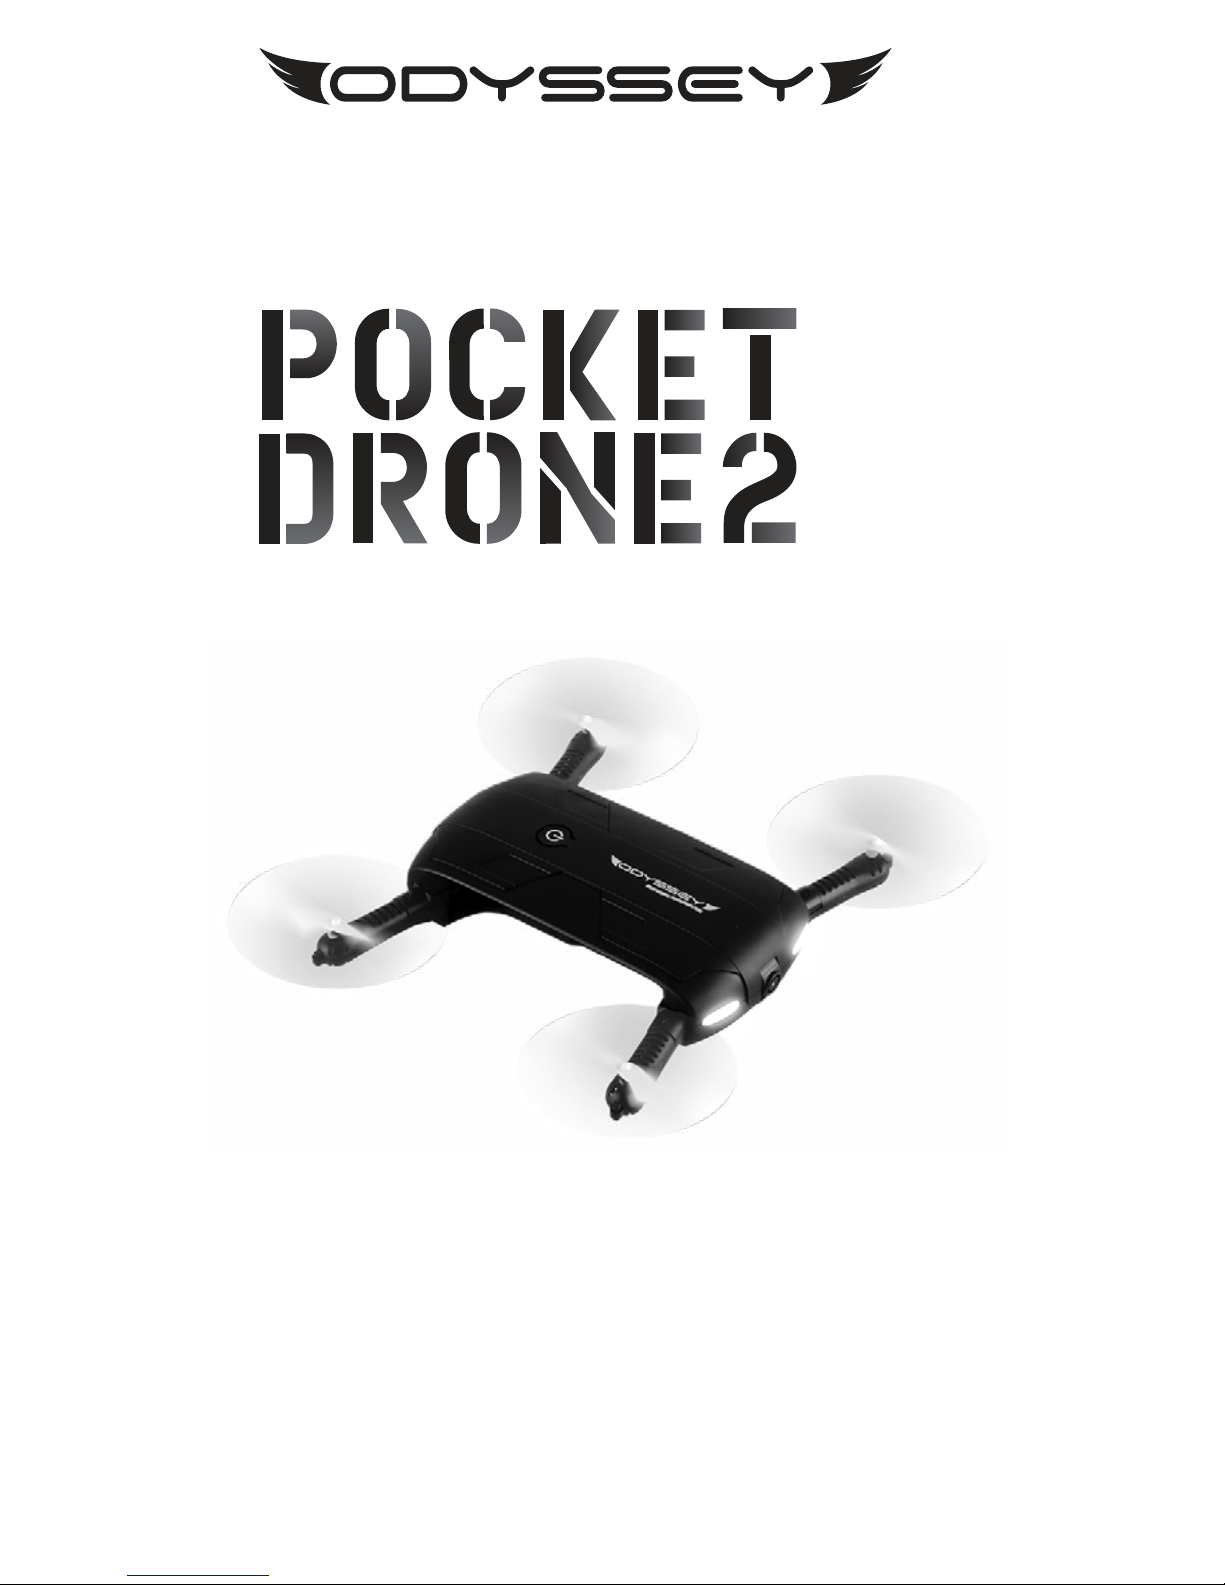
Odyssey ODY-1717NX, POCKET DRONE 2 Instruction Manual
14+
INSPIRING IMAGINATIONINSPIRING IMAGINATION
Instruction Manual
ODY-1717NX

We hope you enjoy your purchase of the
Pocket Drone 2 and that this user
manual helps you get your drone off the
ground and taking photos!
Specifications
Charging Time: About 60 minutes
Flying Time: About 5-6 minutes
Controlling Distance:
About 25-30 meters
Battery for Quadcopter:
3.7V 500 Mah 20c Li-Poly
Wifi Name: Pocket Drone 2
App Name: ODY Pocket Drone
QR Codes for App:
1
iOS Android
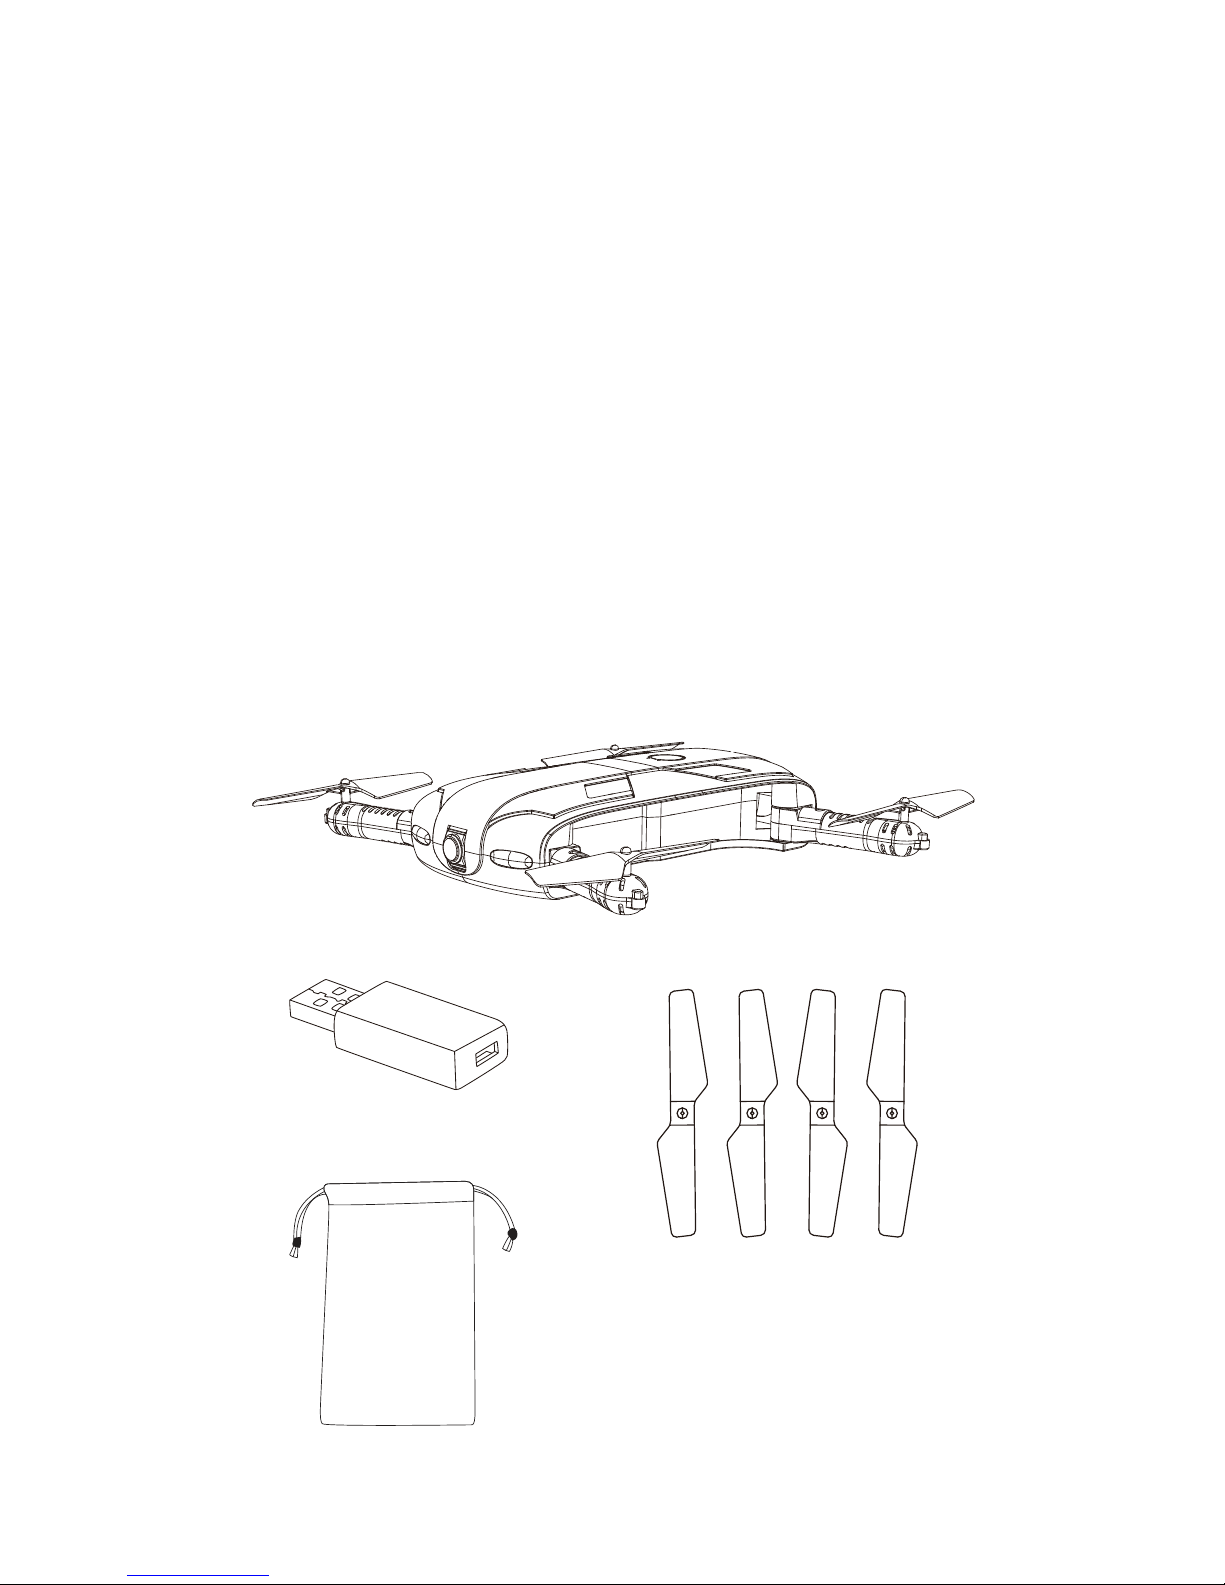
Included Contents
1. Pocket Drone Unit
2. Rechargeable 3.7v Lithium Battery
3. USB Charging Cable
4. Instruction Manual
5. Quickstart Guide
6. Replacement Blades (4)
7. Velvet Drawstring Carrying Case
2
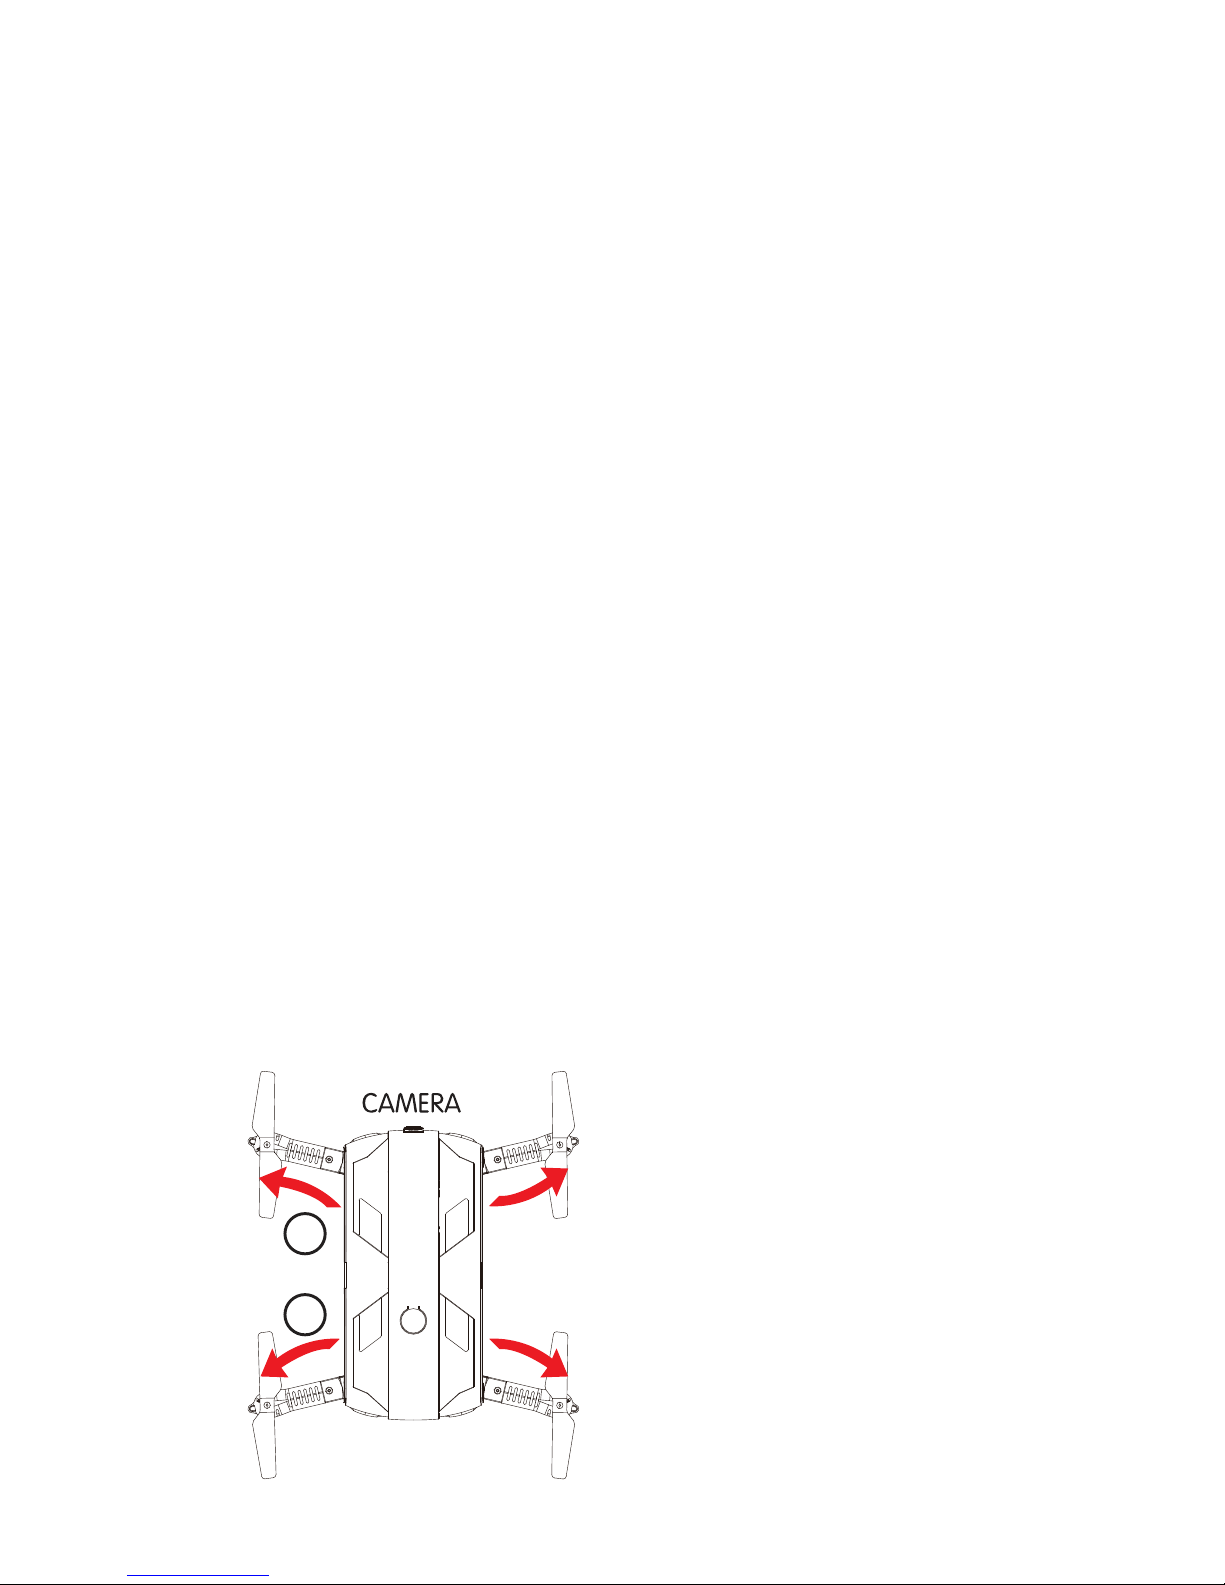
Flight Preparation
Arm Folding
Please Note: The pocket drone’s arms
and propellers are folded within the body
and you you must unfold all the arms to
fly the drone.
Step 1: Remove your drone from its box
and place it on a stable surface.
Step 2: Starting with the left/right side of
the drone, gently unfold the back arm.
Step 3: Unfold the front arm on the
same side and repeat on the other side
of the drone.
Please Note: We suggest when putting
the drone away to fold the front arms in
first and then the back arms to ensure a
perfect fit each time.
3
3
2

Flight Preparation
Propeller Installation
Please Note: There are faint letters on
the underside of the propellers which will
help you distinguish blade from blade.
The top left and bottom right blades are
arms A and match with the A blades and
the bottom left and top right are arms B
and match with the B blades.
Please ensure proper installation of the
propellers to fly the drone.
Step 1 The drone comes with four
replacement propellers which should be
used in case a propeller is lost or breaks
due to an accident.
Step 2 Match your propellers to each
wing by the corresponding letter: A, B,
and B, A
Step 3 Place each propeller on the small
pin on the corresponding wing.
Charging the Pocket Drone Battery
Please Note: The Pocket Drone comes
with a partially charged battery, however
in the case that you need to charge the
battery please follow the instructions
below.
Step 1 On the back of the drone push
the drone’s battery lid up until it clicks.
Then lift it up and push it back until it
clicks again into place.
Step 2 Carefully remove the battery and
disconnect it from the drone by lightly
pulling on the black and white port.
4
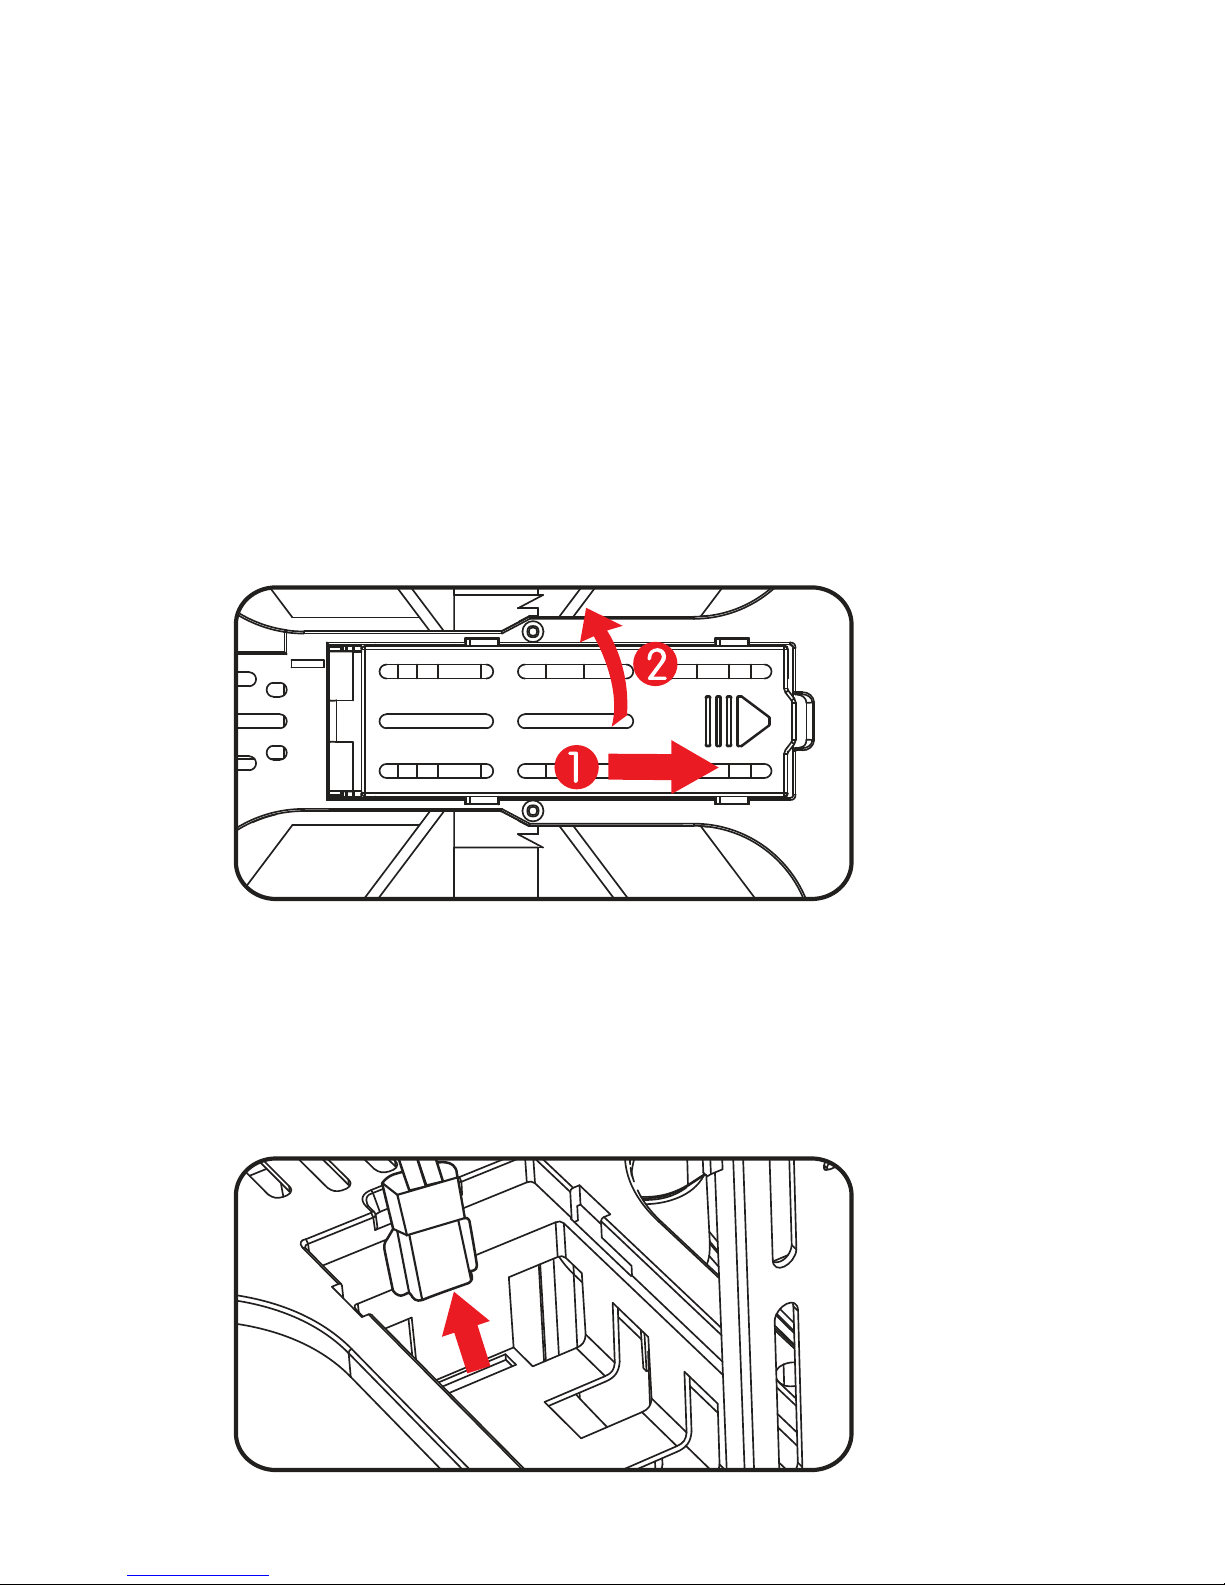
Charging the Pocket Drone Battery
Please Note: The Pocket Drone comes
with a partially charged battery, however
in the case that you need to charge the
battery please follow the instructions
below.
Step 1 On the back of the drone push
the drone’s battery lid up until it clicks.
Then lift it up and push it back until it
clicks again into place.
Step 2 Carefully remove the battery and
disconnect it from the drone by lightly
pulling on the black and white port.
5

Important: Do not pull on the wires to
remove the battery as this may damage
the battery.
Step 3 Insert the white connector of the
battery into the USB.
Step 4 Insert the USB into a computer.
A red light will appear on the USB
indicating the charge has started.
Step 5 The charge is complete when the
red light disappears. Remove the USB
from your computer and the battery from
the USB.
Step 6 Insert the battery into the drone
by connecting the white port to the white
circuit and replace the lid by folding it
down and pushing backwards until it
clicks.
6

Warning: Please check the batteries
regularly as potential leakage and/or
corrosion of old batteries can damage
the drone and/or create a fire hazard.
Caution:
• Remove the batteries immediately if
you sense any smell or smoke.
• Do not charge the batteries if they are
hot, wait until they cool down.
• Do not charge the batteries next to
inflammables or on a conductive
surface.
• Do not overcharge the battery, once
the red light disappears, discontent the
battery.
• Do not use non-Odyssey batteries and
battery chargers. Only use those which
come packaged with this device. If you
need additional batteries or chargers,
they are available in our Parts Shop on
www.odysseytoys.com.
• For safety and best practice, unplug
the battery connection from the power
source inside the drone when not in
operation.
7
 Loading...