

Page 1
INSTRUCTION MANUAL: HOVERING SOCCER BALL SET 3+
FOR
AGES
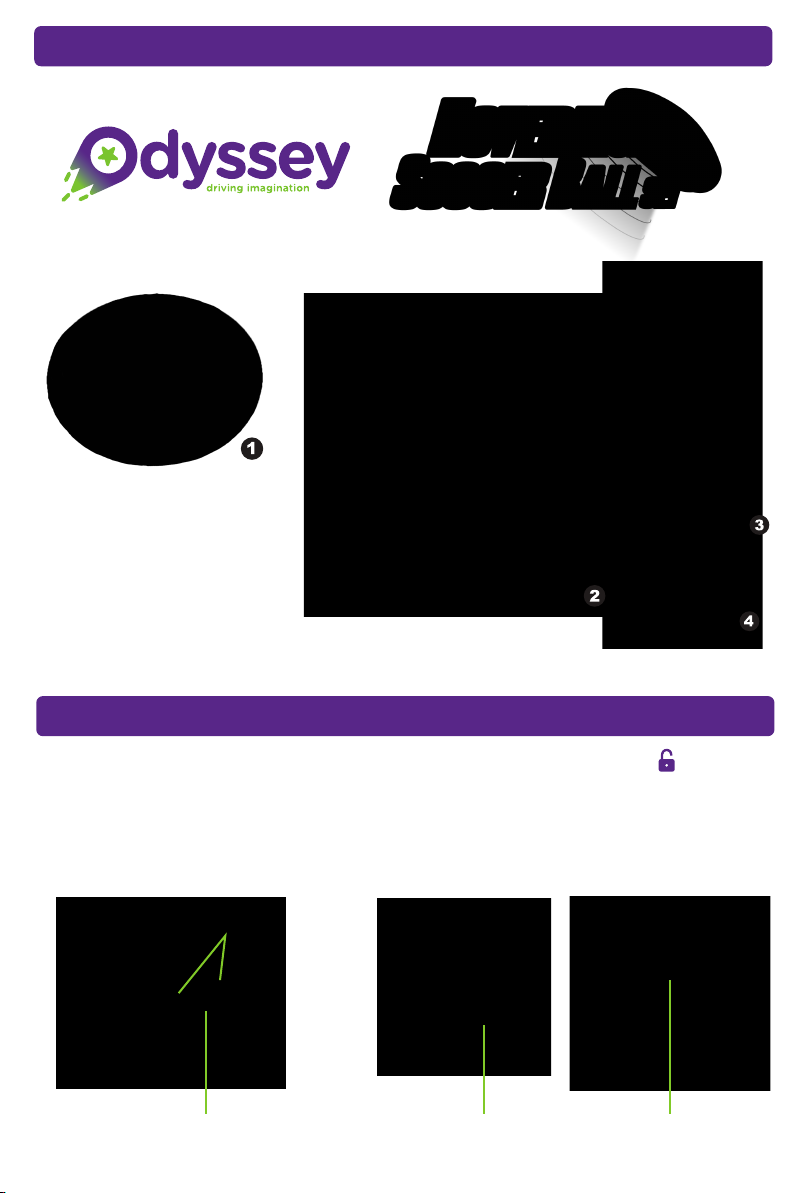
INCLUDED CONTENTS:
1. Hovering Soccer Ball
2. Goal Frame Components
3. Goal Net
4. Phillips Screwdriver
SETTING UP THE HOVERING SOCCER BALL
1. Underneath the soccer ball turn the 2x cover latches to the unlock position.
2. Use the included Phillips screwdriver to open the battery compartment
3. Insert 4x AA batteries. Taking care to match the correct polarity +/-.
4. Replace battery cover and turn switch on to start the hovering action.
Turn cover
latches to the
unlock position
Unscrew Battery Cover Install 4x AA Batteries On/Off Switch
1
Page 2

Assemble the goal by connecting the pole sections
together following the diagram in alphabetical order.
ASSEMBLING THE GOAL
Tip. Place the a suction cup below each corner
to secure the goal to a smooth floor.
f. Secure the net to the
corners of the goal
2 3
Page 3

For Customer Service please email:
Care@OdysseyToys.com
Please note the units model number and name in your email:
Model no. ODY-530 •Hovering Soccer Ball Set
www.OdysseyToys.com
CAUTIONS & WARNINGS
•Suitable for ages 3 and up. Adult supervision is always recommended.
•This product contains small parts which are a choking hazard. Keep
away from small children.
•Manufacturers and dealers disclaim all responsibility for damage caused
by misuse.
•Keep hair and loose clothing away from hovering soccer ball fans when
powered on.
• If the soccer ball will be stored and unused for an extended period of
time, please remove the batteries.
• Check the batteries regularly for potential leakage or corrosion that may
occur.
• When installing the batteries carefully follow the polarity marking +/-.
• Do not mix different battery types.
•Remove exhausted or drained batteries.
CARE & MAINTENANCE
• Do not submerge the unit in any liquids.
• Keep the unit dry.
•Do not place the unit near powerful, un-shielded magnets.
•Do not expose the unit to extreme hot or cold temperatures.
•Do not hit, drop, or smash the unit with extreme force.
•Do not disassemble the unit for any reason.
NOT FOLLOWING THESE PRECAUTIONS WILL VOID YOUR WARRANTY.
4
 Loading...