

Page 1
1
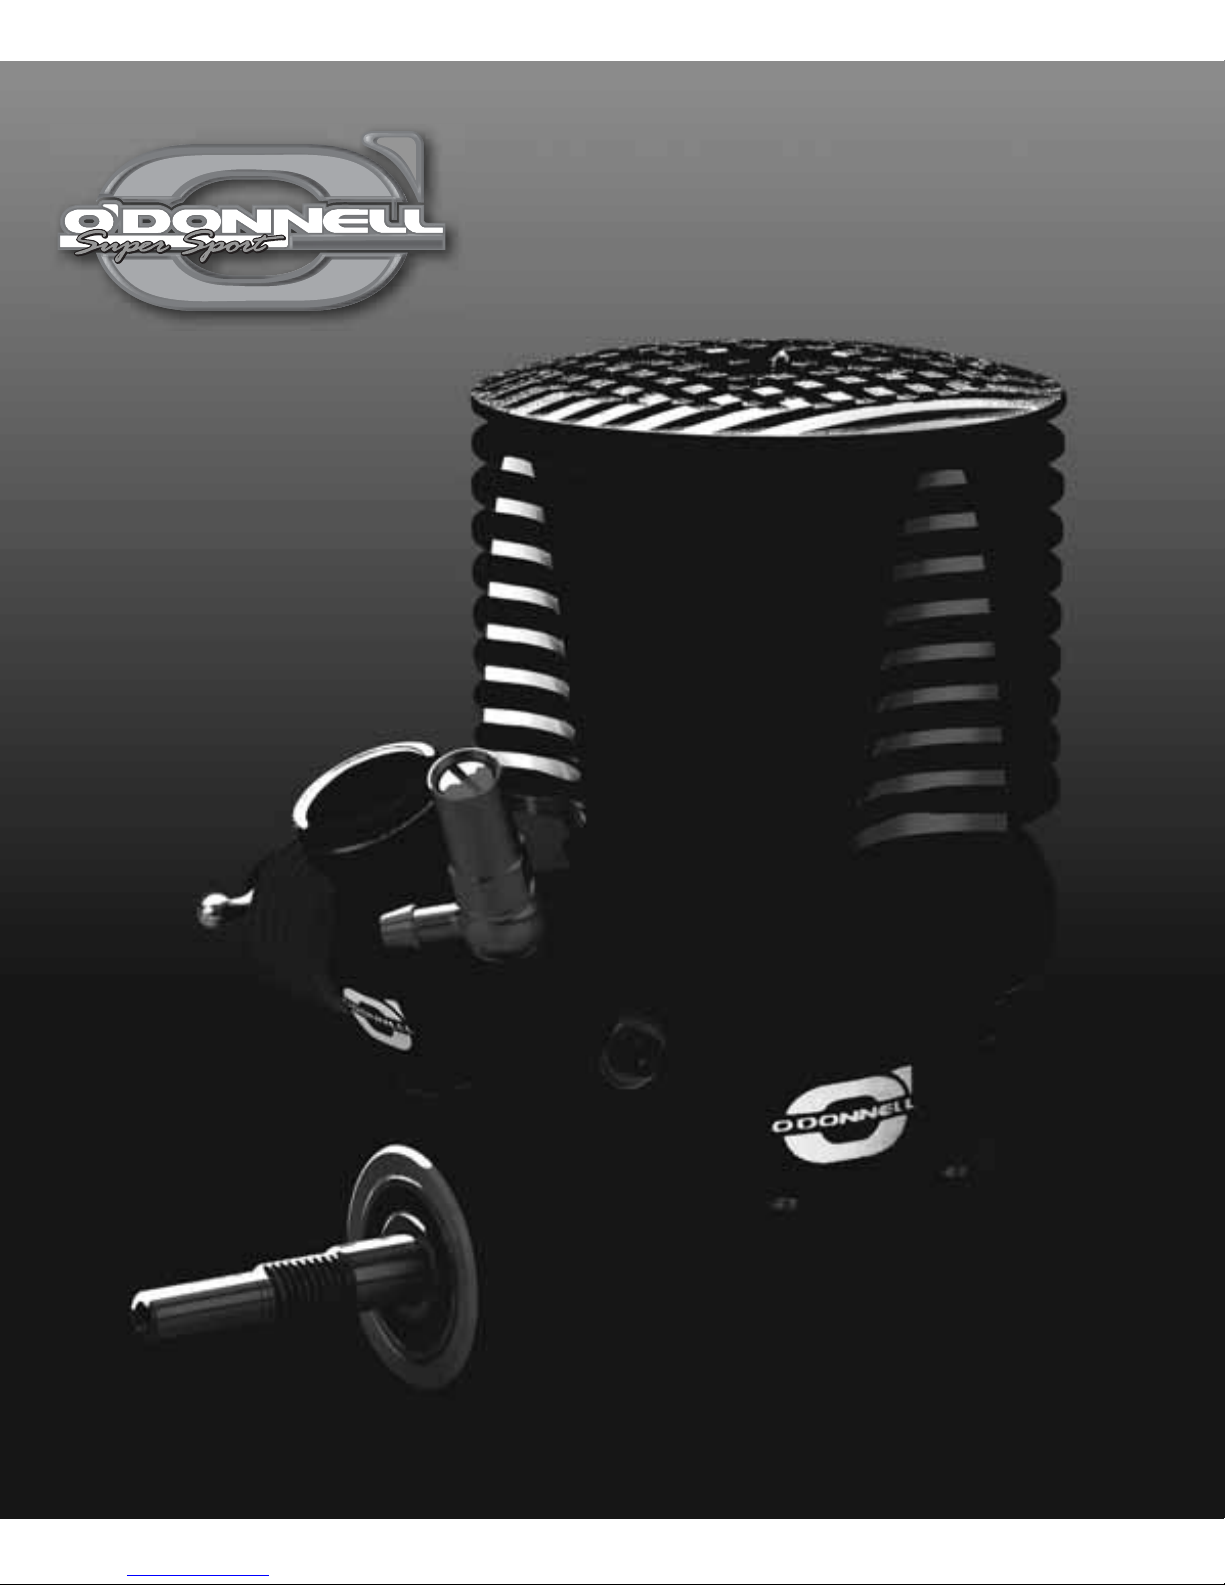
ENGINE
E N G I N E
Page 2

2
TABLE OF CONTENTS
Thank you for purchasing the O’Donnell SS .21 engine. Many years
of engine expertise were used to develop an engine with maximum
performance and reliability. This engine was manufactured using the
highest quality standards, materials and manufacturing processes.
When properly used and maintained, it will perform at the highest
level of racing. Carefully read through the entire instruction manual
before starting your SS .21 engine.
Safety Precautions .......................... 3
Important Information ...................... 4
Fuel ................................................. 5
Fuel Tubing ...................................... 5
Fuel Filter ........................................ 5
Air Filter ........................................... 6
Glow Plug ........................................ 6
Tuned Pipe ...................................... 7
Carburetor Restrictors ..................... 7
High Speed Needle ......................... 8
Low Speed Needle .......................... 8
Throttle Stop Screw ......................... 8
Factory Carburetor Settings ............ 8
Priming the Engine .......................... 9
Engine Break-In ............................ 10
Engine Maintenance ..................... 12
Page 3

3
SAFETY PRECAUTIONS
• Model engine fuel is poisonous. Make sure you read and follow all
of the precautions on the fuel container.
• Keep fuel out of the reach of children.
• Model engine fuel is fl ammable and when ignited has a fl ame
that is diffi cult to see. Avoid sparks, fl ames, smoking or any other
ignition source when fuel is near.
• The engine emits harmful fumes just like a real vehicle. Do not
operate the engine indoors.
• The engine and its exhaust can become very hot during operation.
Avoid touching these parts during use and until they have cooled
down completely.
• The engine and exhaust produce quite a bit of noise. Do not run
your vehicle when or where it can disturb others.
• Avoid running the engine in cold weather. Running the engine in cold
weather can result in premature wear and poor performance.
Page 4
4
IMPORTANT INFORMATION
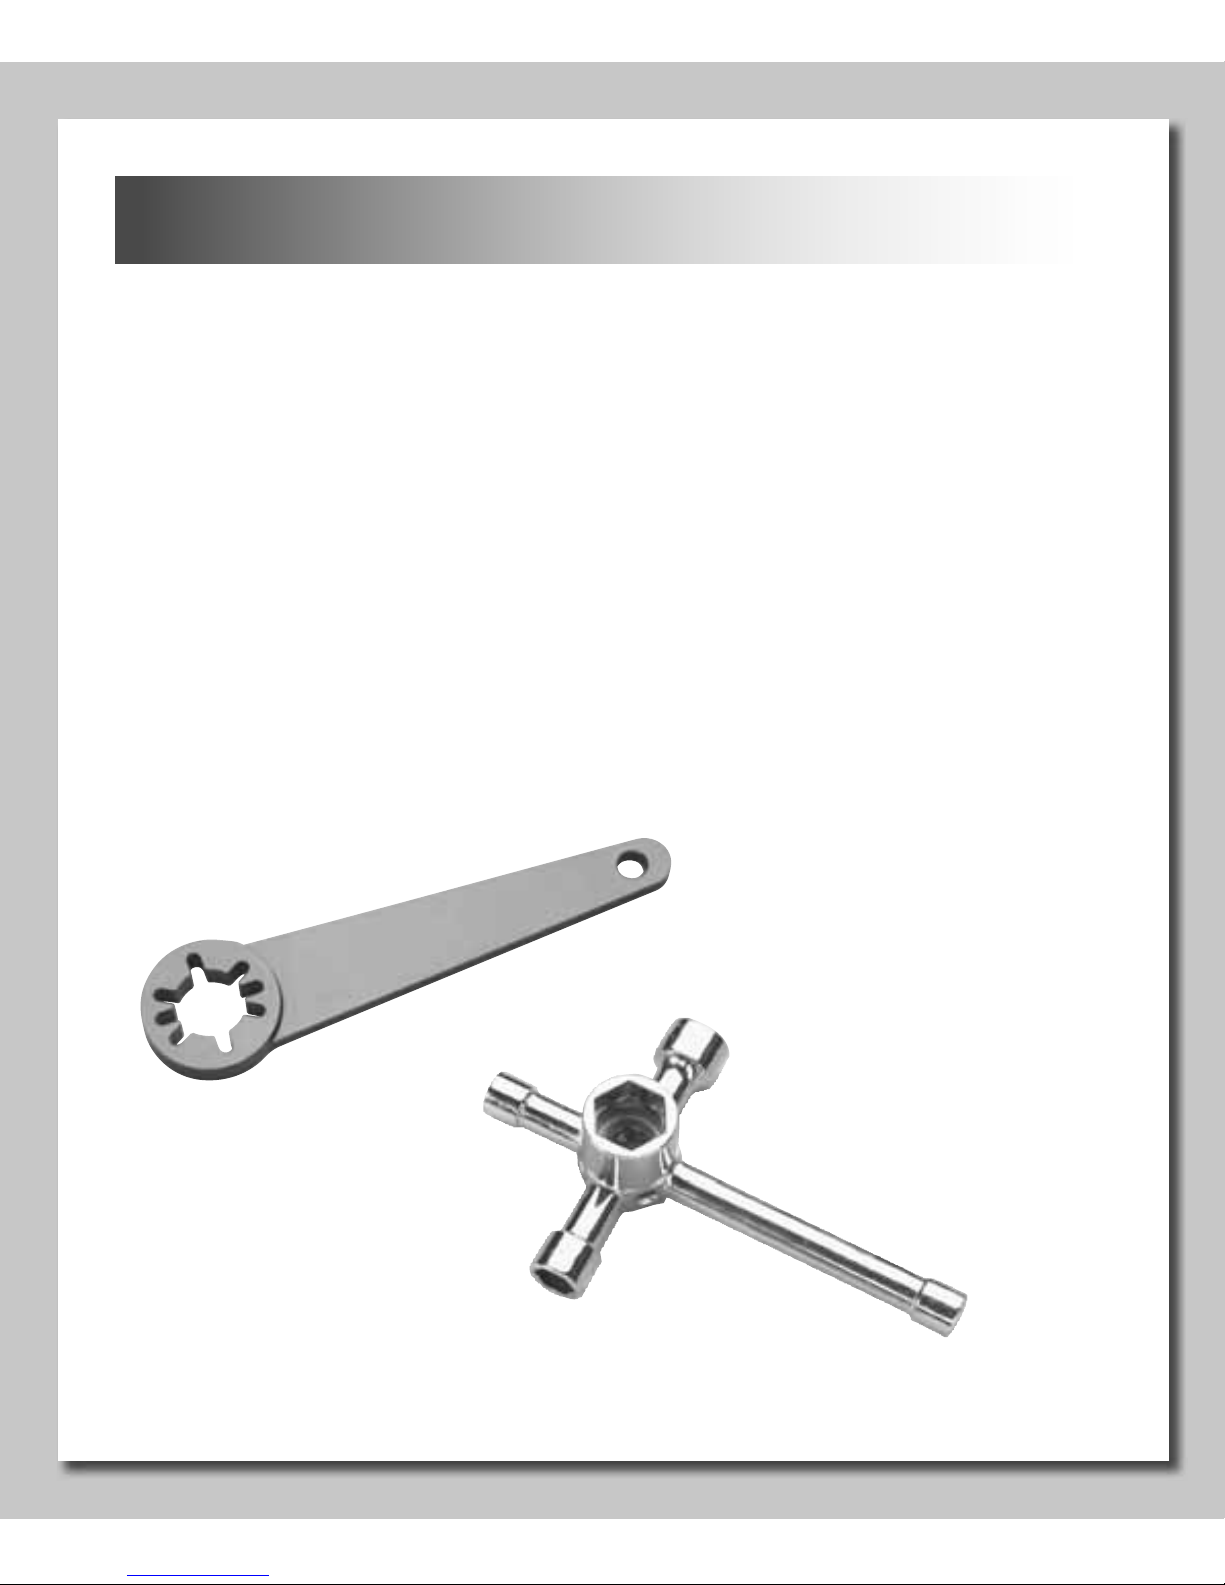
• Make sure you properly tighten the fl ywheel/collet onto the engine.
We recommend using a fl ywheel wrench and a 10mm socket. DO
NOT put something in the exhaust to prevent the engine from
turning over.
• Make sure you keep your vehicles fuel tank free of dirt and debris.
• Make sure your vehicle’s clutch is in good working order before
installing it onto the SS .21. Periodically check your clutch to
ensure optimal performance.
Page 5
5
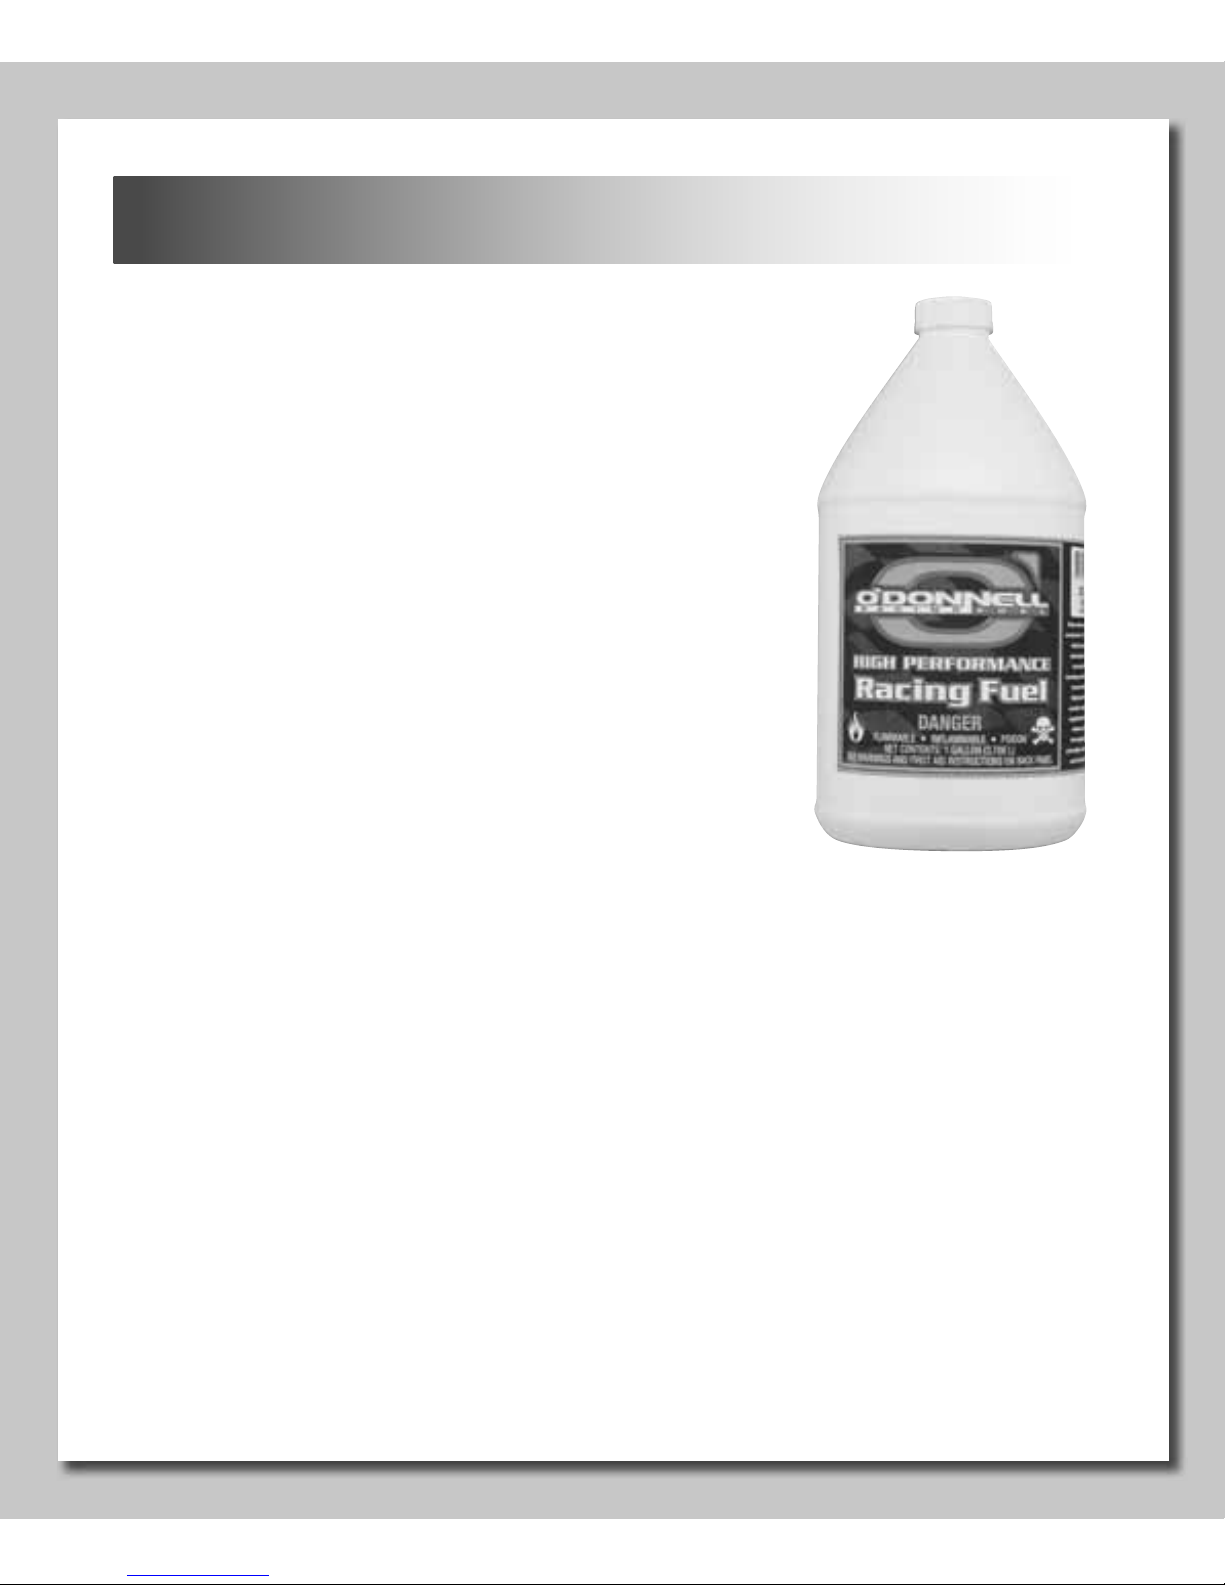
FUEL
• We recommend O’Donnell 20% or 30%
racing fuel be used whenever possible. If
at any time during the life of the engine
you change fuel, either the percentage of
nitromethane or brand, we recommend
that you set the carburetor needles back to
the stock settings to help prevent possible
damage or premature engine wear.
• Whenever possible, do not allow the fuel
container to sit in direct sunlight or opened.
Always close the container promptly after
each use. Do not store on a concrete fl oor.
Doing so will decrease the quality of the
fuel and could cause the engine to perform poorly.
• We recommend that you install new fuel tubing on your vehicle
before installing the SS .21. This will help prevent problems related
to old or torn fuel tubing.
• We highly recommend a quality fuel fi lter be used between the
vehicle’s fuel tank and the SS carburetor. This will help keep out
dirt and debris that could be detrimental to the life of the engine.
Page 6

6
AIR FILTER & GLOW PLUGS
• It is very important that you use a quality air fi lter like the O’Donnell
ODOC1525 air fi lter. It is also just as important that you properly
maintain it. Using an air fi lter that is overly dirty, torn, improperly
oiled or worn out could allow dirt to be ingested, which will cause
premature wear and failure. We recommend that you clean and
re-oil your air fi lter regularly and always use a quality air fi lter oil.
• The SS .21 comes with an O’Donnell 97T glow plug. After
extensive testing, Steve O’Donnell has found that this plug gives
you maximum performance and superb durability.
• We recommend that you always keep a spare
O’Donnell 97T (ODOG0497) on hand so that you
can replace the plug when needed. You can check
your glow plug by pulling it out of the engine and
install it onto a charged glow starter. If the glow
plug glows bright orange it should still be good. If
it does not glow it is time to replace the plug. You can also check to
make sure that the coils are not distorted. If the coils are distorted,
replace the plug.
• Important: If you change plug types or brands, you will have to
re-tune your engine.
Page 7

7
TUNED PIPE
CARB RESTRICTORS
• The SS .21 comes with a 7mm restrictor installed in
the carburetor.
• For increased performance, install the included 8mm
restrictor. The engine will need to be re-tuned after
changing the carburetor restrictor (richer mixture).
After extensive testing Steve O’Donnell has
developed the R2 tuned pipe for the SS .21. The
R2 tuned pipe helps the engine achieve maximum
performance, with a smooth, broad power band.
ODOG8000
Page 8

8
NEEDLE SETTINGS
The high speed needle (A) controls the
amount of fuel entering the engine when
the carburetor is fully open. Turning the
high speed needle counterclockwise
(richer) allows more fuel to enter the
engine. Turning the high speed needle
clockwise (leaner) allows less fuel to
enter the engine.
The low speed needle (B) controls the amount of fuel entering
the engine during idle to the mid range. The low speed needle
affects your low end power. Turning the low speed needle
counterclockwise (richer) allows more fuel to enter the engine
and turning the low speed needle clockwise (leaner) allows less
fuel to enter the engine.
The throttle stop screw (C) adjusts the idle of the engine. Turning
the stop screw clockwise will increase the idle. Turning the stop
screw counterclockwise will lower the idle. Setting the idle too high
can cause damage to the clutch. Setting the idle too low can cause
the engine to stall frequently.
The factory needle settings for the SS .21 are:
High Speed: 2-1/2 turns out
Low Speed: 1-1/2 turns out
Page 9

9
PRIMING THE ENGINE
We recommend that you prime your engine before starting it. While
holding the throttle open, place your fi nger over the muffl er outlet
on the tuned pipe and turn the engine over using a starter box for
3–5 seconds or until fuel reaches the carburetor. DO NOT install
your glow starter during priming. Turn your transmitter and receiver
on, install your glow starter and then start your engine. Do not hold
the throttle wide open while starting, use only 1/4-throttle. Allow the
engine to idle for 10–15 seconds before increasing the throttle. If
the engine does not start within 8–10 seconds, remove the glow
plug and check that it and your glow ignitor are working properly.
Note: If you are having problems tuning your engine, we recommend
that you return the needles to the factory settings and make small
tuning adjustments until you achieve the optimal settings for the
particular conditions.
To reset the needles to factory settings, gently close (clockwise) the
needles. Then open (counterclockwise) the needles the designated
number of turns.
Important: Make sure when closing the needles you do not
overtighten. Overtightening the needles can cause damage to
the carburetor.
Page 10

10
ENGINE BREAK-IN
It is critical that you properly break-in your SS .21. Proper breakin will help ensure optimal fi t between critical engine components
and help prevent premature wear. Proper break-in will help obtain
maximum performance.
• It is recommended to NOT run the body on your vehicle during
break-in.
• DO NOT run the engine at full throttle until the break-in procedure
is complete and the needles are set for your current conditions.
• We DO NOT recommend that you idle your engine on a starter
box for break-in.
• Do not allow the engine to run out of fuel during break-in. This will
cause the engine to lean out possibly causeing engine damage.
• We highly recommend the use of a quality temperature gauge like
the O’Donnell TGX1 (ODOP0900) to monitor engine temperature.
The high and low speed needles are preset at the factory. The
factory needle settings are a safe (rich) starting point.
Find a large, fl at, open area to perform the break-in procedure.
Make sure you are in an area where you will not disturb others or
have to worry about traffi c.
When leaning the engine during break-in, only
make adjustments of 1-hour increments. This will
help prevent over leaning the engine during breakin and causing damage to your engine.
6
12
93
1 hour = 1/12 turn
Page 11

11
Tanks 1-4: Start the engine and run the vehicle approximately 100
feet back and forth or in a fi gure eight. Do not squeeze the throttle
more than 1/2-way. Every 4-6 passes check the engine temp
making sure that it does not go over 170° Fahrenheit. Continue this
procedure for the fi rst four tanks, making sure you do not allow the
engine to run out of fuel.
Tanks 5-6: Continue running the vehicle approximately 100 feet
back and forth. Now you can squeeze the throttle 3/4 of the way.
Continue to temp the engine every 4-6 passes, making sure that
the engine temperature does not go over 190° Fahrenheit. After
tank 6 you are ready to fi ne tune in your engine. After tank 6 allow
the engine to cool down. Then restart the engine.
Tanks 7-8: You can now run the vehicle approximately 150-200
feet, pulling the trigger to full throttle the last 50 feet of each pass.
Continue to temp the engine every 4-6 passes, making sure that
the engine temperature is close to 200° Fahrenheit but no more
than 210° Fahrenheit.
During tanks 7-8 bring the vehicle to a stop and allow it to idle for 10
seconds. Then pull full throttle for approximately 100 feet. Take note
of how much smoke comes out during acceleration. Optimum is a
small amount of smoke from stop to approximately 100 feet. Once
this is achieved do the same thing only go 150-200 feet. Continue
to check the engine temperature every 4-6 passes. The fi nal head
temp after break-in should be approximately 210° Fahrenheit.
After the 8th tank, your engine should be ready to race. Additional
tuning may be necessary at the track for optimal performance.
Page 12

12
ENGINE MAINTENANCE
To increase the life of your SS .21 it is critical that you properly
maintain your engine.
• Before each run check that your air fi lter is clean and properly oiled.
• Occasionally check your fuel fi lter and remove any dirt or debris
that may have accumulated.
• Keep the outside of your engine clean and do not allow large
amounts of dirt to accumulate on the engine. This can act as
an insulator and cause the engine to run excessively hot. It is
recommended to use a brush to remove most of the debris. If
using a spray cleaner, be careful not to allow dirt or debris to enter
the front bearing or carburetor.
• After each day of running, remove any excess fuel from the
vehicle’s fuel tank. Then start the engine and allow it to idle off any
fuel left in the fuel lines and carburetor. DO NOT give the engine
throttle input during this procedure.
• After each day of running make sure the fuel tubing is not
damaged or torn. If you fi nd any potential problems with the fuel
line, replace it before your next run.
• Properly maintain your clutch, replacing any worn out or
damaged parts.
• Warranty: This engine is warrantied against manufacturer defect for
90 days from the date of purchase. Due to the extreme conditions
of racing we are unable to extend any other type of warranty.
Page 13

13
CARB PARTS & VIEW
Carburator Assembly Complete ........................... ODOG6010
1 Carb Slide Ball Clamp ..........................................ODOG6025
2 Low Speed Needle w/O-Rings .............................ODOG6095
3 Low Speed Needle O-Ring...................................ODOG6105
4 Slide Valve ............................................................ODOG6024
5 Carb Slide Boot ....................................................ODOG6027
6 Carburetor Body ...................................................ODOG6010
7 Carburetor O-Ring ................................................ ODOG6105
8 Carburetor Drawbar w/O-Ring ..............................ODOG6020
9 Carburetor Spraybar w/O-Rings ...........................ODOG6030
10 Idle Screw w/O-Ring.............................................ODOG6090
11 High Speed Needle Housing w/Inlet & Seal .........ODOG6085
12 High Speed Needle w/O-Ring ..............................ODOG6086
13 Carburetor Restrictor Set ..................................... ODOG6023
14 Carburetor Restrictor O-Ring ............................... ODOG6105
Page 14

14
REPLACEMENT PARTS
20 Cylinder Head Screw 3.5 x 14mm (4) ..................ODOG6120
21 Cylinder Head ......................................................ODOG6056
22 Cylinder Head Button Turbo ................................. ODOG6061
22 Cylinder Head Button Standard ...........................ODOG6062
23 Cylinder Head Shim (2) ........................................ODOG6068
24 Cylinder Sleeve & Piston .....................................ODOG6071
25 Wrist Pin Set ........................................................ODOG6150
26 Connecting Rod ...................................................ODOG6032
27 Crankcase Assembly ............................................ODOG6041
28 Bearing Front 7 x 19 x 6mm .................................ODOG6001
29 Bearing Rear 14 x 25 x 6mm ...............................ODOG6005
30 Crankshaft SG ......................................................ODOG6051
31 Backplate w/O-Ring..............................................ODOG6115
32 Backplate Screw 2.5 x 8mm (4) ........................... ODOC6120
33 Exhaust Coupler ...................................................ODOG6078
34 Backplate O-Ring ................................................. ODOG6105
Page 15

15
EXPLODED VIEW
Page 16

Copyright © 2009 ODOG5010Mnl v1.1
WARRANTY & REPAIR SERVICE
O’Donnell will warrant this engine for 90 days after the purchase from
defects in materials or workmanship. O’Donnell will either repair or
replace, at no charge, the incorrectly made part. (Please note: O’Donnell
engines are manufactured to the highest standards using only the very
best materials. However, since this engine will be used in high level racing
conditions using high Nitro fuels, wear and tear and/or damage as a result
will not be covered under this warranty.)
Make sure you save the receipt or invoice you were given when you bought
your engine! It is your proof of purchase and we must see it before we can
honor the warranty.
Repair service is available anytime. You can have your engine repaired for a
small charge by the experts at O’Donnell’s authorized repair facility, Hobby
Services, at the address listed below. To speed up the repair process,
please do the following:
1. Under all circumstances, return the entire engine.
2. Send written instructions that include a thorough explanation
of the problem, the service needed and your phone number
during the day. (If you expect the the repair to be covered
under warranty, be sure to include proof of purchase.
3. Be sure to send your full return address
Hobby Services
3002 N. Apollo Drive, Suite 1
Champaign, Illinois 61822
Attn: Service Department
(217) 398-0007
9:00 am-5:00 pm Central Time M-F
E-mail: hobbyservices@hobbico.com
www.hobbyservices.com
 Loading...