

ODG R-6 User Manual
USER GUIDE
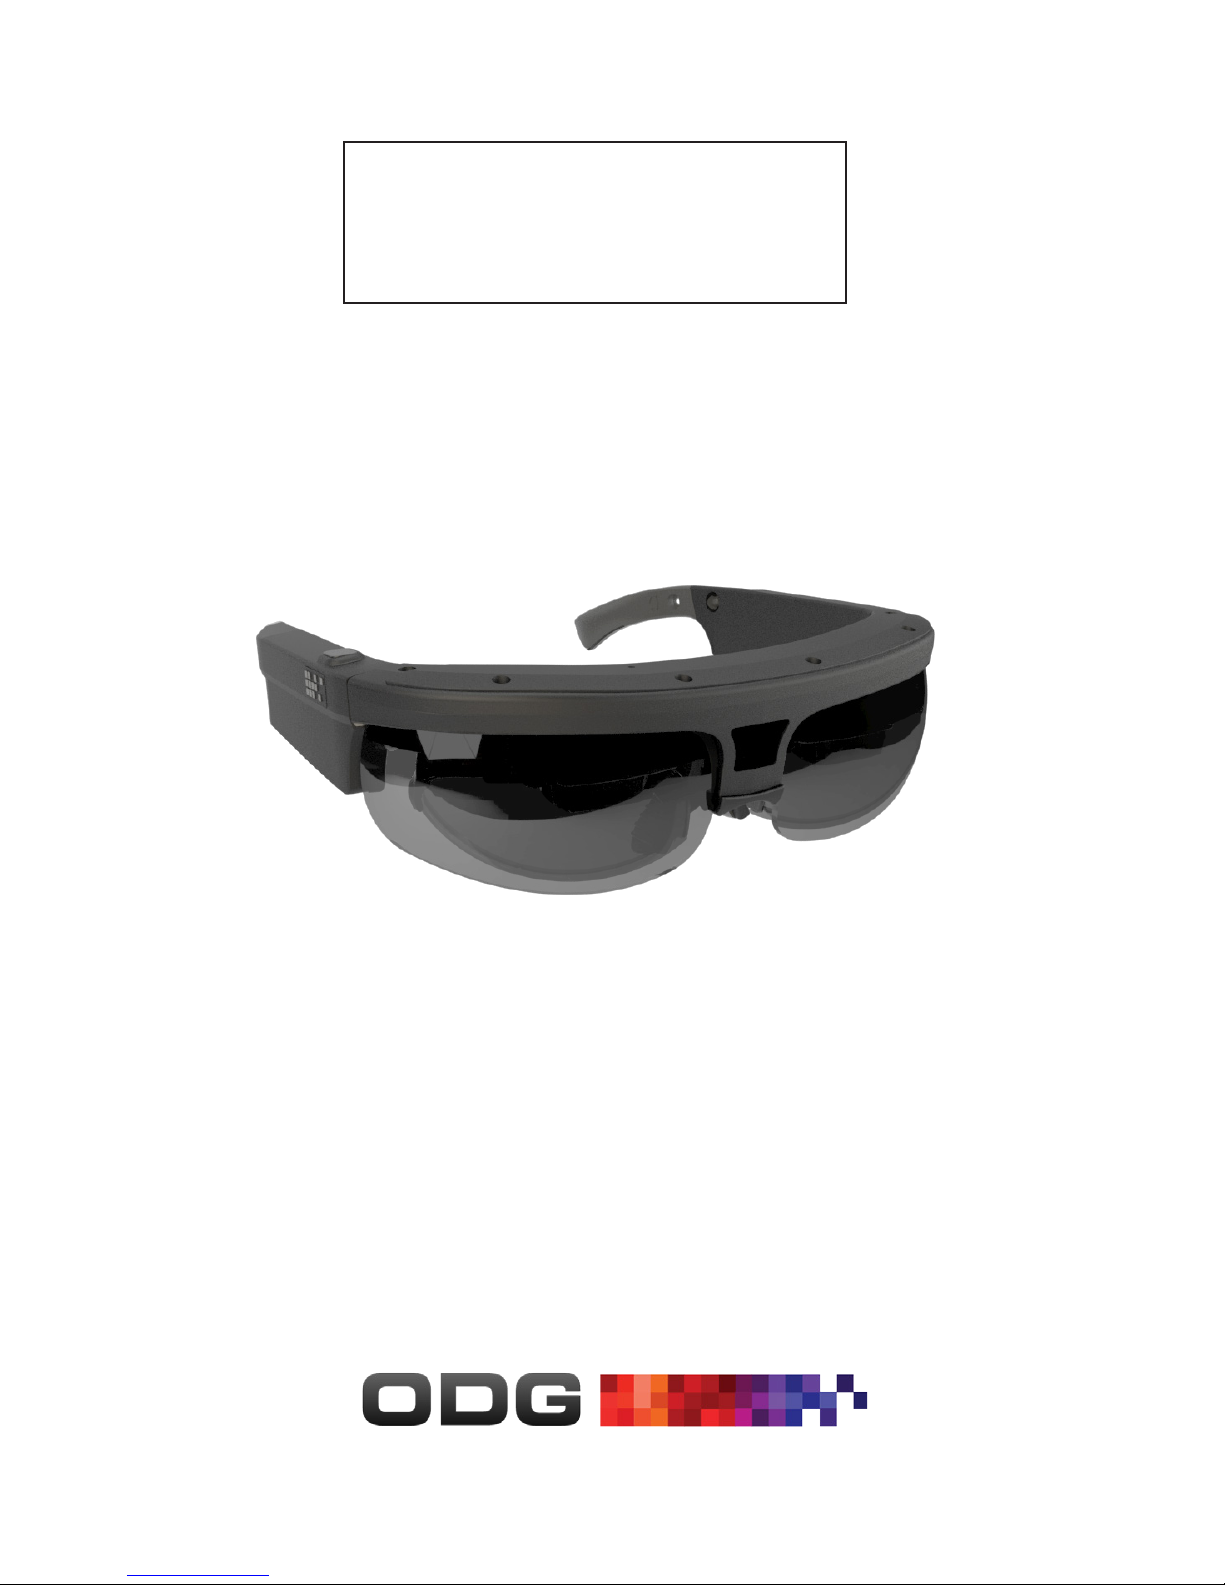
R-6 GLASSES
1

R-6 GLASSES
Osterhout Design Group (ODG) reserves exclusive rights
to the product and grants not other licenses, rights, or
data of any kind. ODG prohibits the reverse engineering
or deconstruction of the item for any other purpose.
DEVELOPER SUPPORT
SDK documentation, guides, user forums, and software
downloads can be accessed through the ReticleOS
Developer Center:
developer.osterhoutgroup.com
To request a Developer account, please send an email to
developer@osterhoutgroup.com.
2

Safety & Care
Your ODG R-6 device has been designed and manufactured to
stringent quality and safety standards. You should, however,
be aware of the following important precautions for safe use
of the glasses and accessories.
This device contains lithium ion batteries, which can explode
or cause burns if disassembled or exposed to re or high heat.
Batteries must be disposed and recycled safely and properly.
Warning: This device contains powerful magnets and should
be kept a distance from persons with any metallic, electronic,
or magnetic device implants in the body.
Read all of these instructions carefully.
Keep these instructions for future reference.
Heed all warnings.
Clean only with dry cloth.
Only use attachments/accessories specied by ODG.
Do not store glasses near any heat sources such as radiators,
registers, stoves, ampliers or other items that produce heat.
3

Table of Contents
Quick Start .................................................................................... 5
Included in the Kit ..................................................................6-7
Main Components ..................................................................8-9
Using the Track Pad ................................................................. 10
Charging ...................................................................................... 11
Earbuds ....................................................................................... 12
Head Strap ................................................................................. 12
Wireless Finger Controller ................................................... 13
Launching Applications ......................................................... 14
Control Panel ............................................................................ 15
System Menu ............................................................................. 15
Nose Bridge ............................................................................... 16
Storing the Glasses .................................................................. 17
Parts & Accessories ................................................................. 18
4

Quick Start
1
2
3
4
Unpack Glasses
• Remove the glasses from the compact storage case.
• Unfold the ear horn. See Page 18
Attach Accessories
• If audio is desired, attach Ear Buds. See Page 12
• Attach Head Strap if needed. See Page 12
Adjust Fit
• Adjust Nose Bridge height and/or swap nose pads if needed
for optimum comfort and display viewing angle. See Page 17
Power Up
5
• Press and release the Power button to turn on the glasses.
Within 30 seconds a startup screen should appear and then
the Home Screen. If there is insufcient power to boot the
device, see Charging , Page 11.
• Power up the Wireless Finger Controller by inserting it’s
battery and then pressing the two small round buttons at
the same time. See Page 13
• Power up the Wireless Keyboard by turning the power
switch on. See Page 14
Launch Applications
• When the system powers on, the Home Screen will appear
with a row of icons mid-screen. Swipe left or right on the
Track Pad to highlight an application, and then press the
Track Pad to launch it. See Page 15
5
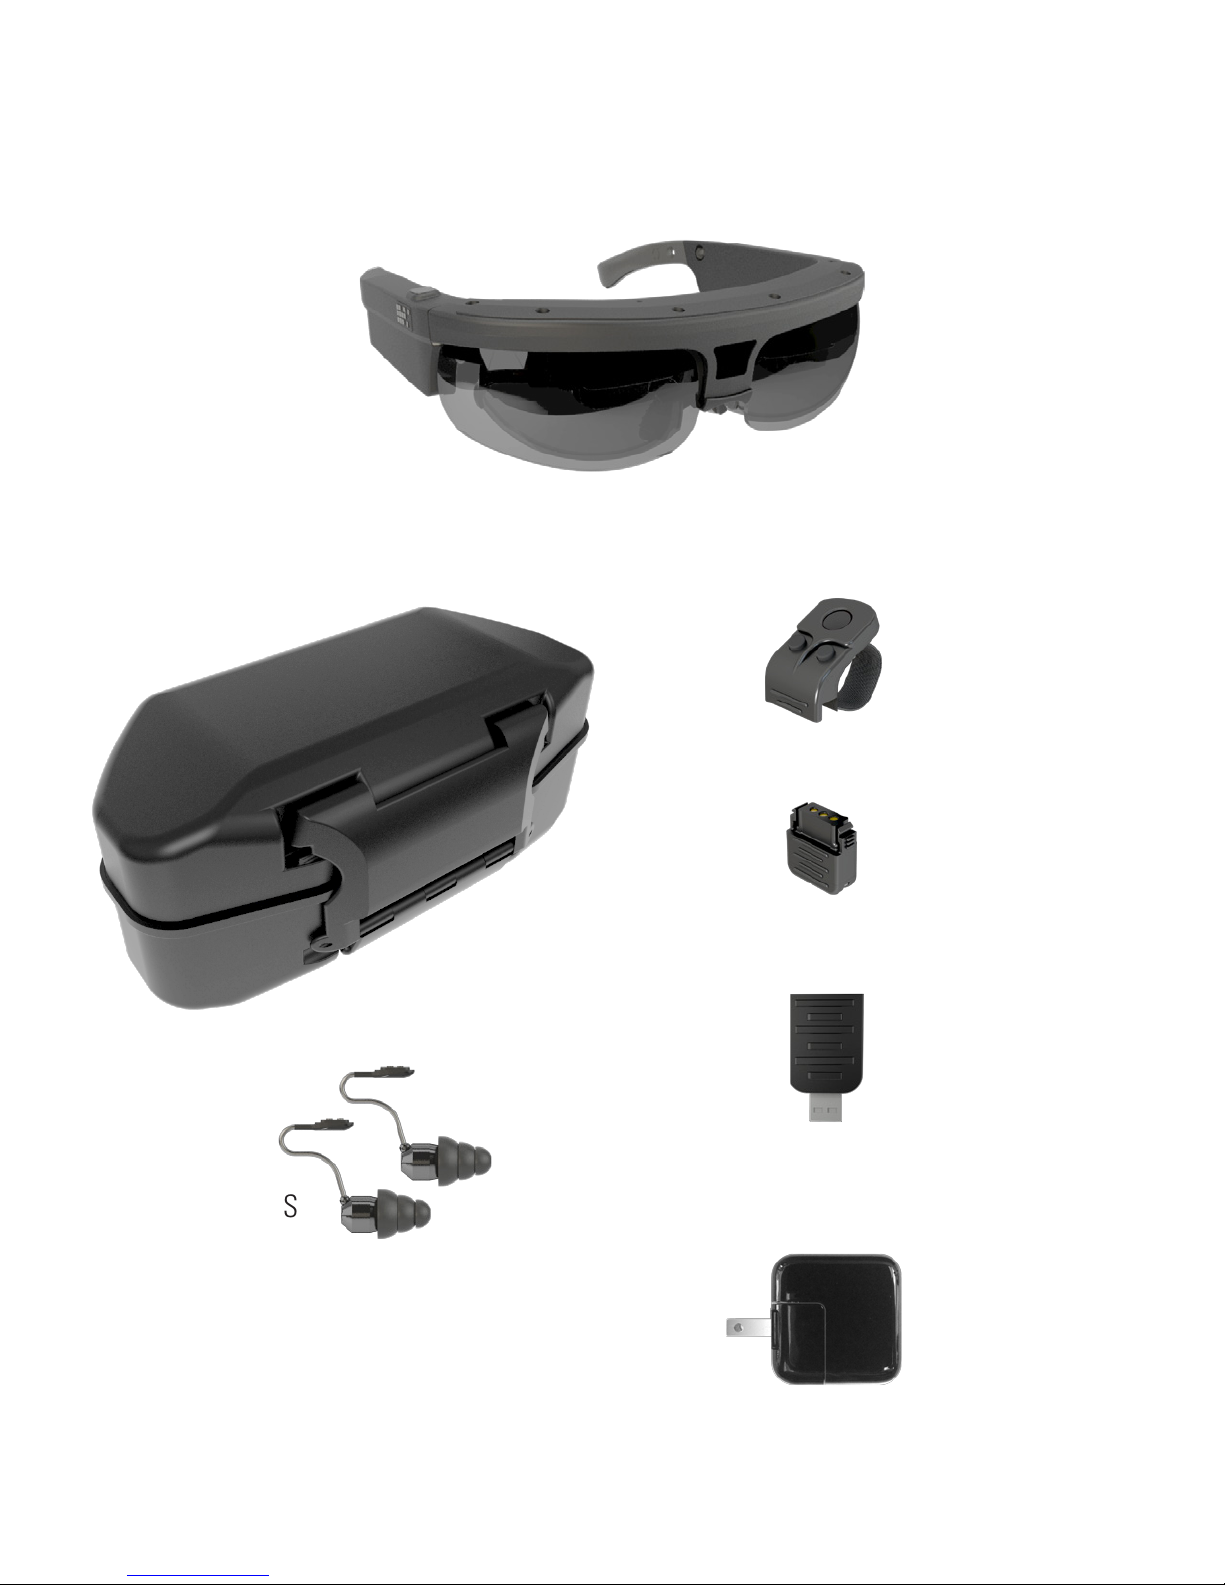
Included in the Kit
R-6 GLASSES
PROTECTIVE CASE
WIRELESS
FINGER
CONTROLLER
WIRELESS
FINGER
CONTROLLER
BATTERY
WIRELESS
FINGER
CONTROLLER
USB CHARGER
(2) EAR BUDS
6
USB
POWER
ADAPTOR
 Loading...