


DOMINATOR X- 2
ASSEMBLY
INSTRUCTIONS
Model Year: 2015
Model Engine Size Category
2 Door 800cc/1000cc Off-road
IMPORTANT INFORMATION
The assembly instructions in this guide are for 2015 Dominator X - 2 door models only. Please
make sure a PDI was performed on each unit before the assembly begins.
ALSO
• Do PDI with customer before unit leaves.
• Fill out proper warranty registration completely with customer (explain to them in detail what coverage they have.)
• Submit to ODES within 5 days.
• Go over maintenance charts with customer.
ODES UTVS LLC.
www.odesutvs.com

Uncrating/Removing Parts
from Crate
When you’re ready to start assembling
your UTV make sure you set up your crate
on a at and level surface. Once you have
done that, you can begin to uncrate the
UTV.
*For safety purposes we reccomend having a partner when
uncrating the UTV as the crate guards can be heavy.
You and your partner can now begin to unbolt and remove the crate guards. Be sure
to set the guards out of your work area.
Removing Parts
We encourage that you and your partner
remove parts as you’re disassembling
the crate guard. Set up parts in an easy to
access location so you do not misplace
important bolts/utv pieces.

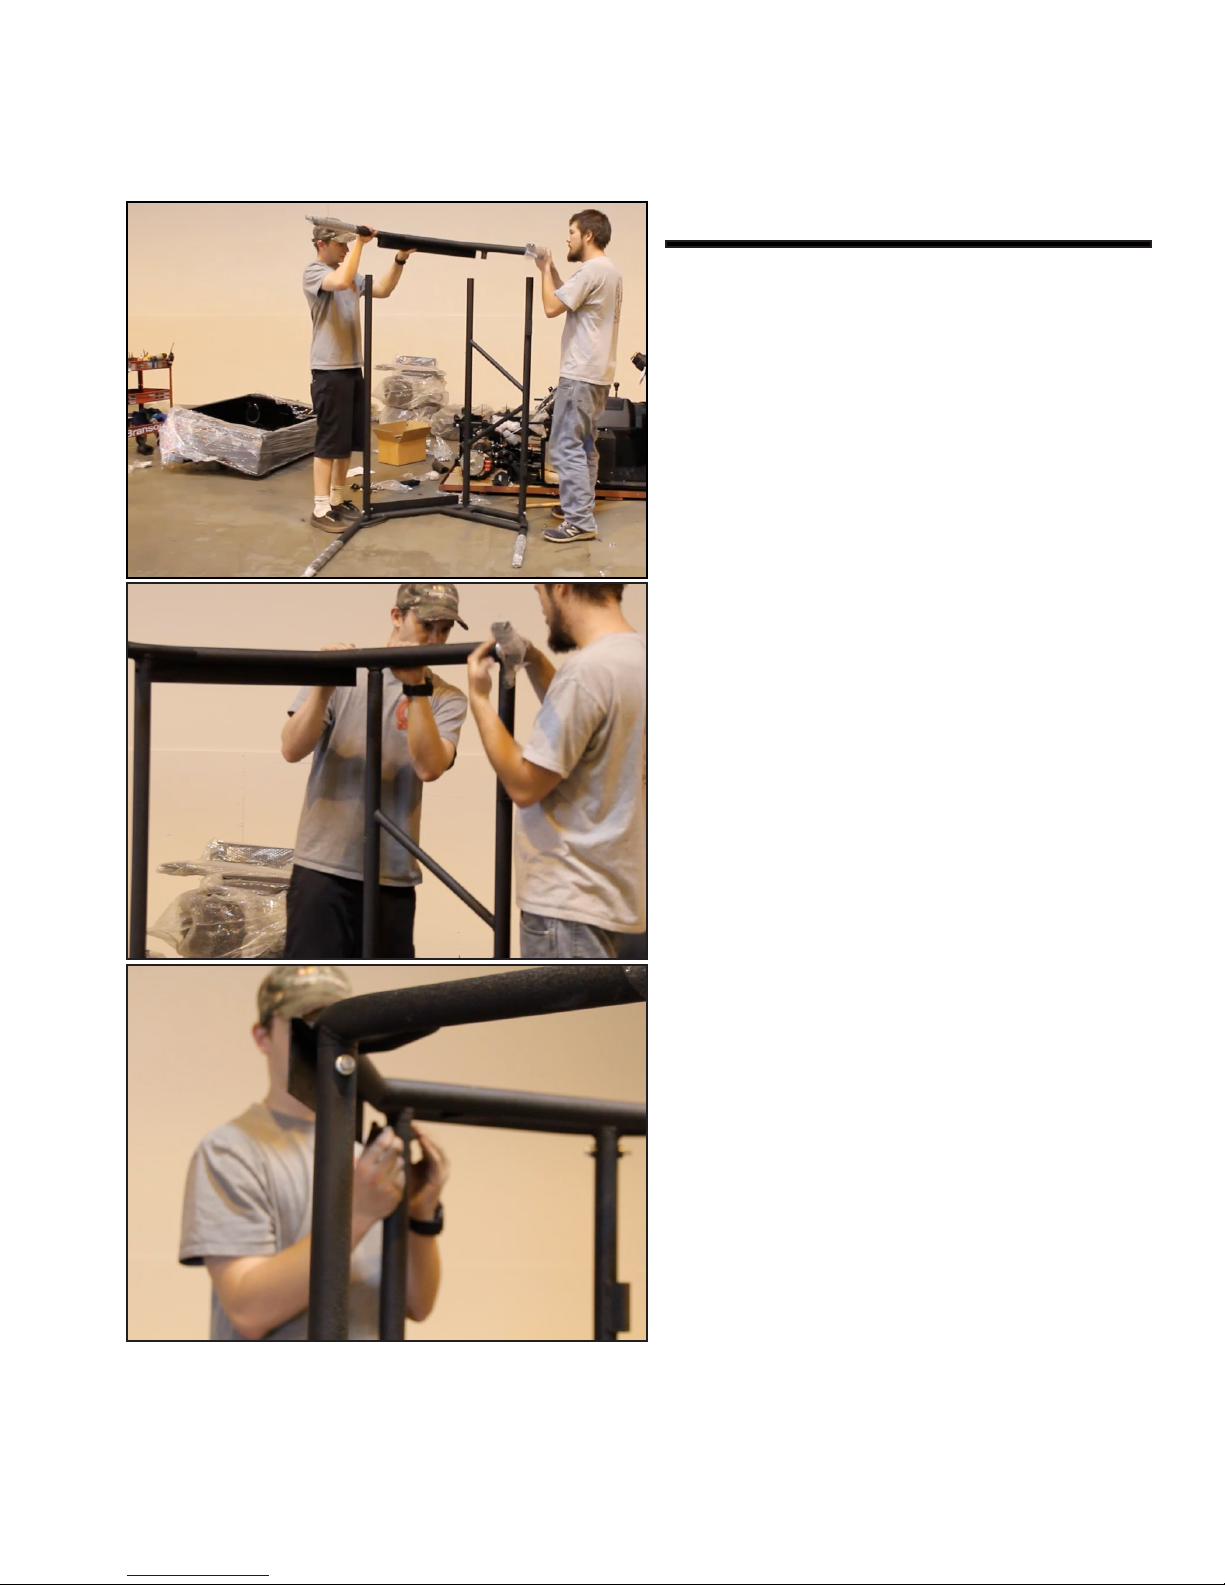
Roll Cage Assembly 1-1
Once you begin assembling the rollcage,
we encourage you to lay the frame at on
the ground so the bars can be inserted
easily.
Once you align the front bar as shown
in the image to the left, you can begin to
bolt them down. Please place a washer on
both sides of the bolt.
Once you have the front bar installed,
grab the X bar and begin to align the X bar
as shown in the image to the left.
Once the X bar is t in position you can
begin to bolt the bar down and remember
to place washers on both sides as shown
in the image to the left.
Roll Cage Assembly 1-2
Once you have the front and X bar bolted
down, you can now place the other side of
the Rollcage on its support bars.
*For your safety, we reccomend having a partner help carry the
second half of the rollcage.
You can now begin to align the frame with
the bolt holes in the support bars. Make
sure they are aligned properly so you are
able to push the bolts through.
Begin bolting down the rollcage and remember to add washers to each side of
the bolt/frame.
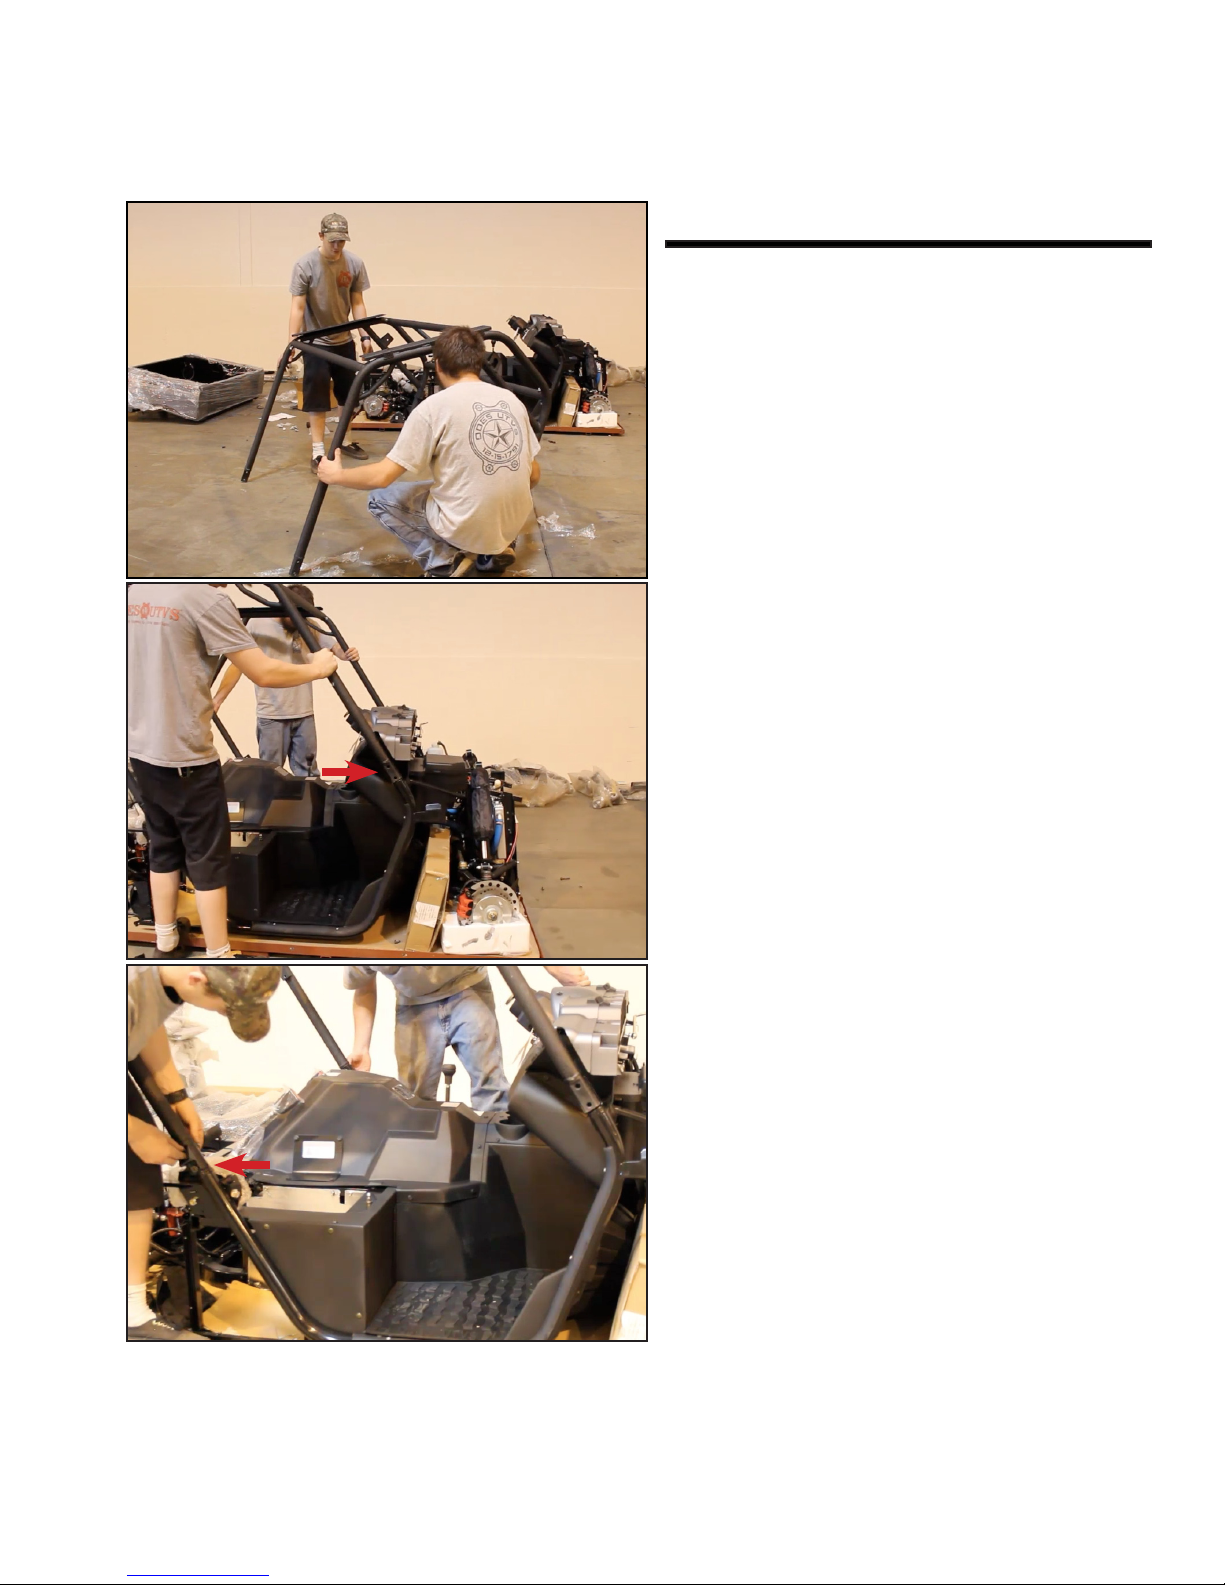
Roll Cage Assembly 1-3
Once you have the rollcage bolted down
and secure, you can now attach it to the
frame of the UTV.
*For your safety, we reccomend having a partner help carry the
assembled rollcage over to the UTV frame.
Align the rollcage with the holes provided
on the frame. Please refer to the images
on the left for exact location.
When bolting down the roll cage please
make sure you also attach door brackets
to the rear side of the cage on both driver
and passenger sides.

Seat Belt Assembly
Once your rollcage is bolted to the frame,
you can begin to unwrap the seat belts
and attach them to the seat belt bracket.
Fully extend the seatbelt so it reaches the
bracket and bolt down the seat belt to the
bracket. Please make sure these are secured and installed correctly.
Make sure both passenger and driver side
seat belts are installed correctly to ensure
rider safety.
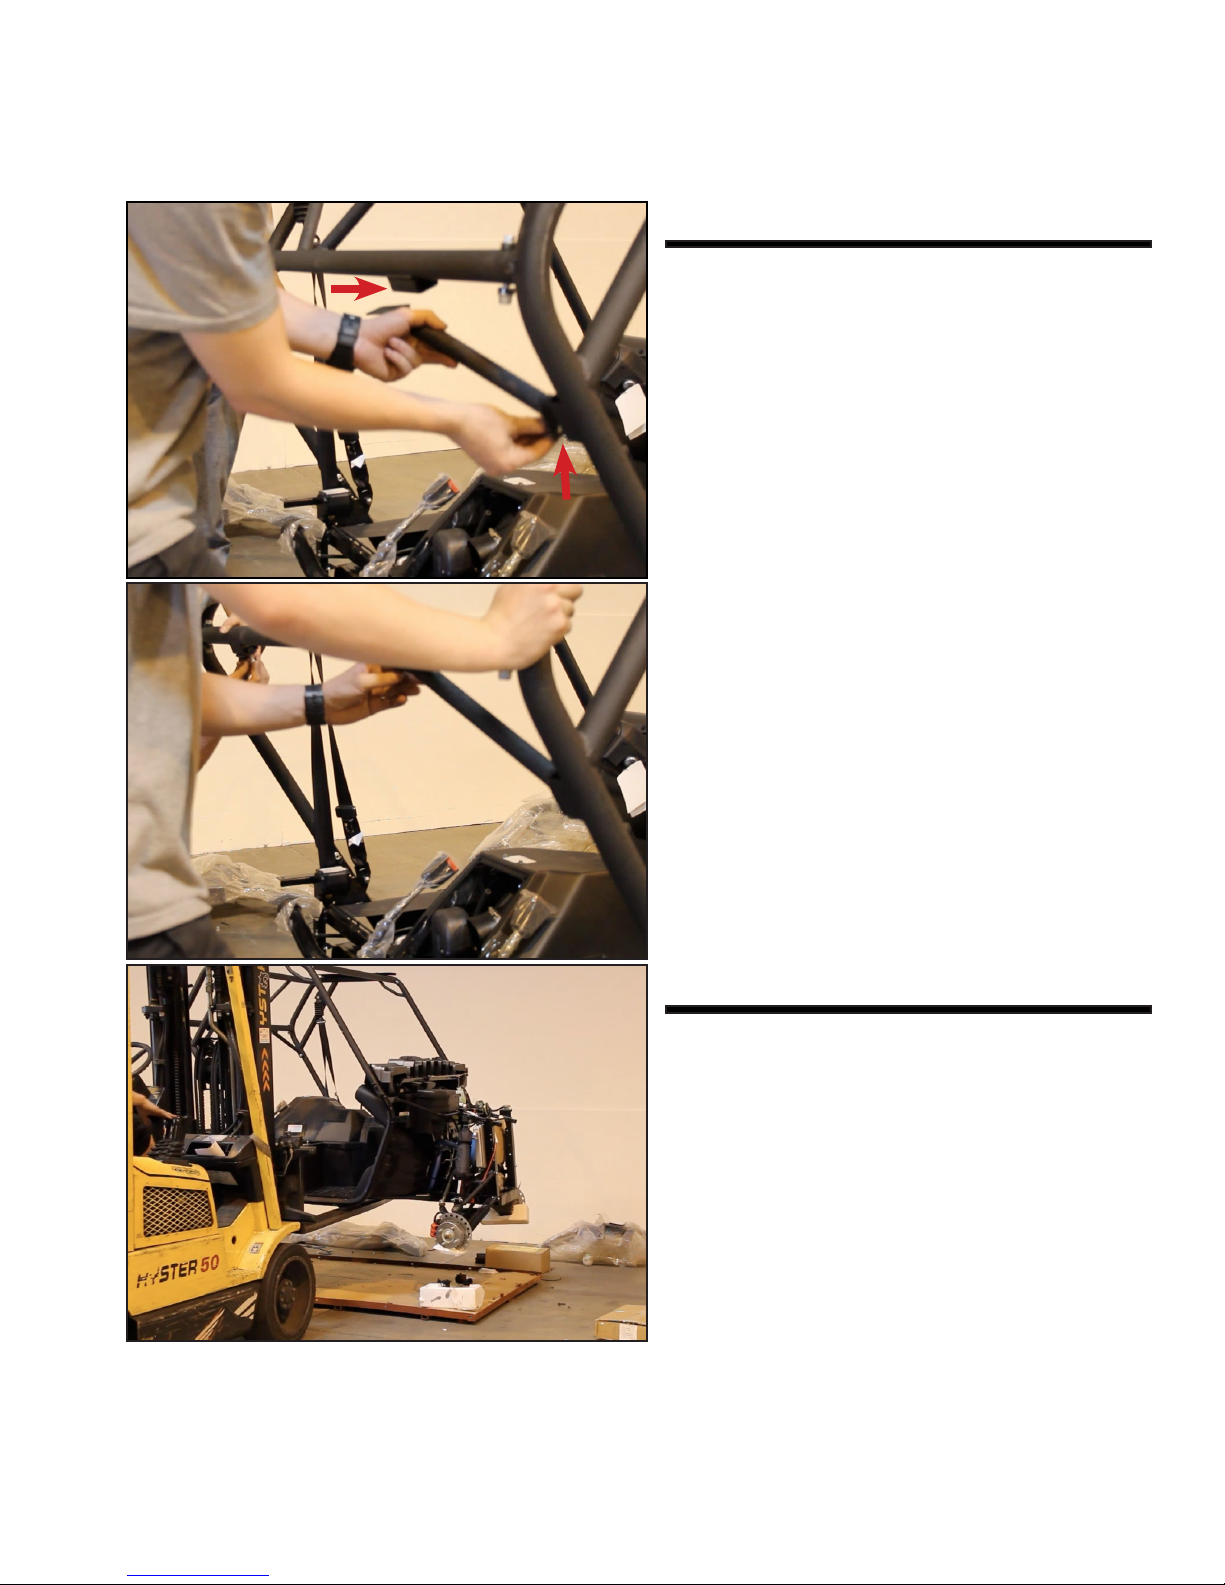
Cross Brace Installation
Once the seat belts are properly installed
you can now begin to attach the cross
braces to the back of the roll cage.
Align the cross braces with the brackets
provided on the roll cage, refer to the image for exact location.
Be sure to properly align and bolt down
the cross braces for both passenger and
driver sides of the rollcage.
Lifting the UTV
Once you have installed the cross braces
you are ready to lift the UTV. Lifting the
UTV makes it easier to work on shocks
and bolt on tires. Carefully lift the UTV off
the ground using a forklift.

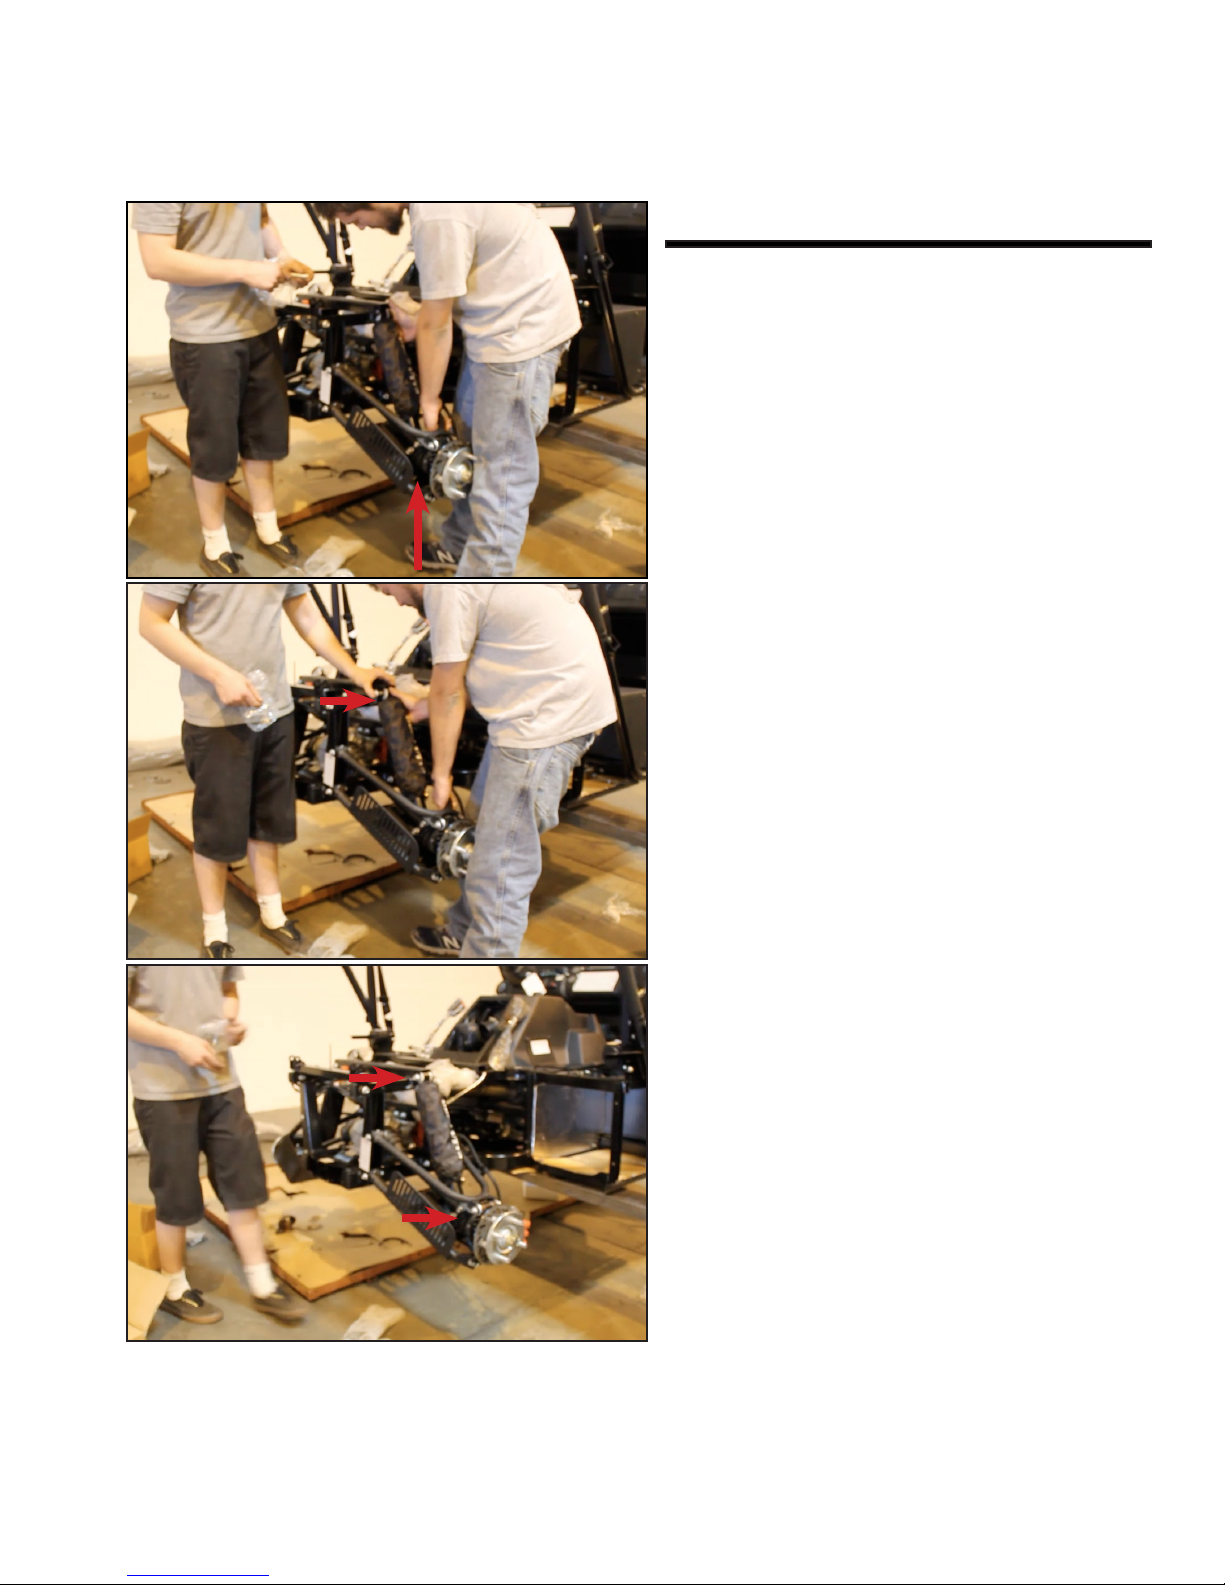
Shock Installation 1-1
The front shocks on the X model come
preinstalled with the bottom already bolted down. You need to simply bolt down
the top of the front shock for both driver
and passenger sides.
Before going on to the rear shocks, we
advise you to attach the rear brake line
rst as the shock will not be in your way.
The brake line is zip tied to the sway bar,
cut the zip and attach the brake line to the
a-arm.
The end result should look like the image
to the left. All you need to do after cutting
the zip tie is tighten the bolts that attach
the line to the a-arm.
Shock Installation 1-2
When installing the rear shocks you will
need someone to lift the arm while another person aligns the top of the shock with
the bolt hole.
Once you have the shock aligned with its
holes you need to bolt down the shocks
and make sure they are fully secure. You
will need to do this for the top and bottom
of the rear shocks.
The end result should look like the image
to the left. Please ensure all bolts are fully
tightened on both front and rear shocks
before going on to anything else.
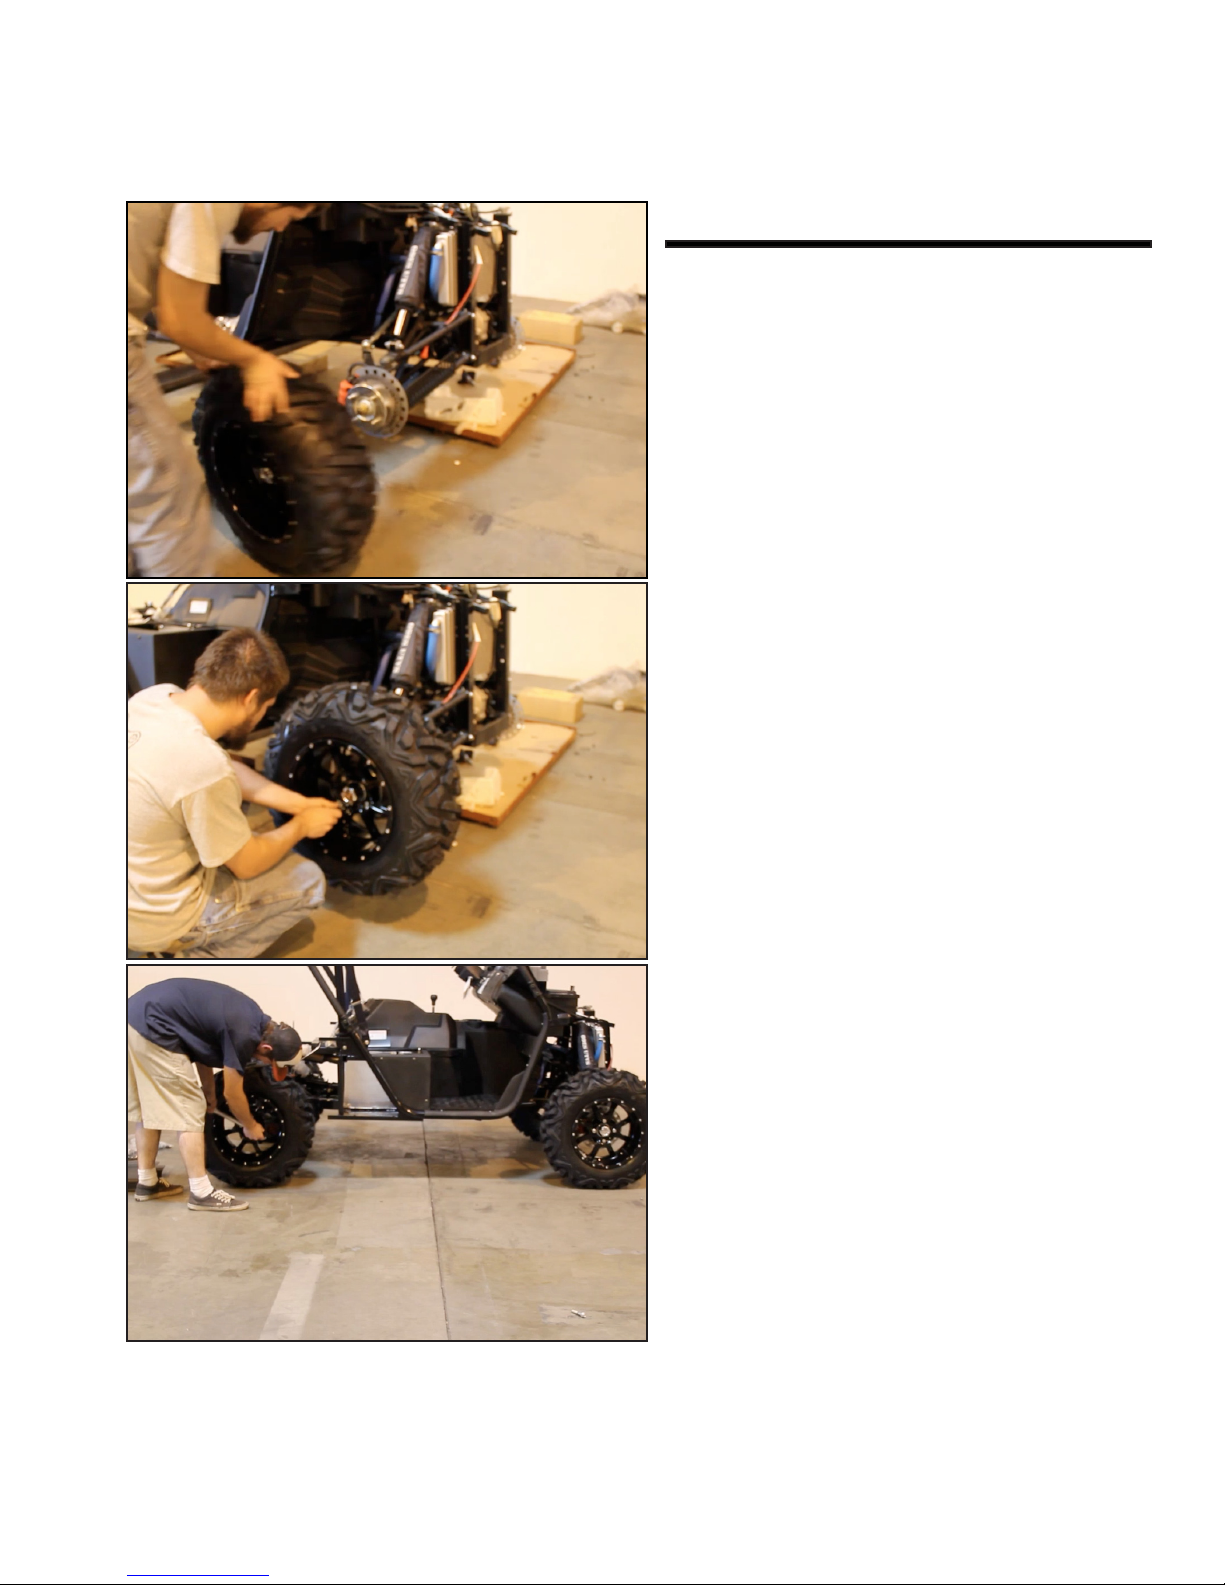
Tire Installation
Before installing the tires, please make
sure to inat both the front and rear to 15
psi.
Securely bolt down all 4 tires to the UTV.
Once all tires are bolted down you can
now lower the UTV back to the ground
using the forklift and nish off the tires
by tightening them with a torque wrench.
Please be sure to torque ALL 4 tires properly.
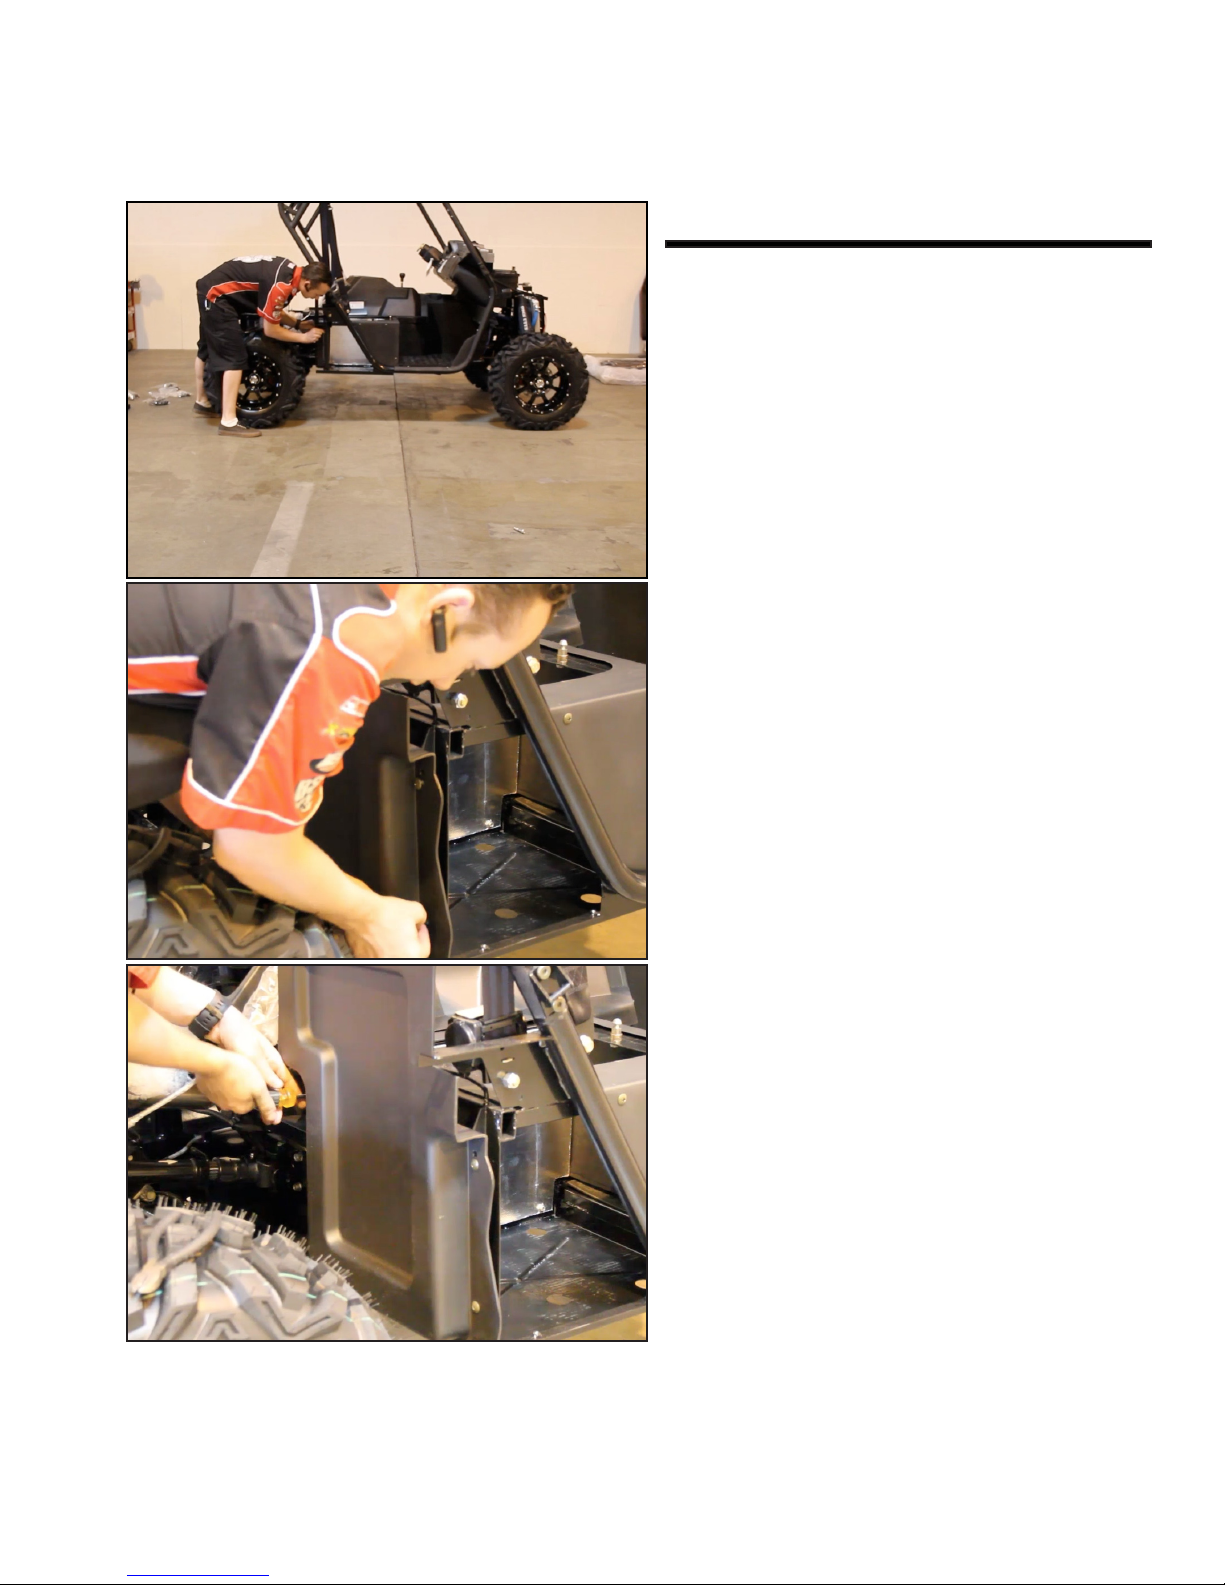
Rear Mudguard
Align the plastic rear mudguard with the
holes provided on the frame.
Screw in the mudguard screws with their
aligned holes.
There are four holes that need to be
screwed down, please make sure all 4 of
these are fastened tightly.
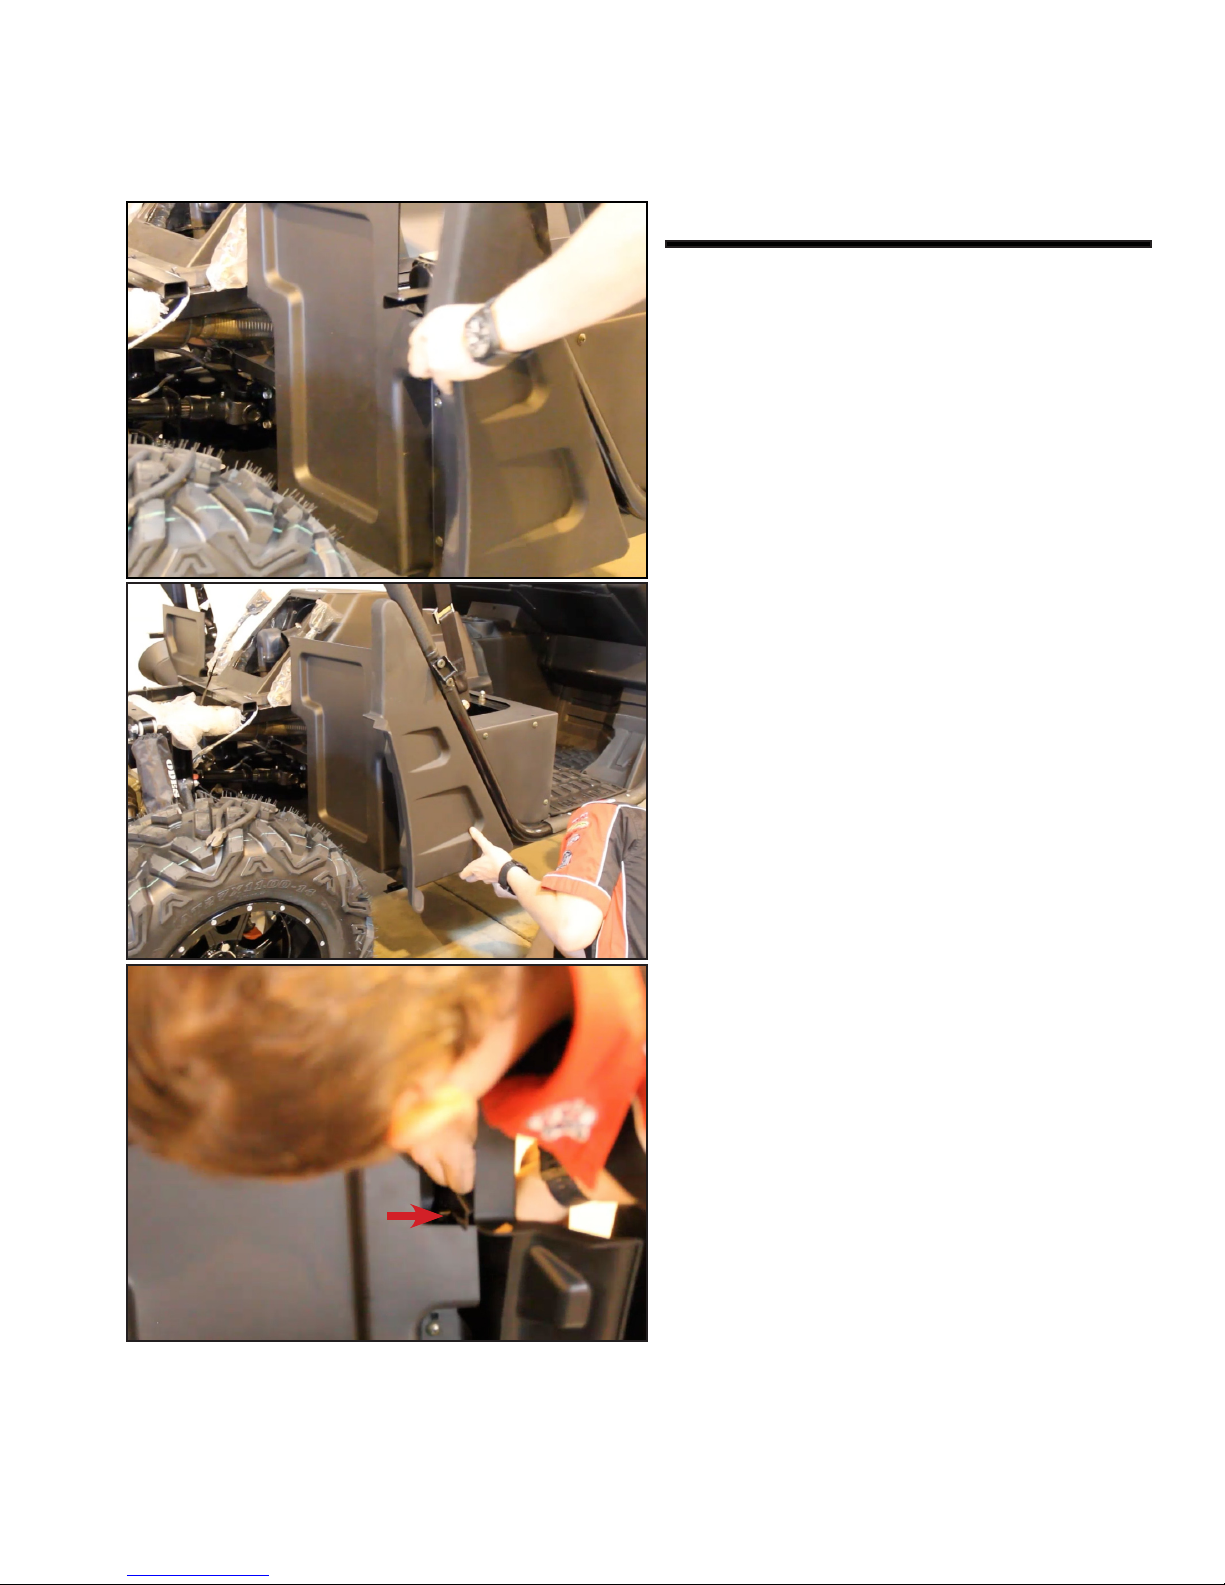
Side Fearing
Align the side fearing with the holes provided on the frame.
The side fearing will attach to the utv by
3 bottom bolts on the very bottom underneath the fearing.
And 2 push pins that go on the top backside of the fearing. Refer to the image for
exact location.
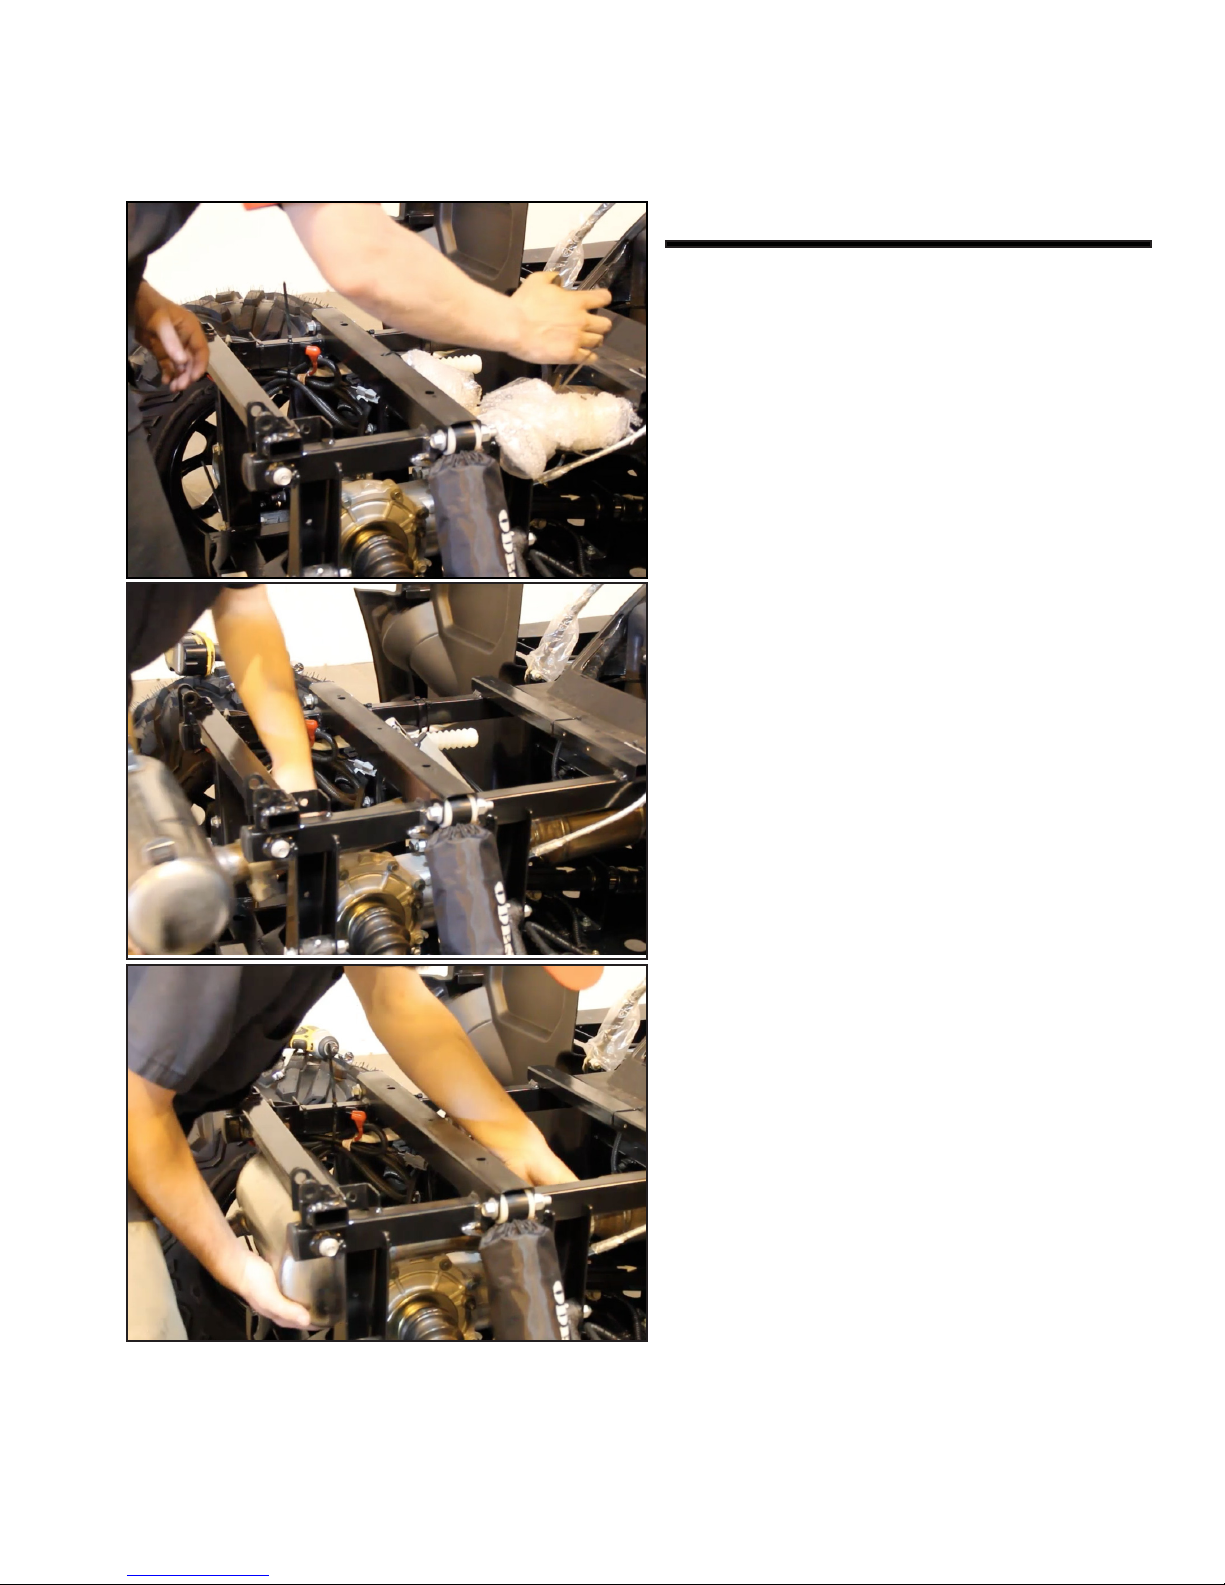
Mufer Installation 1-1
Cut the zip ties that are currently holding
up the exhaust pipe /dump bed motor and
remove all bubble wrap.
Install the mufer by pushing it into the
exhaust pipe and align it with the provided
hose clamp.
Once the clamp, mufer and pipe are all in
place, tighten the clamp so the pipe and
mufer stay in place.
 Loading...