

Page 1

Page 2

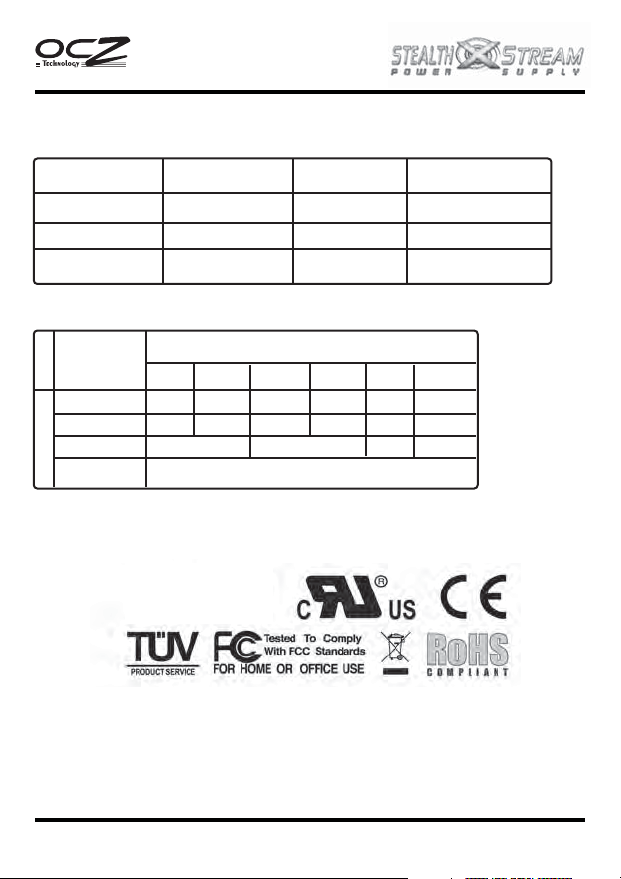
CONTENT - INDEX
Technical Specifications
Installation of Power Supply
Connectors
Troubleshooting/ Warranty and RMA
400W
2
3
4
5
01
Page 3
TECHNICAL SPECIFICATION
INPUT TABLE
400W
PARAMETER
Voltage [115V]
Voltage [230 v]
Frequency
OUTPUT TABLE
OUTPUT
SPECS
MODEL550W
MAX. LOAD
MIN. LOAD
COMBINED
TOTAL OUTP.
NOMINAL MAXIMUM MAX CURRENT
100-120 V
200-240 V
50/60 Hz
+5V
15 A
0.2 A
120W 372W
+3.3V
24A
0.1A
ac
ac
OUTPUT VOLTAGE
+12V1
17A
0.1A
264V
63 Hz
+12V2
14A
0.5A
400W
ac
-12V
0.3A
0A
3.6W 15W
+5
5 A
2.5 A
-
VSB
3.0A
0A
02
Page 4

400W
INSTALLATION OF THE POWER SUPPLY
NOTE: You will need a Philips screwdriver to install your new power supply.
To install a new power supply you first need to remove the old one. Please proceed as
follow
1. Unplug the AC power cable from your old power supply.
2. Make sure to disconnect all other cables from the PC and remove the cover from the
PC case. Remove any screws holding the cover in place; specifics will vary by
computer case design.
3. Disconnect the power supply from all the components in the PC- make sure that all
the connectors are unplugged.
4. You can now remove the screws securing the old power supply to your case; normally,
there are four screws at the back of the chassis. After removing all the screws, slowly
take the power supply out of the PC case. Be careful that you do not damage any
other components during this action.
INSTALLING THE NEW PC POWER & COOLING POWER SUPPLY:
1. Place your new power supply in the appropriate space in the PC case and
secure it by screwing the four screws into the rear of the power supply.
2. Guide the 24-pin atx connector through the case and connect it to your
motherboard. If your motherboard supports only a 20-pin jack, connect only
the 20-pin portion of the connector to your motherboard.
3. Connect the 4-pin power cable to the motherboard.
4. If you are using a graphics card with a 6-pin connector please connect the
respective connector to the jack on the card. If your card supports more than
one jack connect the second 6-pin connector. If your card has an 8-pin jack
mounted just use the additional two pins beside the regular 6-pin connector
to form an 8-pin connector.
5. Proceed with connecting all Molex and SATA connectors to your hard
drives and optical drives.
6. Connect any other internal components that require power to the
appropriate connector- i.e. fans and/or case lighting.
7. You may replace the cover on the PC case now, or you can leave it off
initially while you verify everything works properly.
8. Connect your display, keyboard, mouse, speakers, printer, and any other
peripherals to your computer.
9. Plug in the main AC power cable into the back of the power supply and turn
on your computer.
10. If everything works properly and you have not already done so, turn your
computer off and replace the cover on the case.
03
Page 5

400W
CONNECTORS DESCRIPTION AND ILLUSTRATION
(20+4Pin)
+12V1DC
20 10
+12V1
+12V1
+3.3 V
+12V1DC
+12V1DC
+12V1DC
+12V1DC
+12V2
+12V2
+12V1DC
04
Page 6

400W
TROUBLESHOOTING/WARRANTY AND RMA
If you experience any problems with your new power supply, please check these simple
trouble-shooting steps or consult the retailer where the product was purchased.
Caution: Working on electrical devices can be life-threatening. If you are not familiar with
the steps taken please consult a professional. If your power supply has developed traces
of smoke, broken cables, or was exposed to liquids it should not under any
circumstances be brought back into operation.
If you installed a new power supply and the system will no longer start, please check
the following steps:
1. Make sure the AC input is plugged in correctly and the wall outlet distributes power.
[ Try another device in the electrical outlet to verify it is working properly.]
2. Check that all connectors from the power supply are correctly plugged into the
motherboard.
3. Are the cables from the power switch of the computer case properly connected to
the motherboard?
4. Make sure there are no short circuits within the systems that could result from
defective hardware or misplaced connectors.
5. If you are not sure take all parts out of the housing and only leave the motherboard
inside together with the power supply. Disconnect all plugs, check them and then
connect them again to the respective sockets.
If you needfurther assistance please visit:
http://www.ocztechnology.com/support/ticket.html
3- Year Warranty
Your OCZ Z Series PSU is covered by an industry-leading 3-Year Warranty. This product
is warranted to be free from defects in material and workmanship for a period of three
[3] years from the date of purchase. If any defects should occur during this period,
contact OCZ Technology for further assistance and to take advantage of your warranty.
To place a Returned Merchandise Authorization [RMA] request, you may simply submit
a ticket through our website at: http://www.ocztechnology.com/support/ticket.html
05
Page 7

 Loading...