

Page 1

54 Mbps Wireless DSL/Cable
ROUTER
Quick Installation Guide
Page 2

§ Connect the wireless broadband router to your network
1. Connect the power adapter to the receptor at the back panel. Plug the power
adapter into the outlet. The power LCD will turn on to indicate this proper
operation.
2. Power off your cable/ DSL modem. Using an Ethernet cable to connect the
Ethernet jack located on the cable/ DSL modem and the WAN port on the back
panel of this router. After this connection, please power on your cable/ DSL
modem. The WAN PORT will illuminate to indicate the proper operation.
3. Insert an Ethernet cable to the LAN port on the back panel of the router and an
available Ethernet port on the network adapter in the computer that will be used to
configure the router. The LED light of LAN port1 will illuminate to indicate the
proper connection.
4. Then, restart your computer.
5. Connect your Ethernet-quipped computers to the remaining Ethernet LAN ports
on the back panel of this router with the additional Ethernet cables.
2
Page 3

◆ Back View:
3
Page 4
◆ LED Indicators:
LED Color Status Description
On Indicates proper connection to power supply.
Power
Green
OFF The unit is not receiving power
Status
WAN
WLAN
LAN
Green On
On Indicates connection to the WAN port
Blinking Data transmission.
On Link is established
On Blinking Packet transmit or receive activity
Off — No Link activity
On Indicates connection is established.
On Blinking Data transmissions
Off — No LAN connections
§ Quick Setup via Wizard
Indicates that the device is
connected to the WLAN.
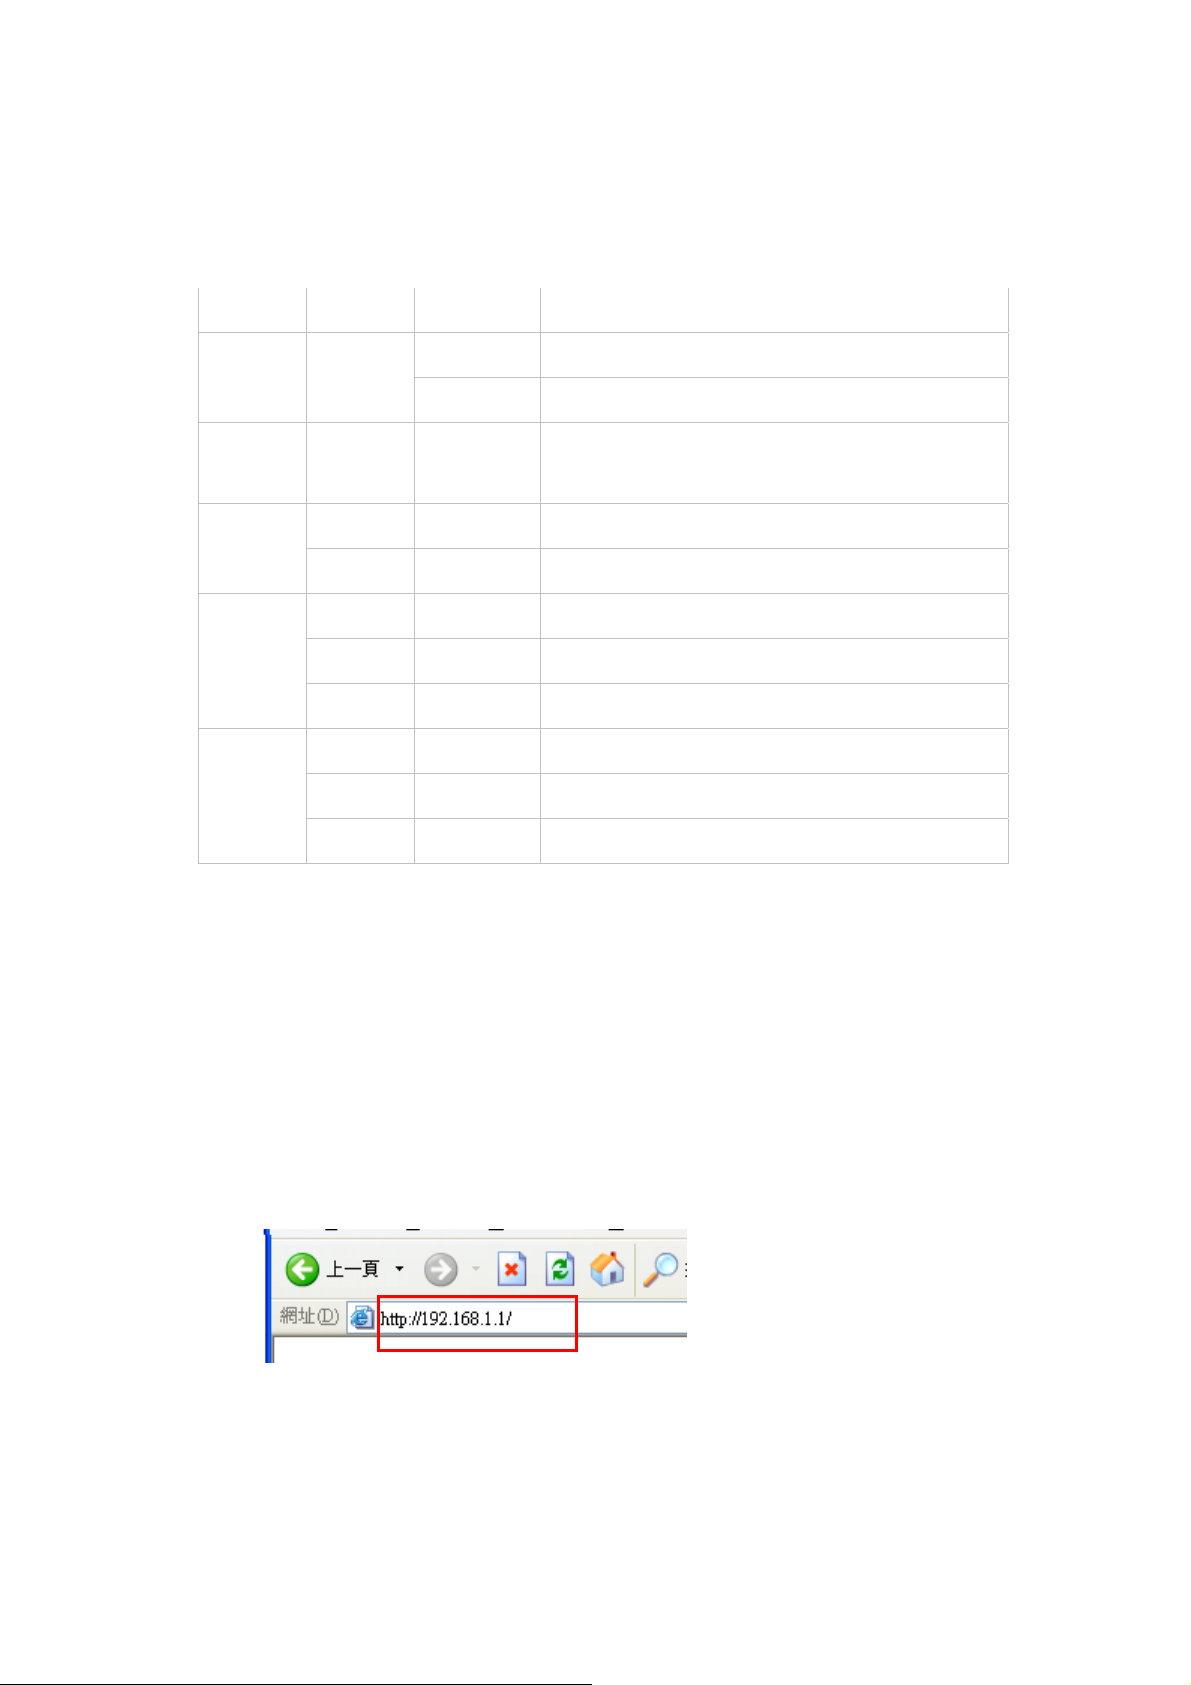
◆ Open your Web Browser
You could start to access the configuration menu anytime by opening a web browser
window by typing the IP address of this wireless router. The default IP is
192.168.1.1.
The below window will popup. Please enter the user name and password. Both of
the default is “admin”.
4
Page 5

Now, the main menu screen is popup.
5
Page 6

You can simply follow the step-by-step process to get your wireless router
configuration ready to run in 6 easy steps. Please click “Next” on the Setup Wizard
screen to continue.
◆ Step 1: Set your new Password
You can change the password as you like and then click “Next” to continue.
6
Page 7

◆ Step2: Choose your time zone
Select your time zone from the drop down list. Please click “Next” to continue.
◆ Step 3: Set LAN connection and DHCP server
Set your IP address and mask. The default IP is 192.168.1.1. If you like to enable
DHCP, please click “Enabled”. DHCP enabled is able to automatically assign IP
addresses. Please assign the range of IP addresses in the fields of “Range start” and
“Range end”. Please click “Next” to continue.
7
Page 8

◆ Step 4: Set Internet connection
Select how the router will set up the Internet connection: Obtained IP automatically;
Fixed IP address; PPPoE to obtain IP automatically; PPPoE with a fixed IP address;
PPTP.
Obtain IP automatically (DHCP client):
If you have enabled DHCP server, choose "Obtain IP automatically (DHCP client)" to
have the router assign IP addresses automatically.
Fixed IP Address:
8
Page 9

If Fixed IP address is assigned, the below screen will pop up. Please set the WAN
address and DNS server.
PPPoE to obtain IP automatically:
9
Page 10

PPPoE with a fixed IP address:
10
Page 11

PPTP:
11
Page 12

◆ Step 5: Set Wireless LAN connection
CONTACT US :
Tel : +886-2-8913-2166 Email: support@svec.com.tw SVEC Computer Corp.
Fax: +886-2-8913-2177 sales@svec.com.tw http://www.svec.com
Click “enable” to enable wireless LAN. If you enable the wireless LAN, type the
SSID in the text box and select a communications channel. The SSID and channel
must be the same as wireless devices attempting communication to the router.
◆ Step 6: Restart
The Setup wizard is now completed. The new settings will be effective after the
Wireless router restarted. Please click “Restart” to reboot the router. If you do not
want to make any changes, please click “exit” to quit without any changes. You also
can go back to modify the setting by clicking “Back”.
12
 Loading...