


1
Installation Guide
Model: HDHC44MX-V1.3

2
Contents
Application Diagram ........................................................ 3
Features .......................................................................... 3
Configuring Smart ScanTM ................................................ 4
Installation ....................................................................... 4
Front Panel Control ......................................................... 6
Connecting Using CAT 5/6 outputs ................................. 7
Remote Control Guide .................................................... 8
EDID Configuration ......................................................... 9
Changing EDID mode.....................................................10
RS232 Controls Commands...........................................12
1 RU Rackmount.............................................................14
Disabling / Enabling IR Remote Control Receiver..........14
I.R. Remote Control over CAT 5/6..................................15
Warranty.........................................................................16
Disclaimers.....................................................................16
Specifications..................................................................17

3
Application Diagram
Features:
Watch ANY 4 HD programs simultaneously on 4 Displays!
V1.3, 1080P
4 HDMI inputs
4 HDMI OUTPUTS
4 CAT 5/6 Ethernet Outputs
Matrix allows 256 viewing combinations
1 RU mountable
RS-232 control
Works with HDMI or DVI-D, HDCP-enabled HDTV
Supports high resolution video 480P, 720I/P, 1080I/P
Clear EYETM design optimizes HDMI signal transmission
Easy to switch 4 HDMI or DVI-D sources to 4 displays.
Remote Control (IR) included. Discrete Code allows direct
channel control.
External IR Jack for extension
4
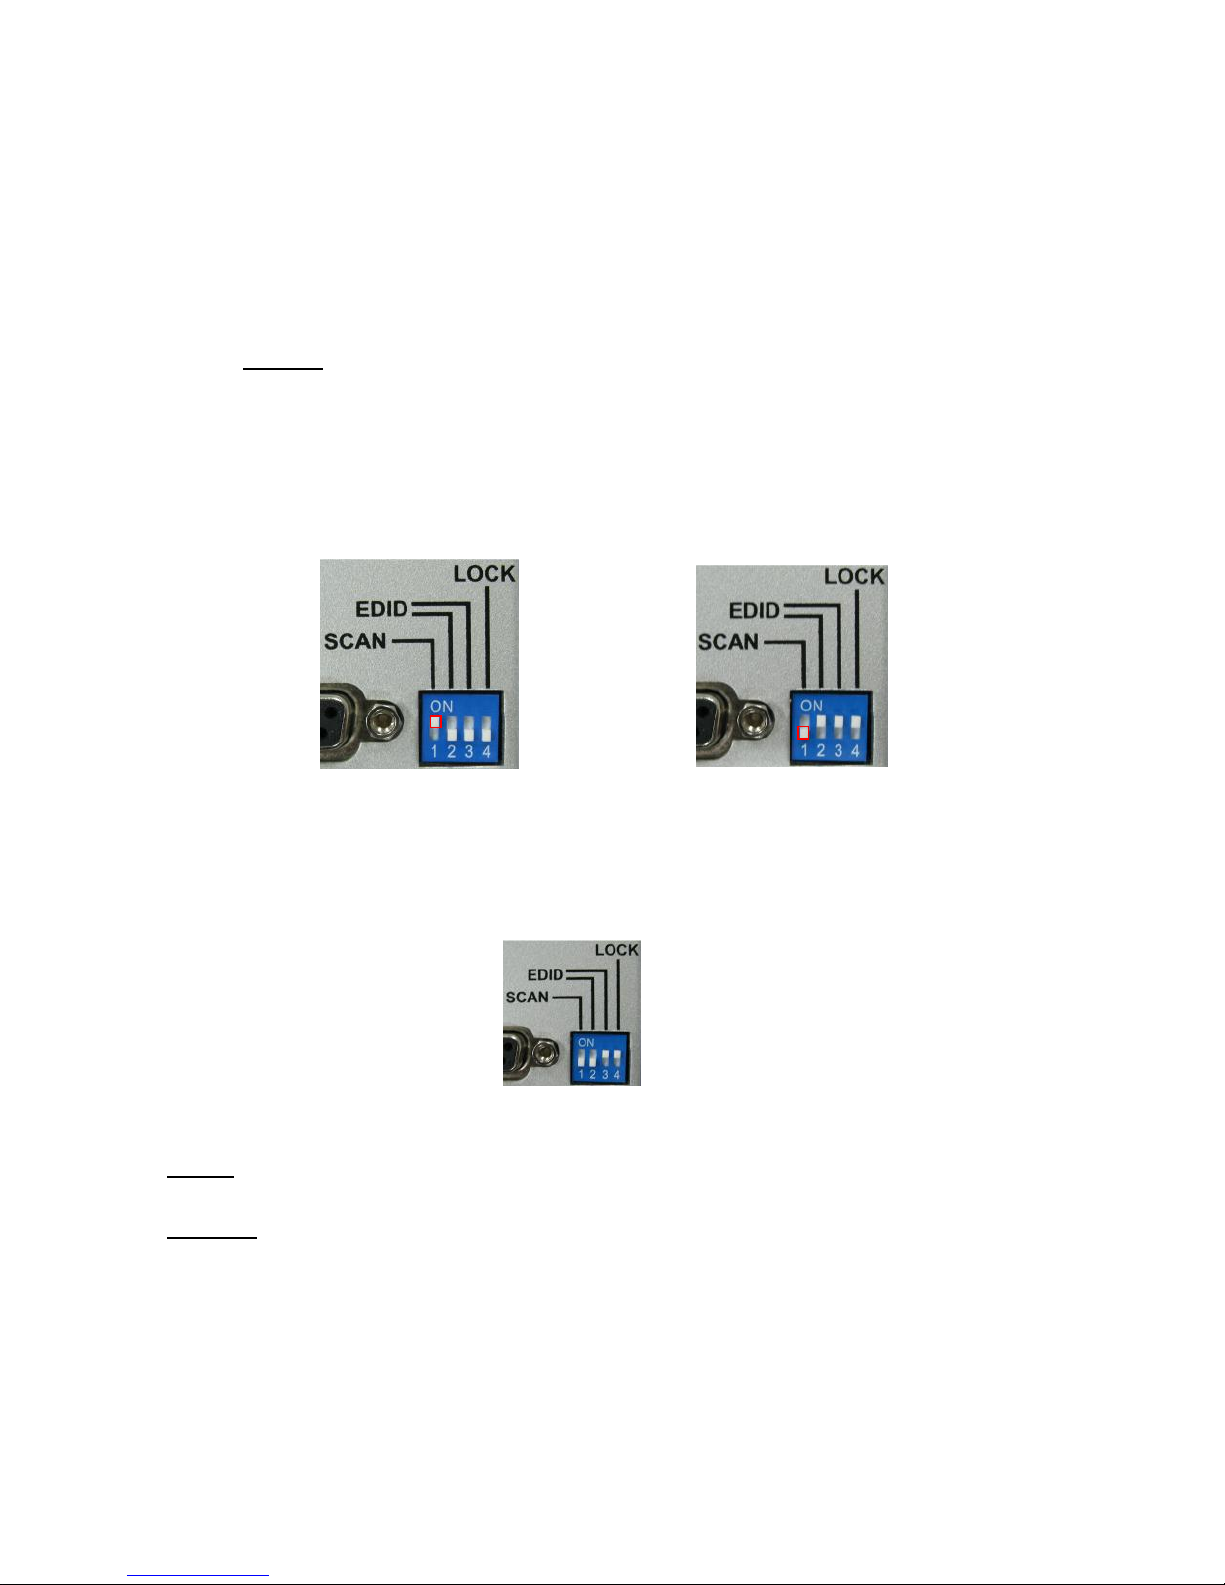
Configuring Smart ScanTM:
The Smart Scan is disabled before shipment. It is
recommended to leave Smart Scan disabled in most
applications.
To enable the Smart ScanTM
1) Set the Configuration switch #1 to the up position.
2) Re-power the matrix.
To disable Smart ScanTM
1) Set the Configuration switch #1 to the down position.
2) Re-power the matrix.
Installation:
1) Verify that the Configuration Switch is in the factory default mode.
2) Connect the DC power adapter
3) Connect the Monitors.
HDMI-If you are connecting HDTV with HDMI, simply connect
the HDMI cable
CAT5/6 -If you are connecting using the RJ-45 CAT 5/6 output,
you must use a HDMI-CAT 5/6 Receiver.
4) Connect the HDMI sources to the HDMI INPUTS
5) Turn On your HDTV and at least 1 HD source
SCAN=OFF
SCAN=ON
5
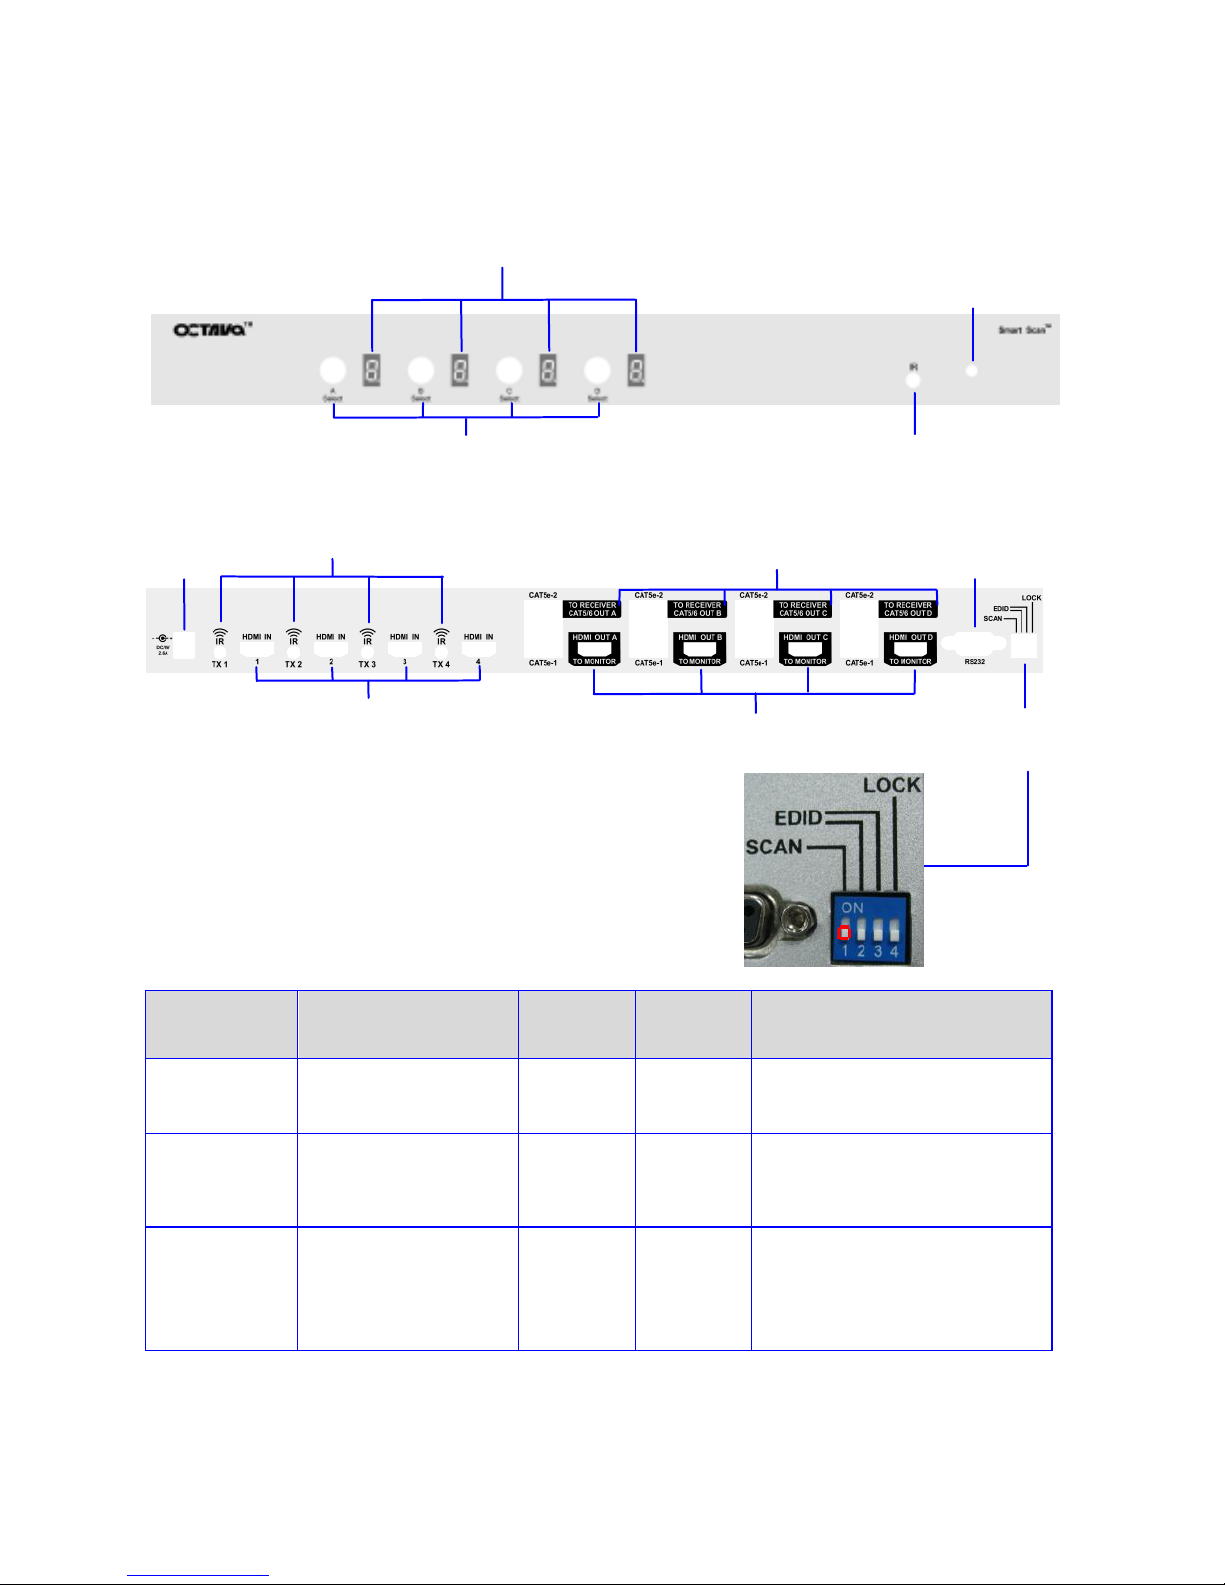
Front View
Back View
Switch
Number
1
2
3
4
Name
Smart Scan
Switch
EDID
switch
EDID
switch
Programming/LOCK
switch
Function
Enable/disable
Smart Scan
EDID
MODE
select
EDID
MODE
select
Programming/LOCK.
Down = Smart
Scan Off
Up= Smart
Scan ON
Down= EDID
Programming mode
Up= Locked
Display LED Indicators
Manual Select
Infrared
Jack
Infrared Detector
DC Power
Input
HDMI Output
(To TV)
CAT5/6 output
(To RECEIVER)
RS232
EDID & Smart Scan
Switch
IR Transmitter
HDMI Input
(To TV)
6
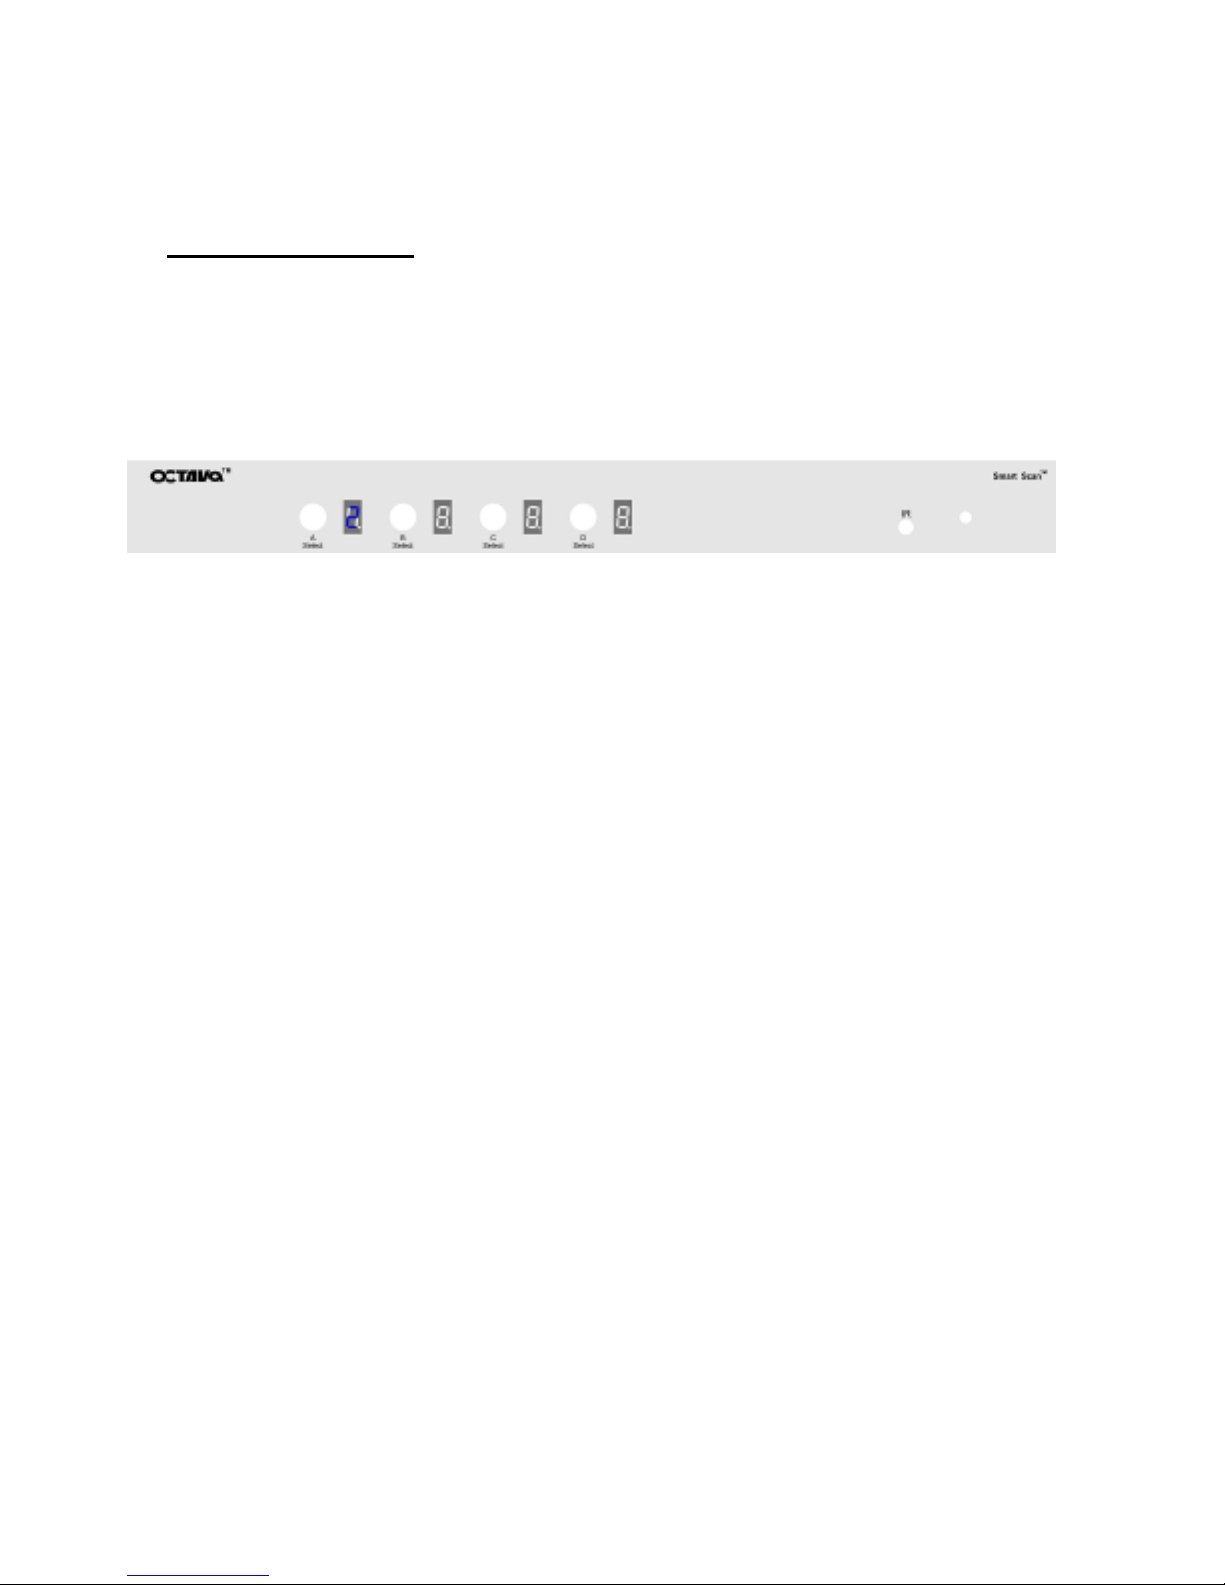
Front Panel Control:
Source Selection:
You may use the front panel buttons to select the sources
connected to each display.
For example,
To Set display A to Input 2. Simply press and release the A
display button until the LED shows 2.
 Loading...