

OceanLED Support
INSTALL MANUAL
INSTALL GUIDE
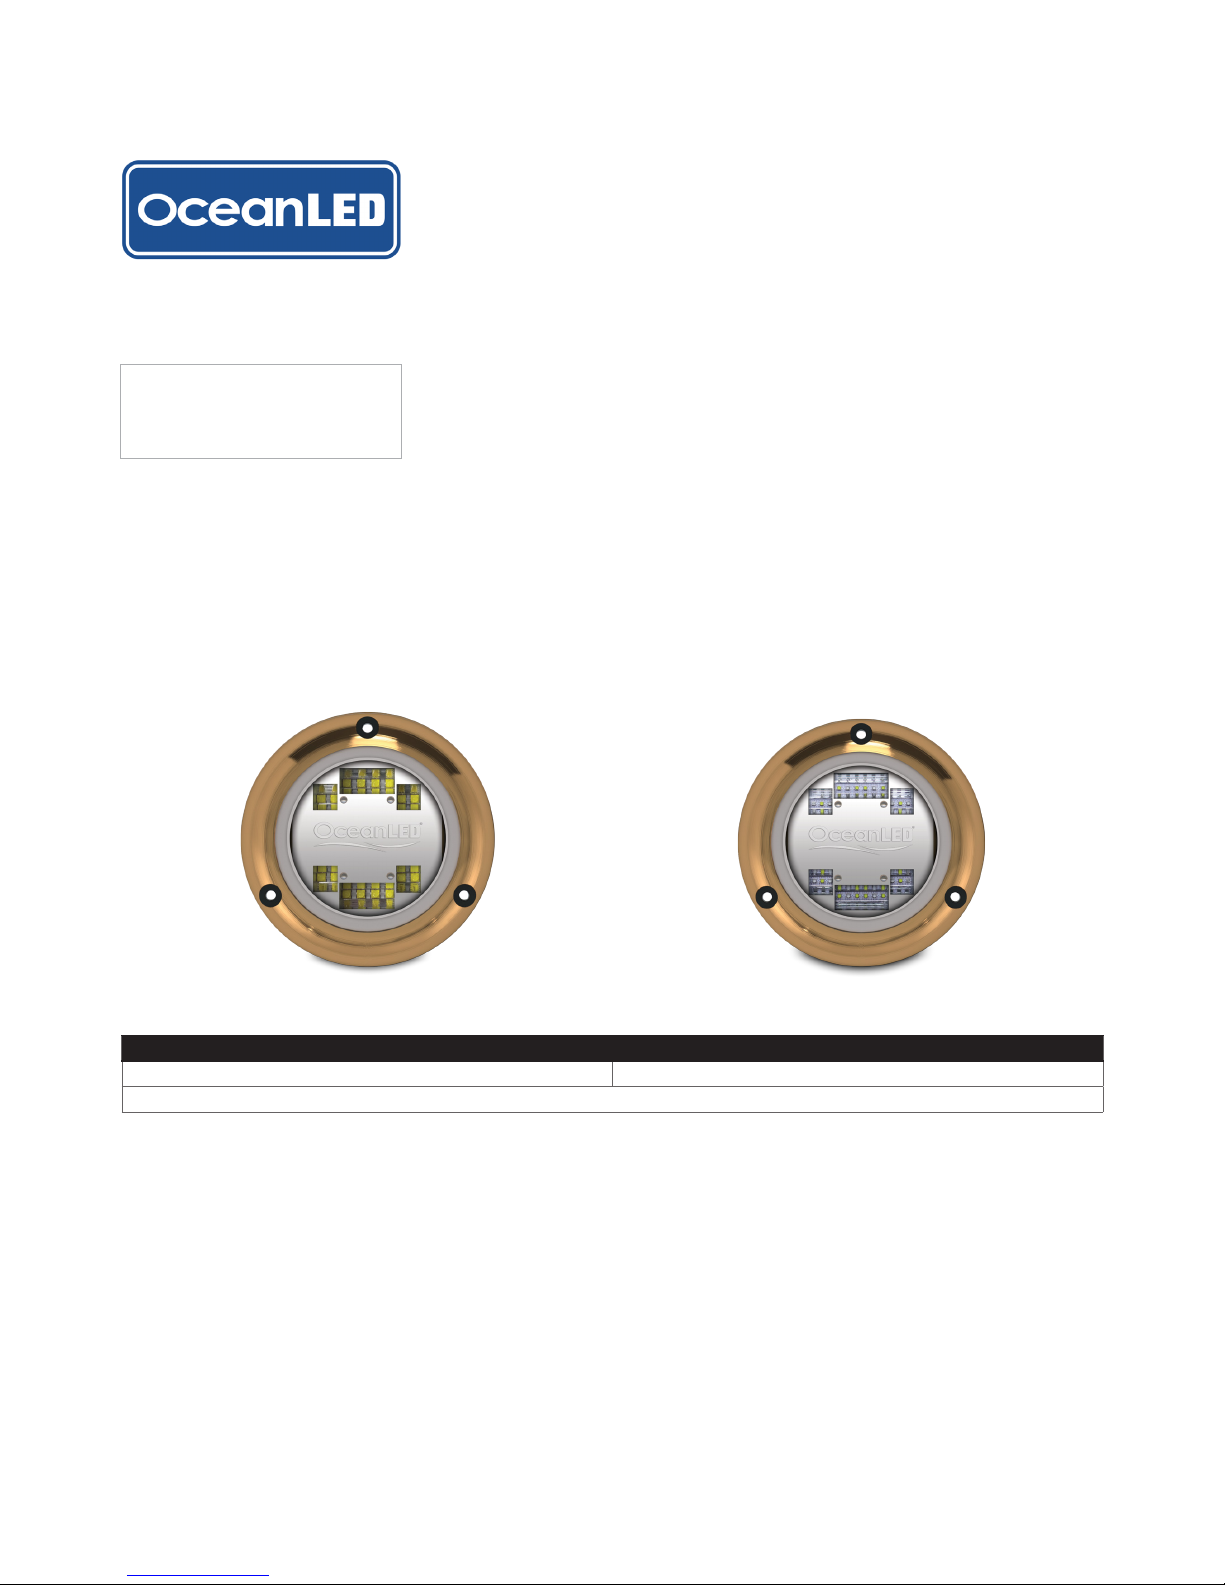
Sport Series
S3116s Single Colour S3124s Dual Colour
Product kit includes: Light / Screws / Fuse Kit
OceanLED INSTALL / Sport Series / 080317 / v7.1
OceanLED reserve the right to change this document without notice. Please refer to www.oceanled.com for latest documentation.

2
IMPORTANT: Please read the instructions completely before proceeding with the installation. These
instructions supersede any other pre dated instructions if they dier.
Chapter 1 .......................................................................................................................................................................................................4
An overview of the underwater light installation. It includes sections on unpacking and inspecting the
components, selecting the mounting site and a description of how best to make the cable runs.
Chapter 2 ......................................................................................................................................................................................................7
Detailed instructions on how to mount and connect each type of light.
Chapter 3 ......................................................................................................................................................................................................11
Operating the light
Chapter 4 ....................................................................................................................................................................................................12
Maintenance and troubleshooting tips.
Chapter 5 .................................................................................................................................................................................................... 14
Appendix
Chapter 6 .....................................................................................................................................................................................................15
Warranty statement.
PRETEST
Always test the lights prior to installation. Failure to do this may result in additional installation time. OceanLED cannot be held responsible for any consequential costs incurred after installation.
GENERAL
OceanLED underwater lights are generally used for illuminating the water around a boat or yacht. Best
placement for achieving the best results are described in “1.5 Finding the mounting location”.
WARRANTY COVERAGE
2 year warranty from time of purchase, regardless of installation date.
WARNING!
Never use solvents! Cleaners, fuel, paint, sealants, and other products that may
contain strong solvents, such as acetone, that attack many plastics greatly
reducing their strength and irreversibly damaging the special Tritonium coating and
cable sheathings.
WARNING!
Light is for mounting directly to a flat surface, with the cable passing through a 1/2"
(12.5mm) hole. Do not submerse your cable ends in water; cable and connections
exposed to underwater submersion will not be covered by warranty. Mounting the
light in any other configuration, other than those described in this guide, will
invalidate its warranty.

3
IMPORTANT PRECAUTIONS!
ATTENTION INSTALLER: This manual contains important information about the installation,
operation and safe use of this product. This information should be given to the owner and/ or operator of
this equipment.
CAUTION: (Risk Group 2): Possibly hazardous optical radiation emitted from this product. Do not stare
at operating lamp. May be harmful to the eye.
CLASS 3: This equipment is designed to operate at voltages of less than 50v DC.
! WARNING
• Before installing your OceanLED Light, read and follow all warning notices and instructions which are
included. Failure to follow safety warnings and instructions can result in property damage, severe injury
or even death.
• Before installing your OceanLED Light, check local laws for restrictions regarding the use of colored
lights in your area.
• It is advised not to operate lights out of water for a period longer than 5 minutes. Exceeding this may
cause damage to the light unit
• Salt is an inherently corrosive material. Metal parts and certain natural and man-made surfaces are
particularly susceptible to corrosion and deterioration when used in and around salt water. Some
OceanLED lights contain combinations of plastic and polymer products which are impervious to salt
water corrosion, however, screws and fasteners used for the installation must be of a marine grade type
stainless steel or equivalent and monitored annually to ensure the lights remain in service for years to
come.
• Never Use Solvents! Cleaners, fuel, and other products that may contain strong solvents, such as
acetone, that attack many plastics greatly reducing their strength and irreversibly damaging the special
lens coatings and cable sheathings
! DANGER! Risk of Electrical Shock or Electrocution!
This underwater light must be installed by a licensed or certified electrician in accordance with all
applicable local codes and ordinances. Improper installation will create an electrical hazard which
could result in death or serious injury to swimmers, installers, or others due to electrical shock, and
may also cause damage to property. Always disconnect the power to the light at the circuit breaker
before servicing the light. Failure to do so could result in death or serious injury to serviceman,
swimmers or others due to electrical shock.
READ AND FOLLOW ALL INSTRUCTIONS IN THIS MANUAL.
-
44
1
CHAPTER
ONE
Chapter 1: Overview
This handbook provides instructions to assist you in the installation and set up of the Sport Series lights
from OceanLED.
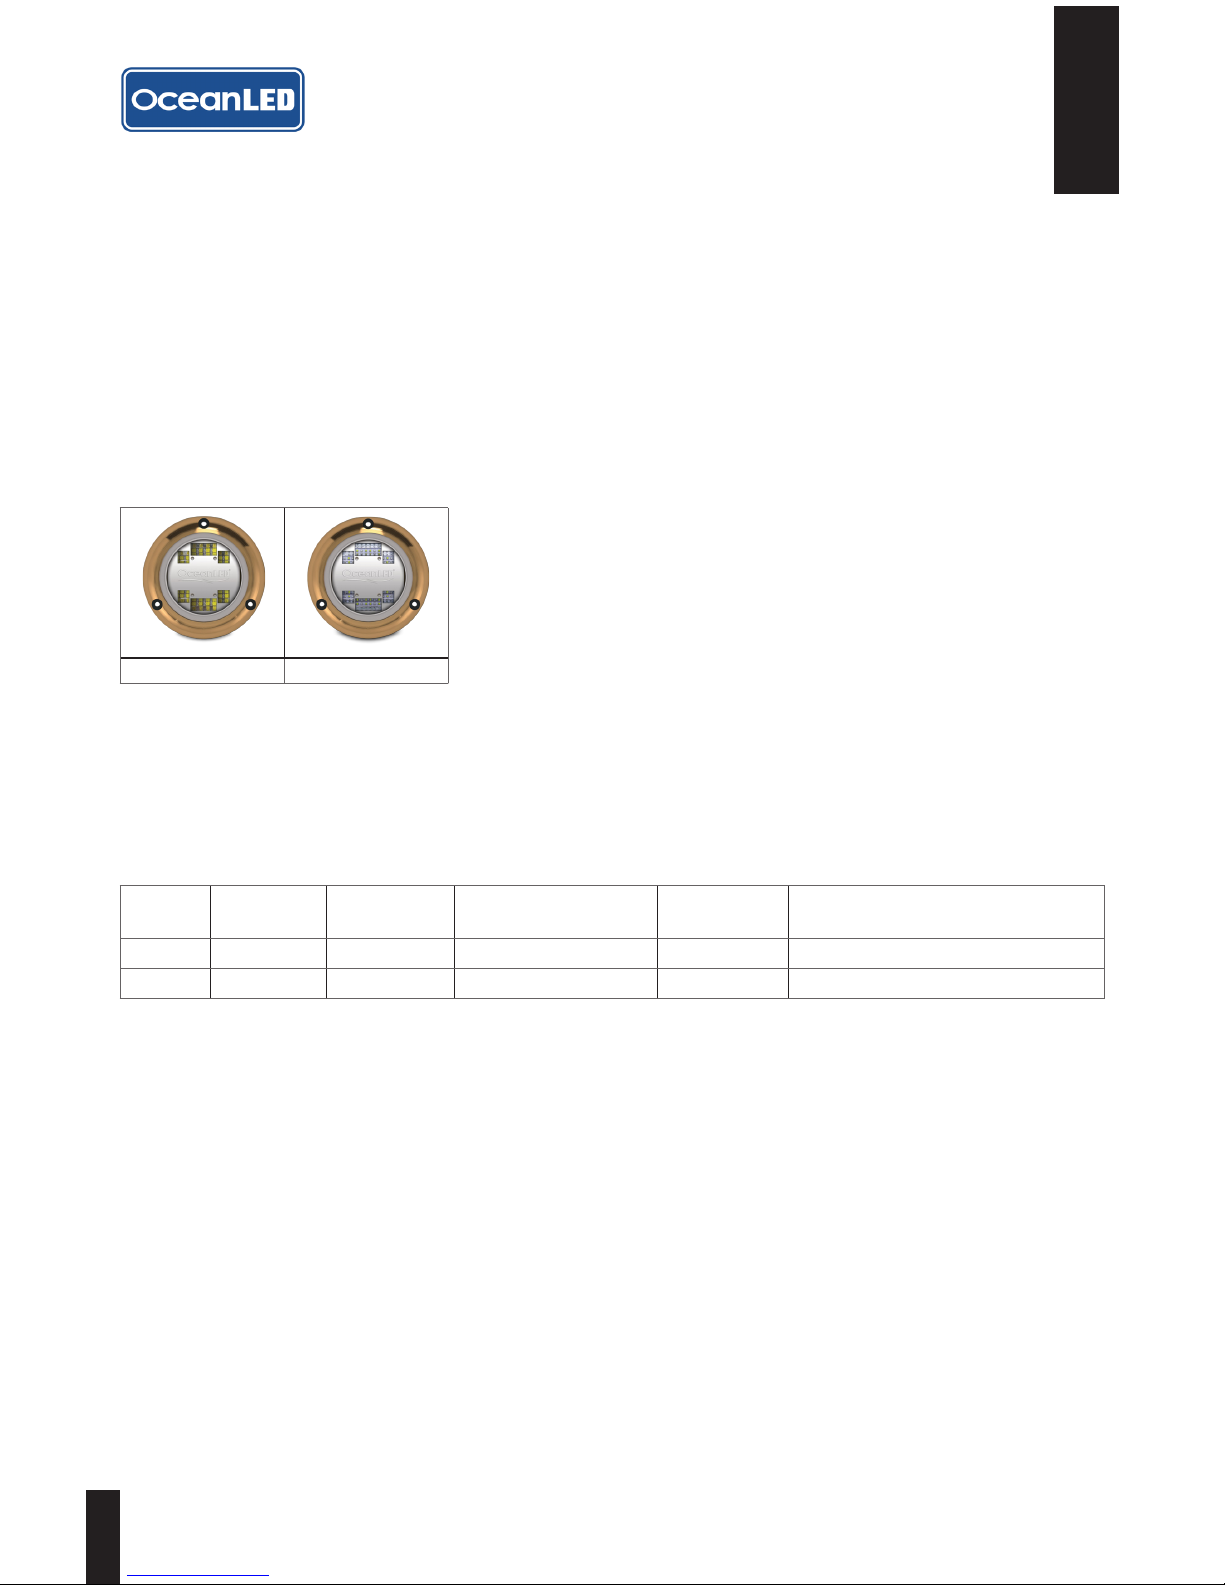
1.1 Identifying your model
S3116s Single Colour S3124s Dual Colour
1.2 DC power / fuse ratings
The majority of installations will utilize onboard 12/24v DC power supply from a marine battery. However,
if AC to DC power supply is being used, allow at least 15% reserve for voltage fluctuations due to variables
beyond your control such as ambient temperature and supply voltage fluctuations to ensure your lights are
always receiving the proper voltage and to ensure the power supply is not “overworked” causing premature
failure. Use chart below in determining power supplies.
Model Current
@ 12v DC
Current
@ 24v DC
Power consumption
in Watts
15% reserve
in Watts
Recommended fuse
12v/24v DC
S3116s 5.5A 2.3A 66 76w 7A
S3124s 3.6A 1.7A 43 50w 7A
1.3 Tools and materials
• Drill
• Pozi head screwdriver
• Marine sealant - 3M 4200 or equivalent
• Zip-ties
• Waterproof cable connectors / butt splices and gluelined heat shrink and/or IP68 junction box(s)
• Mounting template
• Sandpaper
5
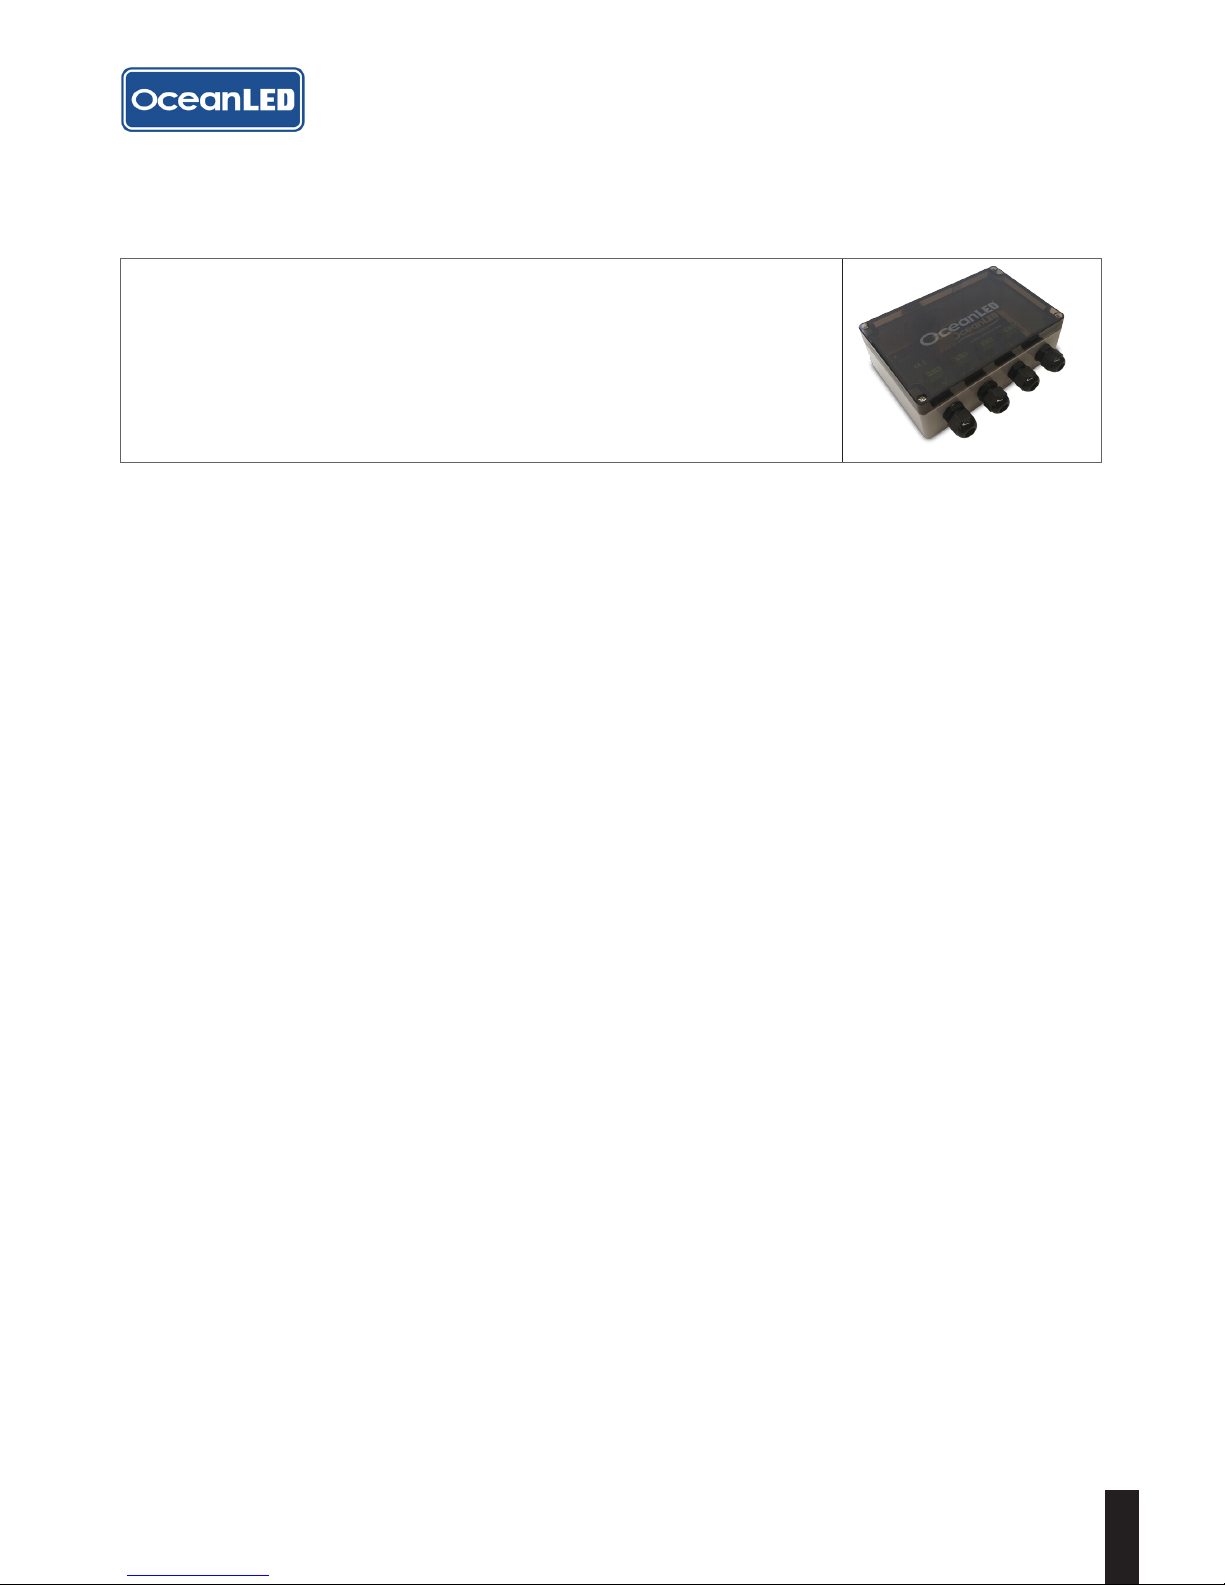
1.4 Optional extras
JUNCTION BOX -
• For a more professional watertight connection for your Sport lights, use
the fused junction box to connect up to 4 lights in an IP66 enclosure.
Products may vary from image shown.
6
WARNING: ENSURE MOUNTING LOCATION IS FLAT AND CHECK INTERNALLY FOR EASE OF ACCESS IF
THERE IS A RIB, STRUT OR OTHER HULL THAT MAY INTERFERE WITH THE INSTALLATION.
AVOID MOUNTING LIGHTS ON SURFACES THAT ARE SUBJECTED TO HIGH SPEED WATER IMPACT E.G.
PLANING SURFACES.
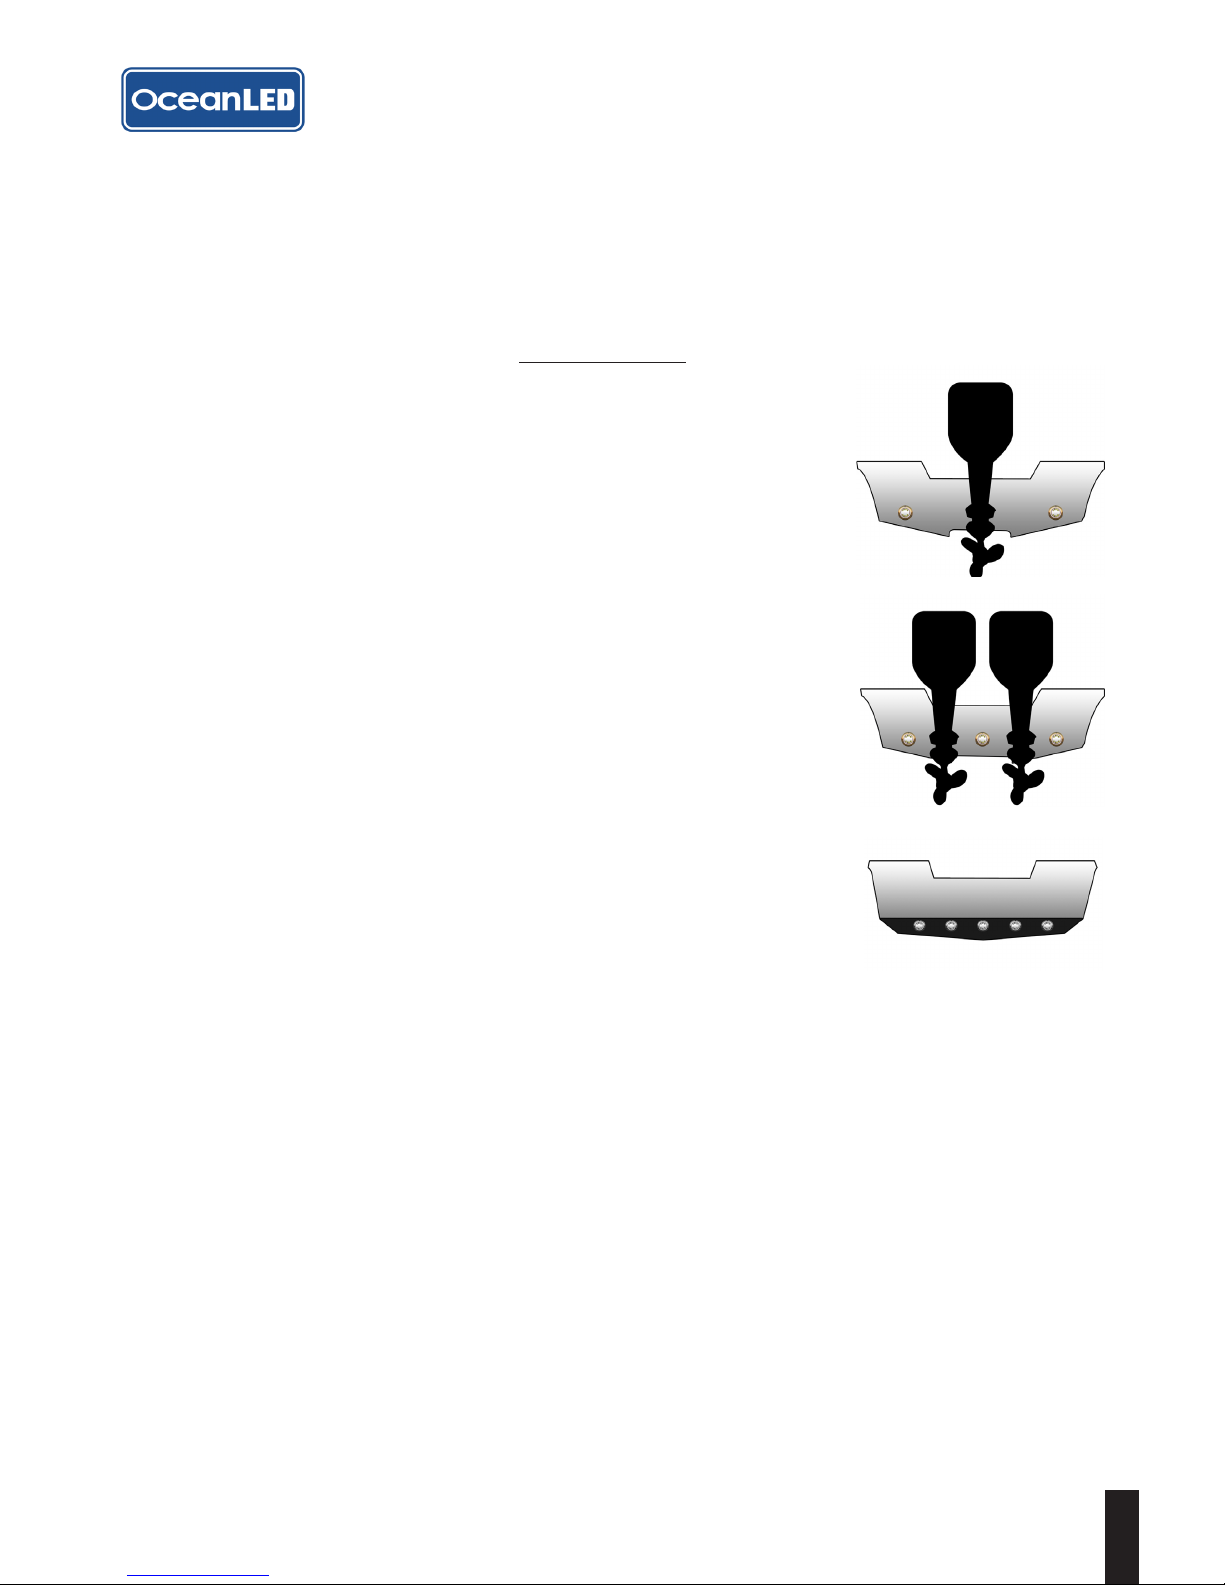
1.5 Finding the mounting location - UNDERWATER
Considerations
NOTE:
To ensure correct dispersion of light underwater, ensure all Sport Lights
are mounted with the correct orientation with logo facing upwards.
• Sport lights are suitable for GRP and wooden hulls.
• Ideal mounting depth is 10 – 20 cm / 4 - 8".
• Ideally mount your Sport Series lights at similar depth levels when using
underwater to ensure matching colour consistency through the water.
Deeper lights will look duller and possibly dier in colour to shallower
mounted units.
Spacing -
• If positioning lights on a transom, take into consideration swim platforms
and obstacles that may block the initial portion of the light.

77
2
CHAPTER
TWO
Chapter 2: Installation
Note: OceanLED makes every eort to protect our marine and fresh water environment as
well as our natural resources. Please take care to keep packaging away from and out of the
water by ensuring loose packaging materials are secured and not susceptible to being blown
into the water. Please recycle all packaging materials as the sustainability of our environment is everyone's
responsibility.
WARNINGS:
• Never use power tools to secure your lights; hand tighten only.
• We recommend you use screws provided. If alternative screws are used, do not use counter sunk or non flat
shoulder screws to secure your lights to the hull.
• OceanLED recommends dry fitting all products. When installing, be sure that the light fits the area and se-
cures to the hull using the appropriate hardware before applying any sealant.
• Light is for thru-hull mounting only. Cable and connections exposed to underwater submersion will not be
covered by warranty!
• There are several dierent hull types. Most are either solid GRP or cored. Be sure you follow the correct
procedures for the hull you are preparing since all require dierent preparation methods. We will cover
the most common type below. If in doubt please contact your local OceanLED representative or the
boat manufacturer for assistance.
• Please check all components prior to installation. If there is any damage to connectors, cables, and/
or any other component, please notify OceanLED BEFORE installation. Failure to notify OceanLED of
damage in transit prior to installation will lead to violation of warranty.
• Light is for mounting directly to a flat surface on the hull, with the cable passing through a 1/2"
(12.5mm) hole in the hull. Do not submerse your cable in water; cable and connections exposed to
underwater submersion will not be covered by warranty. Mounting the light in any other configuration,
other than those described in this guide, will invalidate its warranty.
2.1 Preparing a fiberglass hull
TIP: Always wear safety goggles and a dust mask.
1. Drill a 3mm / 1/8” pilot hole square to mounting surface from inside the hull if possible. If there is
a rib, strut, or other hull irregularity near the selected mounting location, this will need to be taken
into account in the planning phase and the location adjusted accordingly, or the obstruction safely
removed or modified.
2. Using a suitable drill, make a 1/2" (12-13mm) hole. Ensure the light will fit flush and will be square to
the mounting surface.
3. Sand the area around the hole using a heavy grit sandpaper to remove the previous bottom paint
and to ensure that the sealant will adhere properly to the hull. If there is any petroleum residue

8
inside the hull, remove it with acetone before sanding.
4. Place light fixture into position or use mounting template provided. Mark the screw hole position
and pilot drill using correct sized drill bit for included screws.
5. Always dry fit units before applying any sealant.
2.2 Installing the light fixture
TIP: Use a suitable marine sealant such as 3M™ Marine Adhesive Sealant Fast Cure 4200FS. When applying
sealant to light fixture, be careful to protect the lens from any abrasive surface/floor so as not to
remove the protective Tritonium coating.
1. Once hull preparation is complete, the light can be inserted into the hole previously prepared. Apply
generous amounts of the sealant you are using to the back perimeter of the light body. Make sure
to generously coat the cable of the light where it meets the back of the light. There should be an
unbroken bead of sealant around the perimeter of the light unit, screw holes and cable exit.
3. Position the light on to the hull, feeding the cable through first and seat into place. Press the light
hard onto the hull to ensure good adhesion.
4. To ensure correct dispersion of light underwater, ensure all Sport Lights are mounted with the
correct orientation with logo facing upwards.
WARNING: Tighten the screws with a hand tool ONLY!

9
5. Once you are satisfied that the unit is fully adhered onto the hull, you will notice that sealant has
squeezed out from around the perimeter of the light. Using a cloth wipe o excess sealant to leave
a clean seal. If you do not see sealant squeeze out from the body, you have not used enough sealant
or tightened the unit enough to the hull. Carefully examine the installation to make sure the seal you
have installed on the unit is fully water-tight. If in doubt, remove light, re-apply sealant and re-install.
2.3 - Connecting the light fixture
WARNING:
• Always consult a qualified electrician when connecting OceanLED light fixtures.
• When connecting light units, please note that all OceanLED lights will operate within a specific
voltage range.
Connecting lights to your DC power source
OceanLED Sport models require a 12/24v DC supply. This supply should be a minimal 6A @ 12vDC or 3A @
24v DC per light. It is recommended to connect the light to the DC power source using a two pole, screw
type terminal block with a minimum voltage rating of 50V and a current rating of at least 6A. The ends of
the cable should be stripped back (if required) and suitable ferrules fitted. The terminal block should be
fixed inside a waterproof enclosure (IP66 minimum).
TIP: Switch and breaker need to be robust enought to support light.
TIP: For complete instructions on DC connections, please refer to ABYC codes of practice and other
applicable codes and ordinances for DC connections.
WARNING: Never leave the bare cables unprotected. Take care to not leave the bare wire ends in bilge
water before making the waterproof connections. Water deposits in the connectors and cables will
cause corrosion. Over time water can also work its way into the unit along the inside of the cable due to
capillary action causing the light to fail. This will NOT be covered under warranty.
1. Depending on the model and number of lights installed you will need to pull the correct sized power
cable from the breaker/fuse panel to the light locations to supply constant power to the units. It
is imperative that the correct sized tinned boat cable is used to avoid voltage drop issues. See
appendix for recommened cable gauges.
2. Using waterproof butt splices or IP66 waterproof junction boxes, make the connections at either
end of the system to attach the lights to the DC system. If appropriate, use a dielectric grease when
making the connections and make sure any heat shrink used completely encapsulates the outer wire
sheath (the use of glue-lined heat shrink is highly recommended to ensure water tightness).
NOTE: Corrosion of wire, and/or water ingress into the light unit via the cable is NOT covered under
warranty.
3. If you are not installing a custom fuse panel, it is imperative that the OceanLED supplied fuse is
installed on each power line from each light. See table in chapter 1.
4. Secure cables ensuring where the cable exits the light it is not under undue stress. Finish and test
light units BEFORE the boat goes into the water. If you have any issues and need troubleshooting
advice, please contact your local OceanLED representative.

10
FUSE/BREAKER
(NOT SUPPLIED)
FUSE
FUSE
POWER SWITCH
(NOT SUPPLIED)
FUSE
RED
BLACK
SPORT
S3116s
2.4 - Finalize your OceanLED installation
Test your lights
Always test the lights BEFORE the boat goes back into the water. Failure to test prior to launch may
require boat to re hauled out. At this final stage make sure all of the system is operational. See Chapter 3
Operation. If you have any issues, please contact your local OceanLED representative.
Warning: Never install a new light and leave the boat in the water unchecked for several days.
When the boat is placed in the water, immediately check for leaks. Note that very small leaks may not
be readily observed. It is best not to leave the boat in the water for more than 3 hours before checking it
again. If there is a small leak, there may be considerable bilge water accumulation after 24 hours. If a leak is
observed you must take action immediately to prevent damage to the property.

1111
3
CHAPTER
THREE
Chapter 3: Operation
3.1 - Single Colour Strobe
To enter strobe mode, toggle the power on and o quickly twice, then back on. They should now strobe in
a pseudo-random pattern. The lights can be reset from strobe mode after 20 seconds of use. Simply turn
o then back on again.
3.2 - Dual Colour Operation
The Dual colour change has seven modes of operation;
1. Single colour white – this mode is entered when the light is first turned on.
2. Single colour blue
3. Fade - Fade between white and blue.
4. Random white strobe -
5. Random blue strobe -
6. Alternate blue/white strobe
7. Dual colour (blue and white both on)
To cycle between the above modes, turn o the light for less than 1 second, then back on again.
PLEASE NOTE: Fade mode is not guaranteed to stay in sync between lights over time.
3.3 - Sport Dual Colour Configuration Mode
Description: Enables selection of either white or blue colour as default at power up.
To enter configuration mode:
1. Turn on light(s)
2. Wait around 1 second (or until light(s) illuminate)
3. Turn o light(s)
4. Wait for a minimum of 5 seconds then turn light(s) back on again.
5. Repeat steps 2-4 another 4 times. (If the light changes mode on re power up then the light has not
been turned o for long enough in step 4)
6. On the 5th power up, the light(s) should enter the configuration mode – this will be confirmed with
a sequence of five blue/white flashes followed by a steady white (the steady colour indicates the
default start up colour).
Setting the default start up colour:
1. Once the configuration mode has been entered (see above). Toggling o the power and back on
again quickly (as in a normal mode change) will toggle between the default start-up colours (blue &
white). This is indicated by the colour displayed after the blue/white flash sequence.
2. To save the selected state simply turn o the light(s) when the required start up colour is displayed
and wait for 5-10 seconds.
3. The light(s) should now be configured to start with the selected colour as default.

1212
4
CHAPTER
FOUR
Chapter 4: Maintenance and troubleshooting
4.1 - Cleaning Instructions
Sea growth can collect quickly on the light and this can reduce the performance in just a few weeks. To
prevent the build-up of sea growth, all OceanLED lights have been coated with a specialized Tritonium
coating which makes the surface of the lens a non-stick layer which helps ward o long term barnacle
buildup. Lights should be cleaned with a boat brush or similar biweekly or as needed to keep the lens
of the light clear. Growth varies greatly around the world and maintenance is imperative to the proper
operation and longevity of the product. If heavy fouling occurs, barnacles can be removed from the lens
using a plastic scraper and moderate pressure. This can be done in the water using a plastic scraper. If out
of water, moisten the growth before wiping.
CAUTION: Harsh cleaning solvents will damage the light and Tritonium coating.

13
4.3 - Troubleshooting problems and their solutions
Sport Series
Problem Check Result Fix
Light does
not look
bright.
Check that there is no marine growth on the
lens.
Sea life / barnacles
present.
Clean the lens as per
instruction booklet.
Check voltage supply to the light is between 11v
and 32v DC (The light will still work between 9
and 11 volts however at reduced brightness).
Voltage is either too
high or too low.
Investigate reason for high
or low voltage.
Check voltage supply is stable and does not
fluctuate.
Voltage is
fluctuating.
Investigate reason for
voltage fluctuation and fix.
Check that the electrical connections between
the light and the supply cable have been made
correctly and recommended cable gauge has
been used.
Poor electrical
connection.
Remake connection and
seal joint correctly.
Confirm all LEDs are illuminated. 1 or more LEDs are
not working.
Contact your dealer. If the
installation instructions
have not been followed
and as a result the light
has been damaged. This
is not covered by the
warranty.
Check lights to see if water is present inside the
light.
Water present. If water is present
contact your dealer. If the
installation instructions
have not been followed
and as a result the light
has been damaged. This
is not covered by the
warranty.
Light does
not light up.
Check that there is power supplied to the light
cable connection.
Poor electrical
connection.
Trace the cables back,
checking at joints until
break has been located.
Check that the wiring polarity is correct, red to
positive and black to negative.
Polarity incorrect. Change the wiring polarity
and seal joint correctly.
Check that there is power supplied to the light
cable connection.
Replace fuse. If fuse keeps blowing then
there is a short circuit in
the light system that must
be traced and rectified.
If no external short can be
located contact your local
Oceanled representative.
Light has
water inside.
Check connections to make sure they are not
submerged in water.
Light will require
replacing.
This is not covered by the
warranty.
Check cable to make sure there is no damage to
the cable. (If cable is damaged, it must only be
replaced by OceanLED, service agent or similar
qualified person).
Light will require
replacing.
This is not covered by the
warranty.

14
5
CHAPTER
FIVE
Chapter 5: Appendix
SUPPLY CABLE CONDUCTOR SIZE CHART
CABLE
LENGTH
(FEET)
CIRCUIT CURRENT
2 AMP 4 AMP 6 AMP 8 AMP 10 AMP 12 AMP 14 AMP 16 AMP
0-5 18 AWG 18 AWG 16 AWG 16 AWG 16 AWG 14 AWG 14 AWG 14 AWG
10-15 18 AWG 18 AWG 16 AWG 16 AWG 14 AWG 14 AWG 14 AWG 14 AWG
15-20 18 AWG 18 AWG 16 AWG 14 AWG 14 AWG 14 AWG 12 AWG 12 AWG
20-25 18 AWG 16 AWG 14 AWG 14 AWG 12 AWG 12 AWG 12 AWG 10 AWG
25-30 18 AWG 16 AWG 14 AWG 12 AWG 12 AWG 10 AWG 10 AWG 10 AWG
30-35 18 AWG 14 AWG 14 AWG 12 AWG 10 AWG 10 AWG 10 AWG 8 AWG
35-40 18 AWG 14 AWG 12 AWG 12 AWG 10 AWG 10 AWG 8 AWG 8 AWG
40-45 16 AWG 14 AWG 12 AWG 10 AWG 10 AWG 8 AWG 8 AWG 8 AWG
45-50 16 AWG 14 AWG 12 AWG 10 AWG 10 AWG 8 AWG 8 AWG 8 AWG
50-55 16 AWG 12 AWG 10 AWG 10 AWG 8 AWG 8 AWG 8 AWG 4 AWG
55-60 16 AWG 12 AWG 10 AWG 10 AWG 8 AWG 8 AWG 4 AWG 4 AWG
60-65 14 AWG 12 AWG 10 AWG 8 AWG 8 AWG 8 AWG 4 AWG 4 AWG
65-70 14 AWG 12 AWG 10 AWG 8 AWG 8 AWG 4 AWG 4 AWG 4 AWG
70-75 14 AWG 12 AWG 10 AWG 8 AWG 8 AWG 4 AWG 4 AWG 4 AWG
75-80 14 AWG 10 AWG 10 AWG 8 AWG 4 AWG 4 AWG 4 AWG 2 AWG
80-85 14 AWG 10 AWG 8 AWG 8 AWG 4 AWG 4 AWG 4 AWG 2 AWG
85-90 14 AWG 10 AWG 8 AWG 8 AWG 4 AWG 4 AWG 2 AWG 2 AWG
90-95 14 AWG 10 AWG 8 AWG 8 AWG 4 AWG 4 AWG 2 AWG 2 AWG
95-100 12 AWG 10 AWG 8 AWG 4 AWG 4 AWG 4 AWG 2 AWG 2 AWG

15
6
CHAPTER
SIX
Chapter 6: Warranty Statement:
This warranty statement is for those products supplied to and sold from all territories internationally
OceanLED stands by its products. In general terms, the company gives a full 2 year’s manufacturer’s warranty on all
of its products from date of sale from OceanLED.
Warranty replacements shall be covered for a period of 2 years from the date of the original product sale from
OceanLED.
To claim, please contact an authorized OceanLED dealer and complete the troubleshooting guidelines and warranty
claim form (available from www.oceanled.com). Claims may be disputed if the troubleshooting guidelines are not
completed or no defect is found with the product. The detailed terms and conditions of this warranty are set out
below.
However; please note that all metal parts corrode in salt water. The primary factors aecting corrosion are not
directly related to our products and accordingly OceanLED cannot be held responsible for corrosion-related defects
this includes where water has been allowed to enter the cable as a result of immersion in water during the installation
or improper sealing of connections. Please note corrosion will be particularly aggressive if installation and/or
bonding have not been undertaken properly; or if stray currents are active in the vicinity of a boat.
Colour variation occurs within the LED manufacture. While we make every eort to match the colour of any lights
there may be a noticeable dierence. OceanLED does not warrant this colour variation on lights.
OceanLED reserves the right to change the design, range and components without any prior notification either
written or verbal.
OceanLED does not cover any charges incurred for hauling of vessels.
1: WARRANTY OF QUALITY
1.1 In the case of goods manufactured and sold by Ocean LED Marine LTD, a company incorporated in England
and Wales (registered number 08927130) and whose registered oce is at Unit 1 Jacknell Road, Dodwells
Bridge Ind. Est. Hinckley, Leicestershire, LE10 3BS (the “Goods” and the “Company”, respectively), the
Company warrants to the purchaser of the Goods (the “Buyer”) Conditions and unless otherwise notified)
upon delivery (whether installed or not), and for a period of 2 years, that goods supplied shall be of
satisfactory quality within the meaning of the Sale of Goods Act of 1979.
1.2 the Company shall not liable for a breach of the warranty in Condition 1.1 unless:
1.2.1 the Buyer gives written notice of the defect to the Company, and to the carrier if the defect is as a result of
damage in transit, within 14 days of the time when the Buyer discovers or ought to have discovered the defect;
and
1.2.2 the Buyer has the obligation to provide all the requested information where is reasonably possible and
provided a truthful statement of all information requested in relation to the claim.
1.2.3 the Buyer returns such Goods to the Company’s place of business at the Buyers cost, regardless of the
outcome of the claim.
1.2.4 the Company is given a reasonable opportunity after receiving the returned Goods for the examination to take
place at the Company’s place of business.
1.3 the Company shall not be liable for a breach of the warranty in Condition 1.1 if:
1.3.1 the Buyer makes any further use of such Goods after giving such notice; or
1.3.2 the defect arises because the Buyer failed to follow the Company’s oral or written instructions as to storage,
transportation, installation, commissioning, modification, use or maintenance of the Goods or (if there are
none) good trade practice; or the defect arises from the corrosion of metal parts or the failure of the Buyer to
ensure that Goods are installed correctly, bonded correctly and that there are no active stray currents in the
vicinity; or
1.3.3 the defect arises as a result of any default of, or caused by, the Buyer or (without limitation) as a result of
misuse, abuse, improper installation, neglect, improper shipping by a party other than the Company; or
1.3.4 the Buyer alters, repairs or modifies such Goods without written consent of the Company; or

16
1.3.5 the defect arises due to a cause beyond the Company’s reasonable control, such as: act of God, explosion,
flood, tempest, fire or accident, including without limitation lightning; war or threat of war, national emergency,
sabotage, terrorism, insurrection, protest, riot, epidemic, civil disturbance or requisition; Acts, restrictions,
regulations, by-laws, prohibitions or measures of any kind on the part of any governmental, parliamentary
or local authority; import or export regulations or embargoes; strikes, lock-outs or other industrial actions
or trade disputes (whether involving employees of the Company or of a third party); restraints or delays
aecting carriers or inability or delay in obtaining supplies of adequate or suitable materials; or power failure
or breakdown in machinery.
1.3.6 where the Company has notified the Customer directly of in service modification(s) deemed necessary to
further protect the Goods from damage have not been followed.
1.3.7 where a claim has been made where the Goods ownership is in dispute.
1.3.8 where the parts where not purchased from an authorized outlet.
1.3.9 where the goods where purchased via the internet from the United States but were not shipped to an address
or fitted in the United States.
1.4 Subject to Conditions 1.2 and Condition 1.3, if any of the Goods do not conform with the warranty in Condition
1.1 the Company shall at its option repair or replace such Goods (or the defective part) without charge for labor
or parts or refund the price of such Goods at the original purchase price. The Company shall pay for the return
transportation to the Buyer of such repaired or replaced Goods.
1.5 Any Goods replaced shall belong to the Company and any such repaired or replacement Goods shall be
guaranteed on these terms for the unexpired portion of the warranty period of the warranty in Condition 1.1.
2: LIMITATION OF LIABILITY
2. These Conditions set out the entire financial liability of the Company (including any liability for the acts or
omissions of its employees, agents and sub-contractors) to the Buyer in respect of:
2.1.1. Any breach of these Conditions;
2.1.2 any defect in the Goods;
2.1.3 any use made or resale by the Buyer of any Goods, or of any product incorporating any of Goods; and
2.1.4 any representation, statement or tortuous act or omission including negligence arising or in connection with
the contract with the Buyer.
2.2. All warranty, conditions and other terms implied by both UK law are, to the fullest extent permitted by law,
excluded from the contract with the Buyer.
2.3. Nothing in these conditions excludes or limits the liability of the Company;
2.3.1. for death or personal injury caused by the Company’s negligence;
2.3.2 under both UK law;
2.3.3 for any matter which it would be illegal for the Company to exclude or attempt to exclude its liability; or
2.3.4 for fraud or fraudulent misrepresentation.
2.4. Subject to the above Condition 2.3:
2.4.1 the Company’s total liability in contract, (including without limitation negligence or breach of statutory duty),
misrepresentation, restitution or otherwise, arising in connection with the performance or contemplated
performance of the contract with the Buyer or (without limitation) in respect of the Goods shall be limited to
the original purchase; and
2.4.2 the Company shall not be liable to the Buyer for any pure economic loss, loss of profits, loss of business, loss
of contracts, damage to property, depletion of goodwill or otherwise, in each case whether direct, indirect
or consequential, or any claims for consequential whatsoever (however caused) which arise out of or in
connection with the contract with the Buyer or (without limitation) the Goods.
3: THIRD PARTY RIGHTS
No term of any Contract formed between the Buyer and the Company shall be enforceable by virtue of the
Contracts (Rights of Third Parties) Act 1999 by any person that is not a party to it.
4: APPLICABLE LAW
Each of (a) the sale of the Goods to the Buyer, (b) these conditions, and (c) any disputes or claims arising there
from or in connection therewith shall be governed by and construed in accordance with the law of England;
and the Buyer and the Company irrevocably agree that the Courts of England have exclusively jurisdiction to
settle any dispute or claim that arises out of or in connection with the foregoing.
5: GREY MARKET INTERNET POLICY
Grey marketed products continue to be a threat to our worldwide distribution and dealer network. In order to
proactively discourage this activity by Internet resellers of our product, OceanLED will not honor the warranty

17
of products purchased via the grey market through internet resellers. The following notice will be added to
OceanLED’s warranty cards, website and all internet sellers will be required to post the same notice.
WARRANTY NOTIFICATION: OceanLED products purchased by an end-user from a United States dealer via
the Internet are covered by this warranty, only if the products are delivered and installed within the United
States. The warranty is void if the product is delivered or installed outside the United States. Proof of purchase
and installation will be required. Product installed by OEM will be warranted when shipped as part of a new
boat package.
6: MAKING A CLAIM
6.1 Irrespective of how the products where fitted or by whom when you discover that there may be a problem
with the products you must notify either your local dealer or ourselves within 14 days.
6.1.1 When you discover a problem we ask that the products that have a problem are not used. This will minimize
any further damage. We recommend (especially with the pro series) that the product be disconnected to
prevent accidental use by removing the power feed from the driver box and covering the end of the power
lead with a waterproof solution ( e.g. a taped up plastic bag) to prevent water entering the cable connectors.
6.1.2 If a claim is accepted the part will be replaced on a “like for like basis”. No refunds will be given.
6.1.3 If you feel unhappy with any part of the process of claiming please let us know.
6.2 Products supplied and fitted by a dealer
6.2.1 If you had the products installed by one of our dealers we ask that you contact them and ask that they check
the installation and establish the cause of the problem. If you are not local to the installer please visit our
website (www.oceanled.com) to find the authorized dealer closest to you. This is because many problems are
due to issues with the installation or the electrical aspects external to the lighting system, and can be resolved
without the need for the removal of the product.
6.2.2 You should locate your purchase invoice for the products when you believe there is a problem and contact the
dealer you purchased the products and / or who fitted them.
6.2.3 Your dealer will contact us and together we will resolve your issues and together we will investigate.
6.2.4 If the problem is found not to be due to the manufacture of the product, this will fall outside of the warranty
cover and the buyer will be liable for all costs.
6.3 Products supplied by a dealer but fitted by the Buyer
6.3.1 If you installed the products yourself, before making contact we ask that you follow the troubleshooting chart
for your product, when following the appropriate troubleshooting chart we find that it is helpful to complete
the appropriate warranty claim information sheet. Copies can be found in the troubleshoot section of the
manual included with the product or alternatively it can be download from our website (www.oceanled.com/
documents).
6.3.2 If after following the troubleshoot guide, you still believe that the problem still exists with our product you will
need to contact the dealer that you purchased the product(s) from, however if you are unable to do this you
may contact any dealer / distributor in your local area (a list can be obtained either from our website (www.
oceanled.com) or by contacting our Head Oce.
6.3.3 When will be required to provide the information recorded on the warranty claim information sheet and have
the copy of your purchase invoice for the products.
6.3.4 When contacting your dealer you will be asked for the details from the warranty claim information sheet.
During this time the dealer will complete the appropriate warranty claim form that will be returned along with
the part.
6.3.5 When you have made contact with the dealer please follow their instructions.
6.3.6 If you are unable to contact a dealer you may wish to contact OceanLED directly. To contact the Service
Manager either call our UK oce on +44 1455637505 or email sales@oceanled.com.
6.4 If you are unable to locate a dealer close by or purchased directly from OceanLED.
6.4.1 Before making contact we ask that you follow the troubleshooting chart for your product, when following
the appropriate troubleshooting chart we find that it is helpful to complete the appropriate warranty claim
information sheet. Copies can be found in the troubleshoot section of the manual included with the product or
alternatively it can be download from our website (www.oceanled.com).
6.4.2 If after following the troubleshoot guide, you still believe that the problem still exists with our product you will
need to contact the Service Manager at OceanLED for your region.

18
If you are located in either North, Central or South America please contact the Warranty Department at:
OceanLED USA LLC
778 South Military Trail
Deerfield Beach
Florida
FL 33442-3025
United States
Tel:+1(954) 523-2250
Fax:+1(954) 523-2249
Email sales@oceanledusa.com
Or if you are located in any other area please contact the Warranty Department at our UK Head Oce at:
Ocean LED Marine LTD
Unit 1 Jacknell Road
Dodwells Bridge Industrial Estate
Hinckley
Leicestershire LE10 3BS
United Kingdom
Tel: +44 1455 637505
Fax: +44 1455 238553
Email sales@oceanled.com
6.4.3 When you contact you will be required to provide the information recorded on the warranty claim information
sheet and have the copy of your purchase invoice for the products where you believe there is a problem. The
Service team will review with you your problem and where possible advise on any further checks that may
be required to be done. If from the test results you do appear to have a problem you will be issued with a
Warranty Claim number. The Claim number is unique to your claim and should be used in all correspondence
and attached to the returned parts.
6.4.4 You will be required to return the faulty part with the attached WC number to the appropriate address in
section 6.4.2. The return of the part is at your expense.
6.4.5 The part will be investigated and if the cause is established to be a manufacturing error or a problem with the
components we will return a replacement part to you.
6.4.6 If you require a part urgently from us, you would be required to purchase a new one from us. You then have a
maximum of 30 days to return the faulty part to us. We will investigate and if the product has a problem due to
our manufacturing will provide a full refund. If you do not think that you can return the part to us within the 30
days please contact the Service Manager. If the product is not returned within the time limit the claim will be
closed and no refund given.
6.4.7 If we are unable to find a problem with the part, we will inform you of the outcome. We can provide guidance
to possible reasons for the fault. Unfortunately we are not liable for or can fix problems with equipment &
installations that are not purchased from OceanLED. The returned product can be returned to you at your
request.

NOTES
__________________________________________________________________________
__________________________________________________________________________
__________________________________________________________________________
__________________________________________________________________________
__________________________________________________________________________
__________________________________________________________________________
__________________________________________________________________________
__________________________________________________________________________
__________________________________________________________________________
__________________________________________________________________________
__________________________________________________________________________
__________________________________________________________________________
__________________________________________________________________________
__________________________________________________________________________
__________________________________________________________________________
__________________________________________________________________________
__________________________________________________________________________
__________________________________________________________________________
__________________________________________________________________________
__________________________________________________________________________
__________________________________________________________________________
__________________________________________________________________________
__________________________________________________________________________
__________________________________________________________________________
__________________________________________________________________________
__________________________________________________________________________
__________________________________________________________________________
__________________________________________________________________________
__________________________________________________________________________
__________________________________________________________________________
__________________________________________________________________________
__________________________________________________________________________
__________________________________________________________________________
__________________________________________________________________________
__________________________________________________________________________
__________________________________________________________________________

Ocean LED Marine LTD
Unit 1 Jacknell Road
Dodwells Bridge Industrial Estate
Hinckley,
Leicestershire LE10 3BS
United Kingdom
Tel: +44 (0) 1455 637505
Fax: +44 (0) 1455 238553
sales@oceanled.com
Ocean LED USA LLC
778 South Military Trail
Deerfield Beach
Florida
FL 33442-3025
United States
Tel: +1 954.523.2250
Fax: +1 954.523.2249
sales@oceanledusa.com
© 2017 Ocean LED Marine LTD
All Rights Reserved
Specifications are subject to change
without notice.
Trademarks are the property of
Ocean LED Marine LTD
Please remove this page and keep for your les
For technical assistance:
Europe: service@oceanled.com
The Americas: warranty@oceanledusa.com
Warranty Serial Code(s):
 Loading...