

Ocean Digital WR-60, WR-233 User Manual
Internet Radio
User Manual
WR-60
Please read this user manual carefully before using the receiver.
Location of Controls
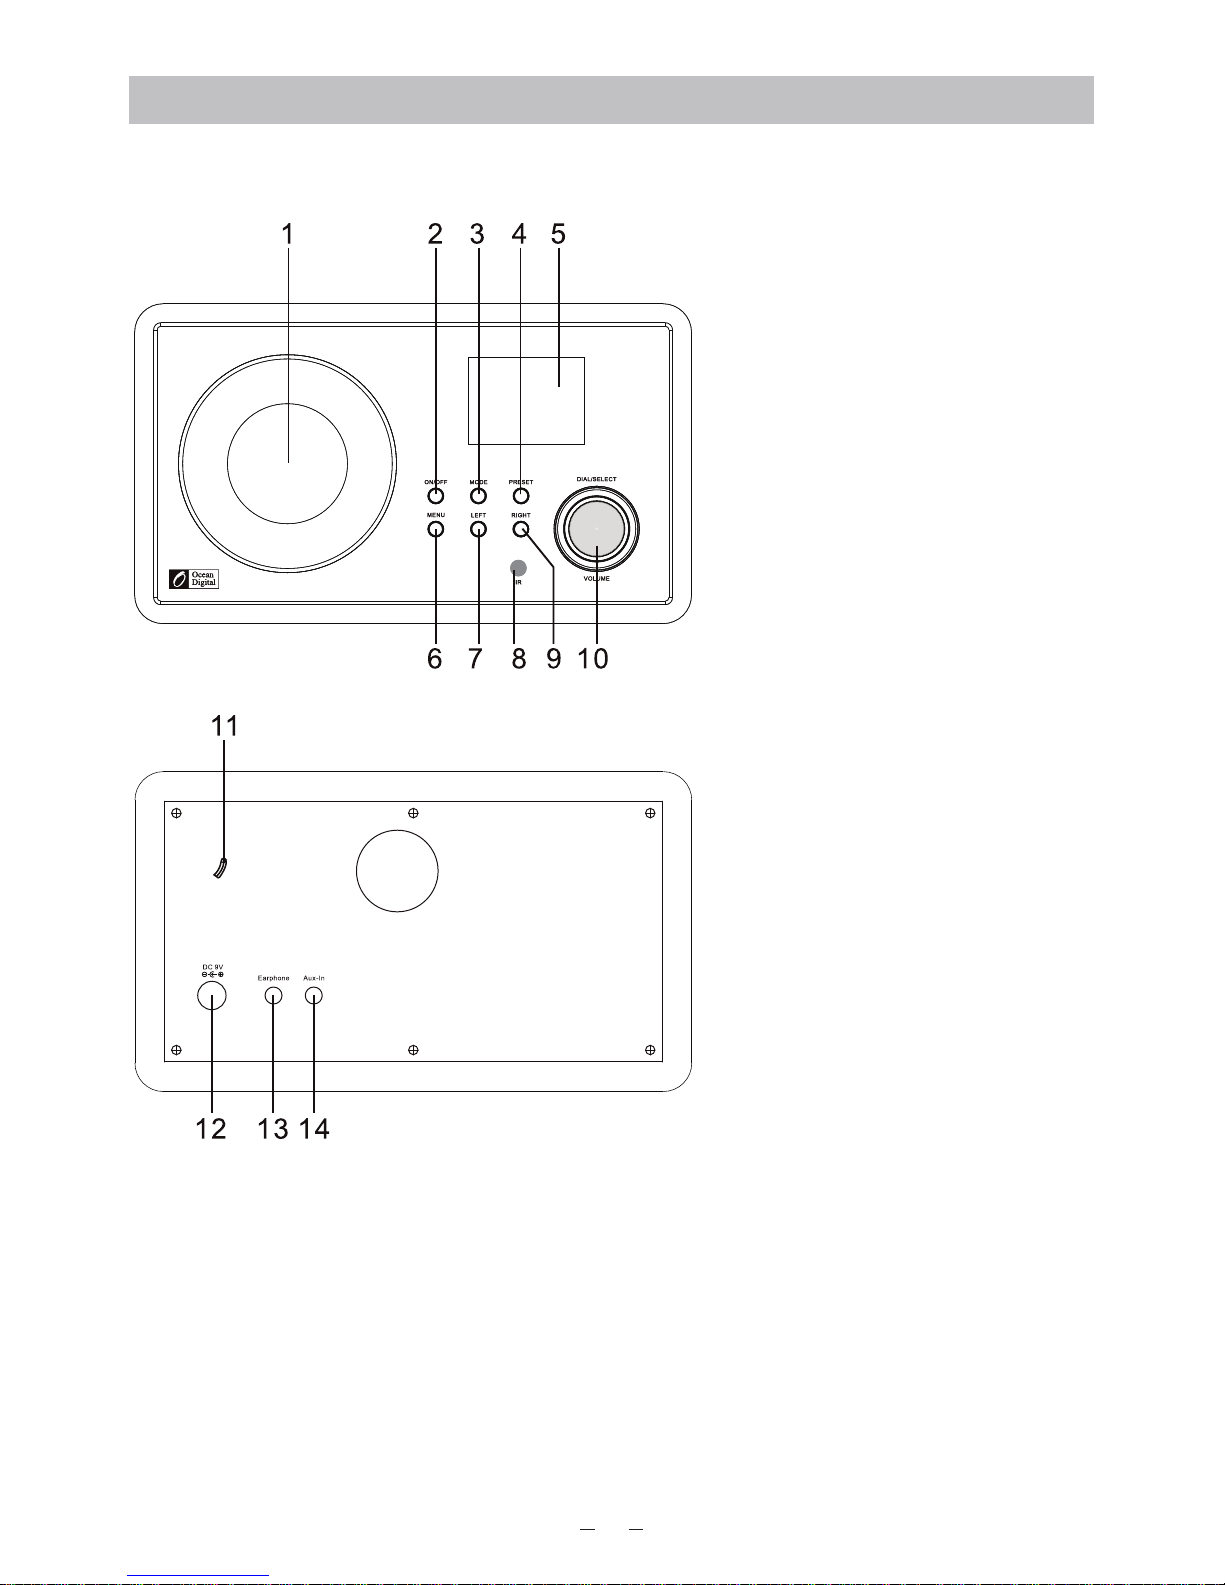
1. Speaker
2. ON/OFF
3. Mode
4. Preset
5. 2.4” TFT color display
6. Menu
7. Left
8. Remote sensor
9. Right
10. Dial/Select/Volume
11. Wire FM antenna
12. DC jack
13. Earphone jack
14. Aux-In jack
1
2
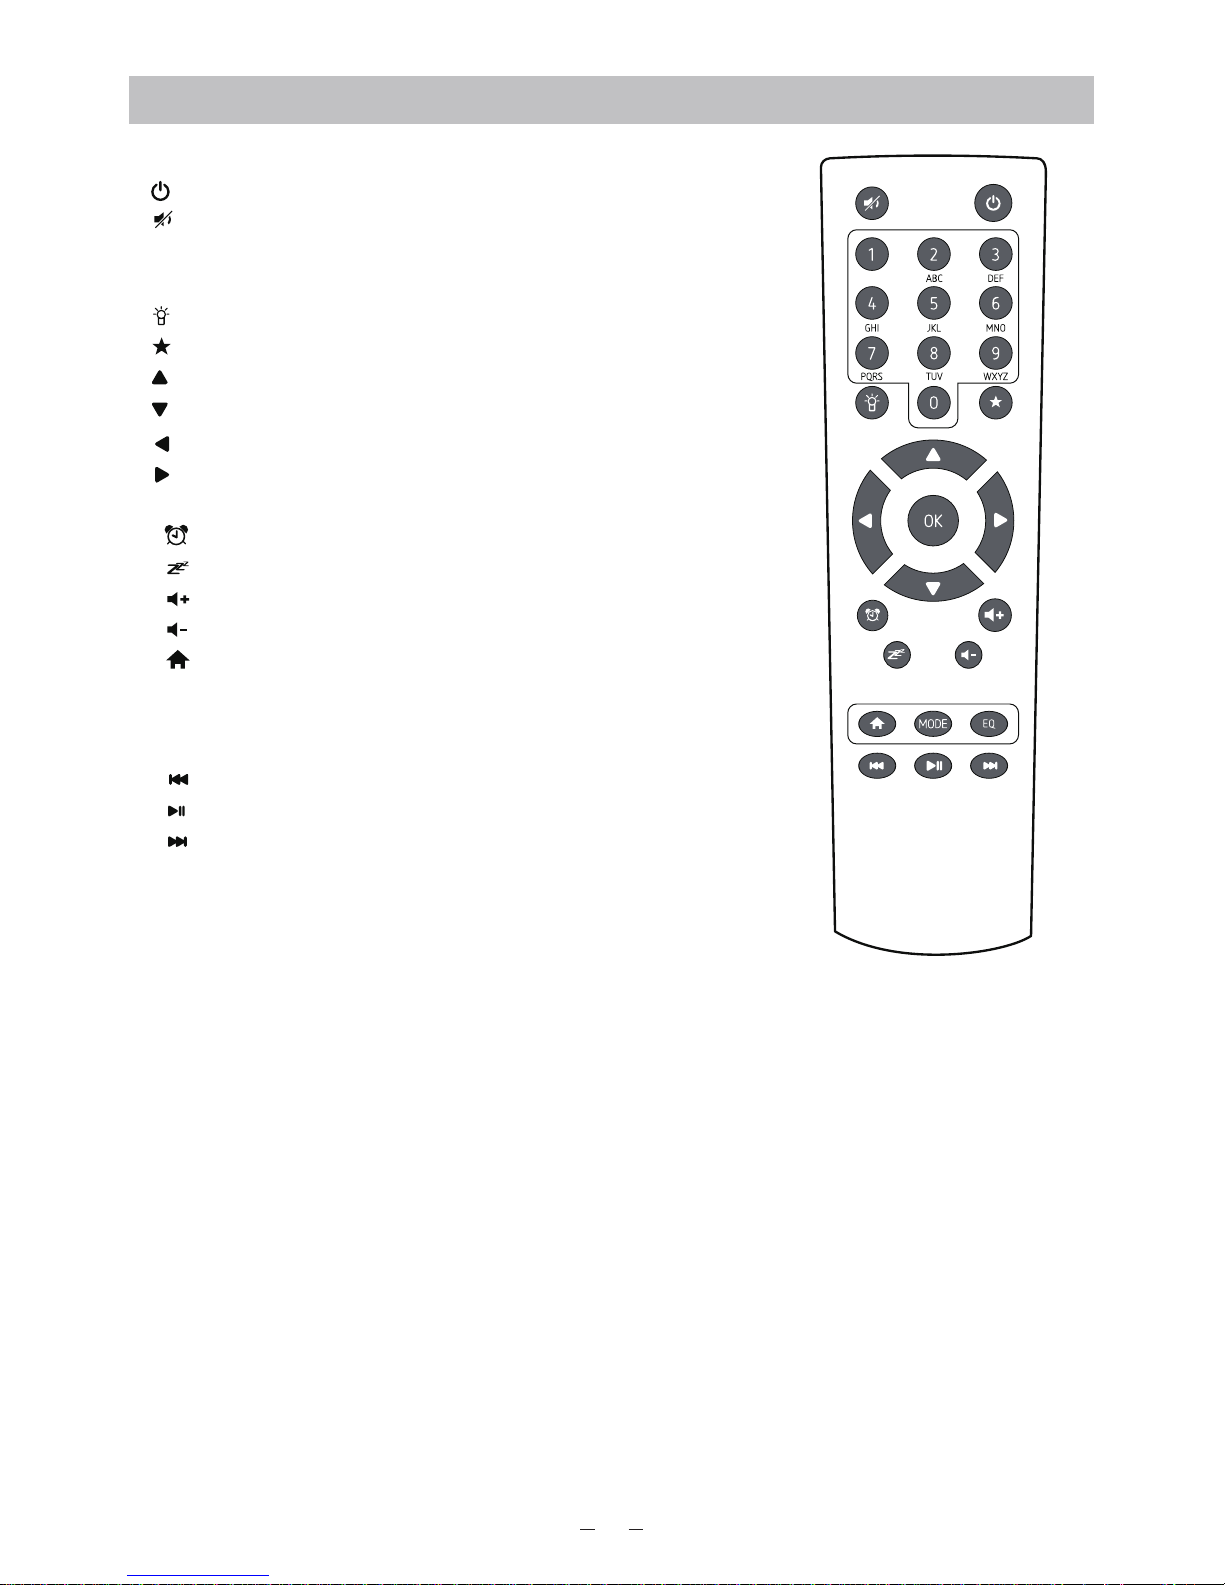
Remoter controller
1. : Standby button
2. : Mute
3. 0-9: Favorite station key / input letters and numbers for
WiFi Encryption code
4. : Dim the display
5. : Favorite button, adding station to your favorite list
6. : Cursor up
7. : Cursor down
8. : Cursor left / back to previous menu
9. : Cursor right
10. OK: confirm button
11. : Alarm button
12. : Sleep Timer
13. : Volume up
14. : Volume down
15. : Main Menu
16. Mode: Switch between Internet radio, Media Center
(UPnP)
17. EQ: Equalizer
18. : Previous song (for UPnP)
19. : Play/pause (for UPnP)
20. : Next song (for UPnP)
Remote control character list
Key 0 –– ‘0’->‘DEL’
key 1 –– ‘1’->‘@’->‘ ’(Space)->‘!’-> ”( double quotes) ->'('->')'->'*'->'+'->','->'-'->'.'->'/'
->':'->';'->'<'->'='->'>'->'?'->'['->'\'->']'->'^'->'_'->'`'->'{'->'|'->'}'->'~'
Key 2 –– ‘2’->‘A’->‘B’ ->‘C’->‘a’ ->‘b’ ->‘c’
Key 3 –– ‘3’->‘D’->‘E’ ->‘F’->‘d’ ->‘e’ ->‘f’
Key 4 –– ‘4’->‘G’->‘H’ ->‘I’->‘g’ ->‘h’ ->‘i’
Key 5 –– ‘5’->‘J’->‘K’ ->‘L’->‘j’ ->‘k’ ->‘l’
Key 6 –– ‘6’->‘M’->‘N’ ->‘O’->‘m’ ->‘n’ ->‘o’
Key 7 –– ‘7’->‘P’->‘Q’->‘R’->‘S’->‘p’->‘q’->‘r’->‘s’
Key 8 –– ‘8’->‘T’->‘U’ ->‘V’->‘t’ ->‘u’ ->‘v’
Key 9 –– ‘W’->‘X’->‘Y’->‘Z’->‘w’->‘x’->‘y’->‘z’
Remark: Press ‘ ’ to move to next character and press ‘OK’ button to confirm.
You can also press to change the character /number, then press the right key to confirm the
entry.
After you finish the entry, press the select button to confirm
3
Switching on the radio
Plug the connector plug of the mains adaptor into the DC jack on the unit. Connect the other
end of the adaptor to the wall socket.
Caution: Use only the main adaptor supplied with the radio. Connecting a power supply with a
different rating will cause permanent damage to the radio and may be hazardous.
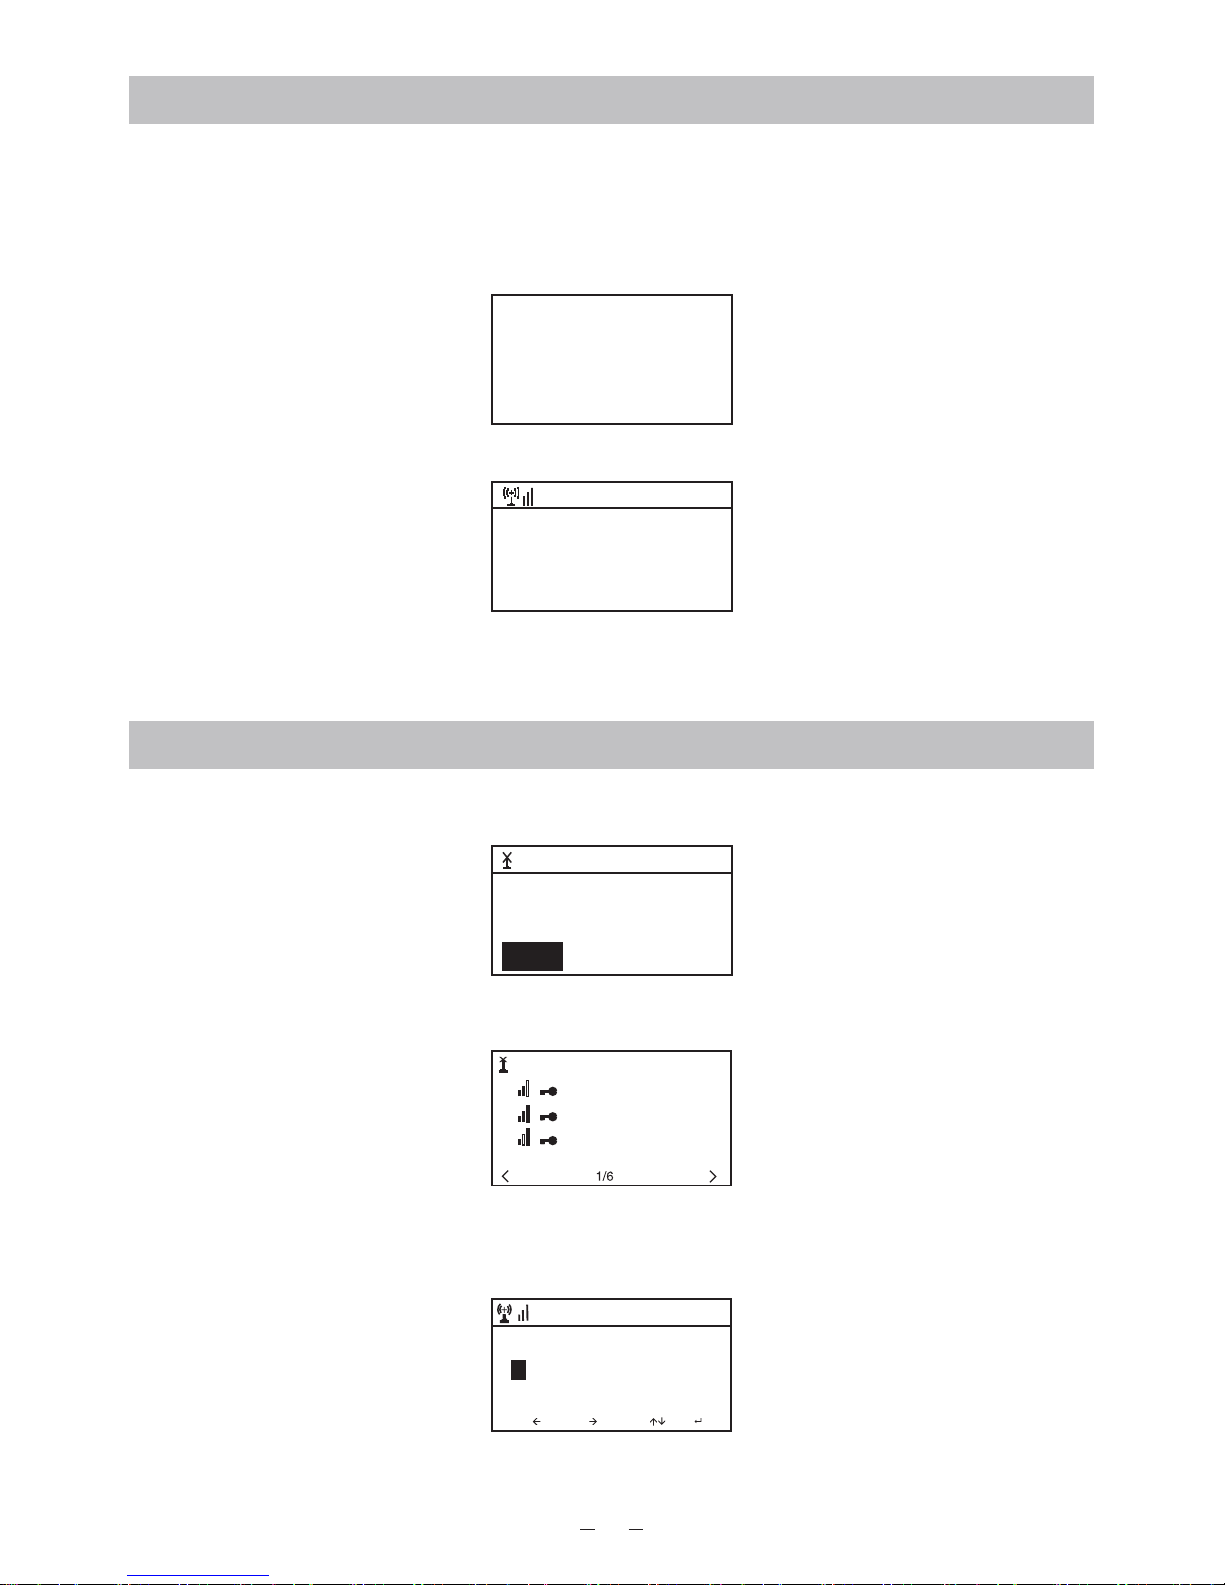
The display on the front of the radio will light up and show:
Then you can select your prefer language on the radio.
It will ask you if you want to Enable the “Check Network” when Power on”, it is suggested to
choose “Yes”. Then the radio will always check the available WiFi network automatically.
Connecting to your WiFi Network
The screen below will appear. You can choose Yes to proceed to sear ch fo r the a vai lable WiFi
network. If your router has the WPS function, you can select the “Yes[WPS]” to proceed.
It will then start scanning the network. After the search is done, it will display a list of the
available router.
Choose your router from the list, enter the WEP(Wired Equivalent Privacy) or WPA(Wi-Fi
Protected Access) code. If your network is not configured to be with the WEP or a WPA code,
the unit will connect to the router automatically.
Note: The encryption code would have been set up by the person who set up and
configured your network.
Welcome
• Engl ish
Deut sch
Fr ançais
< 2/7
8:54AM
01:01
Would yo u like to
conf igure Network now?
Yes(WP S) NOYes
01:44
Linksys
Homeaudio
Demo
MOVE INPUT: OK
Enter Password
1/1
16:23
4
Please refer to the “Remote control character list” for you to enter the passwords. Press the
“ ” button to go to the next word, press “ ” button to delete the wrong word you have
entered.
If you want to enter the passwords on the radio main unit, you can use the Volume Dial rotary
knob. Follow the steps below:
- Rotate the knob to select the character
- Press the button to go to the next entry
- After you finish the entries, push down the Rotary knob to confirm.
The radio will start connecting to the network.
After the router is connected successfully, it will show “Network OK” and display the menu
screen:
You can now start enjoying the internet radio.
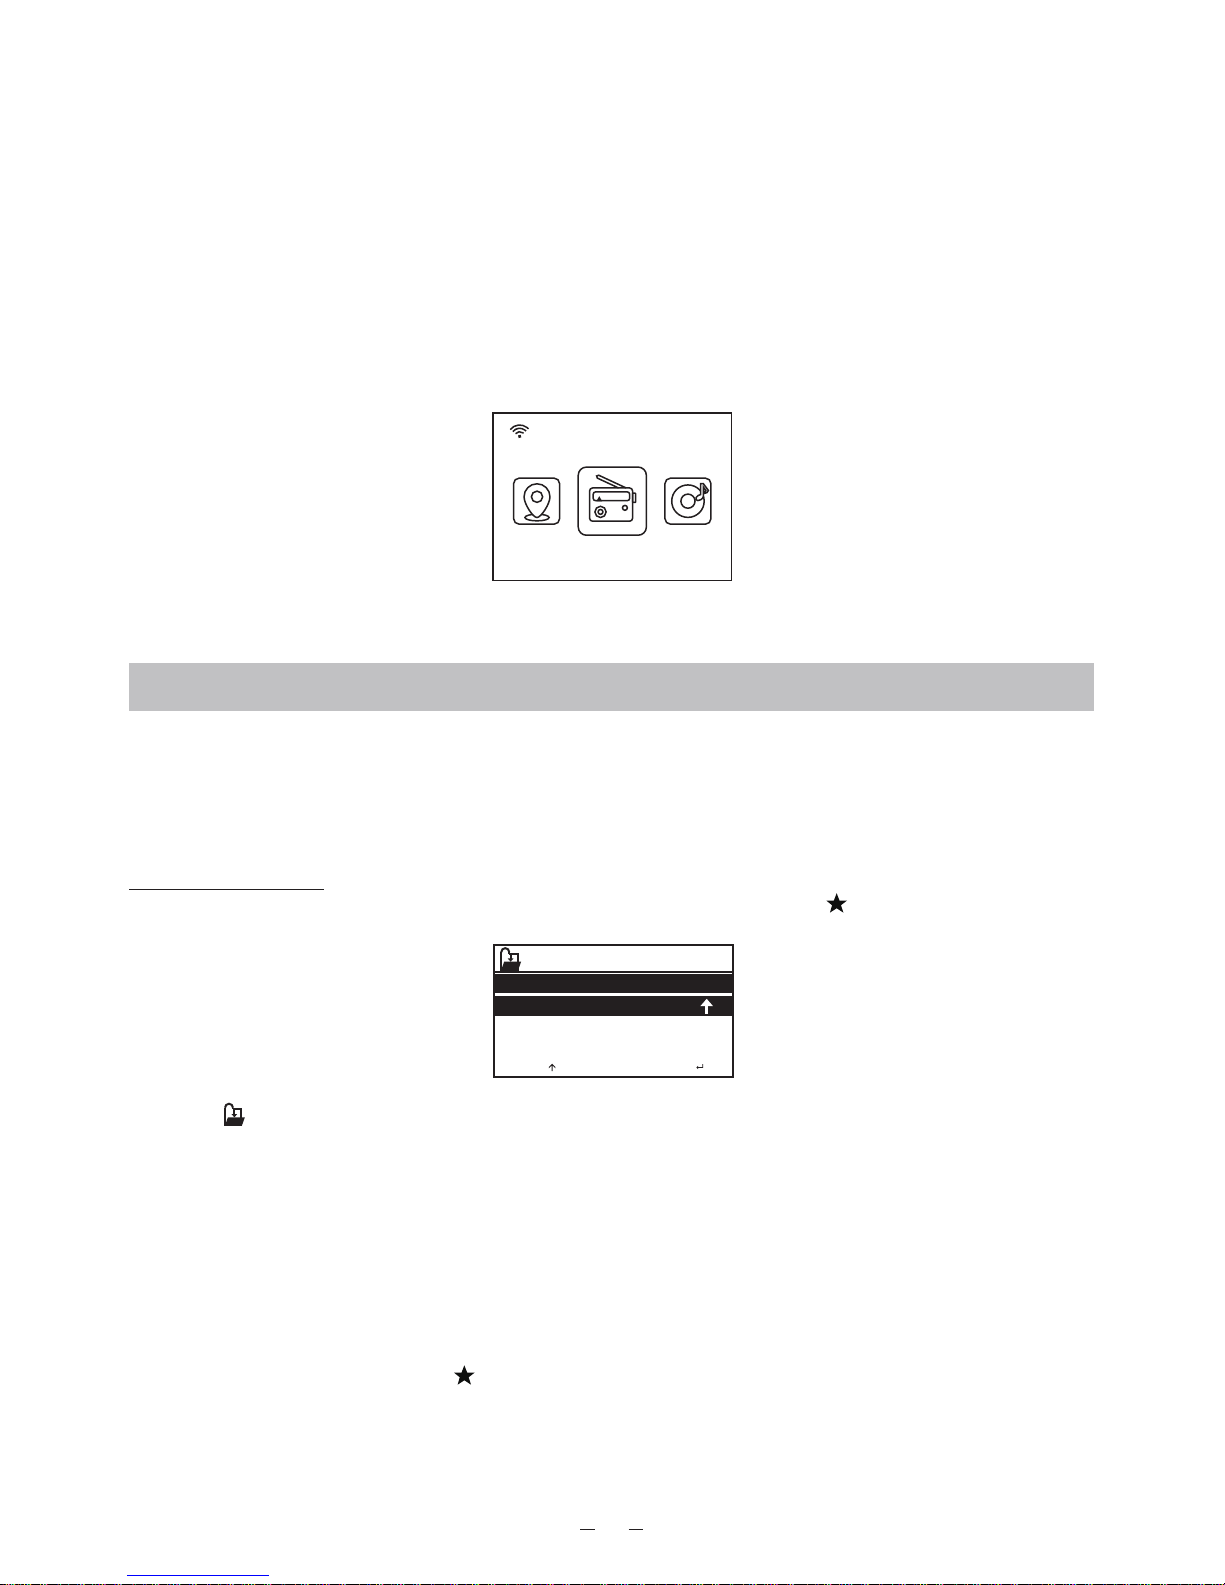
Internet Radio
Choose ‘Internet Radio’ from the menu, you can see different functions as below:
To start listening the worldwide radio stations, select “Radio Station/Music”,
My Favorite
This is to show the list of your Favorite stations which have been assigned to the presets.
To preset a station:
While you are playing the favorite station, simply hold and press the key until the follow
screen appear.
The icon will appear, it means the station is added to the radio preset.
The presets will be stored in ascending order. You can store up to 250 presets.
You can edit your Favorite list with the following options:
Delete – To delete the selected station
Shift up/Shift down – To shift the selected station to a particular ranking on the list.
Rename – To rename the selected station
Play – press and play the selected station
To do the edit, simply press the button briefly to enter the Preset station list.
Choose the radio station that you want to make with the above changes. Then press the Right
key, it will enter into the list with the options listed above. Then choose your desire action.
08:58
Int ernet R adio
5
MOV 2/2E: OK:
Add to My Favorite
.977 The 80s Channel1
.977 The 90s Chanr
 Loading...