

Ocean Digital WR-220 User Manual
Internet Radio
User Manual
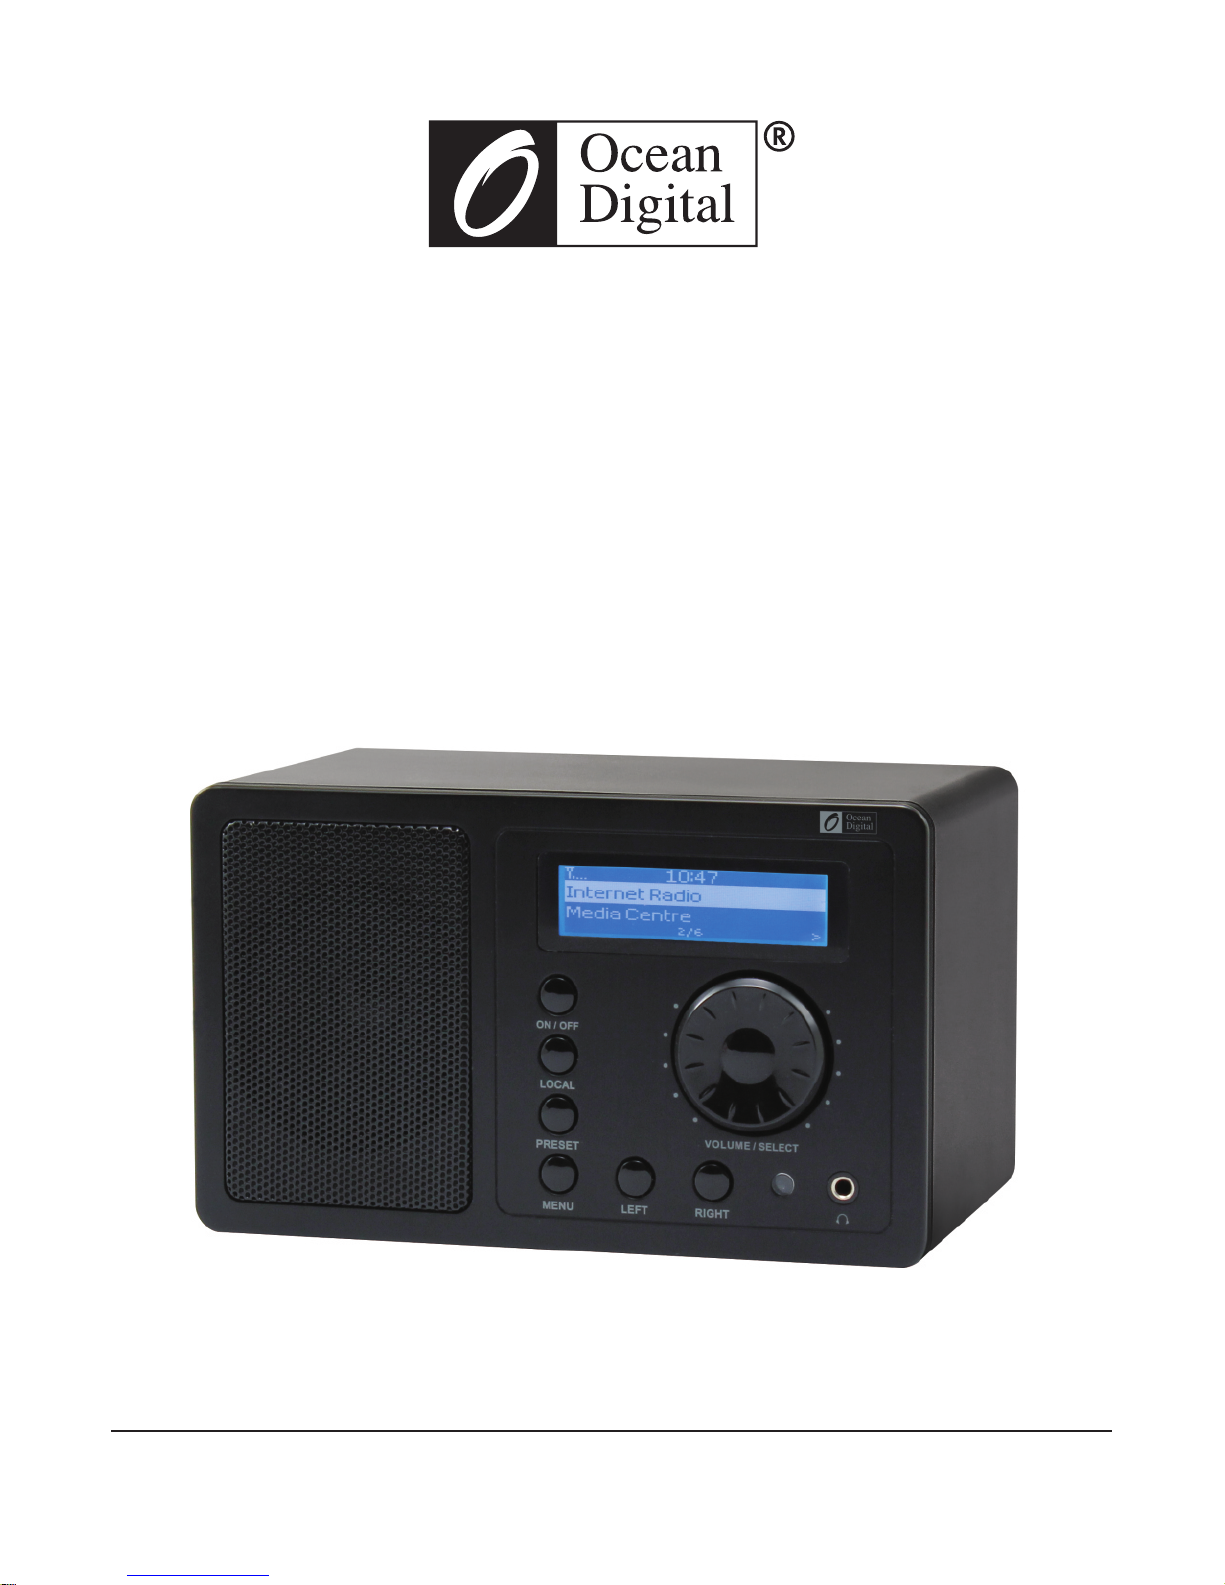
WR-220
Please read this user manual carefully before using the receiver.

Contents
Location of Controls . . . . . . . . . . . . . . . . . . . . . . . . . . . . . . . . . . . 1
Remote control. . . . . . . . . . . . . . . . . . . . . . . . . . . . . . . . . . . . . . . . 2
Connect the radio with your Wi-Fi Router . . . . . . . . . . . . . . . . . 4
Start using internet radio . . . . . . . . . . . . . . . . . . . . . . . . . . . . . . . 5
My Favorite . . . . . . . . . . . . . . . . . . . . . . . . . . . . . . . . . . . . . . . 5
Internet Radio . . . . . . . . . . . . . . . . . . . . . . . . . . . . . . . . . . . . . 6
Media Centre. . . . . . . . . . . . . . . . . . . . . . . . . . . . . . . . . . . . . . 6
Alarm Setting. . . . . . . . . . . . . . . . . . . . . . . . . . . . . . . . . . . . . . 8
Sleep Timer . . . . . . . . . . . . . . . . . . . . . . . . . . . . . . . . . . . . . . . 9
Configuration. . . . . . . . . . . . . . . . . . . . . . . . . . . . . . . . . . . . . . 9
Add your favorite URL . . . . . . . . . . . . . . . . . . . . . . . . . . . . . . . . . 11
Music Streaming from mobile devices . . . . . . . . . . . . . . . . . . . 12
Trouble Shooting . . . . . . . . . . . . . . . . . . . . . . . . . . . . . . . . . . . . . 14
Helpful Tips. . . . . . . . . . . . . . . . . . . . . . . . . . . . . . . . . . . . . . . . . . 15
Technical Specification. . . . . . . . . . . . . . . . . . . . . . . . . . . . . . . . 16
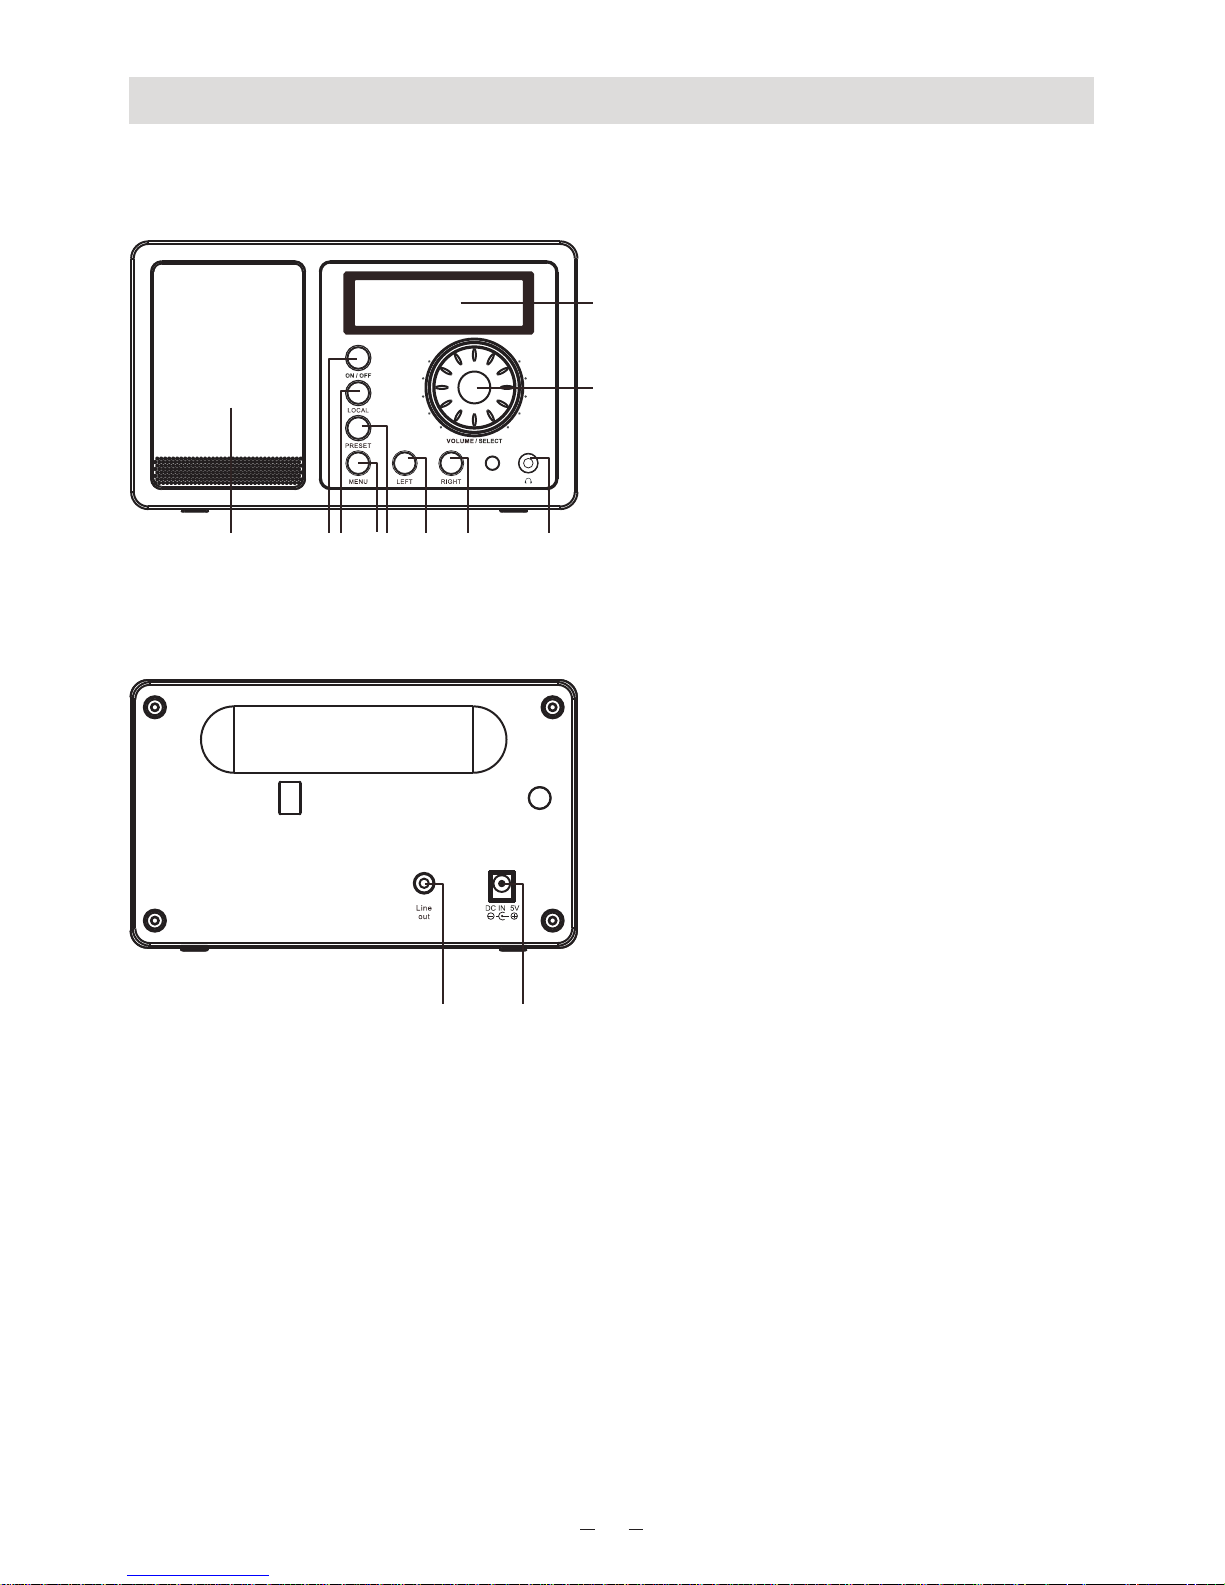
Front
Back
Location of Controls
1. LCD Display
2. Dial Control
- Rotate the dial to adjust volume level
Adjust LCD backlight level under
Standby
Push the dial to confirm / select
menu options
- Push to stop/resume playback of the
radio
3. Speaker
4. On/off
- Press to power on/ Standby
5. Local
- Quick access the local stations in
your country
6. Menu
- Press to enter menu
7. Preset
- Long press to store the station to
Favorite list
- Press briefly to recall the favorite
station
8. Left
- Back to previous menu
- Left cursor
9. Right
- Right cursor
- Enter edit menu under Favorite list
10. Earphone jack
11. Line Out jack
12. DC IN jack
-
1
1
2
3 4 5 6 7 8 9 10
11 12

Remote Control
2
1. Power: Standby on/off
2. Mute: Speaker on/off
3. 0-9: Input numbers for encryption code, recall
favorite stations, enter index number to select
item from the list
Toggle the same numeric key gives you a
choiceto input letters
4. : Return to Main Menu
5. Mode: Switch between Internet radio and Media
Centre
6. Alarm: Alarm Setting
7. : Preset the current playing station to Favorite
8. : Recall the favorite station
9. Local: Access radio stations in your local country
10. Cursor up
11. $Cursor down
12. Cursor left/Back
13. Cursor right
14. Info: Access the network and system information
15. Enter: Confirm selection
16. : Next (next item in the list: next station, next
track)
17. : Previous (Previous item in the list: previous
station, previous track)
18. Volume +: Increase volume
19. Volume -: Decrease volume
20. Sleep: Sleep Timer setting
#:
:
! :
":
Before you start
Please ensure the following is ready:
You have a broadband internet connection.
A wireless broadband router is connected to the internet successfully.
The radio supports Wireless B, G and N connection (Wireless N router can also be used with
the setting on B or G).
You know the Wired Equivalent Privacy (WEP) or Wi-Fi Protected Access (WPA) data
encryption code/password. You need to key in the correct code when the radio is connected
to the wireless router for network connection.
If you do not know the code/password, please contact the person /technician who set up the
router/network for you.
The radio can work via Wireless network connection (Wi-Fi connection)
Precautions
The radio should not be used in a high temperature or high humidity environment over
prolonged periods of time as this may damage the unit.
Keep the radio away from liquids as it may get damaged. Please switch off the radio
immediately if water or liquids is spilled into the radio. Consult with the shop you bought this
radio for any question.
Avoid using or storing the unit in dusty or sandy environment.
Do not open and repair the radio by yourself.
Use only the AC adaptor supplied with the radio.
Connecting a power supply with a different rating will cause permanent damage to the radio
and may be hazardous.
Clean only with dry cloth.
3

Connect the radio with your Wi-Fi Router
1. Insert the adaptor plug into the DC socket located at the rear side of the radio.
Plug the adaptor into a wall socket outlet.
Caution: Use only the adaptor supplied with the radio. Connecting a power supply with a
different rating will cause permanent damage to the radio and may be hazardous.
2. The radio will power on and display as follow. Choose <Yes> to start configuring network.
3. Select <Add/Remove AP> and <Add AP>:
4. It will start scanning the available Wi-Fi routers nearby. Choose to conn ect y our AP and
enter the encryption code. Press ‘Enter ’ to confirm.
Remark: The encryption codes are case sensitive to upper and lower case.
5. When the Wi-Fi connection is done, the display shows:
4
Connecting to Network
>> > > >>>
Configure Network?
<Yes> No
Welcome
Add/ Remove AP
AP:[ ]
Add AP
Remo ve AP
Association complete
When t his sym bol appears, the r adio is
tryi ng to con nect to the Wi-Fi ne twork
Skyt une
Sear ch
< 1/6 >
01:42AM
If you t ry to sel ect Skytu ne when t he Wi-Fi
netw ork is no t connected, it wi ll show the
message bel ow:
Skytune not connected,
retry later
Afte r the Wi- Fi networ k is conn ected,
you will see th e Wi-Fi signal bar h ere.
1. fm Ba y Smooth Ja zz
H2 ch
< 18/112 25 0 0:25
iRad io
 Loading...