

1 / 9
D02 EAR PODS
FCC ID:2APXF-D02
Preface
Thank you for choosing D02 Wireless stereo Bluetooth headset, this manual will help
you know how to use your Bluetooth headset, before using Bluetooth headset, you
must know and familiar with the Bluetooth function of your mobile phone.
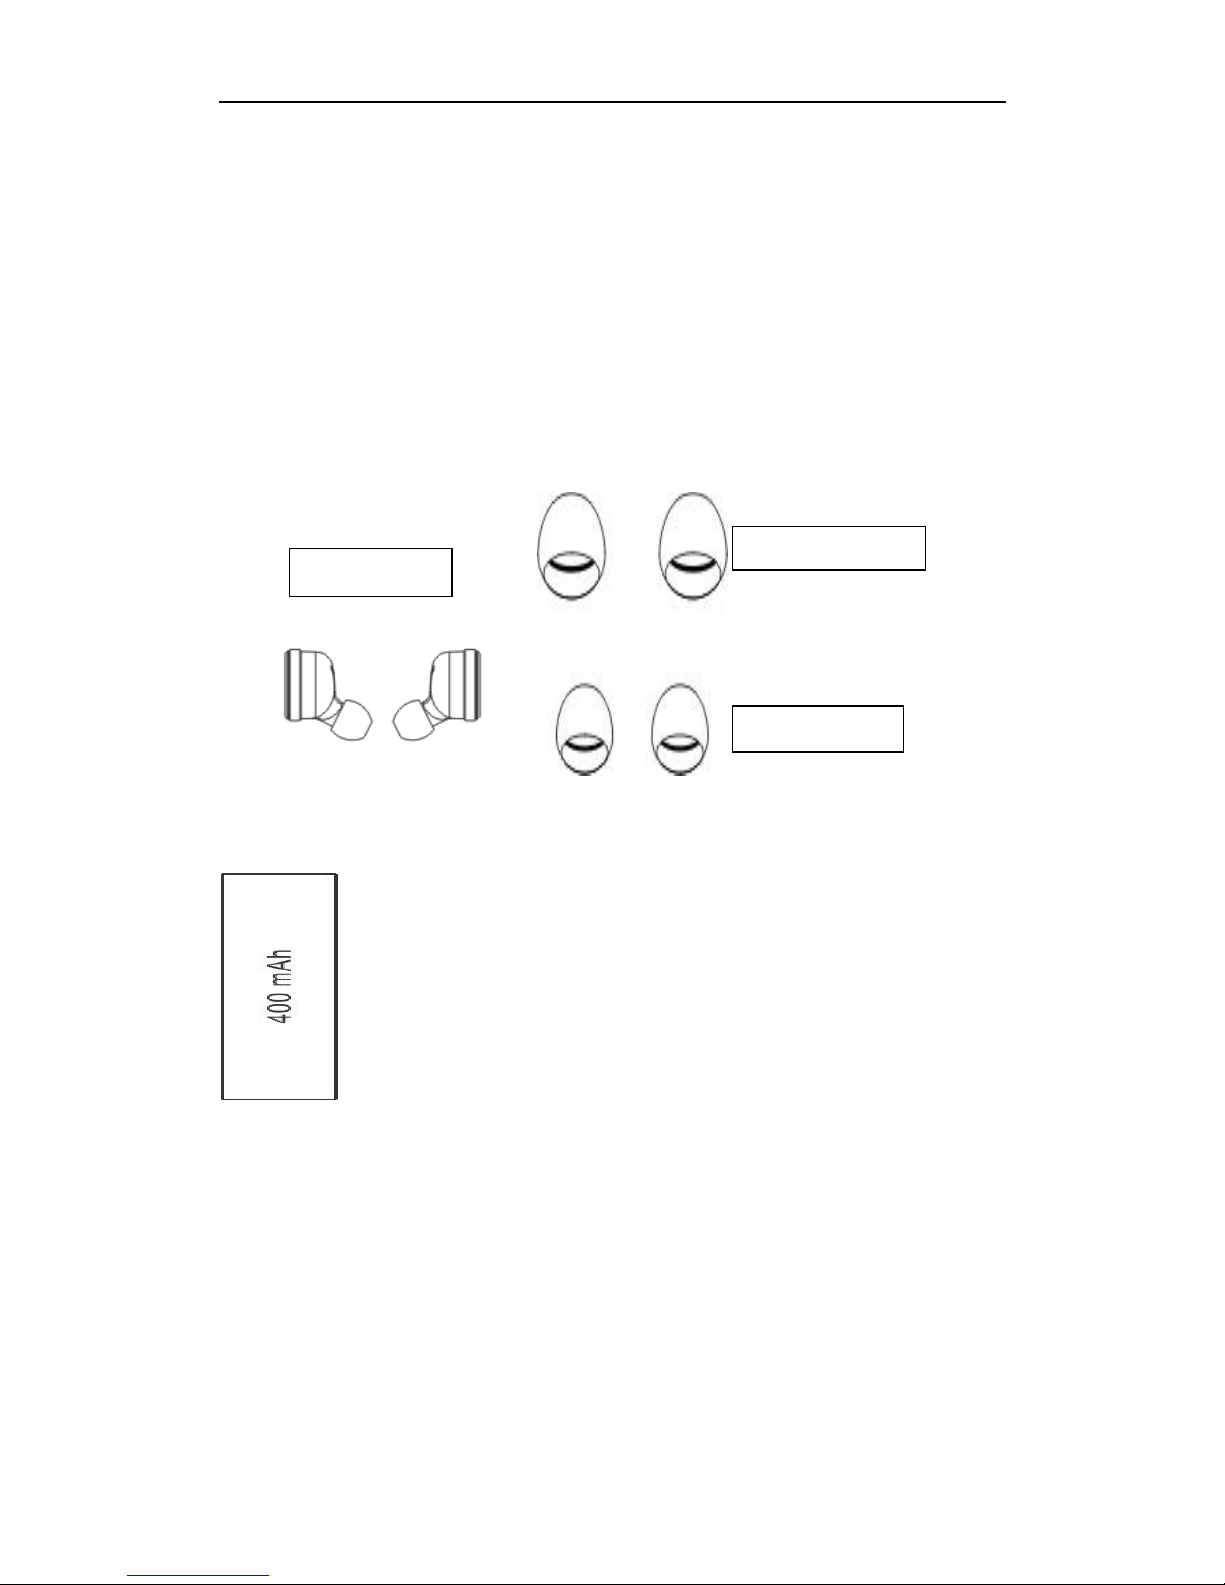
Accessories List
Left(L) Right(R) earphone
Headphone power supply bin
medium
small
earphone

2 / 9
USB cable User manual
Product diagram
1: earphone LED
2: Hidden keys
3: Microphone
4: Ear Cap
5: Charge Port
6: Power supply bin
7: Power supply bin indicator light
Wireless Stereo
Bluetooth
3 / 9
8: Micro USB port
9: Headset
10: Headset metal decoration
Product parameter
Bluetooth version 4.2
Headphone Battery 45 mAh
Power bank Battery: 400 mAh
Power supply bin Voltage: 5V
Transmission frequency: 20hz-20khz
Bluetooth protocol: A2DP/HFP/HSP/AVRCP/SPP
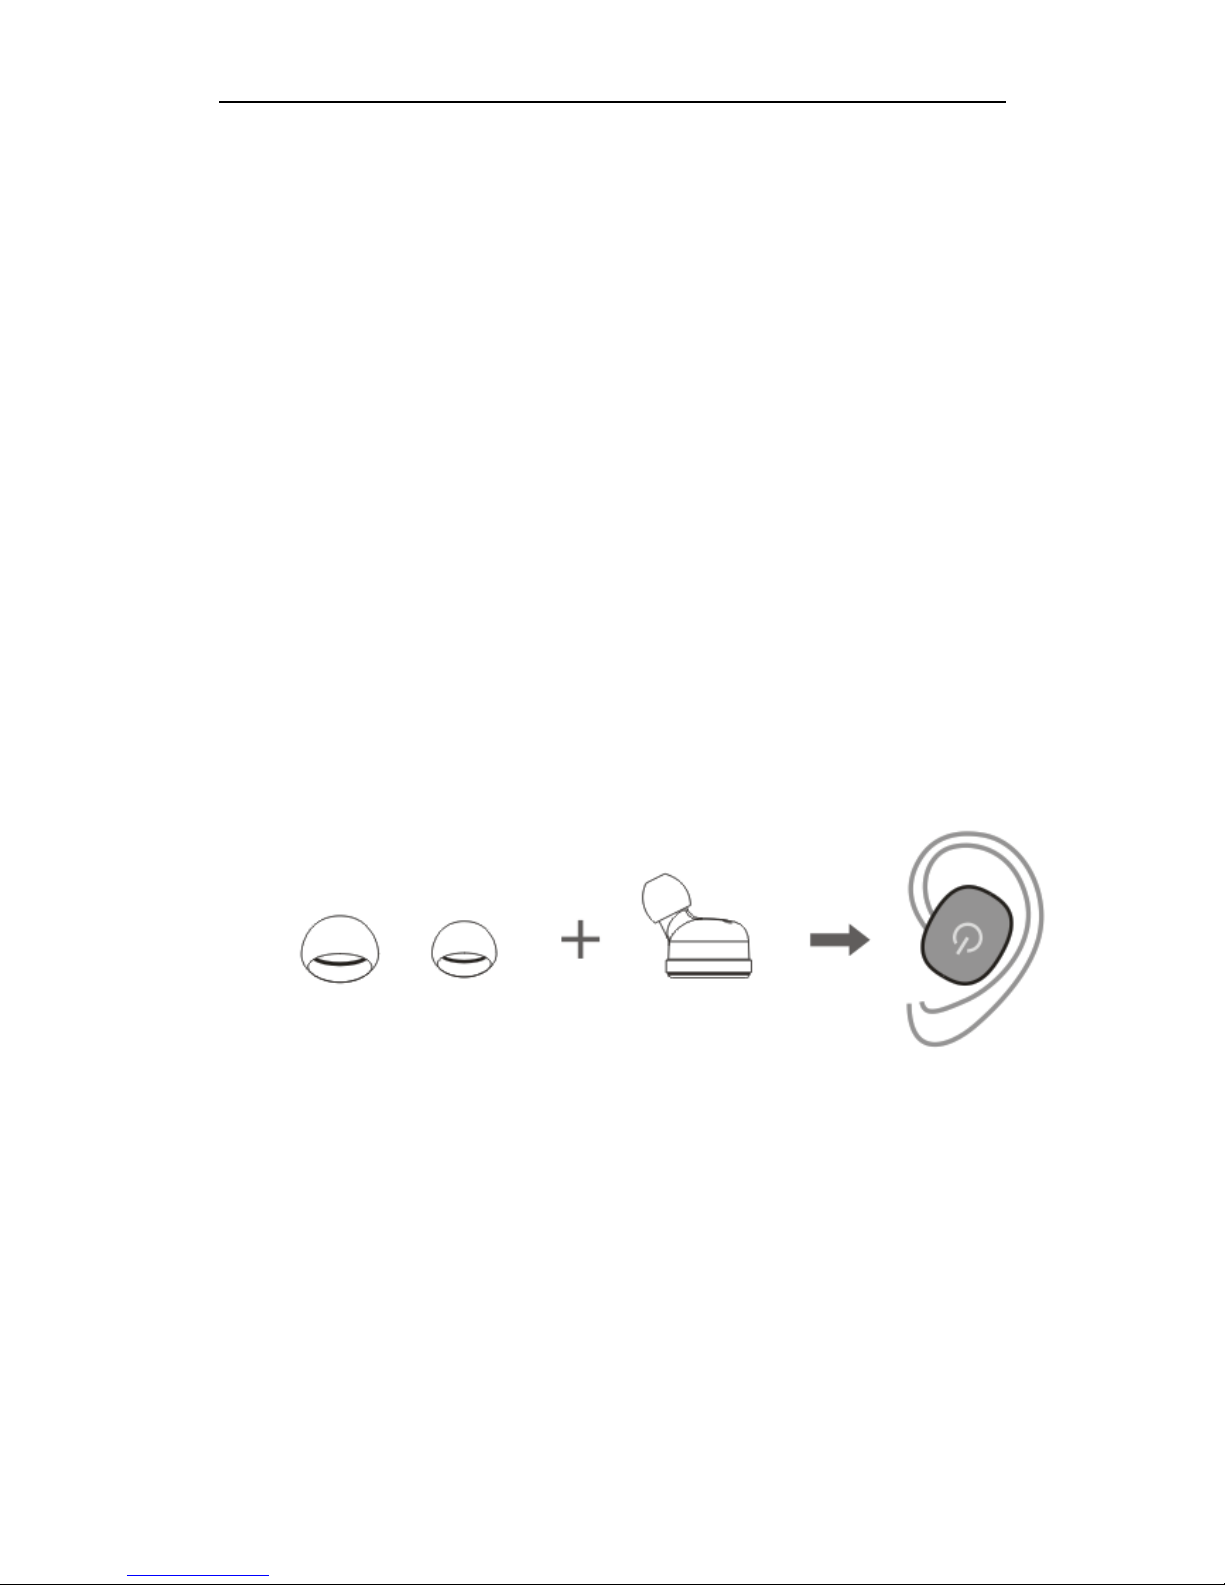
Wearing graphic
1: In order to get the best audio effect, please try different size of earplugs, wearing
the suitable earplug, you should feel close, comfortable and stable. When using
outdoors, please put your cell phone on the same side of your left ear. A medium ear
cap will have a better bass effect.
Remark: Please press the ear cap tightly when you install the ear cap, so as to make
sure that it can fit to the charging bin and charging well.
Binaural mode
1. Put the headset into the charging bin
Put the headset into the charging bin, the headset red indicator is on, which means it is
charging. When charging is finished, the headset indicator light will be off after 5
times flashing, the headset charging takes about 45 minutes. (If the charging bin is
low battery. Please charge the charging bin at first)

4 / 9
2. Take out the headset.
Take out the “L” and “R” headset from charging bin, the headset will power on
automatically, after 10 seconds, the “L” and “R” will finish paring automatically, then
“L” headset will flash red and blue, “R” headset will light off.
“L” headset flash red and blue “R” headset light off
3. Turn on the mobile phone Bluetooth, paring the Bluetooth name”D02-L”, finish
paring, start working.
If only one headset has sound, please delete the paring and turn off mobile phone
Bluetooth, when the headset is power off, please long press the power on key of “L”
and “R” for 5 seconds until the headset flash red and blue, wait for 5-10 seconds, “L”
headset flash red and blue, “R” headset will light off, turn on the mobile phone
Bluetooth, search and paring “D02-L” again.

5 / 9
4. Subsequent working.
Next time when you take out the headset from charging bin, the headset will paring
your mobile phone automatically (Make sure mobile phone Bluetooth is turned on
already)
Single ear mode
1. If “L” headset paired mobile phone before, next time when you use “L” headset
single ear mode, just need to take our “L” headset and wait for about 10 seconds, the
headset will pair automatically.
2. If “L” headset didn’t pair mobile phone before, you will need to take out headset or
power on headset and wait about 10 seconds until the LED indicator light flash red
and blue, then turn on mobile phone Bluetooth, search and pair “D05-L”.
3. The first time when you use “R” headset, take out headset or power on headset and
wait for about 10 seconds until the LED indicator light flash red and blue, then turn
on mobile phone Bluetooth, search and pair “D05-R”.
4. If “R” headset paired mobile phone before, next time when you use “R” headset
single ear mode, just need to take our “R” headset and wait about 10 seconds, the
headset will pair automatically.
Charging Instruction
How to charge the charging bin
Connect the adapter or USB port via USB cable, it will finish charging after about 120
minutes.

6 / 9
Charging bin battery display
When charging bin is low battery, LED indicator flash blue.
When charging the charging bin, LED indicator light red.
When charging is finished, LED indicator lights are full of red light.
Earphone Battery Display
LED flash
blue
LED flash
red
LED
red

7 / 9
Working status
Flashing red light shows low power
Charging status
The red light keep lighting on shows it's charging.
Charging status
The red light flash 5 times and then light off shows charging is finished
Function list:
1 Headset Call
Binaural mode: Call status, only the main headset(left headset) has sound.
Single ear mode: Call status, single headset has sound(left and right headphones can
work separately)
Coming call status: Single click to answer the call, long press for two seconds to
reject the call.
Standby status: Double-click the main-headset(left headset)key, will dial back the last
number automatically.
Call Status: Single click the key to hang up the call, double-click the key to transfer
the call to the phone.
2. Play music
Play: single click the key
Pause: single click the key
Next: Double click the key when playing the music
3. Power off
Put the headset back into the charging bin or long press the headset key for 4
seconds.
Troubleshooting
Fault
Cause
Solutions
cant power on
Headset low battery
Charge the headset
Headset Flashing
Headset low battery
Charge the headset

8 / 9
red light
Charging without
indication
The headset are not connected well
Adjust headset position
Automatically
shutdown
Low headset battery
Charge the headset
The headset has
an echo.
The volume is too loud or the
environment is too noisy
Adjust the volume or change the
environment
The headset are
noisy.
Outside environment is bad or too
far away from the phone
Change position, or move close
to the mobile phone
Sound is small
The headset is not wearing
correctly or the volume is too small
Adjust the headset position or
adjust the phone volume
Signal
Intermittent
Outside environment interference
or too far away from the phone
Change to better environment or
move close to your mobile
phone
Headset has no
sound
No paired successfully between
headsets
Pair the headset correctly
Warning
1: Do not keep the equipment in too low or too high temperature for a long time, extreme temperatures
can cause equipment to deform and reduce the battery capacity, also shorten the service life of the
equipment.
2: Don’t use the equipment in heavy rain, thunderstorms can cause equipment to malfunction, and
increase the risk of electric shock.
3: Please do not disassemble or refit headsets for any reason, which may cause headsets to malfunction
or burn down, please send the headset to the dealer for maintenance.
4: Please put the equipment and accessories in places where children and pets are not accessible, so as
to avoid accidents.
5: Do not put the product in water.
FCC Warning:
Changes or modifications not expressly approved by the party responsible for compliance could
void the user’s authority to operate the equipment.
This device complies with Part 15 of the FCC Rules. Operation is subject to the following two
conditions: (1) this device may not cause harmful interference, and (2) this device must accept any
interference received, including interference that may cause undesired operation.
This equipment has been tested and found to comply with the limits for a Class B digital device,
pursuant to Part 15 of the FCC Rules. These limits are designed to provide reasonable protection
against harmful interference in a residential installation. This equipment generates, uses and can
radiate radio frequency energy and, if not installed and used in accordance with the instructions,
may cause harmful interference to radio communications. However, there is no guarantee that
interference will not occur in a particular installation.
If this equipment does cause harmful interference to radio or television reception, which can be

9 / 9
determined by turning the equipment off and on, the user is encouraged to try to correct the
interference by one or more of the following measures:
-- Reorient or relocate the receiving antenna.
-- Increase the separation between the equipment and receiver.
-- Connect the equipment into an outlet on a circuit different from that to which the receiver is
connected.
-- Consult the dealer or an experienced radio/TV technician for help.
This device complies with FCC RF radiation exposure limits set forth for an uncontrolled
environment. This transmitter must not be co-located or operating in conjunction with any other
antenna or transmitter
 Loading...