


IMPORTANT
PLEASE READ THESE INSTRUCTIONS CAREFULLY BEFORE USING THIS PRODUCT
KEEP FOR FUTURE REFERENCE
Lisa Cot Bed

Page One
www.obaby.co.uk
www.obaby.co.uk
Thank you for choosing O Baby. To ensure that your cot bed is used in
accordance with these instructions, please read them fully and retain for future reference.
If you have any problems please contact O Baby - info@obaby.co.uk or 0845 078 0290
BEFORE ASSEMBLY
- Unpack all the parts and identify them against the fittings and components lists.
- Do not discard any packing until you are sure you have all the parts and the pack of fittings
- If you do not find the missing parts or if you find any damages call the O Baby helpline 0845 078 0290
- Read the instructions thoroughly before attempting to construct the cot/cot bed.
- You may find the construction of your cot/bed easier if you have the help of another person.
- Follow each stage of construction step-by-step.
- It may be unsafe to use replacement part or accessories
Page Two
www.obaby.co.uk
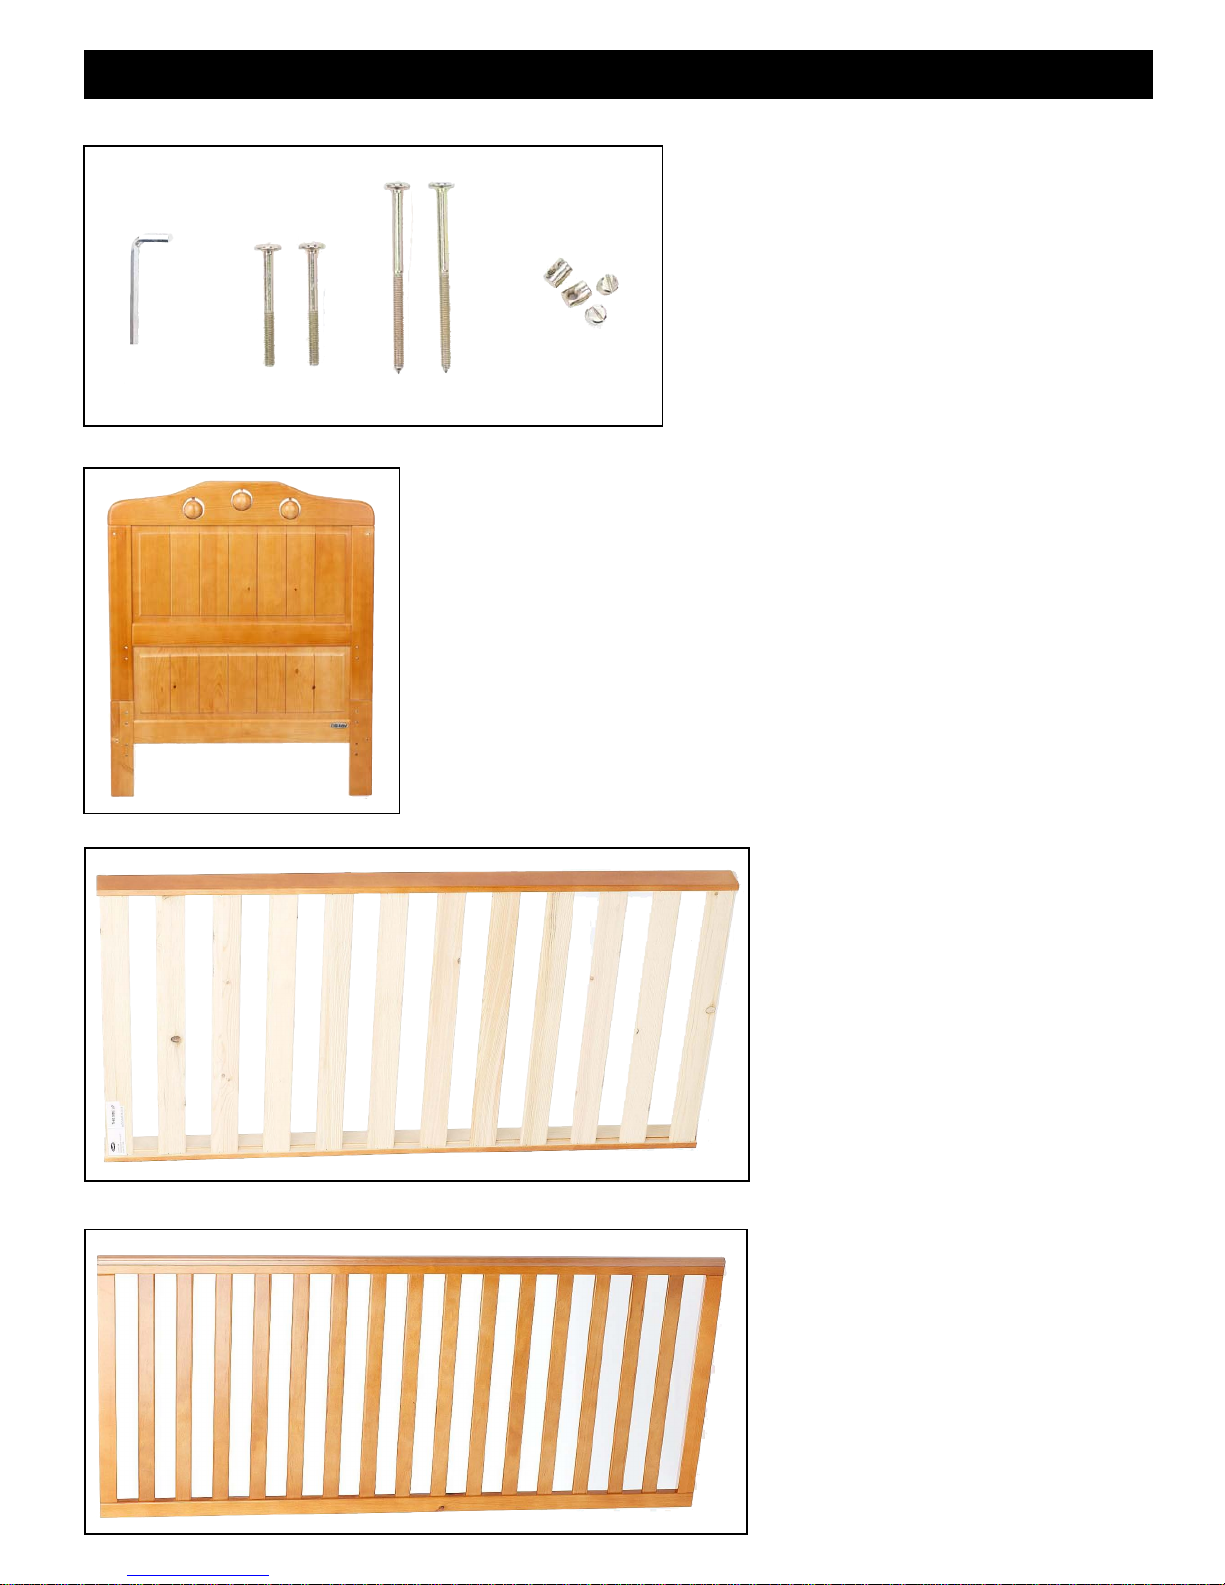
Parts
A. Allen key x 1
B. Long assembly screw x 8
C. Short assembly screw x 8
D. Barrel nuts x 16
Cot bed head end & Foot end panel
(Foot end has the O Baby logo facing the outside of the cotbed)
Cot bed base
Fixed sides x 2
A
B C
D
 Loading...