


Clodagh Trolley Oakworks Trolley
www.oakworks.com 717.235.6807
ASSEMBL ED BY
HAND IN THE
USA
WARNINGS/SYMBOL IDENTIFICATION
WARNINGS / SYMBOLS
WARNINGS
Improper use of this device can cause injury. Be sure to read all operating instructions
prior to use.
Electrical Shock Hazard. The outlet strip is mounted inside the lower cabinet..
Excessive steam and or water can damage your trolley.
Top must be open when using stone warmer.
Failure to do this may void all or part of warranty.
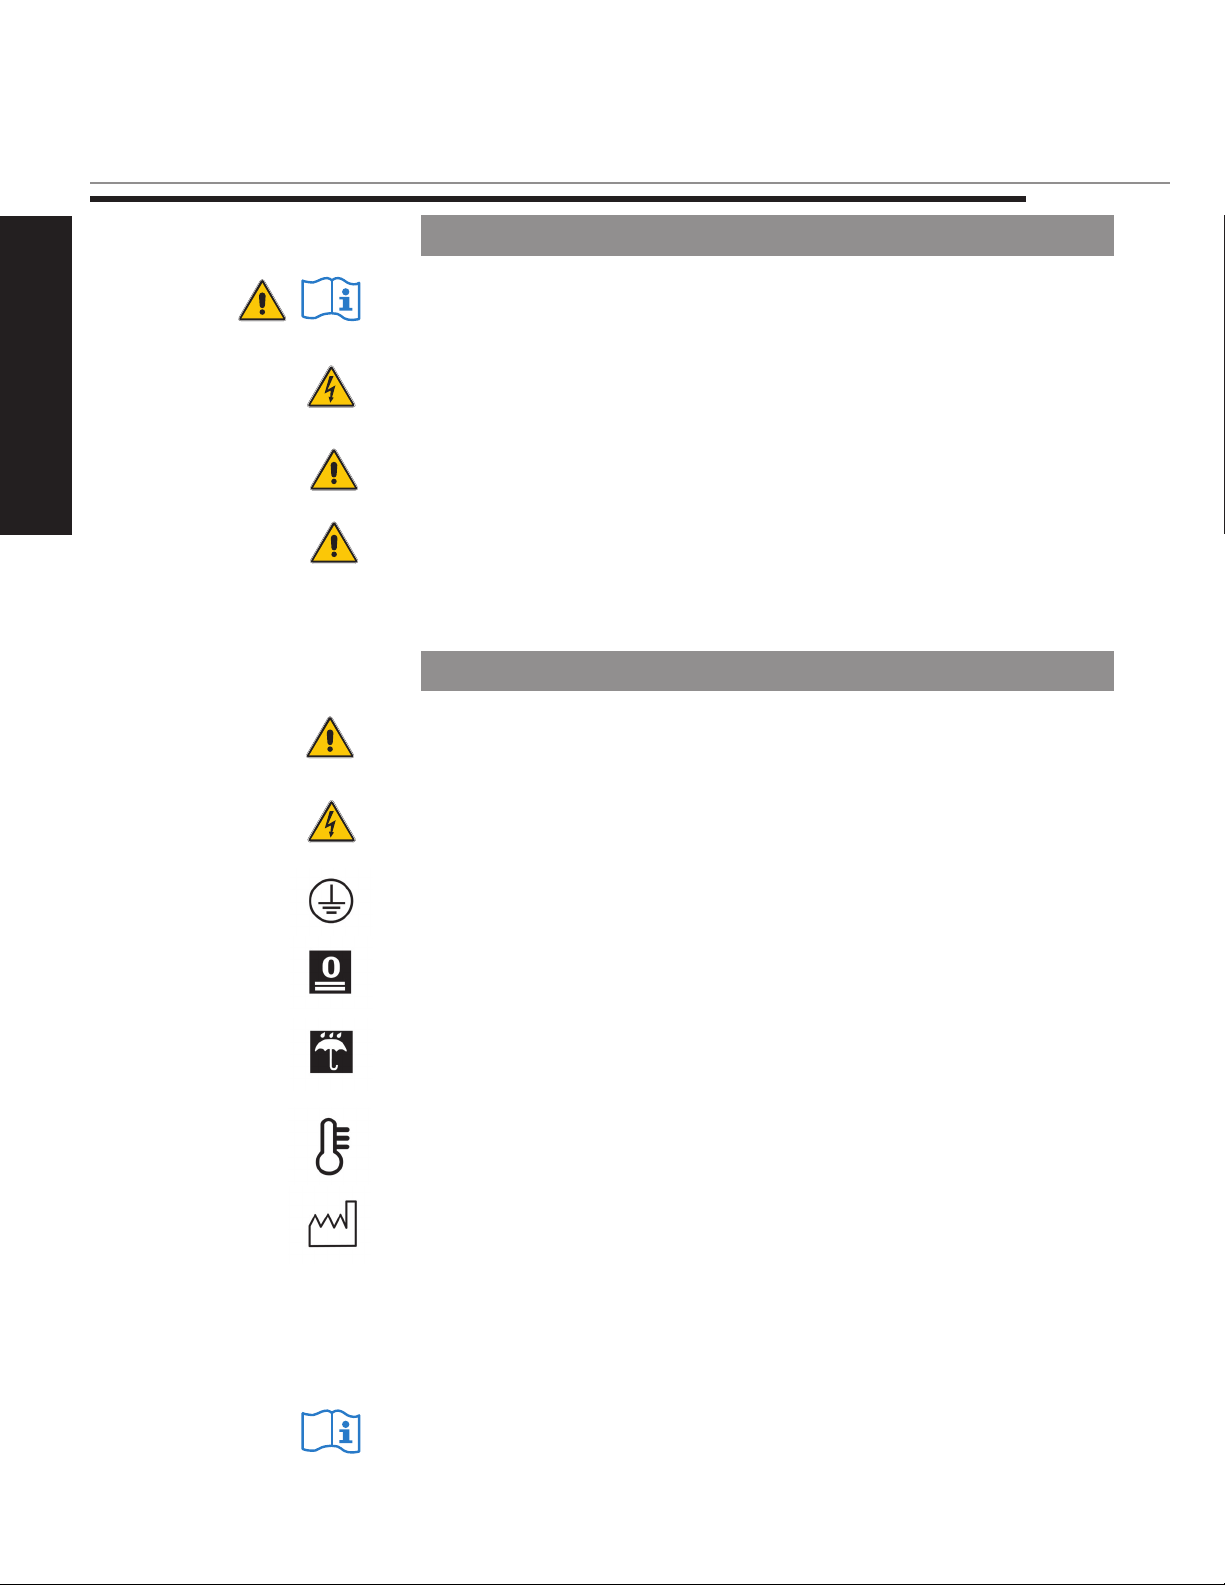
SYMBOL IDENTIFICATION
~
----
This symbol, when used in this manual and on product labels, represents a caution
warning. Be sure to read and comply with all precautions and warnings.
This symbol, when used in this manual and on product labels, warns against an electrical
shock hazard. Be sure to observe and comply with all warnings.
This symbol, when used in this manual or on product labels, indicates a Protective
Earth (Ground) Terminal.
This symbol when used in this manual or on product labels, warns that during transport
there should be no stacking of containers.
This symbol, when used in this manual or on product labels, indicates that the product
should be protected from moisture. The humidity specifications for Transport &
Storage are listed in the back of this manual.
This symbol, when used in this manual or on product labels, indicates that information
is given regarding the recommended temperature limits during transport and storing.
This symbol, when used in this manual or on product labels, indicates the date of
manufacture of the device.
This symbol, when used in this manual or on product labels, indicates alternating
current (AC).
This symbol, when used in this manual or on product labels, indicates direct current
(DC).
This symbol, when used in this manual or on product labels, indicates that
instructional information is included. It should be read carefully and completely .
1

PRODUCT DESCRIPTION
PRODUCT
DESCRIPTION
Drawer with work
surface/cover
(accessory items not included.)
Outlet
Power Strip
Sliding top
PRODUCT DESCRIPTION
Control
Access
Panel
Adjustable/removable
shelf & hardware.
(accessory items not included.)
SPECIFICATIONS
DIMENSIONS
Trolley Dimensions with top closed: 27 1/8” L x 18” W x 34 ½” H
Trolley Dimensions with top open: 49 3/4” L x 18” W x 34 ½” H
Inside Dimensions of top compartment: 23 3/8” L x 14 1/8” W x 13” H
Drawer Dimensions: 21 1/8” L x 12 ½” W x 2 3/8” H
Pull-out work surface (in drawer): 23 ¼” x 7”
Dimensions of Lower Cabinet
with adjustable shelf: 23 3/8” L x 13 3/4” W x 12” H
Packing Dimensions: 30 ¾” L x 21 3/8”W x 38” H
WEIGHT
Weight: 100 lbs.
Shipping Weight: 110 lbs.
ELECTRIC
Built in power strip, US standard; International Electrical available
2
DIRECTIONS FOR USE
DIRECTIONS FOR USE
Be sure to read all
cautions, warnings
and instructions given
in the manual to prevent
injury to both operator
and client.
CAUTION
Do not operate hot stone
warmer with Trolley top
closed. Doing so will cause
accelerated damage to the
top surface. Top must be
open when hot stone warmer
is in use in order to release
the steam caused by the
stone warmer.
CAUTION
Excessive steam and or water
can damage your trolley.
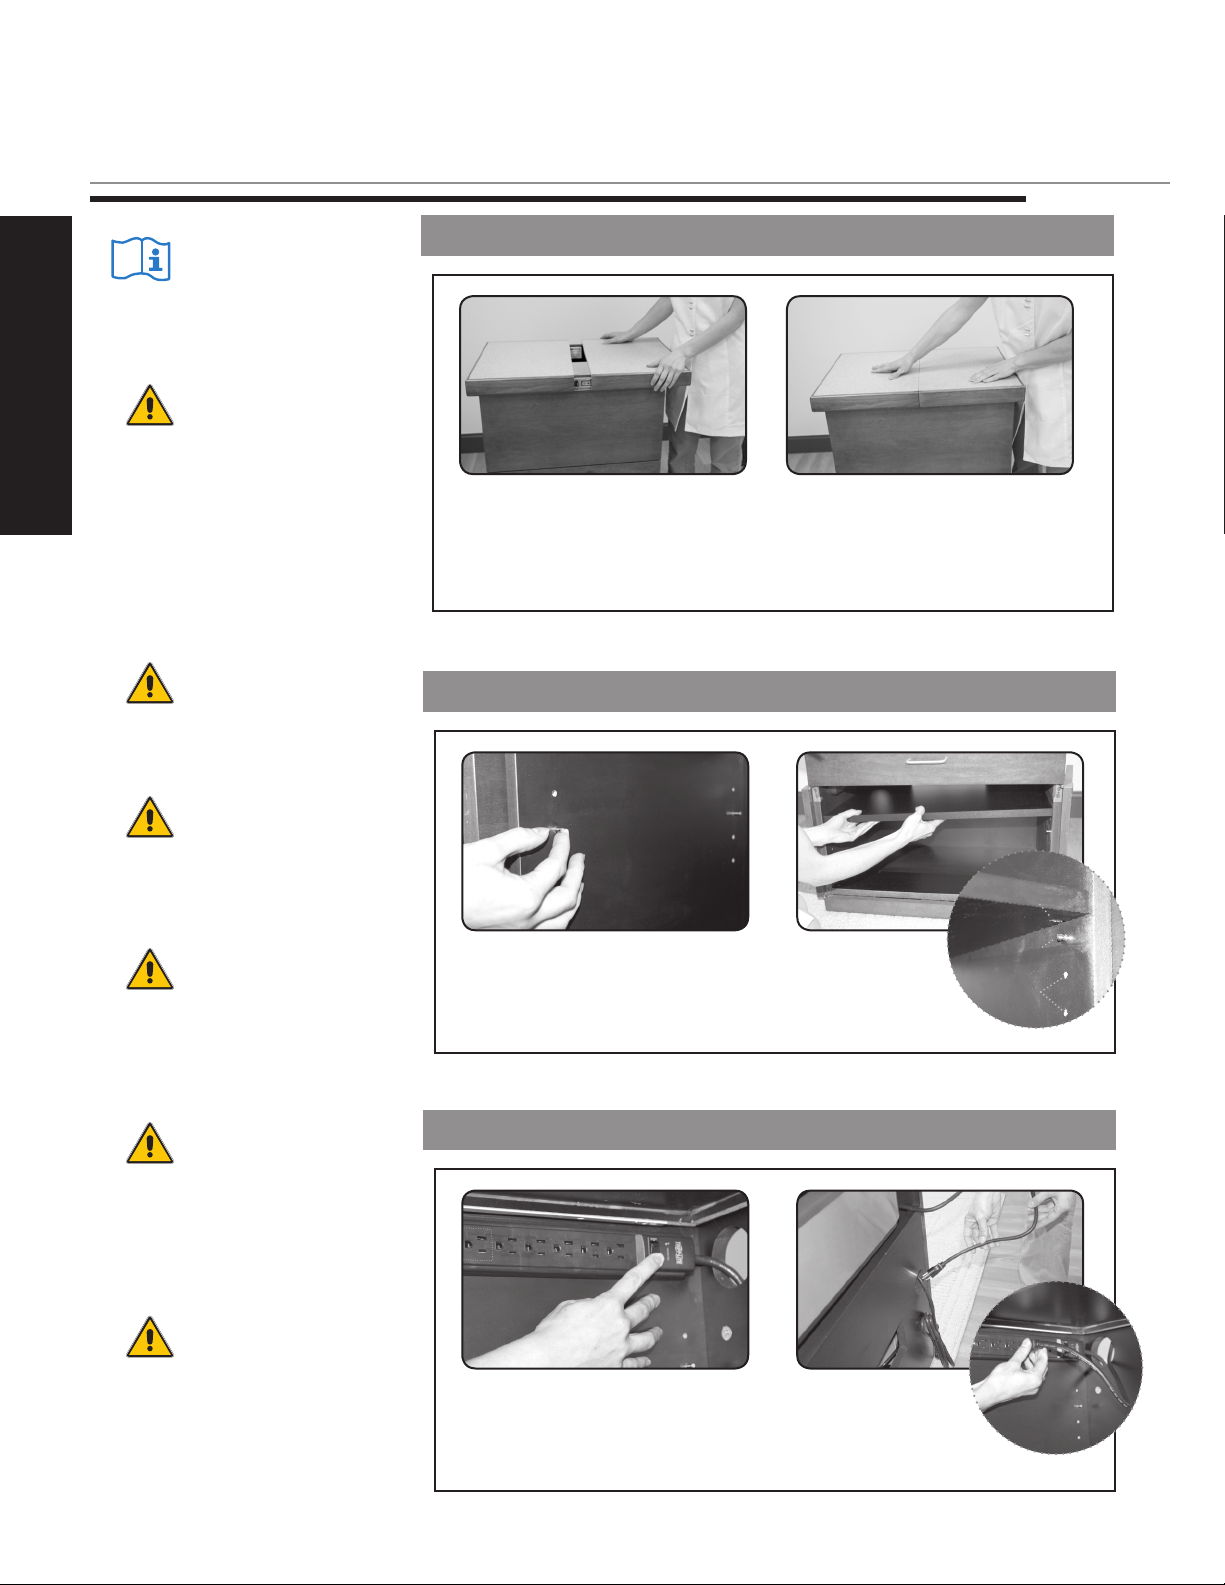
OPERATING SLIDING TOP
To open, grab the top by the edges
and slide them apart. There are
internal stops in the slides that will
keep the top from coming off the
tracks.
To close, just slide the top halves
together.
LOWER SHELF INSTALLATION & ADJUSTMENT
CAUTION
Do not put more than 10 lbs.
on a side of the top when fully
extended to avoid tipping.
CAUTION
Be sure no body parts and/or
clothing are caught in the top
as it is sliding.
CAUTION
Do not allow power cords to
hang out of the front or top of
the trolley. The cords can get
pinched and cause a fire or
electrocution.
CAUTION
Be sure power to the trolley is
disconnected when not in use.
1. Open doors & insert pins into
holes (4) at the level where the shelf
is desired.
POWER STRIP USE
1. Turn off switch to power strip
before plugging in or un-plugging
any appliance.
Shelf
cut-out
2. Place shelf onto
pins & lower the
shelf onto the cut
outs on the bottom.
2. Route power cord
towards the rear of the
trolley before plugging
them into the power strip.
Pin
Extra
holes
3
DIRECTIONS FOR USE
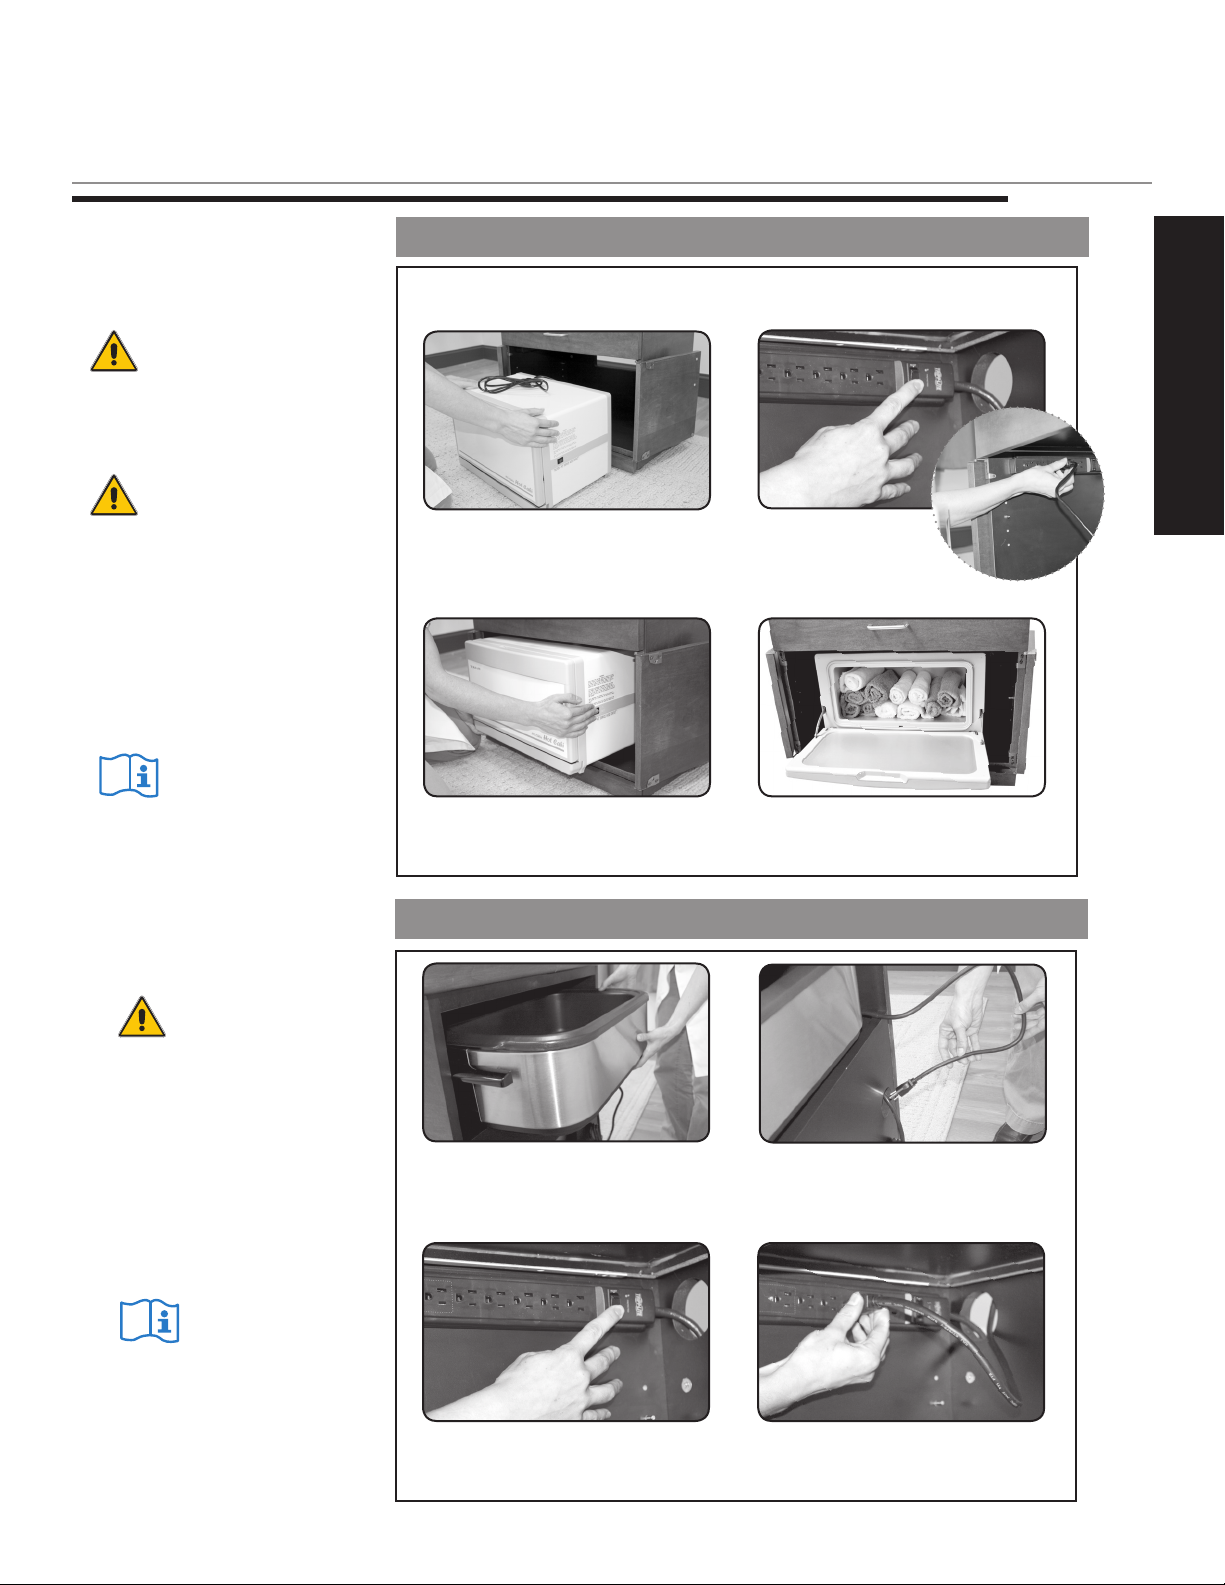
INSTALLING OPTIONAL HOT TOWEL WARMER
CAUTION
Keep Trolley doors open when
towel cabi is in use.
CAUTION
Make sure the hot towel cabi
door is closed properly and
the drainage tray is emptied
to prevent damage to the
trolley.
Be sure to follow towel warmer
manufacturer’s instructions.
Open the cabinet doors & remove the adjustable shelf & pins.
Reverse installation instructions on page 4.
1. Set the warmer on the floor in
front of the trolley.
3. Set the warmer into the cabinet
making sure the power cord is
routed towards the back.
DIRECTIONS FOR USE
2. Turn off the switch
to the power strip and
plug in the warmer. Turn
on the switch to the power strip.
4. Your towel cabi is ready to use.
Be sure to keep Trolley doors open
when towel cabi is in use.
CAUTION
Do not operate hot stone
warmer with Trolley top
closed. Doing so will cause
accelerated damage to the
top surface. Top must be
open when hot stone warmer
is in use in order to release
the steam caused by the
stone warmer.
Be sure to follow stone warmer
manufacturer’s instructions.
INSTALLING OPTIONAL STONE WARMER
1. Slide the stone warmer into the
hole in the rear of the trolley. The
controls can face towards the front of
the trolley.
3. From the front, open the cabinet
doors and switch the power strip to
the off position.
2. Route the power cord out of the
rear access and into the lower cabinet
access hole.
4. Plug the stone warmer into the
power strip & switch the power
strip back to the on position.
4

PRODUCT INFORMATION
OPERATING DRAWER WITH WORK SURFACE
PRODUCT INFORMATION
Pull the work surface the
whole way out to conceal
your supplies and for
extra working space.
Easily push the work surface the whole way back
allowing access to the drawer and your supplies.
HOW TO CARE FOR YOUR TROLLEY
• Useonlyamildsolutionof4:1dilutednon-alcoholcleanersuchas
Simple Green®, 409®, Fantastik® or some other non-abrasive cleaner to
wipe down the metal surfaces of the trolley. Apply with a damp (not wet)
lint-free cloth. Be sure excess liquid does not drip onto, or into, any of the
electrical controls or mechanisms. Be sure that the unit is unplugged before
cleaning these areas. Wipe these areas carefully with a lint free cloth.
• Theslidesandcastersofyourtrolleyrequirenogeneralmaintenanceorlubrication.
• Thewoodenportionsoftheequipmentcanbepolishedwithanypolish
approved for wooden surfaces. Spray, or pour, the polish onto a soft cloth
and be careful not to get it onto other surfaces.
• Thetabletopmaterialmaystainifitissubjectedtoprolongedexposureof
dark liquids and chemicals. If a mild solution does not remove the stain, the
top will need to be re-surfaced by sanding and polishing with an approved
compound of 1200 grit polish or finer.
• Waterspillsorcondensationshouldberemovedimmediatelyfromsurfaces.
PERMISSIBLE ENVIRONMENTAL CONDITIONS
Conditions Temperature Humidity Atmospheric Pressure
Normal Use 50° (10°C) to 100° (38°C) 20% to 60% RH 98 to 150 kPa
Storage & Transport -20° (-29°C) to 135° (57°C) 20% to 95% RH 98 to 150 kPa
5
PERMISSIBLE ENVIRONMENTAL CONDITIONS
ELECTRICAL SPECIFICATIONS
ELECTRICAL SPECIFICATIONS
Designed For: North America Europe/UK
Electric Service
Operating Voltage
Power
Consumption Max.
Electric Shock Protection
120V/15A/60Hz
120 VAC
1800 watts
Class I Equipment
220V/10A/50Hz
220 VAC
1800 watts
Class I Equipment
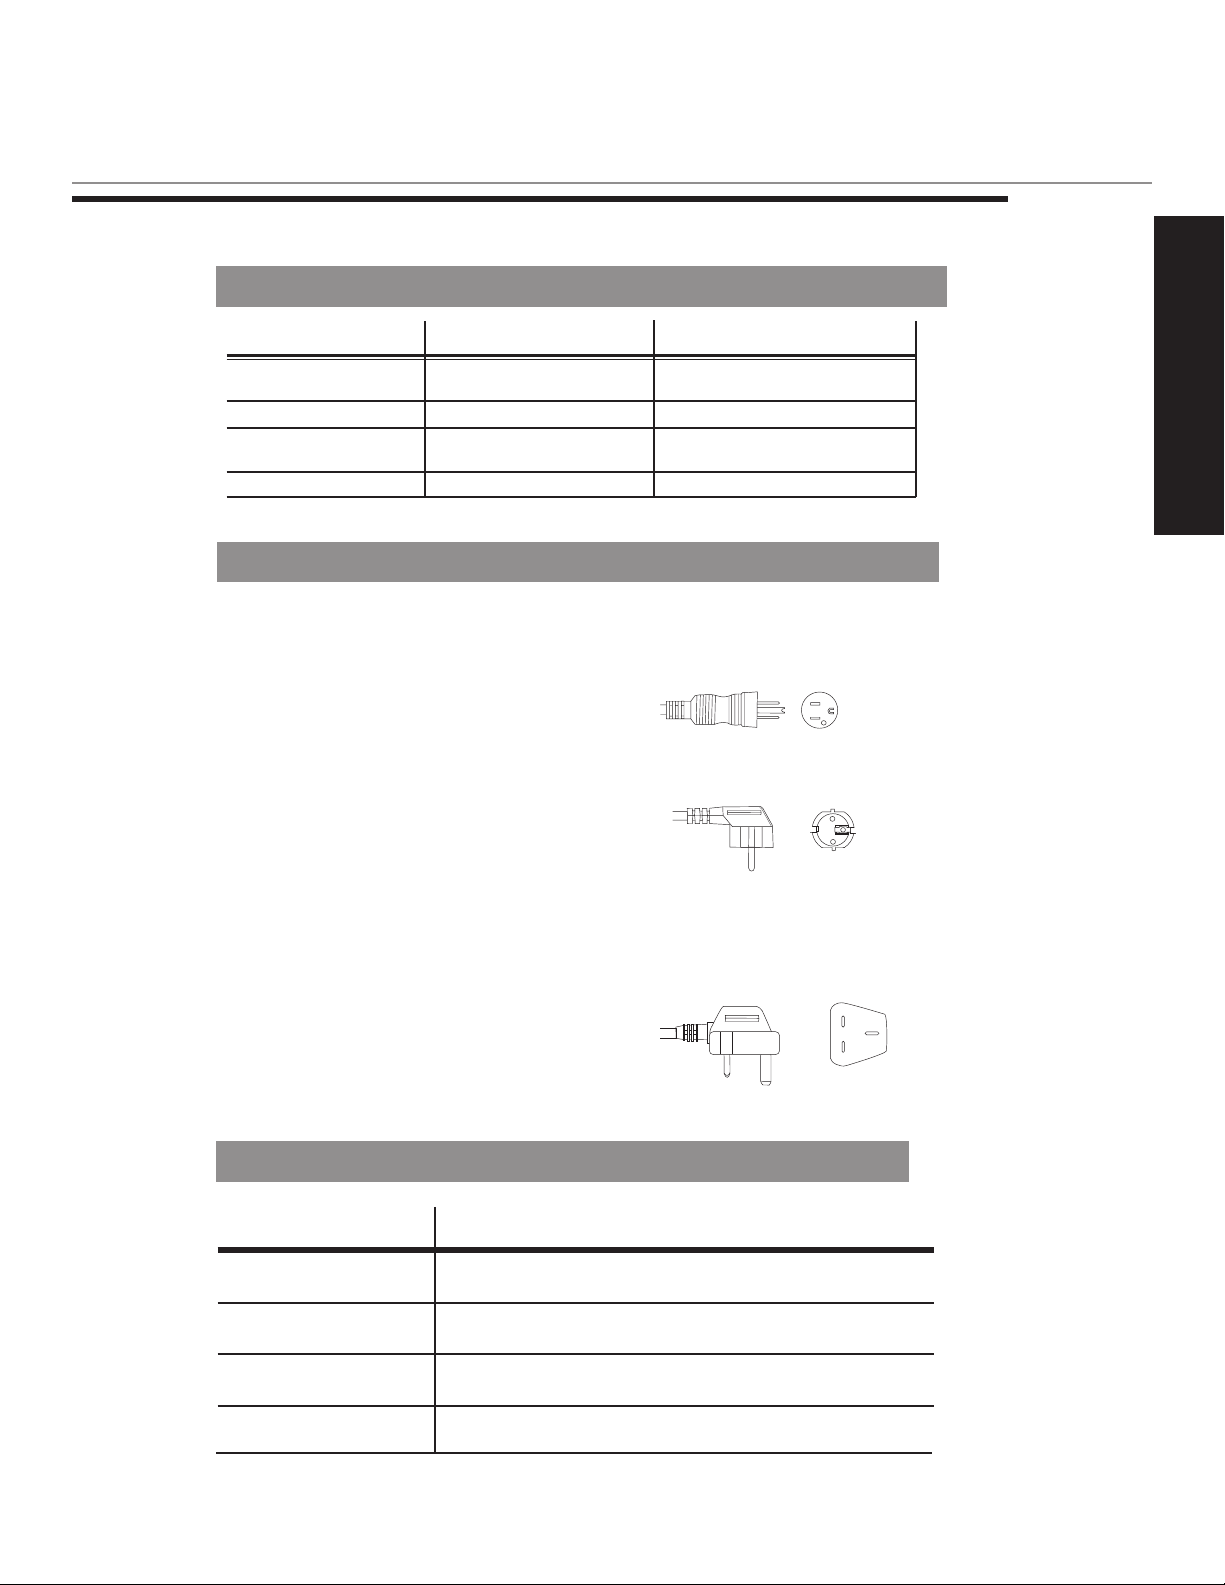
PLUG IDENTIFICATION
Oak works® Part #: Voltage (AC) Power Cord Plug
2083-5 120v 60 Hz 3 prong grounded
North America
2083-2 220v 50 Hz Continental Plug; Europe
2083-3 220v 50 Hz British plug;
United Kingdom
ELECTRICAL SPECS
OPTIONAL ACCESSORIES
Part No. Accessory Description
3680-1 Hot towel cabi, US, 120V
3680-2 Hot towel cabi, EU, 220V
3680-5 Mini Hot towel cabi, US
xxxx Hot stone warmer
6

CONTACT INFORMATION:
Oak work s® Inc.
923 East Wellspring Road
New Freedom, PA 17349
Toll Free (USA only): 800-916-4613
Phone: 717-235-6807
FAX: 717-235-6798
www.oakworks.com
ASSEMBL ED BY
HAND IN THE
USA
INSTRUCTION MANUAL
Notice
The information contained in this document is
subject to change without notice and should not
be construed as a commitment by Oakworks®, Inc.
Oakworks®, Inc. assumes no responsibility for
any errors that may appear in this document nor
does it make expressed or implied warranty of
any kind with regard to this material, including,
but not limited to, the implied warranties of
merchantability and fitness for a particular purpose.
Oakworks®, Inc. shall not be liable for incidental
or consequential damages in connection with
or arising out of the furnishing, performance, or
use of this document and the program material
which it describes.
Manual Part Number MMMNST0013-EN
Revision: A
Revision date: 04/24/2015
Edition 1, English
Printed in USA
© Copyright 2008
 Loading...