

Oak Stoves ZETA10L, ZETA10P, ZETA10C Installation Manual
The Zeta 10 Series
ZETA10L, ZETA10P, ZETA10C
Manual
Operation & Installation
sales@oakstoves.co.uk www.oakstoves.co.uk

Zeta 10 Series Manual - V1.1 © Oak Stoves 2016
2
IMPORTANT
READ BEFORE USE
We use Stove Bright® High Temperature Paint on all of our stoves and it is important that the paint
is cured properly during the rst burn of the stove. This is done to ensure the paint nish will be able
to withstand the high temperatures needed. Curing is done by following the instructions below. If this
process is not done properly during the rst burn of your stove, you may experience issues with the
paint peeling over time, especially when the stove is operated at a high heat.
Set / Cure the paint
For wood burning, follow these guidelines:
1. Build a small kindling re to start. The kindling re should be kept burning for 10 to 15
minutes.
2. Add fuel to build a medium size re to bring the stove surface temperature to about 450°F.
3. The medium size re should be kept burning for about 60 minutes.
4. For the nal stage of curing, add fuel to this re to make it a very hot re (surface temperature
above 600°F) and keep it at this level for about 60 minutes.
Once this initial process has been completed, the paint will be properly cured and you can operate
your stove normally according to the instructions provided in this manual. If any peeling of the paint
occurs on your stove this will only be as a result of improper curing or misuse of the stove such as
over fuelling or running the stove too hot. Therefore any peeling is not covered by your warranty.
NOTE: During the nal higher temperature burn phase there may be some visible smoke near the
stove surface. There may also be an unpleasant odour. To mitigate this effect, ventilate the room
with open windows and doors to provide airow.
HEALTH WARNING: The smoke from the curing process displaces oxygen. Small children, the
elderly and persons with existing breathing problems should vacate the area during the hot burn to
avoid the discomfort of lost oxygen. The smoke is primarily Carbon Dioxide, and therefore non-toxic
but uncomfortable.
Trouble Shooting: Paint Curing
Take care to build slowly to the medium temperature re. Building a hot re immediately will “shock”
the paint and cause it to release from the surface. The only remedy to this problem is to remove the
paint, prepare the surface for repainting, and repaint. To avoid problems during the curing process,
do not touch the surface with anything until the paint is fully cured.

Zeta 10 Series Manual - V1.1 © Oak Stoves 2016
3
Introduction
Thank you for purchasing an Oak Stove, we know that our stove will provide your home with many years of heat and
good service. We assure you that you have purchased a quality product that has been built to last, designed and
manufactured in the UK with an Eco-Cleanburn system to ensure a clean and efcient performance.
Please read the operation and installation guide carefully before commencing the installation and remember to keep this
manual safe for future reference.
Contents
EC Declaration Of Conformity 4
Technical Information 5
Operating Instructions
Recommended Fuels 6
Setting The Air Control Management 7
Lighting The Stove 8
Operating The Stove With The Door Open 9
Controlling The Stove 9
Refuelling 9
Cleaning & Maintenance 10
Ash Clearance 10
Throat, Bafe Plate & Flueway Cleaning 10
Removing The Primary Air Knob 10
Chimney Sweeping 11
Combustion Air Supply 11
Seasonal Use 11
Troubleshooting 12
Placement & Fixing Advice 13
Installation Instructions
Health & Safety Precautions 15
Chimney 15
Hearth & Fire Surround 15
Flue Connection 16
Connecting The Flue 16
Permanent Air Vent 16
On Delivery Of The Stove 16
After Installation 16
Zeta 10 Dimensions 17
Zeta 10 Parts List 18
Maintenance 19
Warranty & Guarantee 21
WARNING!
The appliance will
become very hot.
During operation, the entire stove
unit becomes very hot and will cause
burn injuries if touched. Heat is also
radiated from the stove, especially
the glass, and high temperatures
will be emitted. Always take care
when near the re and that there
are no ammable materials closer
than the recommended distance
specied.
NOTE:
Ensure you report the installation
of your stove to your local
authority.
The owner of the property is
personally responsible for ensuring
compliance with all mandatory
safety requirements and that the
installation is carried out by an
approved and qualied installer.
Zeta 10 Series Manual - V1.1 © Oak Stoves 2016
4
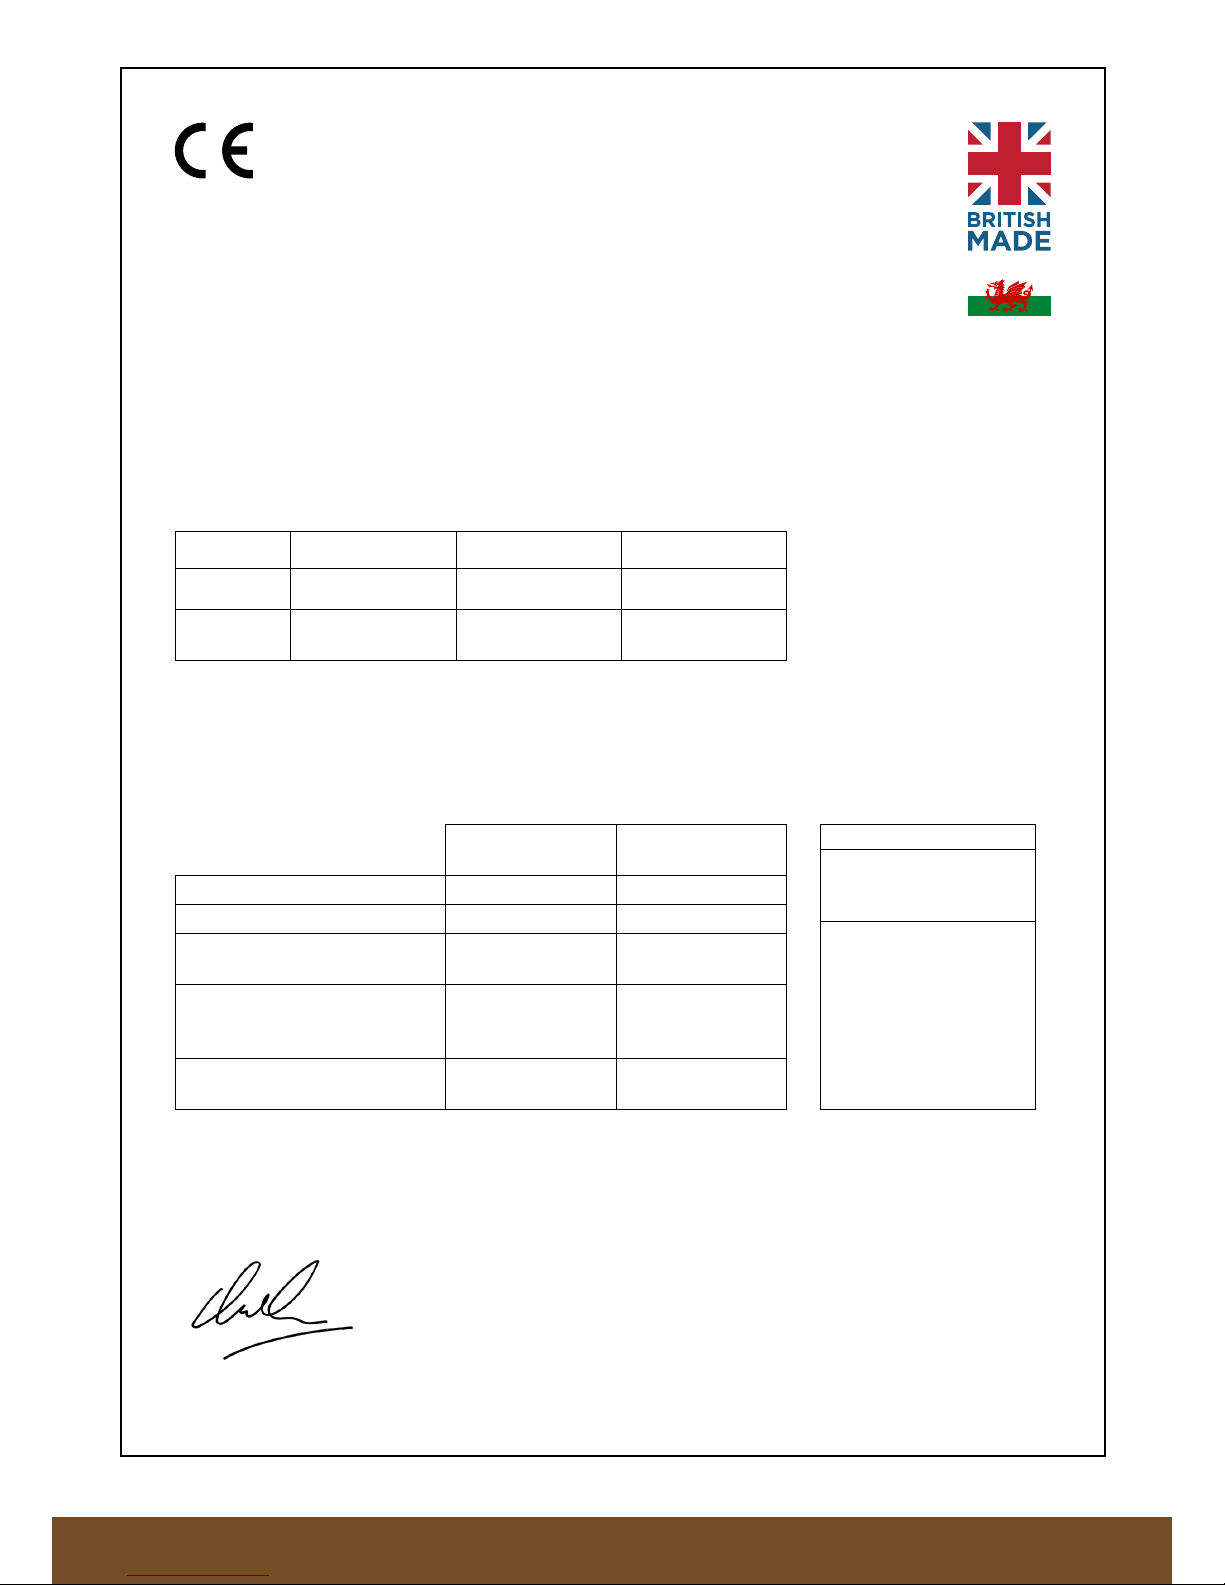
EC Declaration Of Conformity
MANUFACTURER
Name Oak Stoves
Address 11 Village Farm Industrial Estate
Village Farm Road, Pyle
West Glamorgan, CF33 6BL
Telephone +44 (0)845 644 2815
Place Of Manufacture West Glamorgan, South Wales, United Kingdom
PRODUCT
Product Type Multi-Fuel Stoves red by solid fuel
Series Zeta 10 Series (Log Store Pedestal, Compact)
Model Numbers
MODEL ZETA10L ZETA10P ZETA10C
NAME Zeta 10 Log Store Zeta 10 Pedestal Zeta 10 Compact
CE Ref.
No.
ZETA10RLS ZETA10RP ZETA10RC
Standard EN 13240 : 2001
Intended for use Heating of living accommodation
Fuels Wood logs & solid mineral fuel
Special conditions None
Date of issue 23/11/2016 - Version 1.1
WOOD
SOLID MINERAL
FUEL
NOMINAL OUTPUT 11kW 7kW
ENERGY EFFICIENCY (NET) 74.4% 74.8%
CO EMISSION AT 13%
OXYGEN
0.11% 0.18%
CLEARANCE TO
COMBUSTIBLE MATERIAL
(MINIMUM)
75mm - REAR
300mm - SIDE
75mm - REAR
300mm - SIDE
AVERAGE FLUE GAS
TEMPERATURE
308
o
C 266oC
Manufacturer’s Declaration
The stove is approved by Building Services Research and Information Association (BSRIA) and fulls
the applicable rules for EN-13240:2001 & CE marking. Manufacture of the product has taken place in
accordance with those specications. This forms the relevant type approval certication and the required
manufacturing processes and checks.
Richard Heatherill
Technical Director (Europe) - Oak Stoves
RECOMMENDED FUELS
WOOD LESS THAN 20%
MOISTURE
BRIQUETTED CLOSED FIRE
FUEL
THIS APPLIANCE IS CAPABLE
OF INTERMITTENT OPERATION
AND SHOULD ONLY BE USED
IN ACCORDANCE WITH THE
USER’S INSTRUCTIONS,
BURNING ONLY
RECOMMENDED FUELS.
THIS APPLIANCE IS NOT FOR
USE ON A SHARED FLUE
IMPORTANT
The CE plate can be
found on the underside
of the door.
Zeta 10 Series Manual - V1.1 © Oak Stoves 2016
5
Technical Information
All local regulations, including those referring to national and European Standards need to be complied with
when installing the appliance.
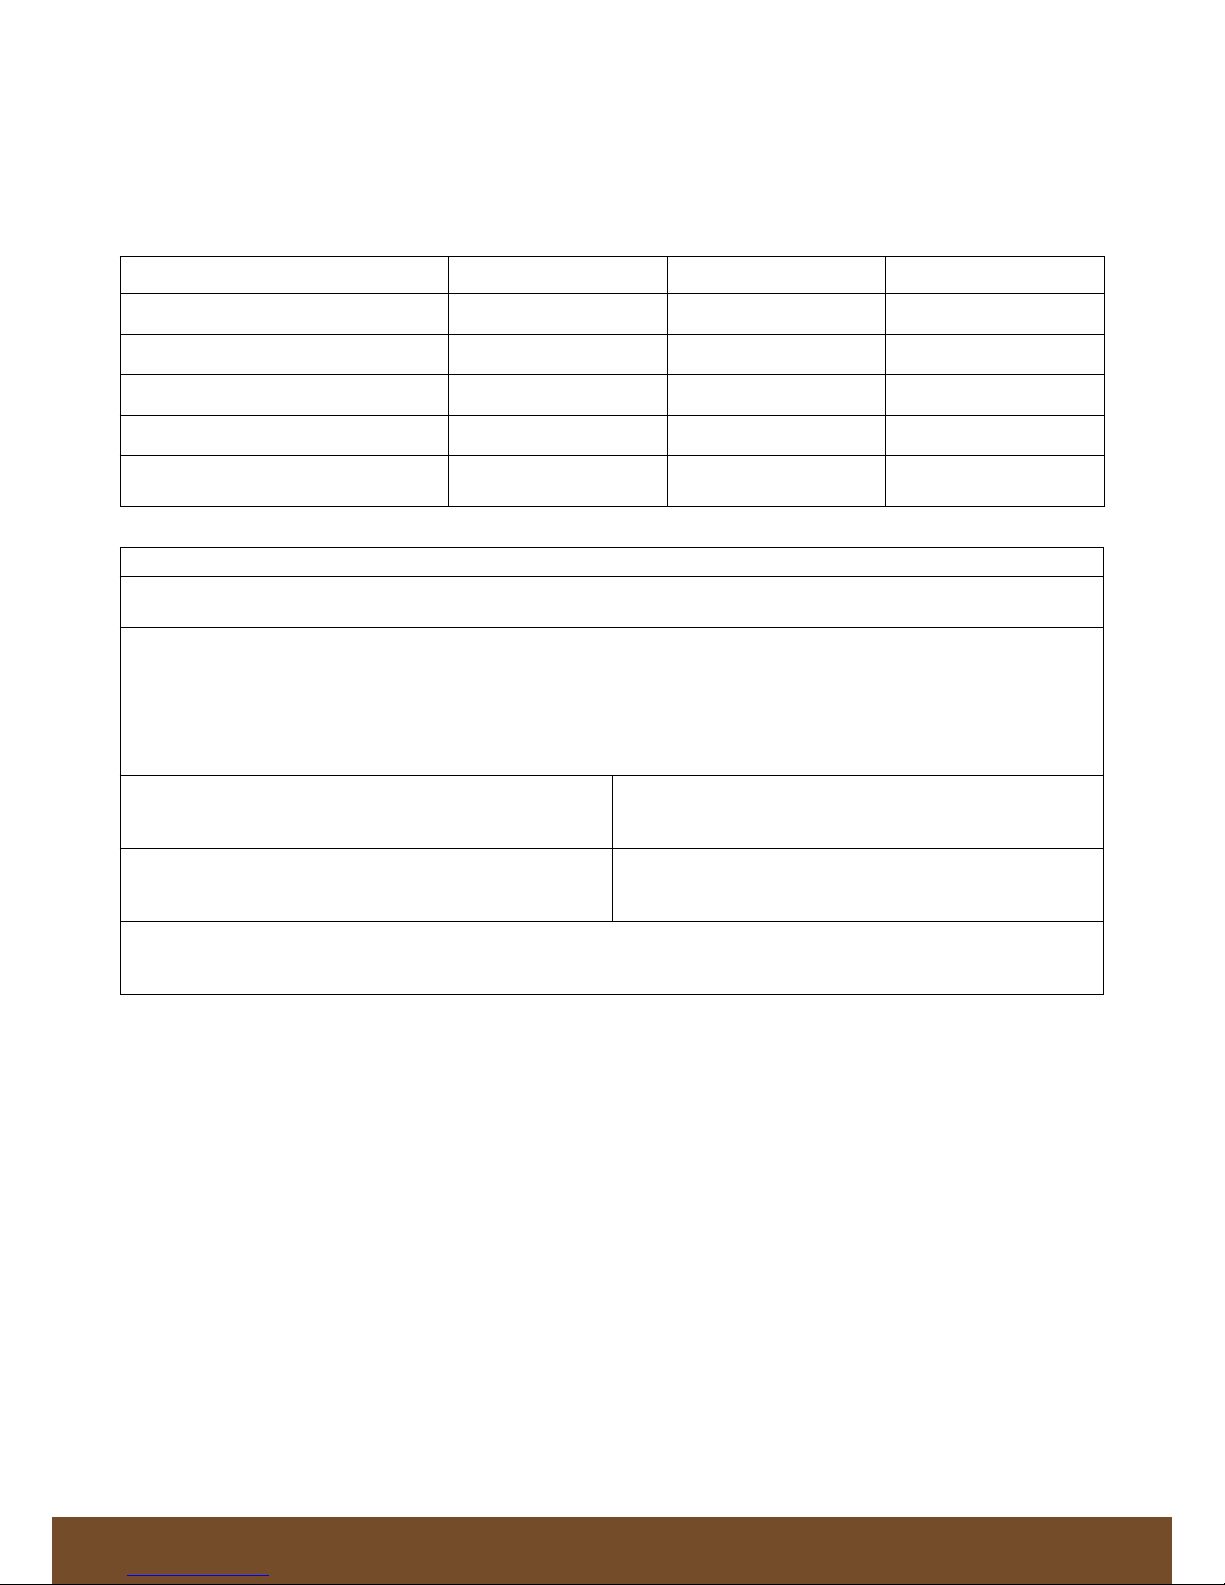
This manual is for the following models in the Zeta series:
MODEL ZETA10L ZETA10P ZETA10C
NAME Zeta 10 Log Store Zeta 10 Pedestal Zeta 10 Compact
RANGE 5-12kW 5-12kW 5-12kW
EFFICIENCY 74.8% 74.8% 74.8%
MASS 200kg 200kg 170kg
THE MINIMUM FLUE DRAUGHT
FOR NOMINAL HEAT OUTPUT*
12pa (Pascals) 12pa (Pascals) 12pa (Pascals)
*where applicable, with open and closed redoors.
RECOMMENDED FUELS
WOOD LESS THAN 20% MOISTURE
BRIQUETTED CLOSED FIRE FUEL
THIS APPLIANCE IS CAPABLE OF INTERMITTENT OPERATION AND SHOULD ONLY BE USED IN
ACCORDANCE WITH THE USER’S INSTRUCTIONS, BURNING ONLY RECOMMENDED FUELS.
THIS APPLIANCE IS NOT FOR USE ON A SHARED FLUE
PLEASE COMPLETE ALL THE DETAILS BELOW AS THIS COULD AFFECT YOUR WARRANTY
SERIAL NUMBER DATE OF INSTALLATION
HETAS INSTALLER REGISTRATION NUMBER INSTALLER NAME
INSTALLER ADDRESS
Important To Remember
Installation By Authorised Technician
This manual contains instructions on how the stoves must be assembled, maintained and installed. To ensure the
function and safety of the stove, we recommend that the installation must be carried out by an authorised technician.
Contact one of our dealers to nd a suitable tter.
Structural Support
Check that the wood joists are strong enough to bear the weight of the stove and chimney. The stove and chimney can
usually be placed on a normal wooden joist in a single occupancy house, if the total weight does not exceed 400kg.
Building Permission
Before installing a stove or erecting a chimney, it is necessary for you to make an application for building permission to
your local authority. Ask your local authority for advice regarding building regulations and the application.
Hearth Plate
Due to the risk of embers falling out, a ammable oor must be protected by a hearth plate. It must extend 300mm in
front of the stove and 300mm on each side of the stove, or have a 200mm extension on each side of the opening. The
hearth plate can consist of natural stone, concrete, metal plate or glass.

Zeta 10 Series Manual - V1.1 © Oak Stoves 2016
6
Operating Instructions
NOTE: All multi-fuelled stoves must be installed by an approved installer, and all
necessary checks described in the Installation Instructions need to be carried out.
Only use the recommended fuels detailed below.
Recommended Fuels
The Zeta stoves are Multi-Fuel appliances, meaning they can burn a number of different
fuels, however you must ensure that you follow the instructions specic to your chosen type
of fuel and that your chimney is suitable for all the types of fuel you will use.
Wood
The wood you use to burn in this stove should only be dry and well seasoned. To prepare the
wood for burning ensure it is cut, split and then left to season in a dry, well ventilated area for
at least one year before burning. The ideal types of wood for this stove are hard woods such
as Ash, Beech or Oak. We recommend that all wood has a moisture content of less than 20%.
The rebox should have a bed of ash at the base for the wood to be placed on. The use of
unseasoned wood in this appliance can result in heavy tar deposits in the stove, on the glass
and within the chimney. Also unseasoned wood will produce lower outputs from the re.
Peat
Cut peat must be dried before using in the stove in order to reduce the amount of tar deposits
produced. You should burn Peat in the same way as wood fuel, on a bed of ash at the base
of the stove.
Smokeless Fuel (Solid Mineral Fuels)
A variety of smokeless fuels may be used in this stove, however you must check the necessary
precautions for each specic fuel to prevent damage. These fuels include:
• Ancit
• Anthracite Large Nuts
• Centurion
• Extracite
• Homere
• Maxibrite
• Phurnacite
Only smokeless fuels may be burnt in smoke control areas. Petroleum Coke is not suitable
for use on this appliance, it’s use will void your warranty.
There are a few additional points to consider when lighting smokeless fuel res, please refer
to the ‘Burning solid mineral fuels’ section on the next page.
Operating Instructions

Zeta 10 Series Manual - V1.1 © Oak Stoves 2016
7
Setting The Air Control Management
The following is a recommendation only for maximum efciency.
When burning wood only or solid mineral fuels (smokeless fuels) the following settings are
recommendations only as it is all dependent on the moisture content of the material to be
burnt.
So if the moisture content is above 16 to 20% which is the recommended level in any of
these products you may well need to make adjustments to get the optimum burn efciency
out of this stove. So the following is a guide only to the position of the primary secondary and
tertiary air controls.
Please note that wood burns from the top of the re box down so more control is gained from
the secondary and tertiary slider control bar. These operate the clean glass air wash system
which assists in helping to prevent the glass blackening up and the Eco-Cleanburn at the
rear of the re box which helps to insure that all of the gases given off from the wood and
solid mineral fuels are fully burnt prior to being exhausted up the chimney, therefore giving
maximum heat output and efciency to the stove.
As you open and close the single slider for the clean glass air wash (secondary) and the EcoCleanburn (tertiary) there is a balancing valve (which you never need to touch) tted into the
rear of the stove that automatically manages the volume of air being fed to each of the outlet
air controls so the optimum airow is delivered to the clean glass air wash down the front of
the glass and the Eco-Cleanburn afterburn at the rear of the re box.
However, solid mineral fuels burn from the bottom up so you require air ow from the primary
air knob on the door and less from the secondary and tertiary control.
Please refer to the table below as a guide only to the position of the 2 air controllers.
Burning wood only
Position of air
management controls
Lighting the stove Once alight & burning
well
To shut the stove off
1
Primary control knob
(on front of door)
Open 4 turns
(5mm gap)
Turn in 3 full turns so
gap is 1-2mm
Close completely
2
Secondary slider
(in middle of stove)
Pull slider out 75%
towards you
Push slider in to
approx 50%
Push in fully to close
Burning solid mineral fuels
Position of air
management controls
Lighting the stove Once alight & burning
well
To shut the stove off
1
Primary control knob
(on front of door)
Open 4 turns
(5mm gap)
Turn in 1 full turn so
gap is 3-4mm
Close completely
2
Secondary slider
(in middle of stove)
Pull slider out 75%
towards you
Push slider in
between 50% - 25%
Push in fully to close
Operating Instructions
 Loading...