

Page 1
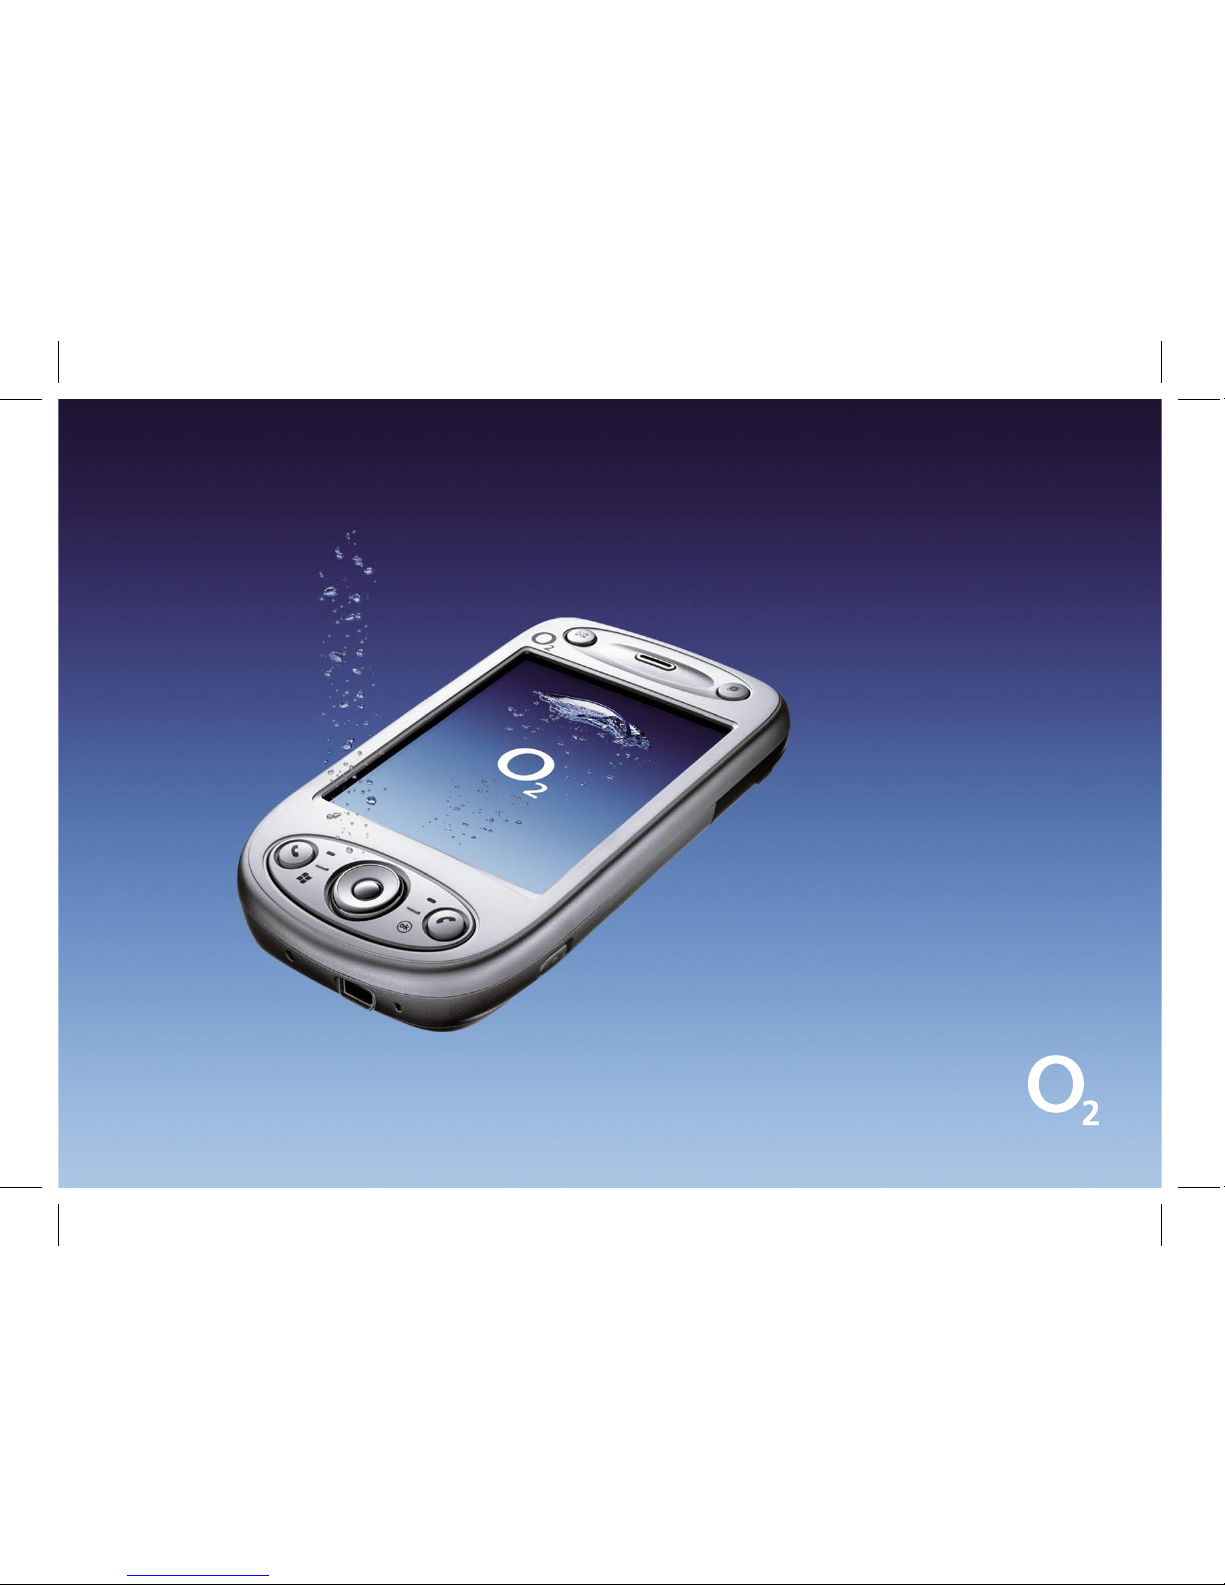
A quick guide to your
Xda Argon
O2 Argon_Quickguide.indd 1 7/3/07 15:29:05
Page 2

Contents
Section 1
Getting started 02
Install the SIM card 02
Install and charge the battery 03
Turn on and set up for
the first time 04
Check the battery power 06
Enter your PIN 07
Synchronise with your
PC or laptop 08
Section 2
Using your Xda Argon 12
Mobile phone 12
A world of connections 12
Internet and messaging 12
Video, pictures and audio 13
Setting up ISP email accounts 13
Set up a POP3/IMAP4
email account 14
Microsoft Direct Push Email 15
In the Box 16
A tour of your Xda Argon 20
Status indicators 28
Section 3
Help and troubleshooting 32
General questions 34
O2 Argon_Quickguide.indd 2-3 7/3/07 15:29:06
Page 3

2
3
1. Install the SIM card
Turn off your Xda Argon before
you insert the SIM card. Then
remove the battery by pressing
the battery release button and
sliding the battery cover down.
If the battery is inside, you can
remove it with your finger by
lifting the bottom right side of
the battery.
Place the SIM with the metal
contacts faced down as
indicated and slide the SIM
card into the slot.
2. Install and charge
the battery
You new battery will be partially
charged. You will need to install
and fully charge it before you
start using your Xda Argon.
To install the battery, first
remove the battery cover and
insert the battery. Make sure
that the gold connectors on the
battery meet with the row of
connectors on the top right
side of the battery slot.
Insert the top side of the battery
first, then gently push it down
into place. Replace the battery
cover by sliding it back until it
clicks into place.
Getting started
O2 Argon_Quickguide.indd 2-3 7/3/07 15:29:19
Page 4

4
5
Light on the right LED indicator
on your Xda Argon will show the
battery status:
• a solid amber light shows
when your Argon Xda is off
but charging
• a solid amber light and a
charging icon on the Today
screen will show when your
Xda Argon is on and charging.
• a green light and full battery
icon appears on the Today
screen when the battery is
fully charged.
Xda Argon top tip:
Some batteries perform
better after several full
charge and discharge cycles.
There are two ways to
charge the battery:
– the fastest way is to
connect your Xda Argon
directly to a wall socket
using the AC adapter, or
– plug the sync cable to the
USB port on your PC and
into the sync connector on
your Xda Argon.
3. Turn on and set up for
the first time
Turn on your Xda Argon by
pressing the power button on
the top right-hand edge.
A welcome screen will appear
and prompt you to
Tap the
screen to set up your Xda
Argon. Then just follow the
on-screen instructions.
Your Xda Argon will then start
to set up and add applications
supplied by O2. After about
two minutes, you’ll see a
customisation screen so you
can tailor some options on
your Xda Argon.
LED Indicators
O2 Argon_Quickguide.indd 4-5 7/3/07 15:29:23
Page 5

6
7
5. Enter your PIN
When your Xda Argon restarts, it
may ask you to enter the PIN for
your SIM.
Tap in your PIN and select
Enter.
If you’re an O2 Ireland customer,
please enter the PUK code
supplied with your SIM or call
Customer Service on 1909.
Xda Argon Top Tip: A
wrong PIN entered three
times will block your SIM
card. This means you
won’t be able to make or
receive any calls, texts or
picture messages.
Don’t worry – you can
easily sort this out by
contacting your service
provider. They’ll unblock
it for you right away.
Customisation setup:
You will see a screen on the Xda
Argon with a drop-down box.
This is to confirm the O2 country
and settings you need; whether
Postpay or Prepay if available, or
to remove the settings.
The O2 UK Postpay settings
are selected as the default.
Please check that the “I want to
configure now” box is ticked
(it is the default).
The last option will remove
all settings and should only
be used if you are setting
up your Xda for use within
a Corporate environment
– otherwise your Xda Argon
will not function correctly.
Then select the OK box in the
top right of the screen.
4. Check the battery
power
To check the battery power just
tap the battery level icon on the
Today screen.
The power sett ings screen wil l
open and displ ay the current
battery power level. A war ning
message will s how if the bat tery
power is very low. If you see
this, connect the device to a
power supply.
O2 Argon_Quickguide.indd 6-7 7/3/07 15:29:23
Page 6
8
9
6. Synchronise with your
PC or laptop
Microsoft® ActiveSync® lets you
synchronise information on your
Xda Argon with your PC such as
Inbox, Calendar, contacts and
tasks within Microsoft Outlook
®
.
The software is already installed
on your Xda Argon but you will
need to install it on your PC if you
haven’t already. To do this, insert
the Getting Started CD included
in your Xda Argon box into the
CD drive of your PC and follow
the simple on-screen wizard.
When it’s installed just connect
the USB cable to your PC and
start synchronising.
Now that you’re set up,
let’s get going!
O2 Argon_Quickguide.indd 8-9 7/3/07 15:29:28
Page 7

Section 2
O2 Argon_Quickguide.indd 10-11 7/3/07 15:29:29
Page 8

12
13
You can download, view and
edit email attachments using
mobile versions of Microsoft
Office applications such as Word,
Excel and PowerPoint.**
Create and send picture
messages or text your contacts
for a fast response.
Internet Explorer Mobile gives
you fast connection to the
Internet. Do your banking, check
stock prices or catch up with the
day’s news.
Video, pictures and audio
Take detailed pictures or shoot
video with sound. The Xda
Argon has a high-resolution
camera built-in, with a clear,
high-quality colour screen.
Setting up ISP email
accounts
The ema il Setu p Wiza rd makes
it easy and si mple to set up
your Ou tlook e mail an d POP3/
IMAP4 a ccounts .
Set up ISP email accounts
using email Setup Wizard
1. Tap Start > Messaging.
2. Tap
Menu > Tools > New
Account to access the email
Setup Wizard.
3. The email Setup Wizard
guides you step-by-step
through the setup process.
Mobile phone
Use your Xda Argon just like
a mobile phone. You can keep
in contact, get in touch with
the office or send text and
picture messages.
A world of connections
Xda Argon supports GPRS and
Wireless LAN so there’s a choice
of connecting to the Internet at
a range of speeds. Just choose
the network that works best
wherever you are.
Bluetooth
TM
means you’re wire
free and can use your Xda with
car kits and headsets.
Internet and messaging
Use Outlook Mobile to send and
receive emails with attachments,
keep track of meetings and
events, and keep in sync with
Outlook on your PC.
Microsoft Direct Push Email
will give you real time access
*
to email if your company has
Microsoft Exchange 2003 or
above. This means you can get
up to the minute access to your
Inbox, Contacts and Calendar.
Using your Xda Argon
* Subject to coverage and your company’s IT infrastructure, permissions and policies.
** Applies to read only for PowerPoint.
O2 Argon_Quickguide.indd 12-13 7/3/07 15:29:29
Page 9

14
15
Set up a POP3/IMAP4
email account
You can set up a POP3 or IMAP4
email account if you have an
email account with an Internet
service provider (ISP) or an
account that you access using a
VPN server connection (typically
a work account).
1. Tap
Start > Messaging.
2. Tap
Menu > Tools > New
Account.
3. On the first email Setup
screen, select Other (POP3/
IMAP) from the
Your email
provider list, then tap Next.
4. On the next screen, enter your
email address, and tap
Next.
Auto configuration will help
you download necessary email
server settings.
5. Once Auto Configuration has
finished, tap
Next.
6. Enter your name (the
name you want displayed
when you send email) and
your password.
Xda Argon Top Tip:
Select the Save password
checkbox if you want to
save your password.
Microsoft Direct
Push Email
Xda Argon is powered by
Windows Mobile, a pocket-sized
version of Microsoft Windows.
It has all the features of a top
of the range PDA and mobile
phone, and also gives you
real-time access to your Inbox,
Calendar, Contacts which are
synchronised automatically with
your email account over the air.*
To receive real-time access to
your Outlook files, your company
needs to be running Microsoft
Exchange Server 2003 Service
Pack 2 with your Xda Argon,
which has the latest Windows
Mobile 5.0 software.
Your IT department will need to
enable wireless services on the
Exchange Server and also set up
relevant IT security policies and
permissions such as password
requirements.
To find out how to use Microsoft
Direct Push Email with your O2
Xda Argon, please visit
our website:
www.o2.co.uk/xda
O2 Argon_Quickguide.indd 14-15 7/3/07 15:29:29
Page 10

16
17
AC adapter
for recharging your Xda battery.
Connection cable
to connect your Xda to a PC for
synchronising data and charging.
Handsfree stereo headset
In the Box
Xda Argon
your all in one phone and PDA.
Xda Argon case
to protect and carry your Xda.
Xda Argon battery
to power your Xda.
O2 Argon_Quickguide.indd 16-17 7/3/07 15:29:40
Page 11

18
19
Microsoft Windows Mobile
5.0 user guide
Warranty card for Europe
Microsoft Windows Mobile
Getting Started CD
including Microsoft Outlook
2002 and Microsoft Active Sync
v4.2 applications.
Applications CD
including GPRS monitor,
Clearview PDF Viewer and
Wireless USB Modem drivers.
O2 may change the contents of
the Xda Argon box in the future.
Quick Start Guide
– this booklet.
The images here are purely to illustrate what’s in the box – the actual contents may look slightly different.
O2 Argon_Quickguide.indd 18-19 7/3/07 15:29:44
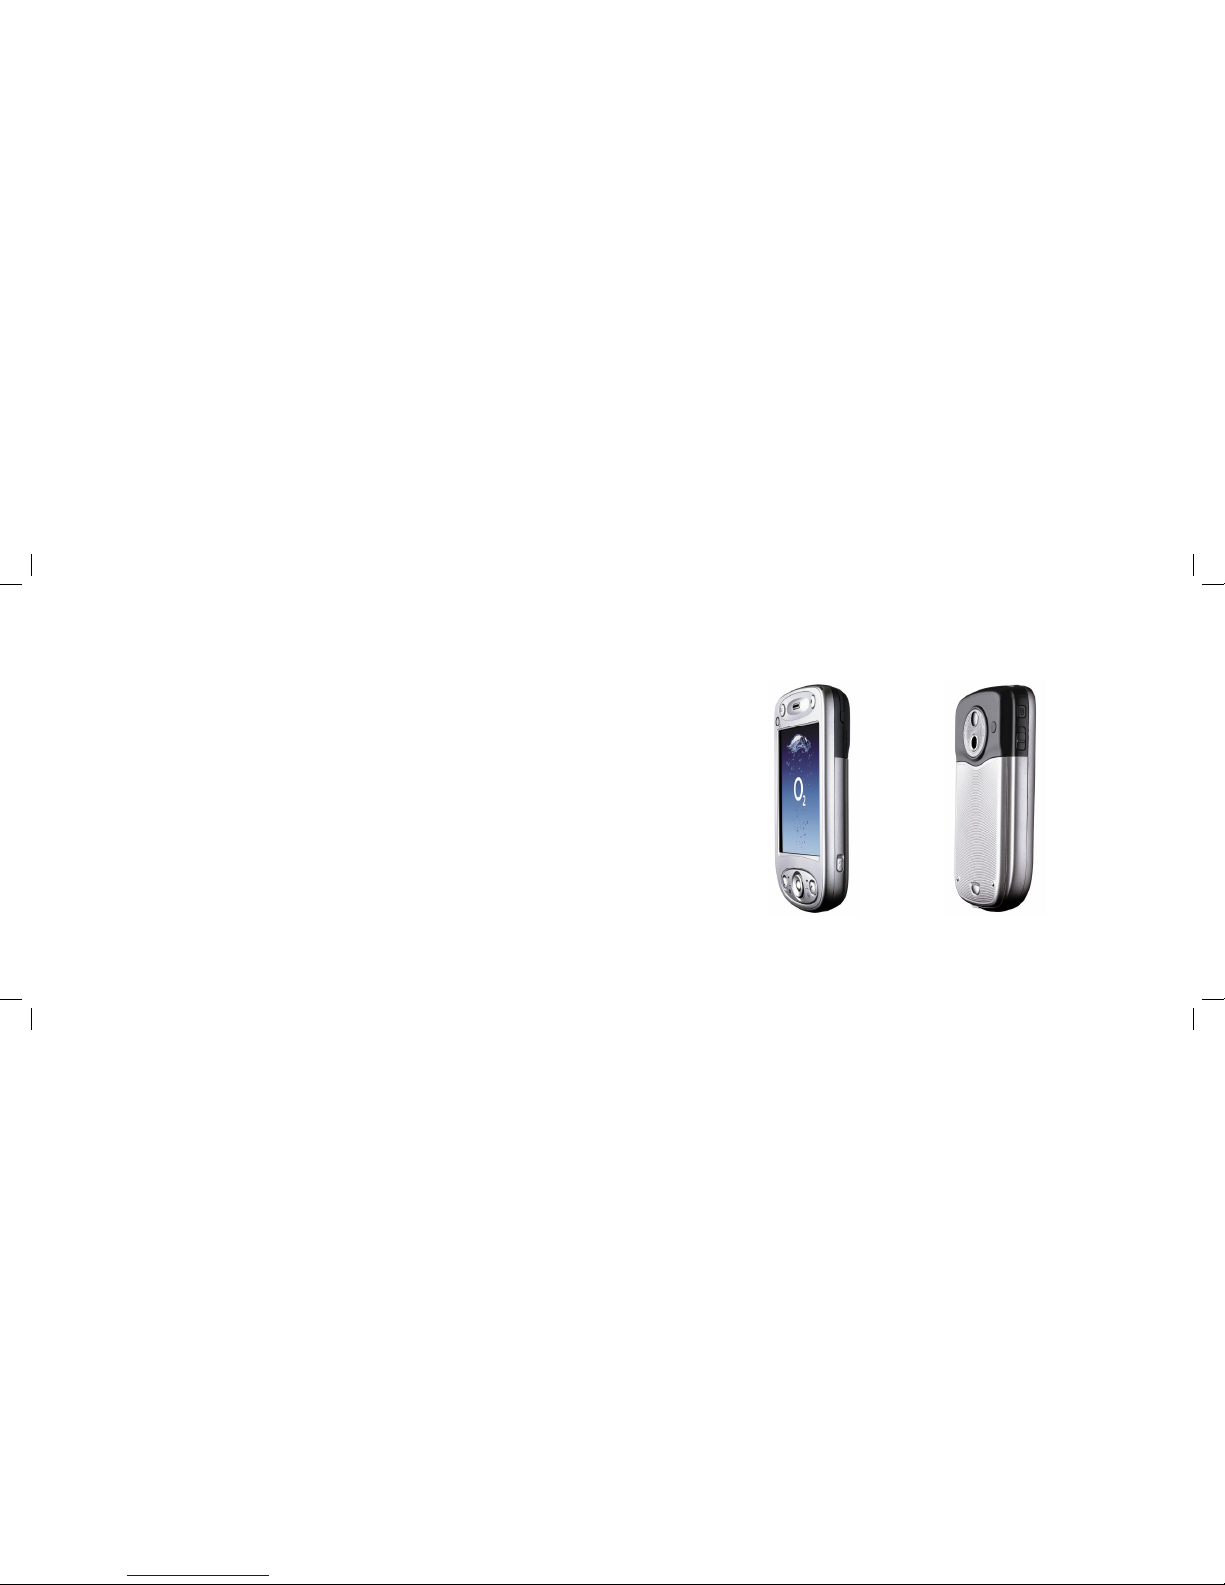
Page 12

20
21
2. Messaging button
Press to open the messaging
application for text messages,
multimedia messages and email.
3. Left and right soft keys
Press to execute the command
shown in the label above
the button.
4. Talk button
Press to answer an incoming call
or dial a number.
5. Start button
Press to open the Start menu.
6. Navigation button
Press up, down, left, or right
to move through menus and
programme instructions.
Press the centre of the
navigation button to carry out
the selection.
7. OK button
Press to confirm the OK option
in the top right corner of the
screen to confirm actions and
close applications and screens.
8. End button
Press to end a call or return to
the Today screen.
A tour of your Xda Argon
1
1. Notification lights
The left LED light indicates the
following:
• a blinking blue light will show
when Bluetooth is powered up
and ready to transmit.
• a blinking green light shows
when Wi-Fi is powered up and
ready for use.
The right LED light indicates
the following:
• a blinking green light for GSM/
GPRS coverage.
• a blinking amber light shows
standby, message and
notifications. It will also let you
know the status of the battery.
3
4
7
8
5 6
2
O2 Argon_Quickguide.indd 20-21 7/3/07 15:29:45
Page 13

22
23
9. Status Indicators
The Today screen displays
important information, such as
upcoming appointments and
status indicators. Some of the
status icons that you may see
on your Xda Argon are listed on
pages 28–29.
10. Internet Explorer
button
Press to launch Internet
Explorer Mobile.
11. Touch screen
Tap the screen with the stylus to
write, draw or select.
12. Battery release button
Press to release the battery cover
and enable you to slide the
cover off.
13. Battery cover
Slide it out to access the battery
compartment
14. Camera
Use the camera to take still
photos and record video clips.
15. Stylus
You can use the stylus to write,
draw or select items on the
touch screen.
15
13
9
11
10
12
14
O2 Argon_Quickguide.indd 22-23 7/3/07 15:29:54
Page 14

24
25
18. Camera button
Press to launch the camera and
press again to take a photo or
video clip, depending on the
specified capture mode.
16. Voice command
button
Press to start Voice Speed Dial
or press and hold to record a
voice note.
17. Volume slider
Slide it up or down to adjust the
speaker volume. You can also
slide it up or down to adjust the
earpiece volume during a call.
16
17
18
O2 Argon_Quickguide.indd 24-25 7/3/07 15:29:56
Page 15

26
27
21. Reset button
Press the Reset button with
the stylus to soft-reset your
Xda Argon.
22. Sync connector/
earphone jack/
power socket
Use this connector to
synchronise data by connecting
the provided USB Sync cable or
to recharge the battery via the
provided AC adapter. You can
also use the USB stereo headset
for handsfree
conversation or to
listen to audio media.
19. Power button
Press power to turn off the
display temporarily. This will
switch it to Sleep mode. You
can still receive calls and
messages when your Xda
Argon is in Sleep mode.
Press and hold the power button
for about five seconds to turn
off the power completely.
This makes all the functions,
including the phone, unavailable.
20. External antenna
connector
You can connect your Xda Argon
to an external antenna to boost
your reception.
2219 20 21
O2 Argon_Quickguide.indd 26-27 7/3/07 15:30:10
Page 16

28
29
No signal
Phone is turned off
No phone service
Searching for phone service
GPRS available
GPRS connecting
GPRS in use
Roaming
Connection is active
Connection is not active
Synchronisation in progress
Status indicators
*The USB to PC icon appears on the Today screen when you are connected to your computer with a USB connection.
For more information about USB to PC, refer to the user manual.
Synchronisation error
No SIM card inserted
Battery is fully charged
Battery power is very low
Battery charging
Device is locked
Device is unlocked
Bluetooth headset detected
GPRS Monitor currently active
Serial USB connection active
The USB to PC icon*
ActiveSync notification
Wi-Fi function is enabled but the Xda Argon
is not yet connected to a wireless network
Wireless network(s) detected
Connecting to wireless network
(arrows moving)
Connected to wireless network
Synchronising via Wi-Fi
Vibration mode
Sound on
Sound off
Alarm
Status icon Meaning
New email or text messages; SMS
notification of voicemail
New multimedia (MMS) message
New MSN message
There are more notifications
Tap the icon to view all
Speakerphone on
Voice call in progress
Calls are forwarded
Call on hold
Missed call
Maximum signal strength
Status icon Meaning
Status icon Meaning
Status icon Meaning
O2 Argon_Quickguide.indd 28-29 7/3/07 15:30:12
Page 17

Section 3
O2 Argon_Quickguide.indd 30-31 7/3/07 15:30:13
Page 18

32
33
Help and troubleshooting
Help online
Need technical help with your
Xda Argon?
For help with any issues with
using or setting up your device
try emailing our support team
(UK) o2datasupport@o2.com
(EIRE) support@o2.ie
We will try to get back to you
within 24 hours or on the next
business day.
Talk to us
Your service provider will be able
to help if you have any general
questions about your Xda Argon;
questions about charges on
your account or activation of
O2 services. You’ll find their
contact details printed on your
monthly bill.
If you’re a corporate customer,
we recommend you contact your
internal help desk first.
O2 Argon_Quickguide.indd 32-33 7/3/07 15:30:14
Page 19

34
35
How do I turn the
phone off and go into
PDA mode?
Tap the antenna icon at the top
of the screen and select Turn on
flight mode.
When I’m overseas, why
do I see a white triangle
at the top of the screen?
The triangle means you’re
roaming on a foreign network
and roaming charges apply.
How can I display my own
number?
Choose Start > Programs >SIM
Manager > Tools > List of
Own Numbers. Tap number 1
in the list. Tap in your name and
mobile number. Tap
Change.
Tap
OK to exit. If you choose
Phone > Menu > Options,
you’ll see your number.
Can I use software
designed for the previous
Xda series or Windows
Mobile® 2003 with my Xda
Argon?
Your Xda Argon uses Microsoft
Windows Mobile 5.0 as the
core system. Other applications
written for the Xda II family
(such as IIs or IIi) may not work
correctly. You should contact the
software vendor to check if the
application will work correctly
with Windows Mobile 5.0.
Can I receive phone calls
or text messages while
using the internet or
synchronizing email on
my Xda Argon?
You can make and receive phone
calls when using Wireless LAN.
If you’re actively using your
connection in GPRS mode, your
phone calls will be forwarded
based on your settings – the
default is to divert to voicemail
(if it’s set up) or another number.
However, you can make and
receive calls if your GPRS is idle.
What are the maximum
speeds of GPRS?
Your Xda Argon will support a
maximum download speed of up
to 53kbps and an upload speed
of up to 26kbps when it’s in
GPRS mode,
General questions
O2 Argon_Quickguide.indd 34-35 7/3/07 15:30:14
Page 20

36
How can I delete email
from my ISP mail server?
By default, your Xda Argon will
only download a copy of the
email from your mailbox. To
delete them from your mailbox,
select Start > Messaging
> Inbox > Menu > Tools >
Options > Storage. Change
the Empty deleted items dropdown box to Immediately.
The next time you synchronise
with your mailbox, the emails
should be deleted. However, your
Internet Service Provider (ISP) may
not support this service.
Xda Argon Top Tip: To find
out more you can check out
the latest “Frequently Asked
Questions” at
www.o2.co.uk/xda
O2 Argon_Quickguide.indd 36-37 7/3/07 15:30:15
Page 21

o2.co.uk
O2 (UK) Limited, 260 Bath Road, Slough, Berks, SL1 4DX.
Registered in England No.1743099. Registered office as above.
© O2 (UK) Limited 2001-2007. Correct at time of going to press (03/07)
The Bluetooth ® word and logos are owned by the Bluetooth SIG, Inc.
Windows Mobile is a trade mark or registered trade mark of Microsoft
Corporation in the United States and/or other countries.
O2BU032N LN 0307.
O2 Argon_Quickguide.indd 38 7/3/07 15:30:16
 Loading...