

Page 1

o2.co.uk
O2 (UK) Limited, 260 Bath Road, Slough, Berkshire SL1 4DX
Registered in England No. 1743099. Registered Office as above.
© O2 (UK) Limited 2003. Correct at time of going to press (July 2004)
Page 2
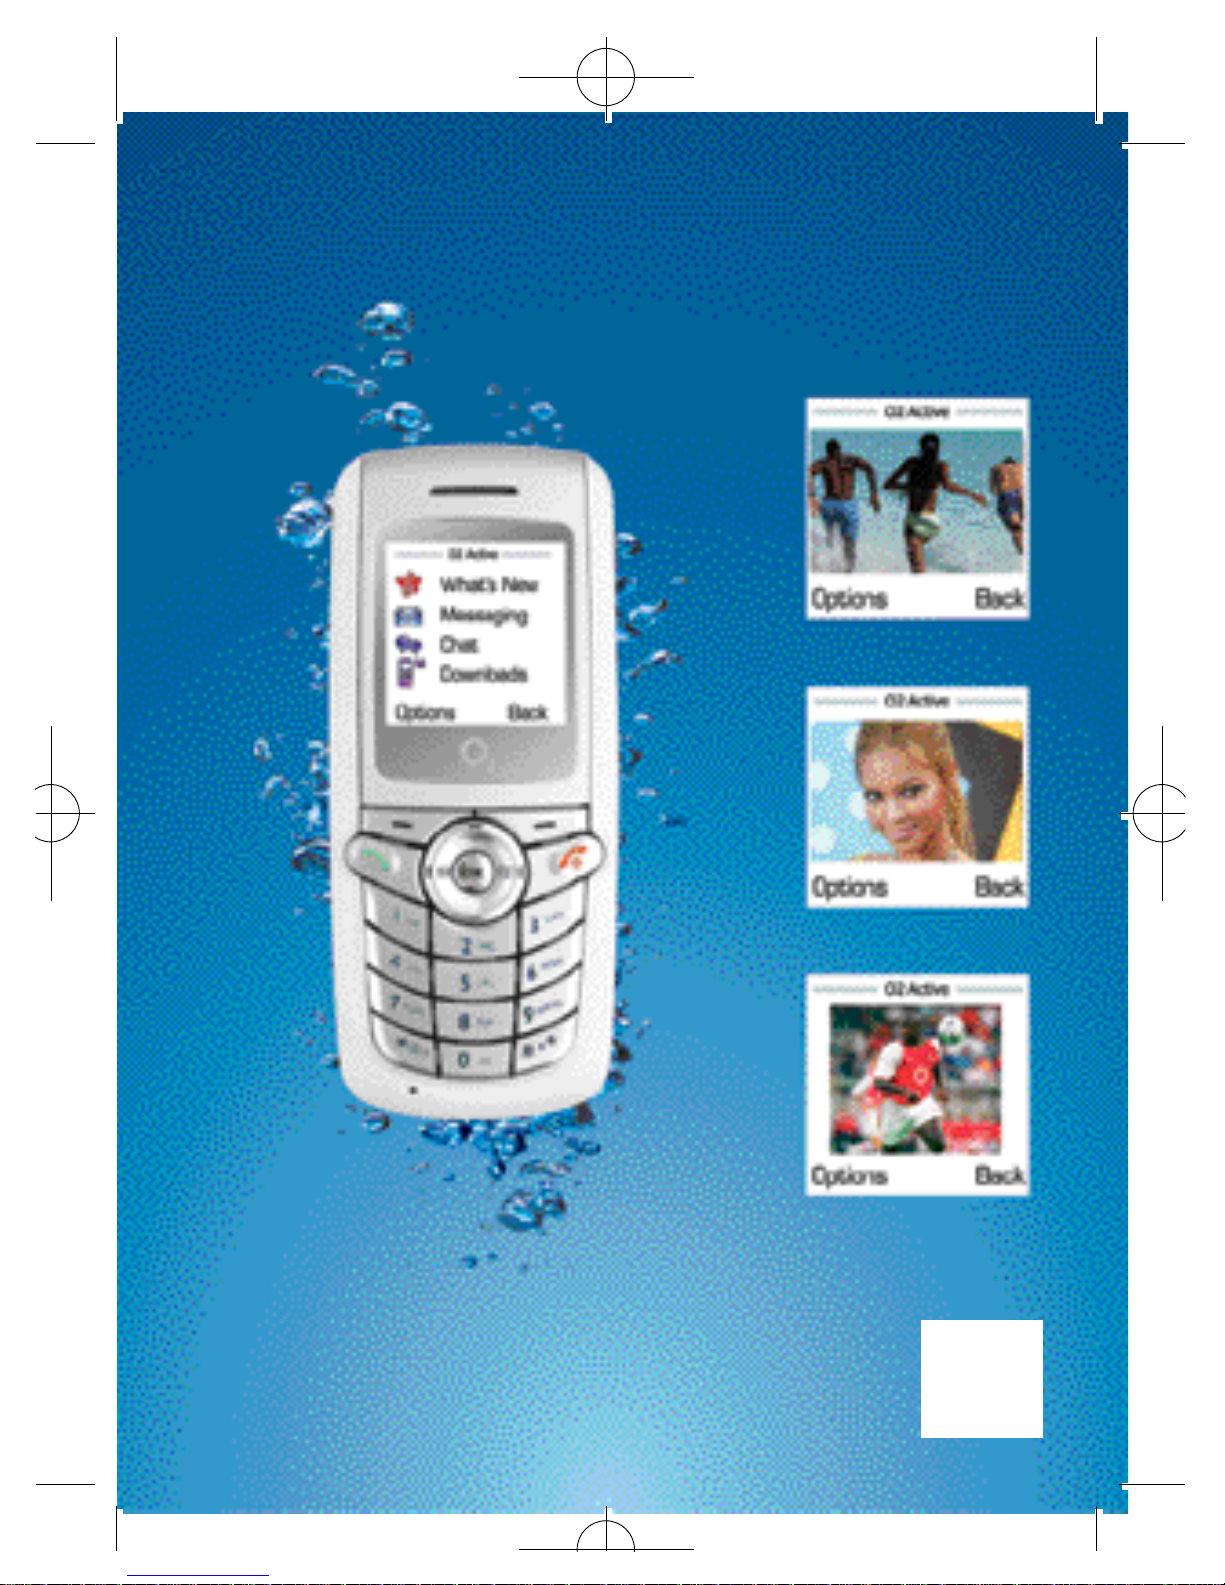
O2X1i™– How to use it
Send and receive picture
messages
Download pictures and
send to your friends
Get the latest sports news
Page 3

Quick start guide to O2X1i
™
Introduction
Thanks for purchasing an O2X1i. The O2X1i has an
excellent set of features including an integrated camera,
picture messaging, polyphonic ring tones, a 65,000 colour
screen, access to O2Active and all the other features you’d
expect from a phone. In the box, you’ll have a handset,
battery, a hands-free kit and a charger.
Here are some quick instructions on how to get started.
If you need more details, please refer to the detailed
sections of the guide:
i
Page 4

Setting up
• I n s e rt the SIM into the slot on the back of the O
2
X 1 i
handset, connect the battery and slide on the outer cover
• Check these items are securely in place, then press
until the screen turns on. Then enter a PIN if necessary*
• You’re now ready to use the O
2
X1i
Charging the handset
• Insert the lead from the charger to the base of the
handset into the charging socket
• Connect the charger to the correct electrical socket. The
phone will start charging
• When the phone is fully charged disconnect the charger
from the socket and then from the phone
* The default PIN code is 4321 or 5555. If you enter an incorrect PIN code three
times in succession, your SIM card will lock and you must enter the PUK code
to unlock it. Please contact O2 Customer Service or visit www.o2.co.uk/PUK and
follow the instructions.
Quick start guide
ii
Page 5

Basic navigation
Here’s how to navigate when using the O
2
X1i.
• Use to move up, down, left or right
• Press or to select an item
• Press to go Back or delete
• Press to go back to the standby screen
How to make a call
• Type the number of the person you wish to call by using
the numbered keypad or press to select Contacts
and scroll up and down to find the contact
• Press to dial the number. Your O
2
X1i will start to
dial the number
• After you’ve connected, press to end the call
iii
Page 6
How to create and send a text message
• P re s s to enter the text message screen
• You can now start typing your message using the
keypad. The O
2
X1i uses ITAP, a predictive text input.
Press to flip through text input options
• Once you’ve finished typing your text, press
to select Send
• Type the number in of the person that you wish to
send the text to or select their contact number fro m
your phonebook
• Press and your message will be sent to the recipient
Quick start guide
iv
Page 7
How to take a picture
• F rom the idle screen pre s s to enter the
viewfinder mode
• Focus the camera on the picture subject
• Select Option to amend the Quality and Mode of
your photo
• Once you’re ready, press to take a picture
• Press to select Save or to select Discard and
return to the viewfinder screen and take another picture
v
Page 8

Quick start guide
vi
Top tips
• You can assign a picture to a caller’s name, so when the
contact calls you their photo appears on screen.
See page 40 for details
• To take a picture of yourself, select Camera in idle mode,
then turn the handset over. The mirror will then act as a
viewfinder. Once you’re ready to take your picture, press
to capture the image
• You can set a picture as your wallpaper. See page 118
for details
• To access the profiles menu press . For further
information on profiles see page 1 3 6
• To access O
2
Active press from the standby screen.
For further information on O2Active see page 9 8
• To lock your keypad, press and hold .
To unlock your keypad, press to select Unlock and
then press
Page 9

O2 X1i is a trademark of O2 Limited.
vii
Page 10

Contents
Welcome xiii
Chapter 1 – Before using your mobile 1
What’s in the box 2
Handset description 4
Main display 6
Icons 8
Function keys 10
Navigation keys 12
Chapter 2 – Preparing your mobile for use 15
Inserting your SIM card 16
Using the battery 18
Charging the battery 19
Important battery information 21
Chapter 3 – Basic functions 23
Turning your mobile on and off 24
Menu navigation 26
Basic functions 30
Making a call 30
Ending a call 31
Receiving calls 31
Making an international call 32
Making emergency calls 32
Voicemail 34
viii
Page 11

Chapter 4 – Main menu 37
Contacts 38
Adding contacts to you phonebook 38
Finding contacts in your phonebook 44
Copy 45
Delete 45
Group 46
Business card 47
My number 47
Memory 47
Calls 49
Missed, dialled and received calls 49
Delete all 51
Duration 52
Call cost 53
Operations during a call 55
In-call menu 57
Messaging 61
Text 61
Multimedia 61
Voicemail 61
Broadcast 62
Memory 62
Text 63
– Write a text message 63
– Read messages 66
– Inbox 68
– Sent items 68
ix
Page 12

– Drafts 70
– Delete 71
– Settings 71
Multimedia 73
– Create a media message 73
– Read messages 81
– Inbox 83
– Sent items 83
– Drafts 84
– Delete 85
– Settings 85
Camera 87
Camera settings 88
Take a picture 90
Managing your pictures 91
View your pictures 97
O2Active 98
How to access O2Active 109
How to close O2Active 109
Games 111
Monkey Mayhem 111
Eda Mouse 113
Media Center 114
Images 114
Ring tones 116
Wallpaper 118
x
Page 13

Delete all 119
Memory 119
Tools 121
My services 121
Alarm 122
World clock 124
Calendar 125
Calculator 130
Currency converter 131
Stopwatch 134
Settings 135
Date and time 135
Profiles 136
Display 142
Audio 147
Call settings 148
Network 153
Security 155
Factory reset 161
Chapter 5 – Miscellaneous 163
Abbreviations and acronyms 164
Questions and answers 167
Technical data 171
xi
Page 14

Chapter 6 – Safety 173
Safety information for mobiles 174
Mobile care 175
Driving safety 179
Electronic devices 180
Other safety guidelines 182
Cautions 183
R&TTE Directive 1999/05/EC 185
xii
Page 15

Welcome
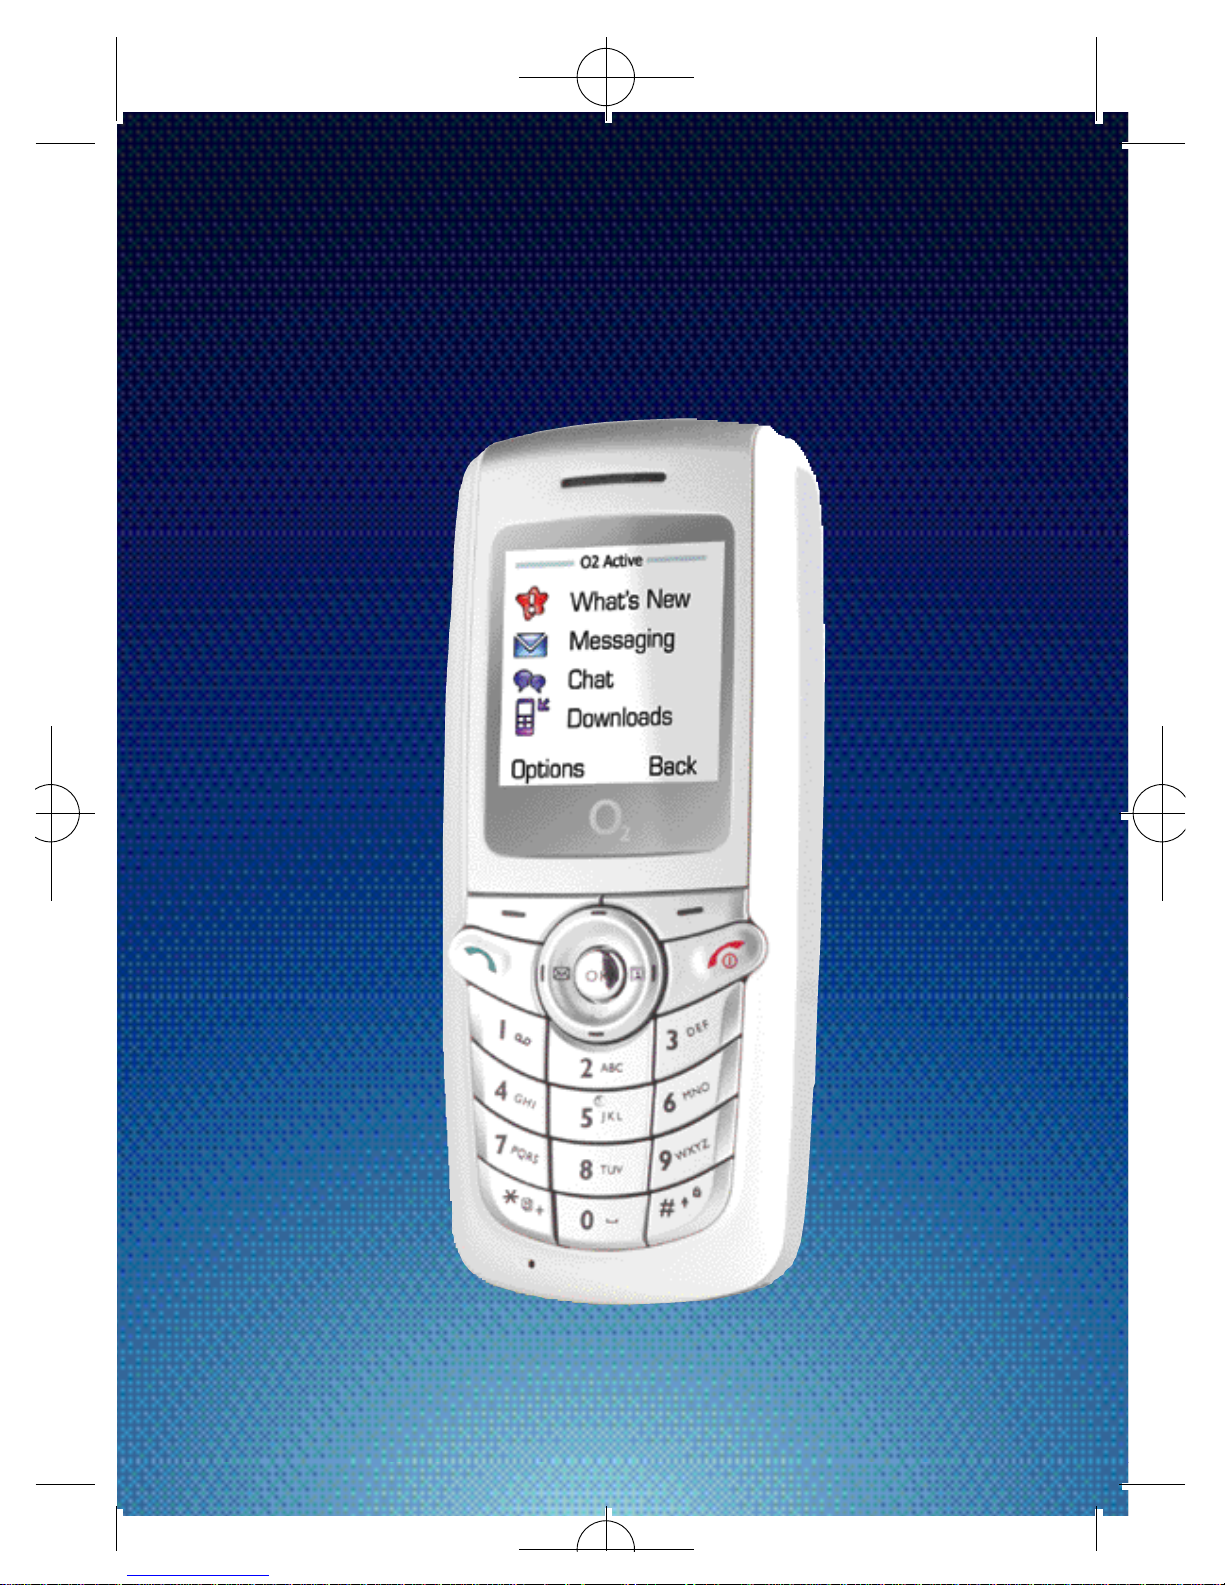
Thanks for buying the new O2X1i mobile – we know you
won‘t be disappointed.
Quite simply your new O2X1i is one of the best, most
up-to-date ways to stay in touch, have fun, get things
done and much more .
As well as a dazzling 65,000 colour screen, your new
mobile features an integrated camera, picture messaging,
polyphonic ring tones and is also a tri-band handset so you
can use your O2X1i in the USA and Canada.
You can also access the fantastic O2Active™service using
the latest technology. Up-to-the-minute information is at
your fingertips wherever you are and whenever you
need it*. Access O2Active†by pressing and holding
and you can access the following and much more:
xiii
Page 16
xiv
• Plan your night out with
Time Out
• Download the latest pictures from
the O2Media Messaging gallery
and send them to your friends
• Be the first to hear the latest gossip
from the music and movie worlds
This guide will help you get the most from your new
mobile – and all the fantastic features of the O2network.
All in all, we’re pretty pleased with the O2X1i. We hope
you feel the same way.
About the user guide
This user guide relates only to the O2X1i.
Please note that a small pro p o rtion of the functions available
d i ffer between Pay & Go and Pay Monthly customers.
O2 do not suggest in any way that the celebrities featured in this guide
are endorsing O2 products or services.
* Subject to network coverage.
†
Terms and conditions apply. See www.o2.co.uk
Page 17

xv
Page 18

Before using your mobile
• What’s in the box
• Handset description
• Main display
• Icons
• Function keys
• Navigation keys
Chapter 1
1
Page 19
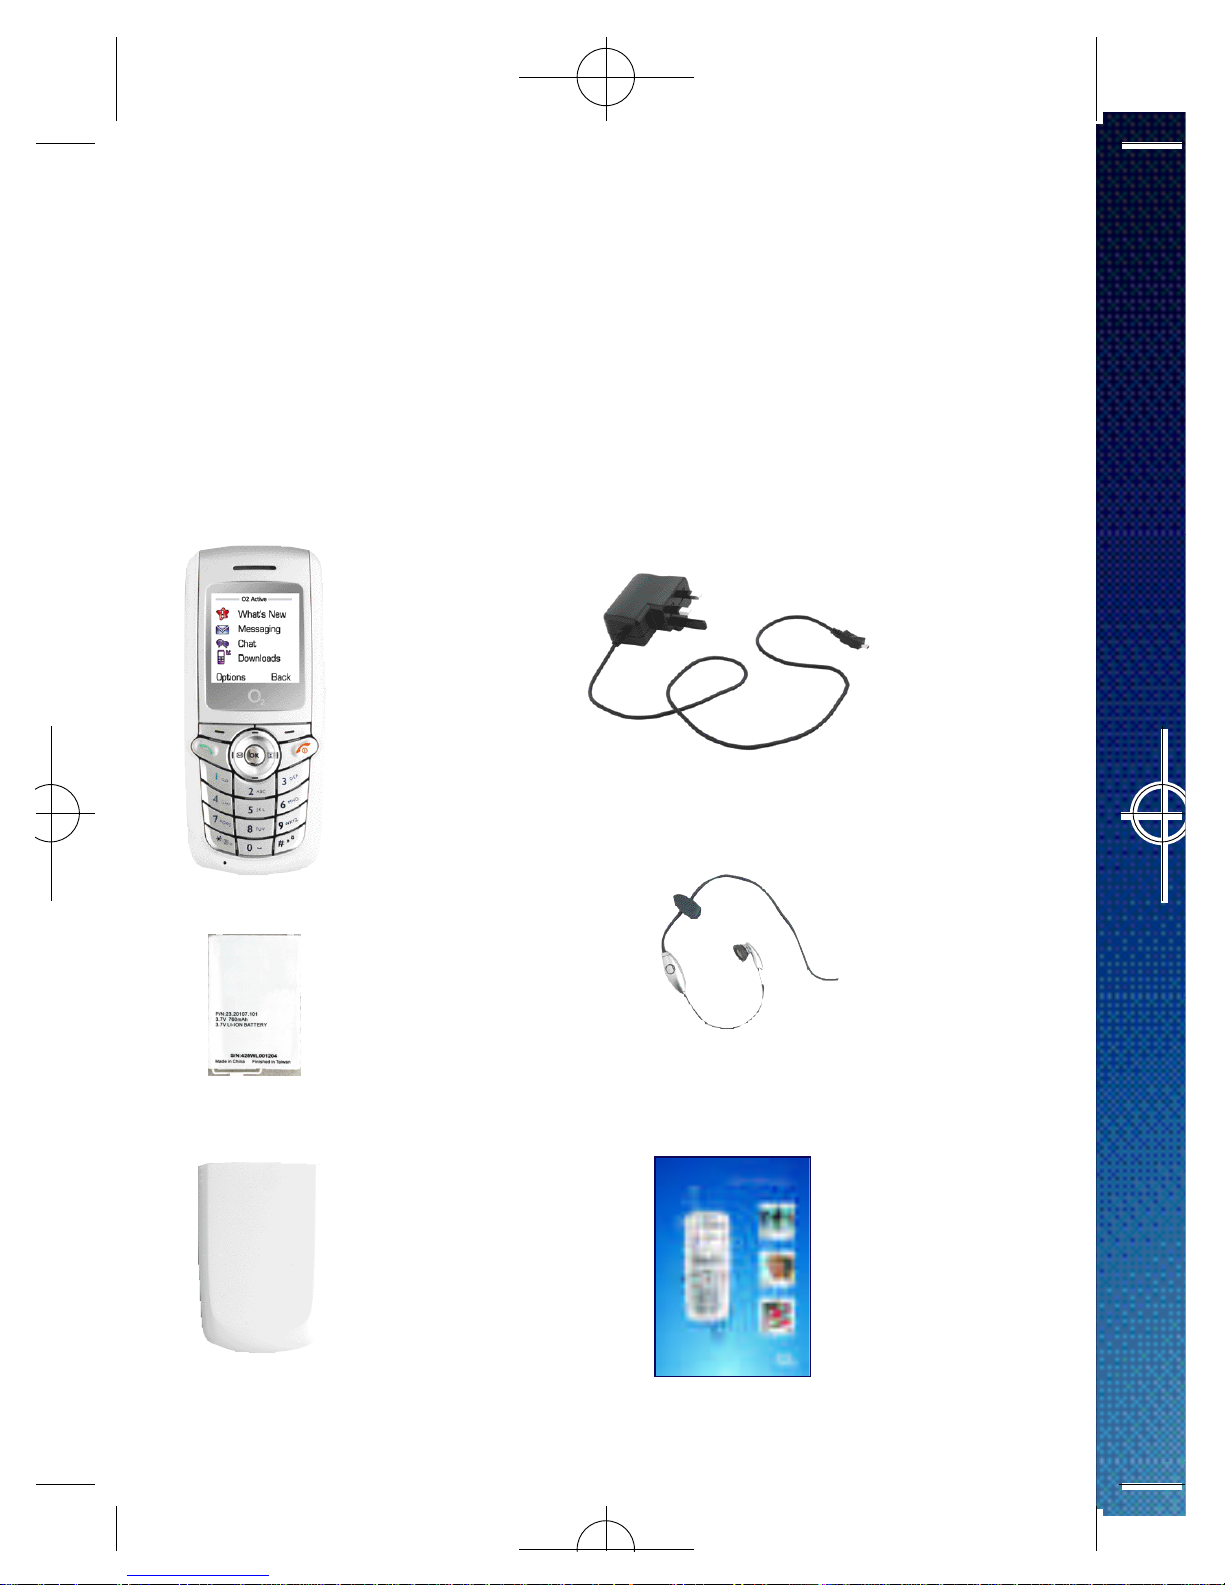
What’s in the box
2
Thank you for purchasing your O2X1i. Take a look in the
box for the following items. Please check the pro d u c t
contents to see if you have all the available items as shown.
Your O
2
X1i
– How to
use it guide
Mobile
phone
Charger
Battery Hands-free
kit
Battery
cover
Page 20
3
Page 21
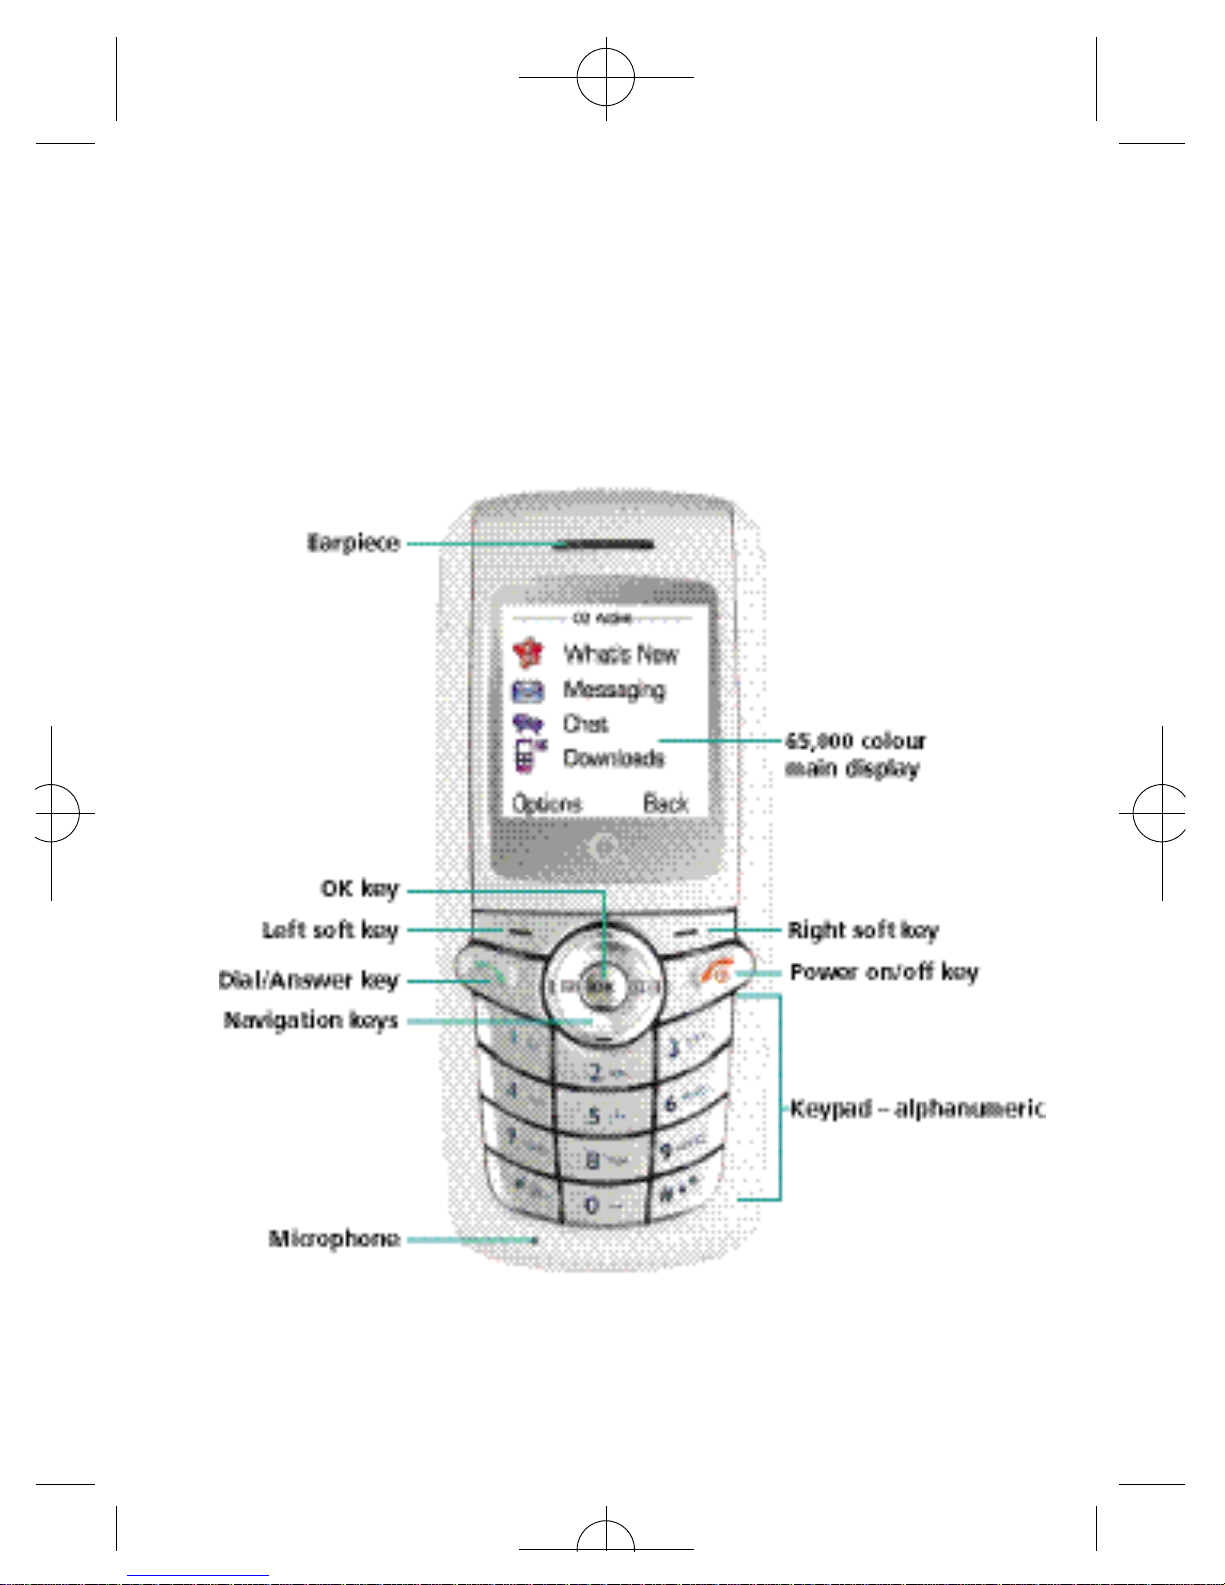
Handset description
4
Front view
Page 22
5
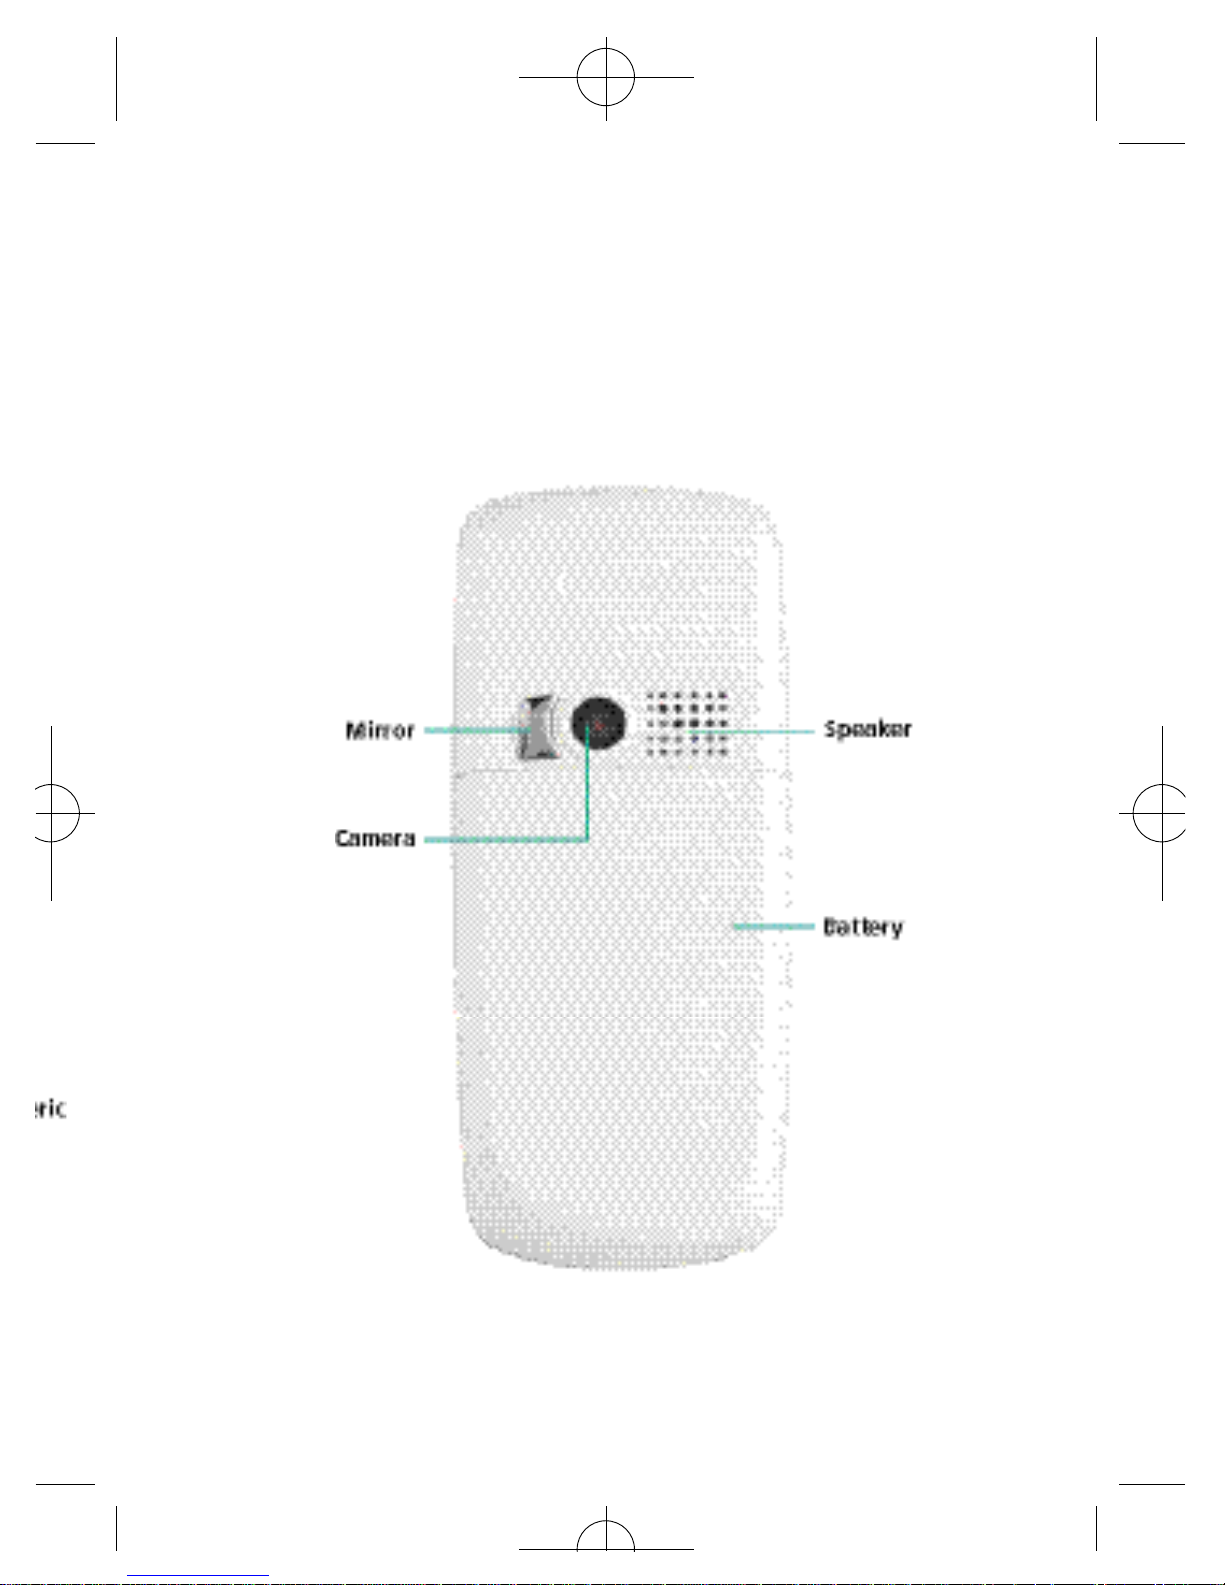
Back view
Page 23

6
Main display
The main display will show icons for network signal
strength, battery power, alarm (if active), the current time
and the current profile in use. The screen can also alert you
to incoming calls, text messages and missed calls.
Page 24

7
Please note:
• To set the time on the display, please refer to page 135
• Photos taken using your mobile’s camera can also be set
as wallpapers. Please refer to page 118 for details
• After 30 seconds of inactivity the screen on your O2X1i
changes from displaying O2into ‘Sleep mode’. This
means that it looks almost black. Your mobile has not
turned off but it is in ‘Sleep mode’. By tilting your
phone, you can see the clock displayed. By pressing any
key the mobile’s display will start up again. This is
normal operation and designed to maintain battery life
Page 25
Icons
The icons below appear on your mobile’s display.
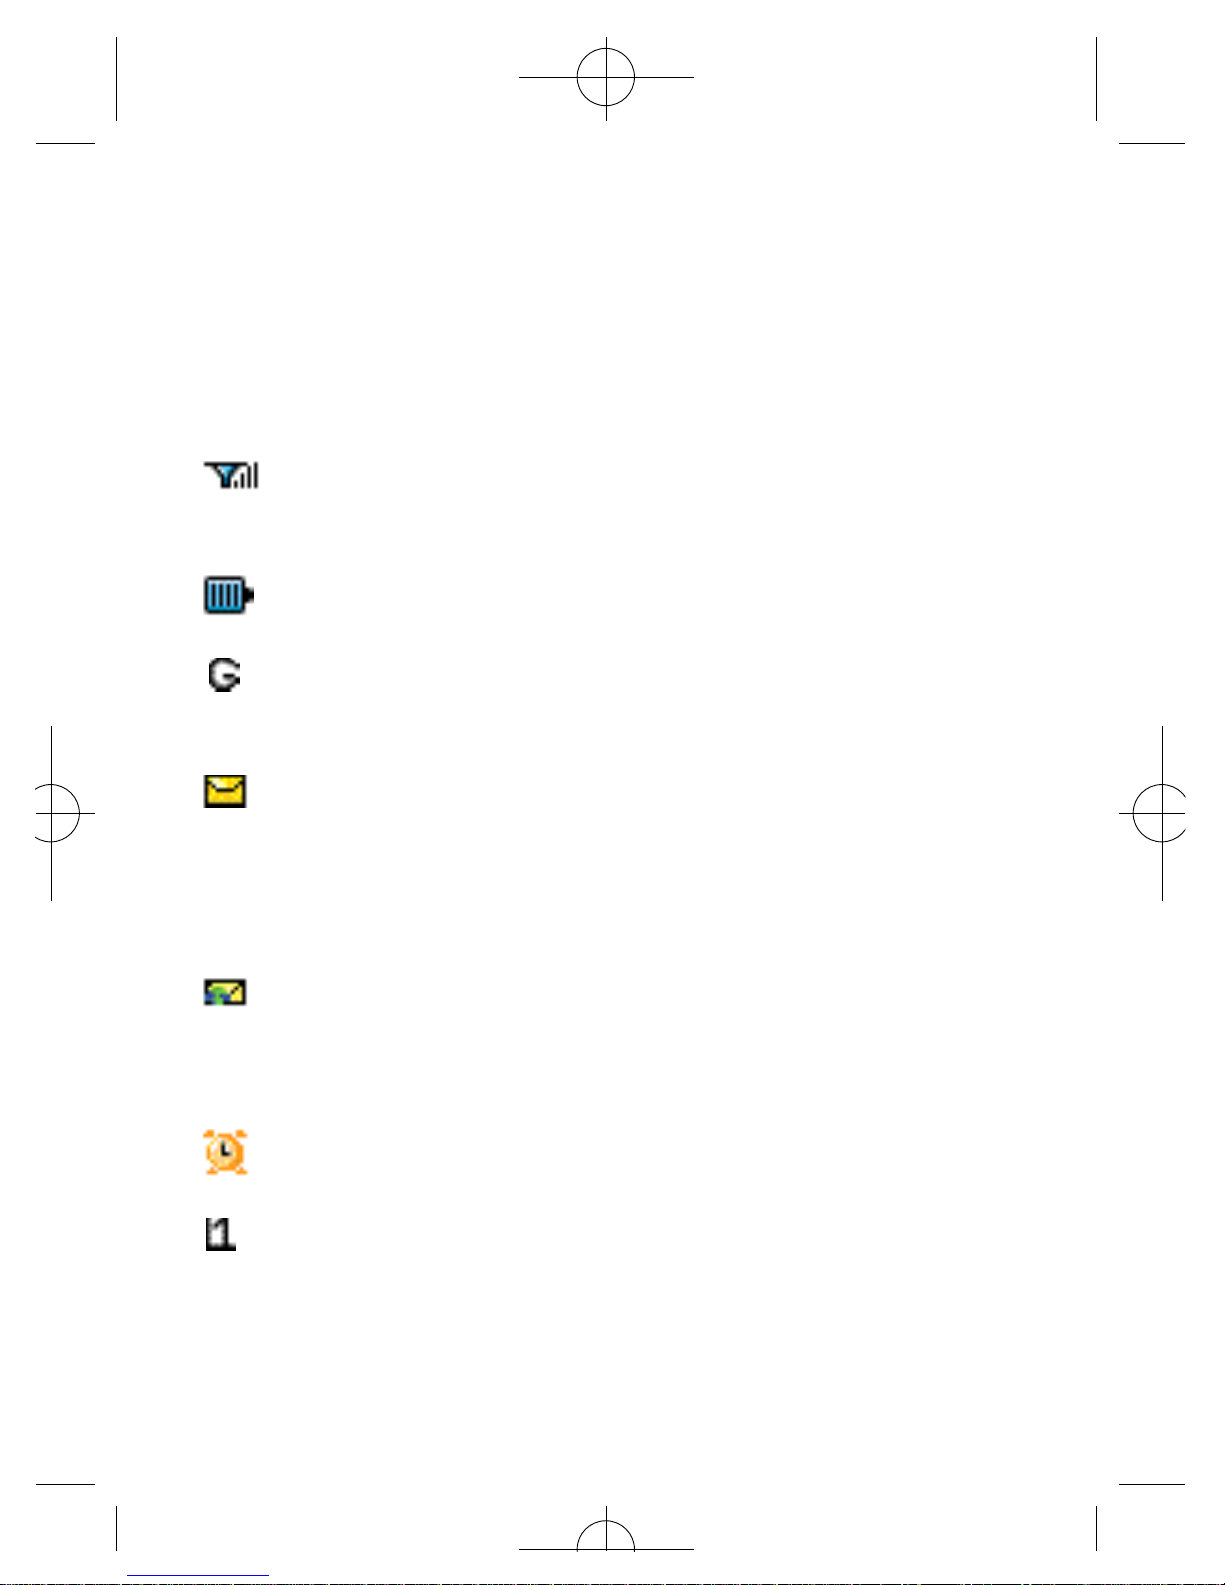
Signal stre n g t h – The number of bars shows
signal stre n g t h
Battery – Current battery charge level
GPRS network – GPRS services have been activated
on your SIM card
Message – Shows that a text message or media
message has been received or that there are unre a d
messages. If the icon appears in red on the main
display then your message memory is full
WAP message – You’ve a WAP message (This icon
will only appear when there are no incoming or
u n read text and media messages)
Alarm – Appears when an alarm is set
Line in use – Shows the number of the line currently
in use
8
Page 26

9
Silent – Appears when vibration is set as a ring tone.
In the standby screen, press and hold to
activate the silent profile
N o rm a l – Shows the Normal profile is in use. To set a
d i ff e rent profile please refer to page 136
Meeting – Shows that the Meeting profile is in use
Outdoors – Shows that the Outdoors profile is in use
P e r s o n a l – Shows that the Personal profile is in use
D i v e rt – Appears when the call divert function is active
Roaming – Indicates roaming has been activated
(It is not your regular network)
Page 27
10
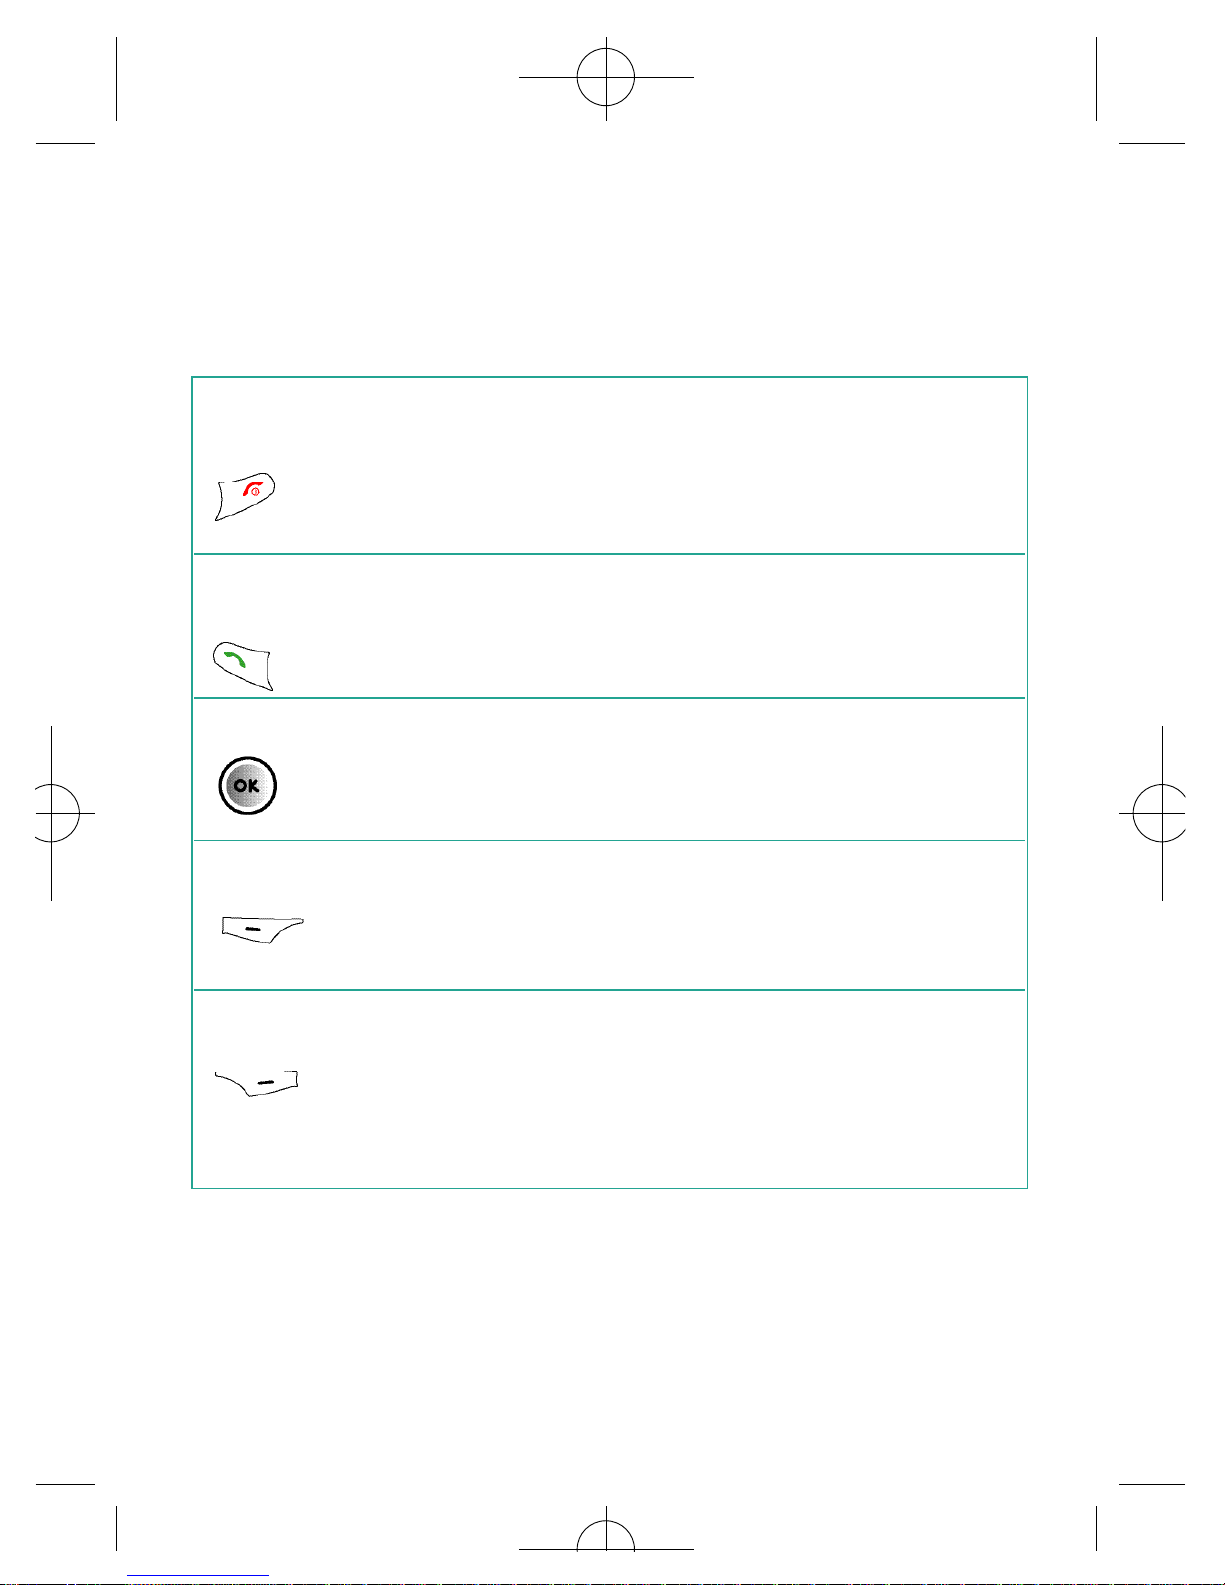
Power on/ • Long press to turn your mobile on/off
off key • Press to reject an incoming call or cancel
a call being dialled
• Press to return to the standby screen
Send/ • Press to dial or answer a call
Answer key
• Press to access the list of the last
missed/dialled/received calls
OK key • Press to open up the main menu
• Press to select when browsing through
the menu
Left soft key • To access O2Active
• Press to select when browsing through
lower menu levels from standby mode
Right soft key • Press to access your contacts
• Press and hold to turn the silent profile
on or off
• Press to delete entered digits
Function keys
Page 28
11
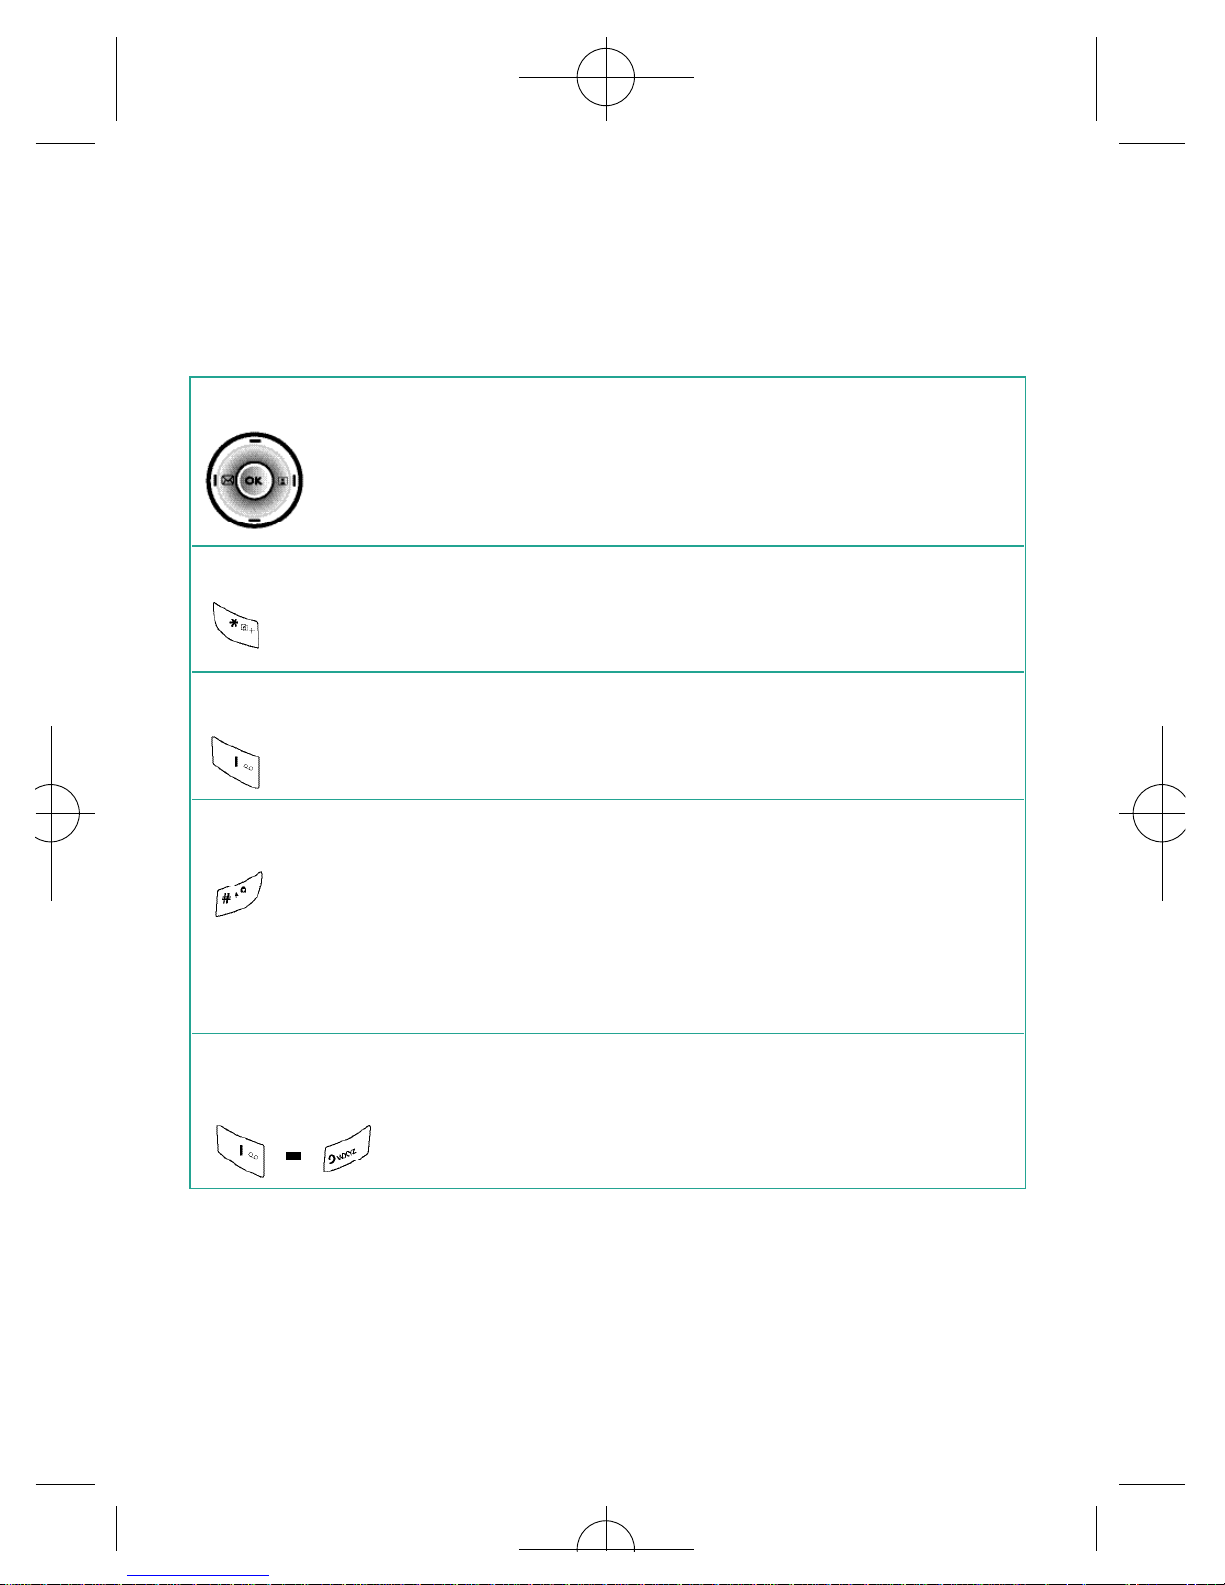
Navigation key • To browse through the menu
Asterisk key • To insert an asterisk
• Press and hold to select +
Voicemail • Press and hold to access
your Voicemail
# key • To insert #
• Press, when creating a message, to access
predictive text (ITAP) or manual text input
• Press and hold to activate the phone
keypad lock
Alphanumeric • Press to enter a digit
keys • Shortcut keys – press and hold to
immediately access a function
Page 29
12
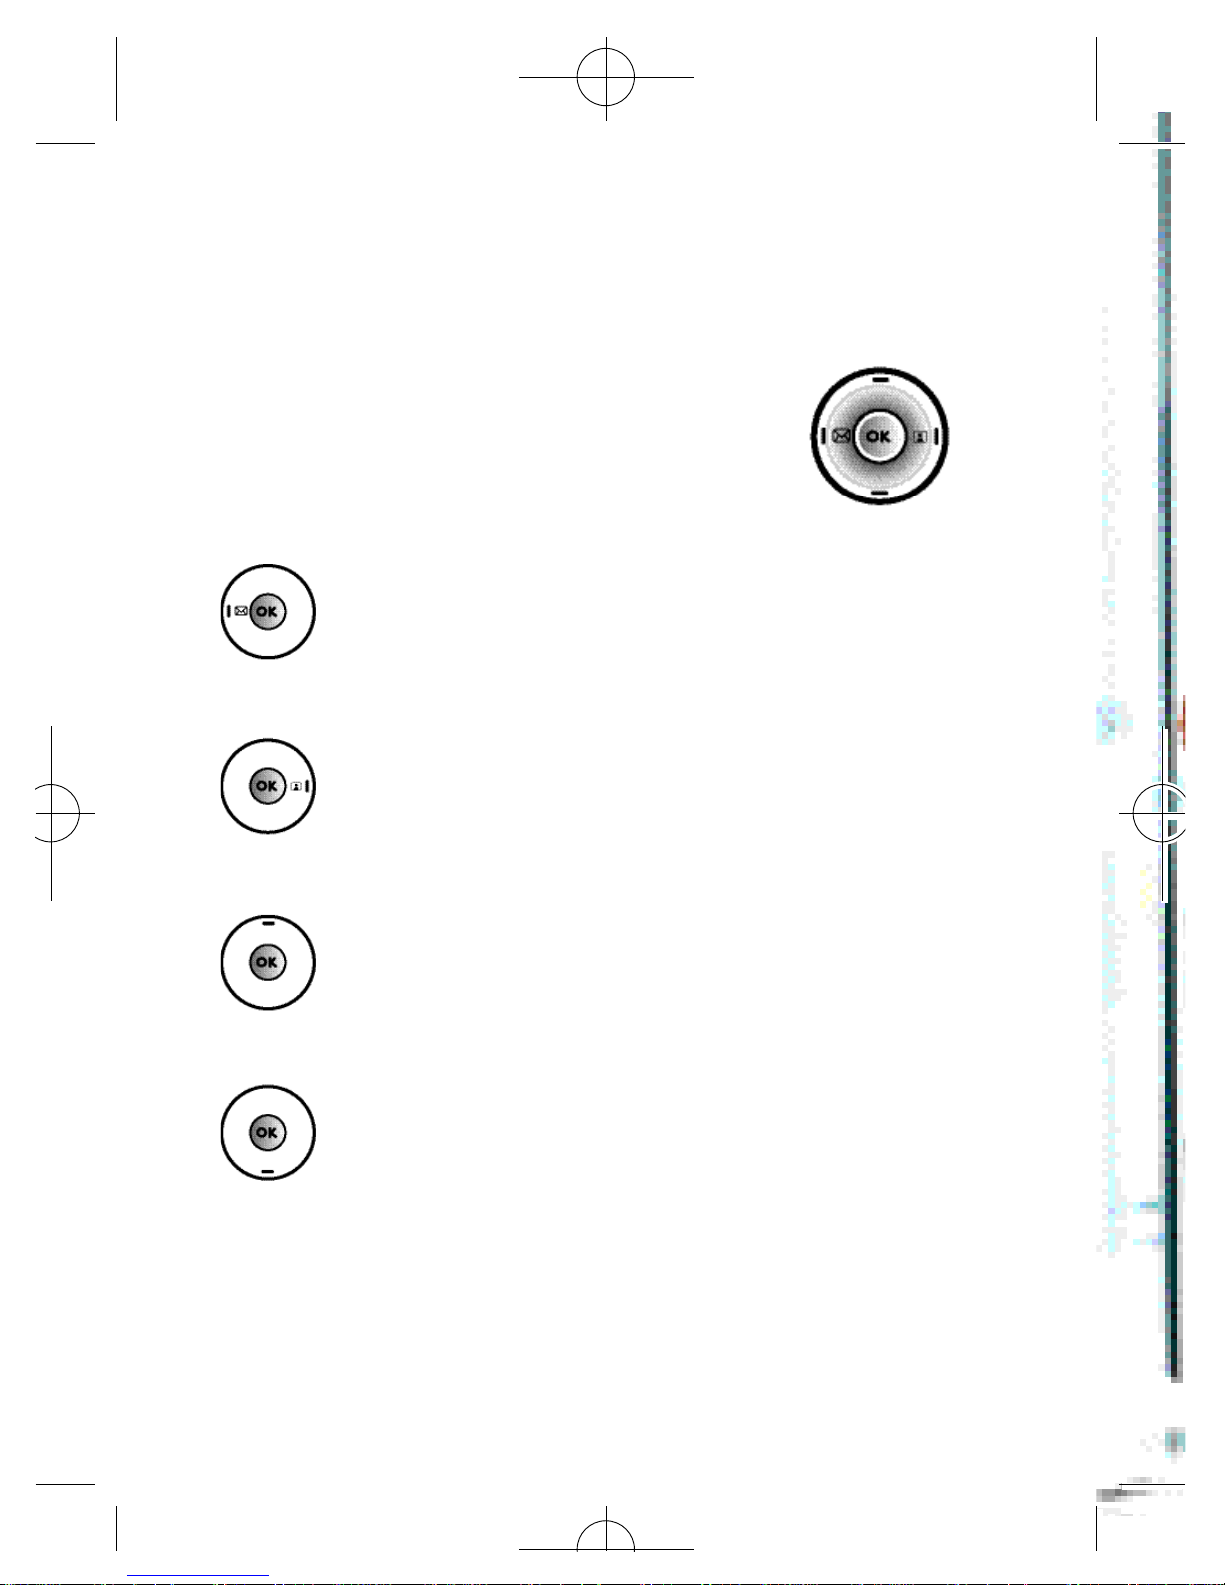
When in standby mode, the navigation
keys can be used to access shortcuts we
have set up for you.
Left – To create a text message
R i g h t – To access your pro f i l e s
Up – To access the main menu
Down – To access the camera function
Navigation keys
Page 30

13
Page 31

14
Page 32

Preparing your mobile for use
• Inserting your SIM card
• Using the battery
• Charging the battery
• Important battery information
Chapter 2
15
Page 33

16
To use your mobile, a SIM card is required at all times –
this contains important information about your mobile and
network. The message Insert SIM appears when the SIM
card is not installed.
Please take care of your SIM card and don’t keep it near
magnetic and electronic devices as this can interfere with
data storage and network operations.
• Turn your mobile over and slide the cover off
• Release the battery latch and lift the battery off the mobile
Please note:
Do not remove the battery when the mobile is on. Doing
so could cause you to lose personal settings or data stored
either on your SIM card or in the mobile’s memory.
Inserting your SIM card
battery latch
Page 34

17
• Slide the SIM card in under the metal grooves in the SIM
card slot, with the SIM card’s metal contacts facing down
and the cut corner at the top left
Please note:
A SIM card can be easily damaged if its metal contacts
become scratched. Therefore, take special care when
holding or inserting it.
If you wish to remove the SIM card, you
must first press down the stay, then push
the SIM card out of the slot.
SIMcard
Page 35

Installing the battery
Insert the bottom of the battery into the groove at the top
of the mobile. Push down the battery until it locks into
place and then slide the cover back on.
Removing the battery
Slide the cover off. Push the battery latch inwards and then
lift the battery to separate from the mobile.
Please note:
The battery must be securely placed in the battery
c o m p a rtment. If the battery is improperly inserted your
mobile will not turn on.
Using the battery
18
Page 36

Power connection
Insert the charger’s contact point into the slot and plug the
charger in at the socket.
Please ensure you insert the charger the right side up.
Please note:
Before you use the battery for the first time, make sure
you charge it for at least four hours. Charging the battery
fully each time will help prolong its lifetime – and is much
better than frequent short bursts of charging.
19
Charging the battery
Charger socket
Charger connector
Page 37

Charging status
If you charge your mobile;
• whilst it is turned off, the main display shows the
following animation
• whilst it is turned on, the display shows the icon.
The lines showing the battery power will scroll until the
battery is fully charged
When the battery is out of power, your mobile will play
an alert sound to remind you to recharge it and will
eventually turn off automatically.
20
Page 38

• Do not remove the battery while your mobile
is charg i n g
• Do not over charge the Li-Ion battery, as this can re s u l t
in a reduction in battery perf o rmance and life span.
The recommended maximum charge time is 6-8 hours
• Never store a battery near a fire
• Don’t attempt to take the battery apart. Only use the
battery approved by the manufacturer
• Never touch the battery terminals with a metallic
object, as this can lead to short circuiting. Take special
care when carrying a battery in your pocket
• Misuse of the battery can lead to burns from hot
temperatures and even explosion. Never drop or
apply any physical shock to the battery as it may
damage the battery and even cause fire
• Please keep your battery out of children’s reach and
in a dry and cool area
• Store and charge your battery at room temperature.
Extremes of temperature can prevent full charging
and affect battery life and performance
• Since a battery is a consumable product, the
operating time will gradually decrease through use
• Keep the terminals of the battery clean and dry
• When there is risk of lightning, remove the charger’s
plug from the socket to protect the mobile
Important battery information
21
Page 39

22
Page 40

Basic functions
• Turning your mobile on and off
• Menu navigation
• Basic functions
• Voicemail
Chapter 3
23
Page 41

24
Turning your mobile on and off
Turning your mobile on
When the SIM card is installed
• P ress and hold until the screen turns on
• When your mobile is PIN protected, PIN1
Code is displayed on the screen*
• Enter the 4-digit PIN to unlock the mobile, then pre s s
• Your default PIN code is 4321 or 5555**
• You can now use your mobile
Please note:
If you enter an incorrect PIN code three times in succession,
your SIM card will lock and you must enter the PUK code
to unlock it. Please contact O2Customer Service or visit
www.o2.co.uk/PUK and follow the instructions.
* If you have purchased a Pay &Go mobile, entering a PIN number is not
required.
** Please see page155for further information on PIN codes.
Page 42

Turning your mobile off
When the SIM card is installed
• Press and hold until the screen
turns off
Please note:
• If the message LOW BATTERY WARNING POWER OFF is
displayed, the mobile will turn itself off. You will need to
charge the battery
• If the battery is removed whilst the mobile is on, any
unsaved messages could be lost and the SIM card’s
memory might be damaged
25
Page 43

• When your mobile is in standby mode, press to
access the main menu
• Scroll to the menu icon you require by using
• Press to enter the menu icon highlighted
• Press to go back or press to return to the
standby screen
Menu navigation
26
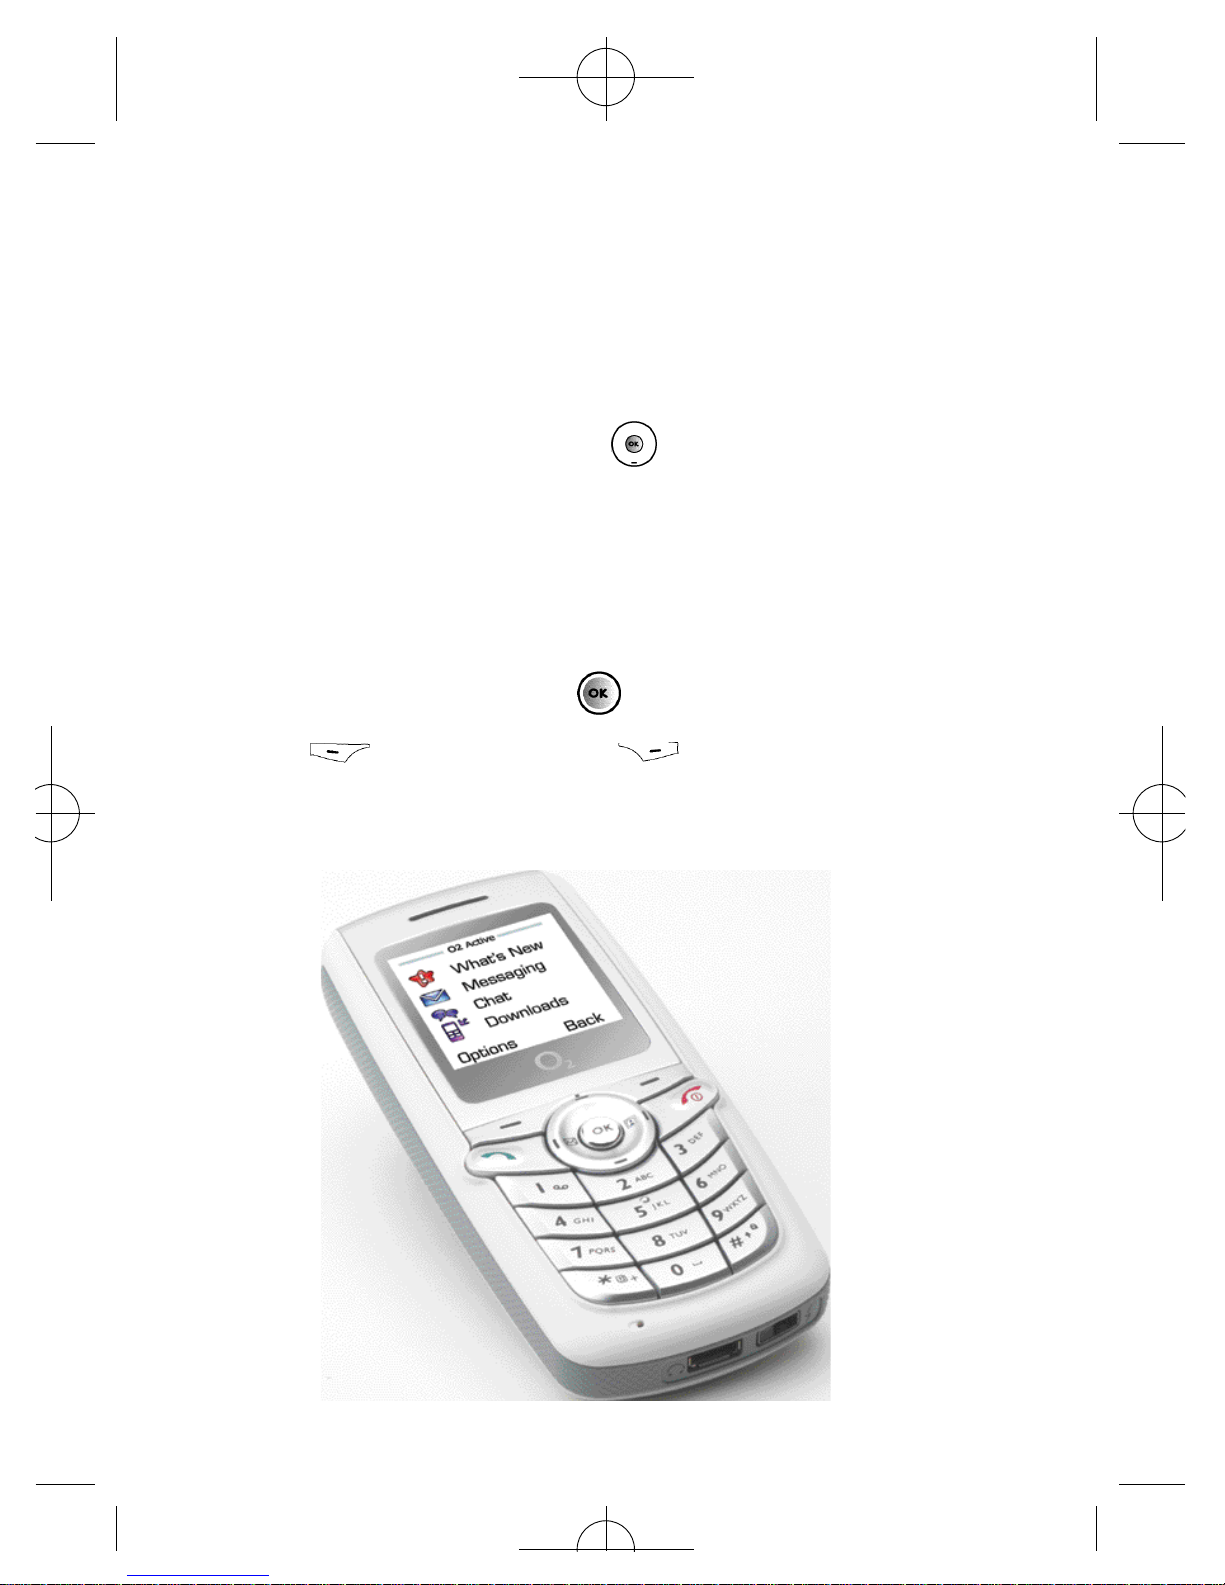
The main menu
item to which you
have scrolled will
be displayed as
an animation.
The name of the
main menu item
you have
s c rolled to.
Each icon
represents a
sub-menu.
Page 44

Main menu map
Select To enter
27
O
2
Calls
M e s s a g i n g
Page 45

Select To enter
28
Contacts
Games
Camera
Page 46

Select To enter
Pay &Go customers will see My Services as item
number 1.
29
Media
Center
Tools
Settings
Page 47

Making a call
• Ensure that the standby screen is shown on the display
• Enter a phone number
• If you make a mistake while dialling, you
can erase the last number you entered by
pressing the clear key
• Once you have entered the number,
press . The O2X1i will start dialling
the number
Basic functions
30
Page 48

Ending a call
• Press to end a call
Receiving calls
Answering a call
• To answer a call press
To reject a call
• You can reject an incoming call by pressing
31
Page 49

Making an international call
For Pay Monthly customers
• Press and hold until + appears on the screen
• Enter the recipient’s country code, area code and
phone number
• Press to dial the number
For Pay & Go™customers
Please consult your O2Pay &Go welcome pack for details
on how to use your mobile whilst abroad.
Making emergency calls
• To call emergency services, enter 112 (the international
emergency number) or 999
• Then press to dial the call
You can make an emergency call even if your mobile is
locked or cannot access your network, or there is no SIM
card inserted, so long as you are within range of a network
of the type supported by your mobile.
32
Page 50

33
Page 51

Your O2X1i provides you with Voicemail if your Voicemail is
activated. See your O2Welcome Pack for more inform a t i o n
on setting up Voicemail. This service takes messages for you
when your O2X1i is switched off, engaged, you don’t
answer a call or you are out of signal range.
To listen to your Voicemail message
• In the standby mode, press and hold to dial
your Vo i c e m a i l
• Alternatively, simply dial 901 and press
Voicemail
34
Page 52

35
Page 53

36
Page 54

Chapter 4
Main menu
• Contacts
• Calls
• Messaging
• Camera
• O2Active
• Games
• Media Center
• Tools
• Settings
37
Page 55

Contacts
38
From the standby menu, press then scroll to Contacts
and press to select. Alternatively, press to access
your contacts.
Adding contacts to your phonebook
You can either use the SIM card or the built-in contacts
database as your Phonebook. Your mobile is set up to save
to your mobile’s memory. You will however be given the
option to save to your SIM card when saving a contact.
The phonebook in your mobile’s memory can store up to
500 contacts.
To add a contact to the phonebook
• In the standby screen enter the number you
wish to store then select to Save
• The screen will show the phonebook data
fields for a new contact
• S c roll through the contact data fields that you wish to edit
• Select to edit the field by pre s s i n g and enter the
relevant data
• To save press to select Option, then scroll to Save
and press to select
Page 56

39
The data fields provided by the phonebook are:
Name
The contact’s name
Other number
The contact’s default phone number
• To change the category of the phone number, press
to select Option, then select Change Type and
select either Mobile Number, Home Number, Office
Number or Other Number
Home number
The contact’s home phone number
Group
Used to select a caller group for the contact
• Select to edit the field by pressing
• Scroll through the different groups available and press
to confirm
• When there is an incoming call for this contact, the
ring tone assigned to this group will sound and the
display will show the animation/image associated with
the group
Page 57

40
Please note:
To set a ring tone and animation/image for each caller
group go to Contacts – Group.
Ring ID
To set a ring tone for the contact. When there is an incoming
call from the contact, your mobile will play this ring tone
• Press , then scroll through the ring tones available
and press to select
Please note:
• The ring tone in this field will replace the one associated
with the contact’s caller group, if any
• The ring ID is only available when you save a contact to
your phone‘s memory
Image ID
To set the image, photo or wallpaper that will appear on
your mobile’s display when there is an incoming call from
the contact
• Press , then select;
• New photo – to take a new photo of the contact. For
further information on taking photos please refer to the
Camera section on page 87
Page 58

• I m a g e s – select an image that is already stored on
your mobile
• Wallpaper - Select a wallpaper/animation that is already
saved on your mobile
Please note:
• The photo/image/wallpaper set in this field will replace
the image associated with the contact’s caller group
• The image ID is only available when you save a contact
to your phone‘s memory
In addition to the contact fields above you can also add
the data fields listed below by pressing to select
Option at any time and then selecting Add New Field:
Mobile number
The contact’s mobile number
Home number
The contact’s home phone number
Office number
The contact’s office phone number
41
Page 59

Other number
An alternative number for the contact
Email
The contact’s email address
Home address
The contact’s home address
Office address
The contact’s office address
Company
The contact’s company name
Department
The department in which the contact works
Position
The position the contact holds within the company
Note
Used for notes about the contact
42
Page 60

43
Page 61

44
Finding contacts in your phonebook
• In the standby mode, press to select
Contacts
• Press to scroll through your list of
contacts until the one you need is highlighted
• Alternatively, press the alphanumeric key that
corresponds to the first letter of the name you wish to
locate, the appropriate number of times e.g. If the name
starts with ‘K’, press twice. The names that begin
with ‘K’ will appear. Press until the one you need is
highlighted
• Press to call the first phone number saved under
that contact
If the contact has multiple phone numbers:
• Press to show all the data fields for that contact
• Scroll to the number you wish to call and press
Page 62

45
Copy
If you are using the phonebook stored in your mobile’s
m e m o ry, you can copy the data to the SIM card ’s phonebook,
and vice versa.
• In the C o n t a c t s menu, scroll to C o p y and pre s s t o
s e l e c t
• Then scroll to a contact to copy to the other phonebook
or scroll to All SIM to Phone or All Phone to SIM a n d
p re s s to select
• P re s s to select Ye s and confirm
Delete
• In the C o n t a c t s menu, scroll to D e l e t e and pre s s t o
s e l e c t
• If the contacts you wish to delete are saved to your SIM
phonebook scroll to All in SIM or alternatively All in
Phone o t h e rwise select a particular contact and pre s s
to select
• P re s s to confirm deletion
Page 63

46
Group
Caller groups are combinations of phone settings used to
identify a particular group of contacts, such as, C o l l e a g u e s,
F a m i l y, F r i e n d s, V I P and O t h e r s. You can associate a ring
tone and image with one group, and when a member of
that group calls, your mobile will use the gro u p ’s ring tone
and display its image.
• In the C o n t a c t s menu, scroll to G ro u p a n d
select by pre s s i n g
• S c roll to one of the groups and then;
– Press to select Option. You can then
select the ring tone or i m a g e that will identify that
caller group. You can also rename the caller group and
view all the associated details for that group
– Press to view a list of all the names that belong to
that caller group. Scroll to the desired contact and
press to select Option. You can then Edit, Remove
or Add a particular contact from/to that group
Page 64

47
Business card
You can use this option to enter your own business card
information.
My number
This option allows you to save your SIM card number and
name to your SIM card’s memory.
Memory
• In the C o n t a c t s menu, scroll to M e m o ry and select by
p re s s i n g
You can now view the number of occupied phonebook
entries both on your SIM card and mobile memory as well
as the maximum number of entries that your mobile
can store.
Page 65

48
Page 66

49
Calls
• F rom the standby menu, p re s s then scroll to C a l l s a n d
p re s s to select
Missed, dialled and received calls
• Scroll to Missed / Received / Dialled and p re s s to
select. You can then view all the latest missed, received
or dialled calls. Alternatively, in the standby mode, press
to view a list of all the most recent missed, dialled
and received calls
• Press to scroll to the desired phone number
– this icon will appear beside missed calls
– this icon will appear beside dialled calls
– this icon will appear beside received calls
Please note:
• If a phone number has already been stored as a contact
in your phonebook, the display will show the name of
this contact
• If the number of the person calling you is not available
then the list will not show a number for the call
Page 67

When the number for a missed, dialled, or received call is
highlighted, you can perform the following tasks:
• Press to view the time, date and telephone
number* of the call
• Press to re-dial the number
• Press to select Option and bring up a pop-up menu:
Save/Edit – if the phone number for the call has not
been stored in the phonebook you will be able to create
a contact for this number. If the phone number is alre a d y
s t o red as a contact you will be able to edit the
i n f o rm a t i o n for this contact
D e l e t e – select to erase the re c o rd of the call from the list
Call – select to call the number or contact listed
* If the telephone number has been withheld, the number will not be displayed.
50
Page 68

51
Send msg – select to send a text message or media
message to the number or contact listed. For furt h e r
i n f o rmation on sending text or media messages please
refer to the Messaging section on page 61
Delete all
Select to erase all call records.
• In the Calls menu, scroll to Delete and press
to select
• When prompted press to select Yes, or to
select No and return to the Calls menu
Page 69

Duration
H e re you can view the duration of the calls you have made.
Last call time
Shows the duration of your last call, as well as the contact
name or phone number.
All calls time
Shows the total time for all calls.
Received call time
Shows the total time for all received calls.
Dialled call time
Shows the total time for all dialled calls.
Reset
Allows you to reset all call time records to zero.
52
Page 70

Please note:
You must enter your PIN2 code in order to clear call time
records. The PIN2 is the second PIN code. Its main use is to
control restricted services e.g. call time limits and restricted
phone numbers. For further information about PIN2 code,
please refer to page 155.
Call cost
*
Here you can view the cost information for calls.
Last call cost
Shows the costs of your last call, as well as the contact
name or phone number.
All calls cost
Shows the total cost for all calls.
Reset
Enables you to reset the call cost to zero. You will need to
enter your PIN2 code to complete.
* Not available to Pay &Go customers.
53
Page 71

Call cost limit
Shows the current limit set for total call costs.
Set call cost
Call cost limit
Allows you to set a limit for total call costs. If call costs
exceed this limit, your mobile will no longer be able to dial
calls. When this feature is activated, the remaining cost will
be displayed in the information box on the screen each
time you end a call. To set your call cost limit you will need
to enter your PIN2 code.
Units
Allows you to enter the unit price and a currency for
calculating call costs. To set the unit price you will need to
enter the PIN2 code.
54
Page 72

Operations during a call
Adjusting the earpiece volume
• During a call, you can press and to adjust the
call volume
Mute
• Press to select Mute and turn off the microphone.
The person on the other end of the line will not be able
to hear your voice
• To restore the microphone’s function, press to select
Unmute
Making a second call
*
To make a second call:
• Enter a phone number, or select one from your contacts.
For further information please refer to the In-call menu
on page 57
• Press to dial
The currently active call will automatically be placed on
hold. However, if there is already an active call and another
on hold, this action will fail.
* Only available on a Pay Monthly calling plan.
55
Page 73

56
Call waiting
*
If you receive an incoming call whilst you are on the
phone, a tone will sound through the earpiece and the
display will show that a second call is currently waiting.
You can handle the waiting call and currently active call
in the following ways:
Answer the waiting call
• Press . The currently active call will automatically
be placed on hold
• However, if there is already another call on hold, a
menu will appear on the display allowing you to select
a call to end and then answer the waiting call
Reject the waiting call
• Press to select No
* Only available on a Pay Monthly calling plan.
Page 74

In-call menu
• P re s s during a call to select Option and enter the
In-call menu
• P re s s to scroll to the desired item, please refer to
the list below
Hold/Unhold/Swap*
Allows you to toggle the call status.
Contacts
Select to enter the contacts menu.
Calls
Select to view the recently dialled, missed or received call
list. You can then pre s s to select Option and enter the
calls menu.
* Only available on a Pay Monthly calling plan.
57
Page 75

58
Messaging
Enables you to enter the messaging menu. For further
information on the messaging menu please refer to
page 61.
Calculator
Enables you to enter the calculator tool. For further
information please refer to page 130.
Send DTMF
When your mobile is connected to other devices or
services, you can send DTMF (Dual Tone Modulation
Frequency) strings. DTMF strings are keypad tones that can
be sent via the microphone as you dial another number.
Your mobile will emit the tones in order to communicate
with answering machines, pagers, computerised telephone
services, and so forth.
• Enter the phone number and then press to send the
DTMF string
Page 76

59
End call
Press to end the current call.
Please note:
If you have a call on hold you can choose to end all calls,
end the active call or the call on hold or just a single call.
Mute/Unmute
This allows you to activate or cancel the silent mode.
Page 77

60
Page 78

Messaging
• In the main menu, scroll to Messaging and select by
pressing
Then select;
Text
For further information on text messaging please refer to
page 63.
Multimedia
For further information on Media Messaging please refer
to page 73.
Voicemail
• Scroll to Voicemail and press to select
Get voicemail – select to call your Voicemail number
Settings – select to amend your Voicemail number
For further information on Voicemail please refer to
page 34.
61
Page 79

62
Broadcast
Cell Broadcast (CB) provides you with messages about
your O2service. Details are available from O2. When you
receive a CB it will display automatically in the display.
Please note that Cell Broadcast is not available to
Pay & Go customers. Charges may apply for customers
using CB. For more information please contact
O2Customer Service.
Memory
• Scroll to Memory and press to select and view
how much space is still available
Page 80

63
Text messaging is fun with your O2X1i. You can send long
messages, and personalise them.
• In the main menu, scroll to Messaging and select by
pressing , then select Text
Please note:
To enter the text messaging screen directly from the
standby display screen, press
Write a text message
• In the Text menu select New
• Enter your text message using the alphanumeric keys.
Your message can be up to a maximum of 456
characters. One standard text consists of 160 characters
Please note:
• Press 0 to enter a space between words
• Press # to switch between input modes e.g. abc, itap,
123 etc.
• The O2X1i uses ITAP, which is a predictive text input
method. ITAP allows you to type text quickly
Text
Page 81

64
• Press * to bring up options to insert characters such
as ?, !, & and @. Using the navigation keys, scroll to
the character you would like to insert and press
to select
To send your text message
• After you have finished editing your message, press
or to select Send
Send
• In the To: screen enter the recipient’s mobile number
when prompted or press to select Contacts and
select a contact from your phonebook
• Scroll through the list of contacts and press to select
the desired contacts
• Once you have selected all the contacts you require press
to select Done
• Press to send your text message
Page 82

Save to draft
Save your message to the Drafts folder so that you can
send at a later time.
Discard
To delete the text message.
65
Page 83

Read messages
When you receive a new message 1 New SMS will appear
on the display with a tone or vibration if selected.
Please note:
If the sender is a contact saved in your phonebook their
name will also appear in the message alert rather than the
number – so you know who sent you the message before
you open it.
• Press to open the message and read it
• Select Option by pressing , then select either:
66
Page 84

Reply – to reply to the text message
Forward – to forward the text message
Call – to call the sender of the text message
New – to create a new text message
Delete – to delete the text message
Save sender info – select to save the content of the
message, such as the sender’s number to your phonebook
or ring tone, animation and calendar attachments
If you wish to read the message later press to return to
the standby screen. The message will be stored in the
inbox and the icon will appear in the standby screen.
67
Page 85

Inbox
• In the Messaging menu, select Text, then scroll to Inbox
and select by pressing
• You are now in the inbox. indicates a read message,
while indicates an unread message
• Select the desired message and press to read
• To return to the main menu press
Sent Items
In the Sent Items you can view all the text messages that
you have previously sent.
• In the Messaging menu, select Text, then scroll to Sent
Items and select by pressing
• Scroll to the desired message record
68
Page 86

Then you can:
• Press to select Option and then select;
Delete – deletes the message
Resend – allows you to edit and send the message to its
original recipient
Forward – allows you to edit and forward the message
to other recipients
Delete All – deletes all the messages in your outbox
• Press to read the message. After reading the
message, press to select Option and then select:
Delete – deletes the message
Resend – allows you to edit and send the message to its
original recipient
Forward – allows you to edit and forward the message
to other recipients
69
Page 87

Drafts
This option allows you to preserve message drafts that you
have saved.
• In the Messaging menu, select Text, then scroll to Drafts
and select by pressing
• Scroll to the desired message record
Then you can:
• Press to select Option and then select;
Delete – deletes the message
Delete All – deletes all messages in the drafts folder
• Press to directly edit the contents of the message
70
Page 88

Delete
You can delete messages saved in your Inbox, Sent Items,
Drafts or All.
Settings
Your O2X1i is already set up to send and receive text
messages. If you are unable to send text messages, then
please contact O2Customer Service.
71
Page 89

72
Page 90

73
Colour Media Messaging means you can do more than tell
people what’s going on – you can show them exactly what’s
happening with pictures, sound and text. Take a photo and
send it as a media message to people showing them exactly
w h e re you are or, if you are in need of inspiration, you can
grab a full colour picture or image from the O2G a l l e ry –
such as celebrity shots and greeting cards (see O2Active on
page 98) and send it with your own message to people.
• In the main menu, scroll to Messaging and select by
pressing , then select Multimedia
Create a media message
• In the Multimedia menu select New
Select the recipient(s)
You can send your media message to a recipient’s mobile
or email address.
• Scroll to To: and press to select
To enter a number of email address directly
• Type in the recipient’s phone number or email address
Multimedia
Page 91

If there are multiple numbers and email addresses:
• Press to open up the symbols field along the bottom
of the screen
• Press to select a comma, semicolon, or space
• To insert into the editing screen and separate the
different numbers and email addresses press
To select a number or email address from your phonebook
• Press to select Contacts
• Scroll to highlight the name of the desired contact
• Press to mark the number(s) or email address(es)
you want
• You can then repeat the same steps to select other
contacts from your phonebook
• When you have finished press to select Done and
return to the recipient list, displaying all the phone
numbers and email addresses you have chosen
74
Page 92

To send your message as a carbon copy or a confidential
carbon copy to others scroll to Cc: or Bcc: and repeat the
instructions above.
Content
• Scroll to Content: and select by pressing
• Enter your message using the alphanumeric keys
For further information on entering text please refer to
page 63.
75
Page 93

With an attachment
• Whilst writing your message, select Option by
pressing
• Select Insert to enter the following:
New photo
Enables you to take a new photo using your mobile
’
s
camera and insert it into the media message you have
opened. For further information on using the camera
please refer to page 87.
Photo
You can select a photo that you have previously saved to
your Images folder. For more information on the camera
please refer to page 87.
• Scroll to the file name of the desired photo
• Press to view and press to insert the photo
into your media message
76
Page 94

77
Page 95

Text
Your mobile has a list of templates that can be used
instead of entering the text message yourself.
• S c roll through the templates available and pre s s
to insert into your media message
Enter a subject
• Scroll to Subject: and select by pressing
• Enter the subject for your media message and press
to confirm
When you are editing your media message, you can
press to select Option at any time to perform the
following tasks:
Preview – plays all the pages you have created in sequence
Remove image – removes an image or photo from the
currently displayed page
78
Page 96

Remove text – deletes all of the text from the current page
Slide duration – allows you to set the length of time that
each page is displayed on the screen when playing your
media message
When you have completed all the fields required to send
your media message, scroll to Send and press to select
or press to select Option from the New screen and
choose from the following:
S e n d – to send your media message select by pre s s i n g
Save to draft – saves the media message to the Drafts
folder so that you can send at a later time
Preview – enables you to view your media message before
you send it
Discard – select to delete the media message
79
Page 97

80
Page 98

81
Read messages
When you receive a new message 1 New Msg will appear
on the display with a tone or vibration if selected.
Please note:
If the sender is a contact saved in your phonebook their
name will also appear in the message alert rather than the
number – so you know who sent you the message before
you open it.
• Press to open and play the message’s pages in
sequence
Whilst playing you can perform the following tasks:
• Press to select Pause. When the message has
stopped, you can press to select Play and resume
playing the message starting with the currently displayed
page. Alternatively, press to scroll to the page you
want to view and then press to select Play and
resume playing the message starting with that page
• Press to select Stop
Page 99

When your mobile finishes playing the entire message, you
can do the following:
• From the message’s last page press to replay the last
page. If you want to replay the other pages, you must
return to the first page using and then press
to start
• Press to select Option, then select:
Reply – to reply to the media message
Delete – to delete the media message
Call – to call the sender of the media message, or dial a
phone number in the contents of the message. Scroll to
the desired number and press to dial
Forward – allows you to edit the content and then
forward to someone else
Details – to view the date and time of when the media
message was sent
Save – enables you to save the sender’s phone number
to your phonebook, or save a number that was displayed
in the message’s content. You can also select the
contents of a media message and save to your mobile’s
memory, such as an image, photo or ring tone
Save all – saves all the objects attached to the message
82
Page 100

83
If you wish to read the message later press to return
to the standby screen. The message will be stored in the
inbox and the icon will appear in the standby screen.
Inbox
• In the Messaging menu, select Multimedia, then
scroll to Inbox and select by pressing
• You are now in the inbox. indicates a read message,
while indicates an unread message
• Select the desired message and press to read
• To return to the main menu press
Sent Items
In the Sent Items you can view all the media messages that
you have previously sent.
• In the Messaging menu, select Multimedia, then scroll to
Sent Items and select by pressing
• Scroll to the desired message record
• Press to read the message
 Loading...