

Page 1
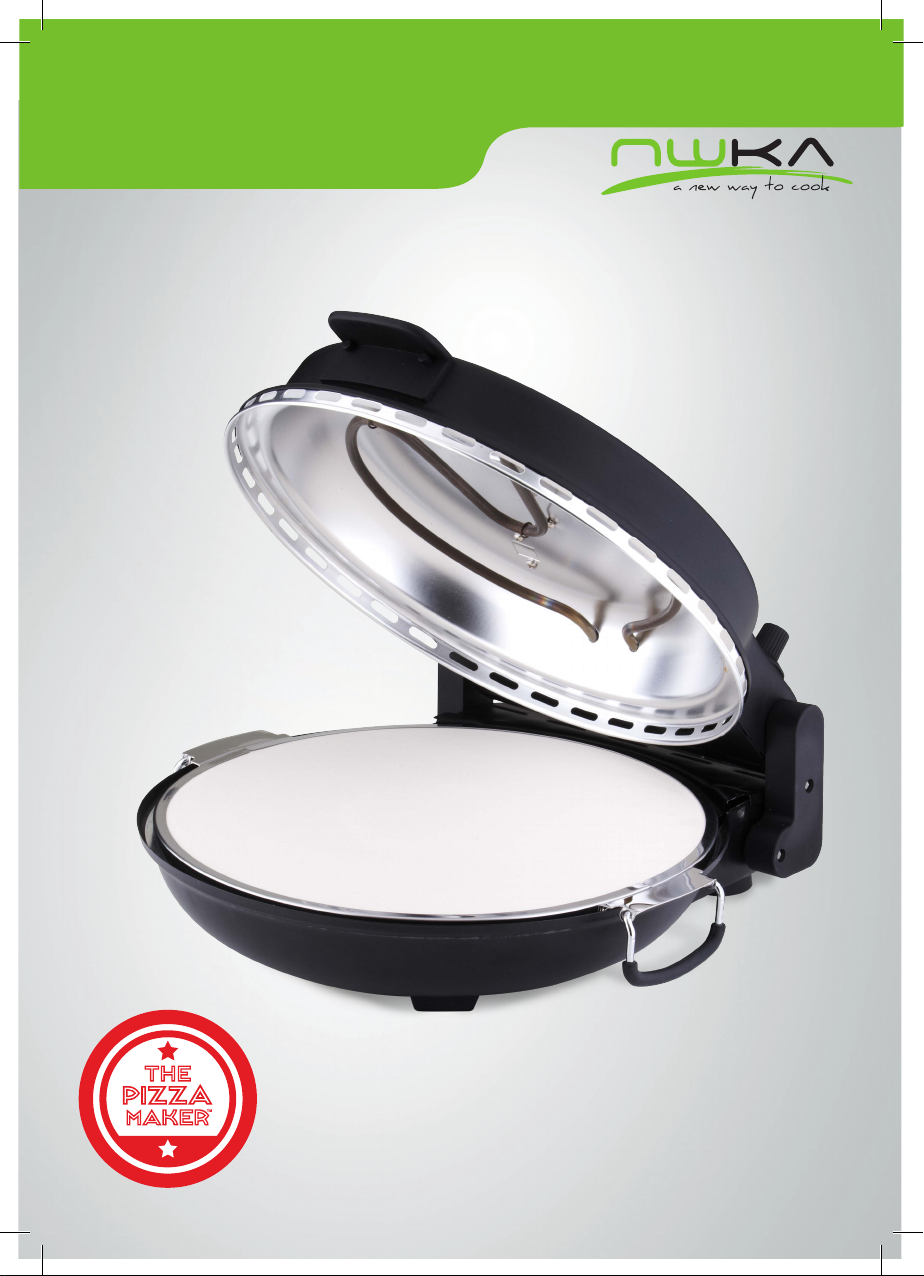
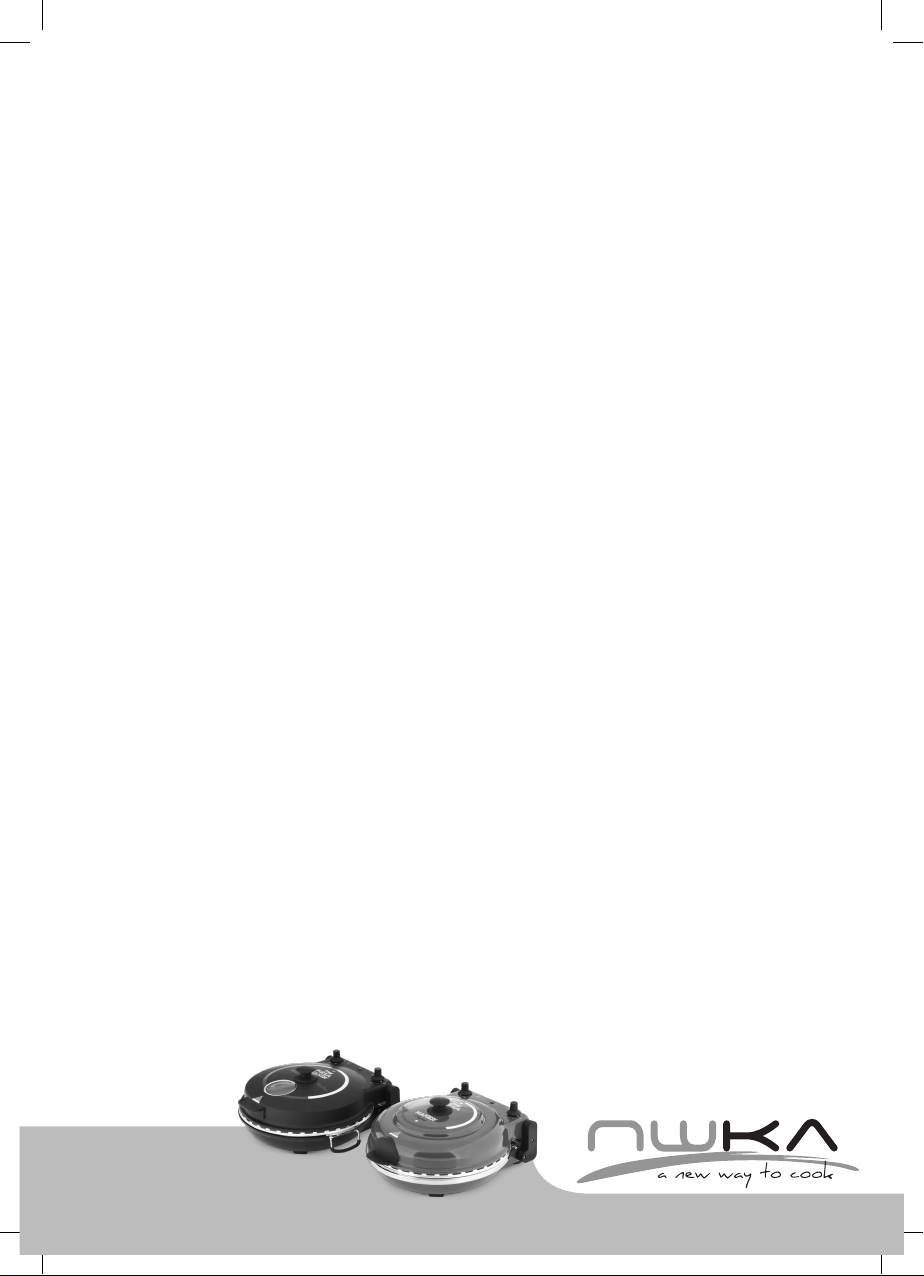
Multi-Functional
Pizza Maker
Page 2

CONTENTSContents
Introduction
Using your Pizza Maker
Safeguards
Trouble Shooting Guide
Cooking on the Stone
Warranty
Care and Cleaning
Making Pizza
Styles of Pizza Bases
Pizza Recipes
After Sales Service
New Wave Contact Details
nwka.com.au
Page 3
Introduction
“The original & still the best”
CHARACTERISTICS
•
Multi-Functional Pizza Maker
•
Model Number: QL-31
•
Voltage: 240V 50Hz
• Power consumption: 1200W
DESCRIPTION
•
Cooks frozen pizza in minutes
•
Designed to cook restaurant quality Fresh
dough pizzas in minutes
•
Dual heating elements
Fixed ceramic stone base
•
•
Heats to over 280°C
•
Cooks a crisp pizza in 5 - 6 minutes
Metal pizza paddle included
•
Imported by:
NWKA Global Pty Ltd
P O Box 421
Moorabbin, Vic, 3189
www.nwka.com.au
Phone : 1800337211
nwka.com.au
Page 4
Using Your Pizza Maker
First Time Use
When using your Pizza Maker for the first time, please read the instructions contained in this
manual. Before cooking, let your oven run for 10 minutes with the lid closed on setting 2. This
will burn off any lubricants from the oven’s heating elements and will also help to pre-season
your cooking stone. This will not affect the performance of your oven, nor will it be necessary
to repeat this process any time in the future.
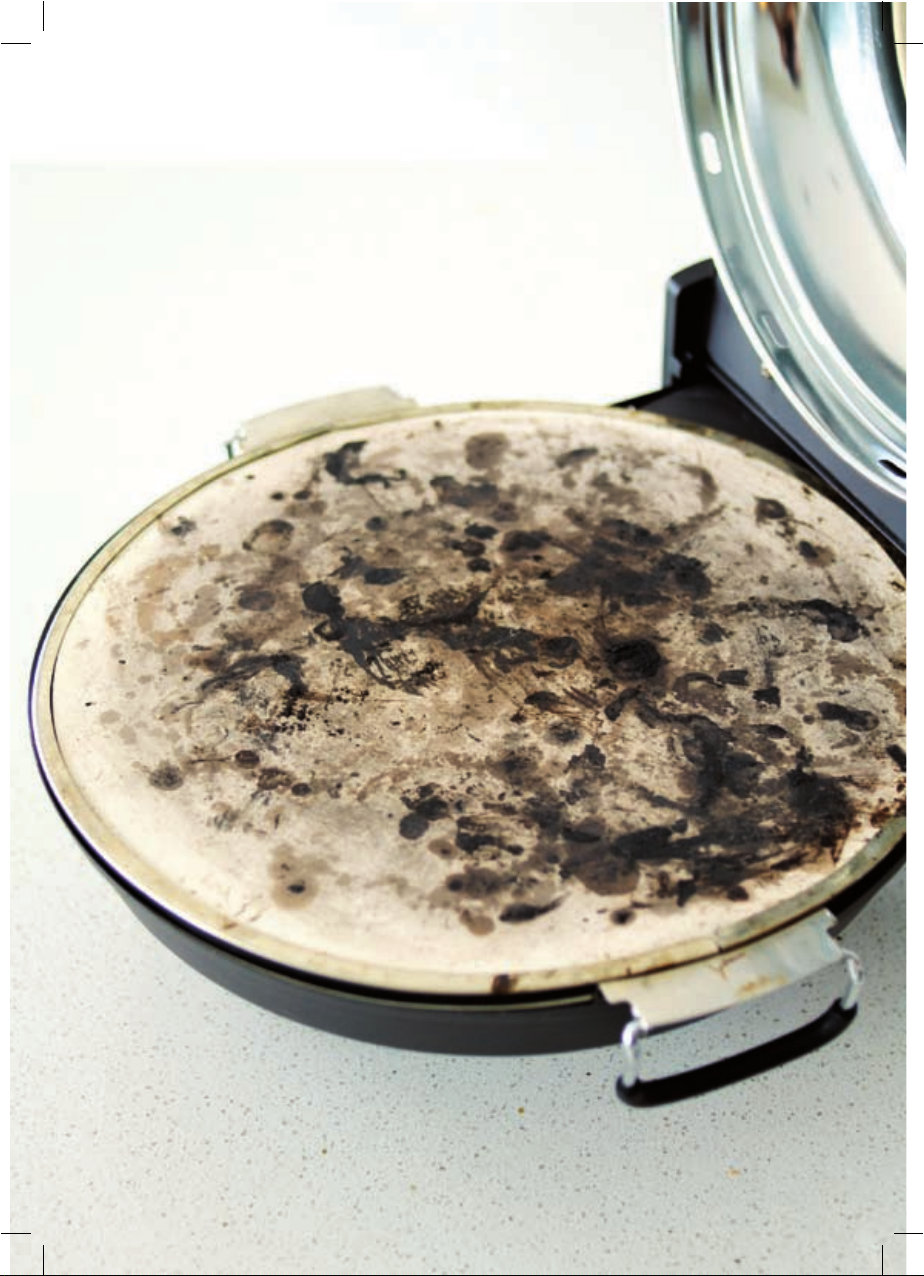
Never use cooking
cleaning. When cooking with the stone, place the uncooked foods (pizza) directly on the stone
surface. Do not worry about small scratches or that your stone surface has turned a darker
colour. This is a sign that your stone has been well seasoned.
Never use a knife or pizza cutter on the stone as this could damage the fine-grained cooking
surface.
The Pizza Maker is designed to make delicious pizza from fresh dough and frozen pizza bases.
When using a frozen pizza base, allow the base to thaw before placing in the oven. This will
result in a crispy cooked pizza. When cooking fresh dough, lightly flour the stone before placing
the dough directly onto the stone. If you have sticky dough, add more flour to your dough as it
will stick to the stone.
Make any of the delicious recipes included in this booklet or you can make your own exciting
new recipes.
Extreme caution is needed when opening the Pizza Maker as built up steam may be quickly
released. Gloves are recommended when opening the pizza oven to ensure safety
oil or water directly on the cooking stone when cooking, seasoning or
nwka.com.au
Page 5
Safeguards
Important Safeguards
When using electrical appliances, basic safety precautions should always be followed. Please
read the safeguards below before using your product.
1. Read all instructions.
2. Do not touch hot surfaces. Only use handles or knobs.
3. Extreme caution is needed when opening the Pizza Maker as built up steam
may be quickly released. Gloves are recommended when opening the pizza
oven to ensure safety
4. To protect against electrical shock do not immerse the cord, plugs, or appliance in water or
other liquids.
5. Close supervision is necessary when any appliance is used by or near children.
6. Unplug from outlet when not in use and before cleaning.
Allow to cool before putting away.
7. Do not operate any appliance with a damaged cord or plug or after the appliance
malfunctions or has been damaged in any manner. Return the appliance to the nearest
authorised service facility for examination, repair or adjustment.
8. The use of accessory attachments is not recommended by the appliance manufacturer as
they may cause injuries.
9. Do not let the cord hang over edge of table or counter, or touch hot surfaces.
10. Do not place on or near a hot gas or electric burner, or in a heater oven.
11. Extreme caution must be used when moving an appliance containing hot oil or other hot
liquids.
12. Always attach the plug to appliance first, then plug the cord into the wall outlet.
To disconnect, turn any control to the “off” position, then remove the plug from
wall outlet.
13. Do not use appliance for anything other than intended use.
14. Save this instruction manual.
This appliance is not intended for use by young children or infirm persons without supervision.
Young children should be supervised to ensure that they do not play with appliance.
nwka.com.au
Page 6
Trouble Shooting Guide
PROBLEM The heat indicator light goes on and off.
CAUSE This is an automatic thermostat light.
SOLUTION The light will stay on until the oven has reached the desired
temperature setting.
PROBLEM Top of pizza burns.
CAUSE Temperature of oven is too high.
SOLUTION When checking the pizza, if you think the top is cooking quicker
than the bottom, turn the oven setting back to 1, leaving the pizza to
continue cooking without the thermostat light on. Alternatively leave
the lid open for a couple of minutes so you can watch the pizza finish
cooking.
PROBLEM Bottom of pizza burns.
CAUSE Temperature of oven is too high.
SOLUTION Make sure the oven has been pre-heated on setting 1. When the oven
light goes out, allow a couple of minutes for the stone to rest before
adding the pizza. When cooking additional pizzas one after the other
it is best to leave the lid open for a few minutes in between cooking
pizzas with the setting back to 1.
PROBLEM Dirty Stone Base.
CAUSE Moisture on bottom of base.
SOLUTION Don’t worry if stone marks. The greater the marks, the better the
flavour it gives the pizza. Just scrape off any excess material with
the wooden paddles.
nwka.com.au
Page 7
Cooking on the Stone
1. First, ensure the control knob is set to off and have aquick check inside your Pizza Maker to
see that nothing is inside your oven other than the cooking stone.
2. Plug your Pizza Maker into a 240V plug. To turn your Pizza Maker appliance on, simply turn
the cooking temperature control knob to the medium heat setting 1.5. You will notice the
heat indicator light go on, this indicates that your Pizza Maker is pre-heating. By pre-heating
your oven before using, you will achieve better baking results.
3. Your heat indicator light will turn off in approximately 5 minutes indicating that your Pizza
Maker has pre-heated and is ready for use.
4. Place your cooked or un-cooked pizza dough directly onto the wooden paddles and add
your favourite toppings. Never over-fill or mount your topping too high on your pizza. The
topping should always be below the height of the top-heating coil to avoid burning.
5. Making sure your Pizza Maker is pre-heated, slide your pizza off the aluminium paddles and
directly onto the heated stone. Warning, the pizza stone and the handles will be extremely
hot. Do not touch it at any time until it has had a chance to cool down.
Close the lid of your Pizza Maker and turn control knob to 2.5 and allow your pizza to bake
6.
for 5-6mins, or until the desired taste. Remember, every pizza may have a different crust
thickness
you open the lid of your Pizza Maker after 3 minutes to check the progress, if your pizza is
not ready, simply close the lid and continue to cook until your desired taste.
7. If your pizza is cooking too quickly, simply turn the cooking temperature counter clockwise
to a lower setting to reduce the cooking temperature. To raise the cooking temperature turn
the cooking temperature clockwise to a higher setting.
8. When cooking with a frozen pizza base, allow the dough to thaw before use.
Once thoroughly thawed, slide your pizza directly onto the heated stone.
9. Do not use sticky dough on the stone or wooden paddles. If your dough is sticky,
we recommend you use a pizza tray to par-cook the pizza then slide directly off onto the
stone, or flour the stone and place dough directly on top.
10. Once you have cooked your pizza, turn the control knob back down to 1.5, then proceed
with preparing your next pizza. Once this is ready, place into the oven and then turn the
oven back up to 2.5. Repeat this process if cooking further pizzas.
or topping, some pizzas may cook quicker than others. It is recommended that
nwka.com.au
Page 8
Using Your Deep Dish
In addition to all the types of pizza you will enjoy making, your PIZZA MAKER can
make many other exciting foods. Just to name a few; Breakfast – bacon, eggs,
tomato, French toast, omelettes, quiches and pastries.
Check inside your PIZZA MAKER to see that nothing is inside your oven other than the
1.
deep dish cooking pan. Plug your PIZZA MAKER into a 240V plug. Turn your
PIZZA MAKER oven on by turning the cooking temperature control knob to
1-1.5. The heat indicator light will go on, this indicates that your PIZZA MAKER
is pre-heating.
2.
Your heat indicator light will turn off in approximately 5mins, indicating that your
PIZZA MAKER has pre-heated and is ready for use.
WARNING - the deep dish cooking pan and the handles will be extremely hot. USE
OVEN MITTS OR ALLOW TIME UNTIL IT HAS HAD A CHANCE TO COOL DOWN.
NEVER over-fill your PIZZA MAKER or mount your foods to high so as to touch the
3.
top-heating coil. Your food should always be below the height of the top-heating
coil to avoid burning. Place your foods directly into the pre-heated deep dish and
close the lid.
4.
It is recommended to open the lid of your PIZZA MAKER after a few minutes of
cooking and check the progress, if your meal is not ready. Simply close the lid and
continue to cook until your desired taste. If your food is cooking too quickly, simply
turn the cooking temperature counter clockwise to a lower setting. This will reduce
the cooking temperature. To raise the cooking temperature if your food is cooking
too slowly, turn the cooking temperature clockwise to a higher setting. This will raise
the cooking temperature.
5.
When cooking frozen foods, allow the food to thaw before cooking.
6.
Do not leave the deep dish pan in your PIZZA MAKER oven while it is on, this will damage
the surface of the pan. Do not put your deep dish pan in the dishwasher as this will also
damage the surface of the pan.
7.
When using your deep dish pan as a frying pan, you must leave the lid open.
8. It is recommended to use a little oil or butter when cooking in the deep dish to
8.
prevent any food sticking to the pan surface.
Only add oil or butter once the deep dish has been pre-heated.
nwka.com.au
Page 9
Page 10
12 Month Limited Warranty
Date of Purchase
Name of Retail Outlet
Address of Retail Outlet
Oven Serial No.
Customer Name
Customer Address
Email Address
Please return this copy to Pizza@Home to receive a 12 month limited Warranty on
your oven or log onto www.pizzaathome.com.au and fill out your warranty on line.
Pizza@Home
P.O. Box 8109
Heatherton Vic 3202
Telephone +61 3 9553 7211 Facsimile +61 3 9553 7233
Warranty Conditions
1. Warranty void if unit tampered with
2. Warranty does not cover broken stone base
3. Warranty does not cover non-stick deep disk cooking pan
4. Warranty does not cover postage for oven returned to us
Please retain a copy of the Warranty and the purchase receipt as proof of purchase. We will guarantee this product against
defects caused by faulty workmanship and materials for twelve months domestic use. During this Warranty period PIZZA
MAKER will REPLACE any defective product. However, if the product includes a number of accessories, only the defective part
of the accessory will be replaced. The PIZZA MAKER reserves the right to make minor adjustments instead of replacing the
product or accessory. Packaging instructions will not be replaced unless faulty.
Subject to your statutory rights as to the merchantable quality of the product or accessory. In the event of a product
or accessory being replaced during the Warranty, the Warranty on the replacement will expire at the original date|
i.e. 12 months from the original purchase date. This Warranty excludes defects caused by the product not being used
in accordance with the instructions, accident damage, misuse or being tampered with by unauthorised persons.
The replacement Warranty also excludes breakages and consumable items such as the deep-dish pan and paddles.
This Warranty covers only units sold in Australia.
(Located under oven)
nwka.com.au
Page 11
Care and Cleaning
Cleaning Instructions
If properly taken care of, your Pizza Maker will provide you with many years of use. After
each use, unplug your Pizza Maker and let the appliance cool. Be careful not to touch or
try to clean your Pizza Maker until all parts have cooled down to room temperature.
To clean the outside of the Pizza Maker only use a damp cloth. Never dip or immerse
your Pizza Maker into water or any other liquids. This could cause an electrical shock
and/or damage to the oven.
To clean the stone, never use cooking oil or water or any detergents. Scrape off any
excess food with a spatula or a stiff bristled brush & wipe clean with paper towel or a
clean dishcloth. To clean the paddles, wash in warm water and mild dish washing liquid.
Never allow them to stand in water as water saturation will damage the paddles.
Never use the stone for any other purpose than intended use. Do not use as a trivet as a
cuffing stone. Never put liquids on the stone whether it is hot or cold. By following these
points of care, your Pizza Maker will provide you with many years of use.
simple
Extreme caution is needed when opening the Pizza Maker as built up steam may be
quickly released. Gloves are recommended when opening the pizza oven to ensure
safety
nwka.com.au
Page 12
Pizza Oven Recipes
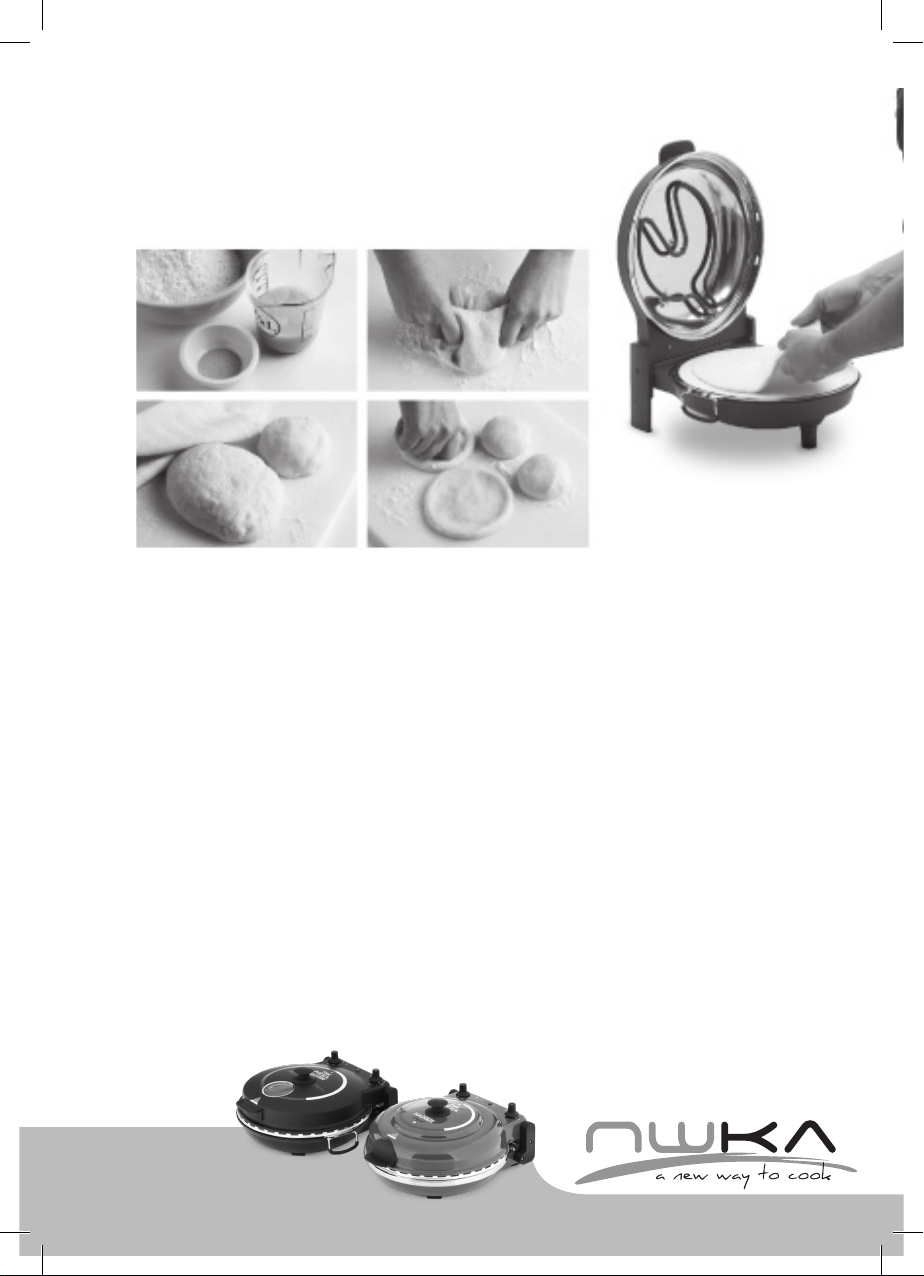
Basic Pizza Dough
When you dough is ready put directly
onto your warmed stone and top with
your favourite ingredients.
Ingredients (Makes 1 Pizza)
- 7g sachet dry yeast
- 1 teaspoon caster sugar
- 1/2 teaspoon salt
- 2 cups plain our
- 2 tablespoons olive oil
nwka.com.au
Method
1. Combine 3/4 cup warm water, yeast, sugar and salt in a
jug. Whisk with a fork to dissolve. Cover with plastic wrap.
Set aside in a warm place for 5 minutes or until bubbles
appear on the surface.
2. Sift our into a bowl. Add yeast mixture and oil. Mix to form
a soft dough. Turn onto a lightly oured surface. Knead for
10 minutes or until elastic. Place in a lightly greased bowl.
Cover with plastic wrap. Stand in a warm place for 25 to
30 minutes or until dough has doubled in size.
3. Use your st to punch dough down. Knead on a lightly
oured surface until smooth.
Page 13
Pizza Recipes
Styles of Pizza Bases
Frozen-topped Pizza
Its quick and easy to cook your frozen pizza straight from the freezer in the Pizza Maker.
Turn your oven onto
directly onto the stone and close the lid. Leave the frozen pizza in the pizza oven for
approximately 4 minutes to defrost/ Once the base has defrosted turn the setting up to 2½ and
cook for approximately 5 minutes.
Pizza Mix or Bread Mix
It is better if you use a quality bread mix. Most of them will have a pizza dough recipe on the
pack which will say to use 10% less water.
Pitta Bread
This is a great healthy alternative. They are readily available in every supermarket and will only
take 2-3mins to cook in the PIZZA MAKER.
Pre-made Base (Fresh)
They normally take a few minutes longer because they tend to have a thicker base. Use less
topping to ensure a quicker cooking time.
the 1½ setting. Once the light has turned off place you frozen pizza
Pre-made Base (Frozen)
For best results make
to 1½ Add topping to frozen base. Once the light is off, add topped frozen pizza to stone base
and close the lid. After 2-3 minutes turn the setting to 2½ and cook pizza.
Calzone
A different way to eat a pizza. Make sure they are not too thick. You can cook them on the
stone or in the deep dish. Ricotta cheese is a great filling as you can make dessert calzone by
adding banana, stewed apples etc. and serve it with ice cream.
Toasted Sandwiches
These can be cooked on the stone base, simply, add you favourite fillings and place the bread
on to the stone. Close the lid and turn the setting up. Check after 3-4mins. When ready, spread
butter on the outside of the toasted sandwich.
sure the base is defrosted. For a quick defrost method; turn oven setting
nwka.com.au
Page 14
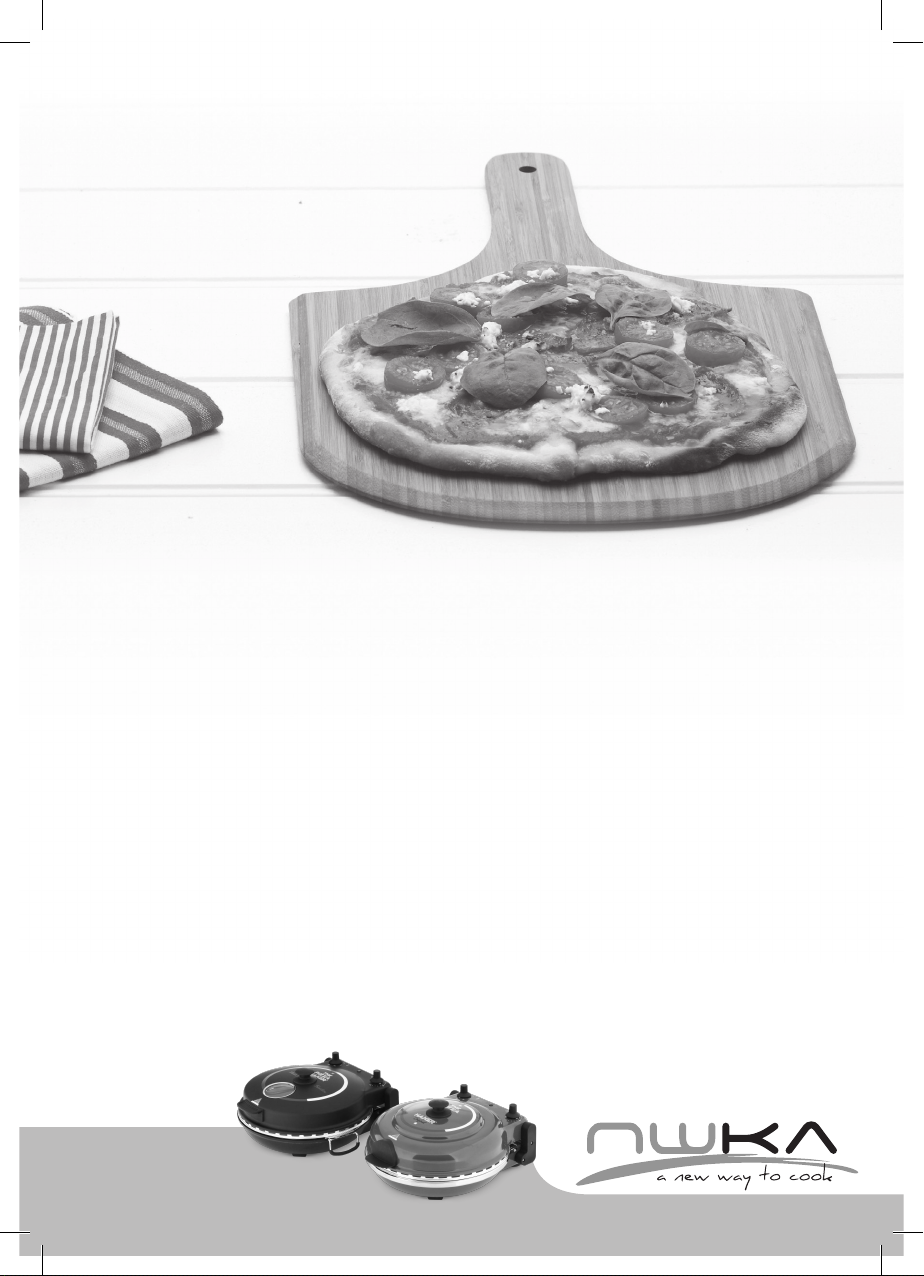
Pizza Oven Recipes
Hot Salami and
Basil Pizza
Ingredients
- Hot Salami slices, Sopressa
or Calabrese
- Tomato Passata
- Grated Mozzarella cheese
- Roasted Red Peppers
- Goats Cheese
- Basil Leaves
nwka.com.au
Method
1. Preheat your Pizza Maker oven on setting.
2. Roll out your fresh dough and place inside your
Pizza Maker oven.
3. Top base with tomato passata, then grated cheese
4. Arrange the salami and peppers on the pizza
5. Then crumble on the Goats cheese and top with
Basil Leaves
6. Close the lid and turn your Pizza Maker up to 2.5
and cook for around 5-7 minutes.
Page 15
Pizza Recipes
Antipasto Pizza
Ingredients
- 20g pesto genovese
- 4-5 cherry tomatoes
- 2 artichoke heads
- 80g bocconcini cheese
- 30g hot salami
- 20g asparagus
- 5-6 pitted kalamata olives
Method
Spoon your pesto onto the pizza base then
place your sliced antipasto ingredients on top.
Chop the bocconcini cheese into slices, and
place on top. Remembering not to over top your
pizza. Place your pizza into the pizza oven and
cook for around 5 minutes.
Smoked Chicken and
Roasted Pumpkin Pizza
Ingredients
- 120g mozzarella cheese, shredded
- 3-4 pumpkin pieces, roasted
- 1 spring onion, sliced
- 1 smoked chicken breast, sliced
Method
Spoon your pesto onto the pizza base then
place your sliced antipasto ingredients on top.
Chop the bocconcini cheese into slices, and
place on top. Remembering not to over top your
pizza. Place your pizza into the pizza oven and
cook for around 5 minutes.
nwka.com.au
Page 16
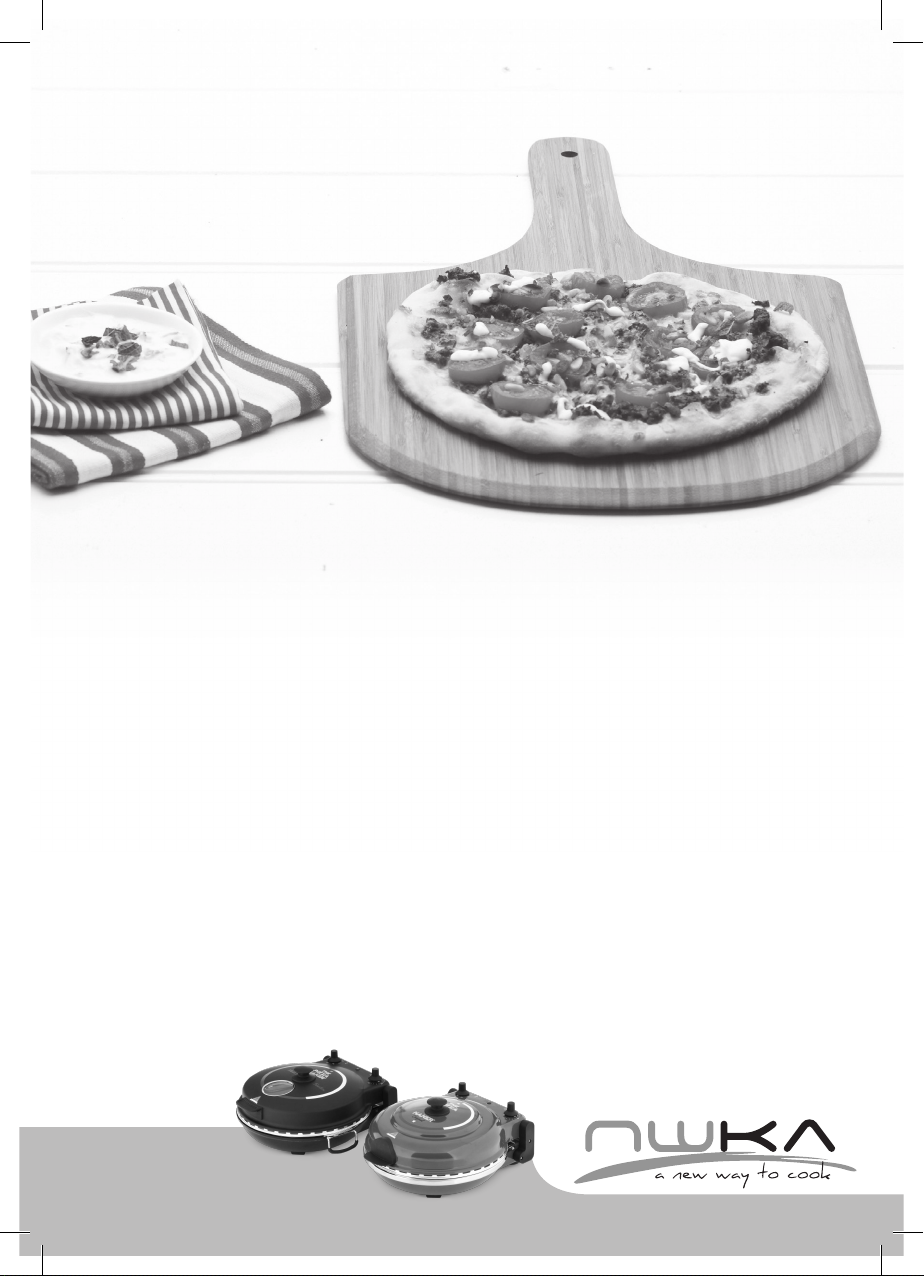
Pizza Oven Recipes
Moroccan Lamb
Pizza
Ingredients
- 2/3 cup low-fat natural yoghurt
- Juice of 1 lemon
- 2 tbs chopped mint
- 180g lamb backstrap,
roughly chopped
- 1 1/2 tsp Moroccan seasoning
- 1 large garlic clove, chopped
- 1/2 red onion, chopped
- 1 tbs pine nuts
- 8 cherry tomatoes, halved
- 1 tbs chopped coriander
Method
1. Combine the yoghurt, 2 teaspoons lemon juice and
mint in a bowl. Season with salt. Chill until required.
2. Preheat your Pizza Maker on setting.
3. Place the chopped lamb, Moroccan seasoning,
garlic, red onion, sea salt and freshly ground pepper
into a food processor and pulse until the mixture is
coarsely minced.
4. Place your fresh dough directly onto your stone,
scatter base the lamb mixture, pine nuts and
tomatoes. Close the lid and turn your Pizza Maker up
to setting 2.5 cook for around 5 to 7 minutes.
5. Scatter with the chopped coriander and drizzle over
remaining lemon juice.
Serve with the mint yoghurt.
nwka.com.au
Page 17
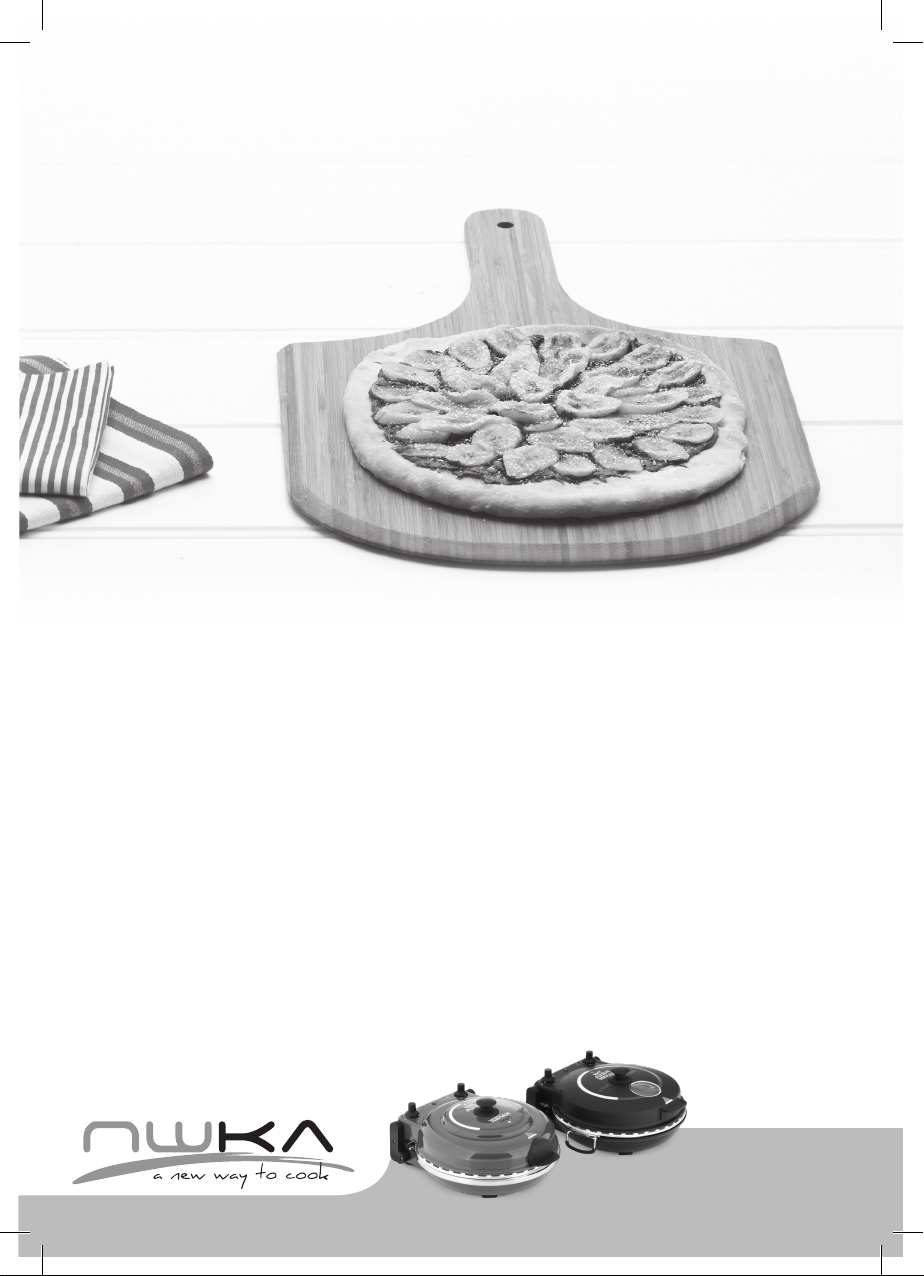
Pizza Oven Recipes
Nutella and Caramelised
Banana Pizza
Ingredients
- Fresh Pizza Dough
- ¼ cup of Nutella
- 2 small bananas
- 2 tbls of brown sugar
- Icing sugar to dust
Method
1. Pre heat your Pizza Maker on setting 1.
2. Roll out your fresh dough and place directly into your
Pizza Maker.
3. Warm the Nutella in the microwave and spread
evenly over the base.
4. Top with sliced banana
5. Sprinkle with brown sugar
6. Close the lid and turn your Pizza Maker onto setting
2.5 and cook for around 5 to minutes.
7. Dust with icing sugar.
Serve with custard or vanilla ice cream
nwka.com.au
Page 18
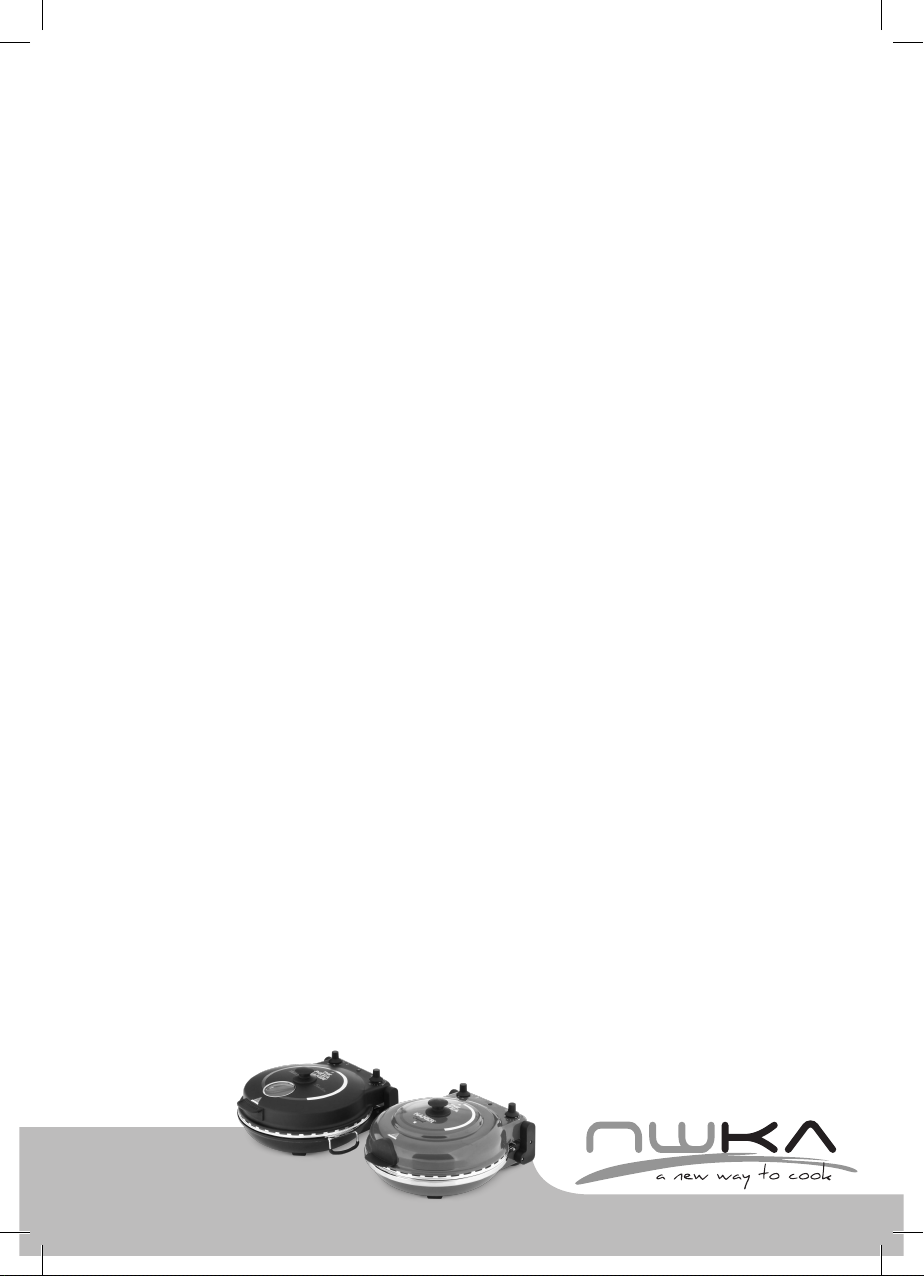
Pizza Recipes
Potato, Leek, Bacon
and Rosemary Pizza
Ingredients
- 120g mozzarella cheese
- 2 boiled potatoes
- 1 sprig of rosemary
- 1 leek, thinly sliced
- 30g bacon shaved
- Sea salt
Seafood Pizza
Ingredients
- 120g mozzarella cheese
- 4-5 small shrimps
- 120g seafood mix
- Garlic oil
- Cracked pepper
Method
Thinly slice the potato and leeks. Cut the bacon
into small slices and chop up the rosemary.
Place some shredded mozzarella cheese onto
your pizza base then arrange the potato on
top, making sure that you only have one layer
of the potato. Then place your leek, bacon and
sea salt on top. You can brush some olive oil
onto the potato so it will get some colour. Cook
your pizza for around 5 minutes, turn it once to
ensure an even cooked pizza. When the pizza is
cooking you can add a little more olive oil with a
pastry brush.
Method
You can purchase a seafood mix from the
fishmonger or local fish shop. If the mix has
mussels, remove these from the shells. Place
some shredded mozzarella onto the bottom
of your prepared pizza base, then arrange the
seafood mix on top, some garlic oil and cracked
pepper. Make sure that you don’t overfill your
pizza with ingredients as seafood gives off a
lot of water. Place your pizza into the oven and
cook for around 5 minutes. Once the pizza is
cooked you can add some chopped thyme.
nwka.com.au
Page 19
Pizza Oven Recipes
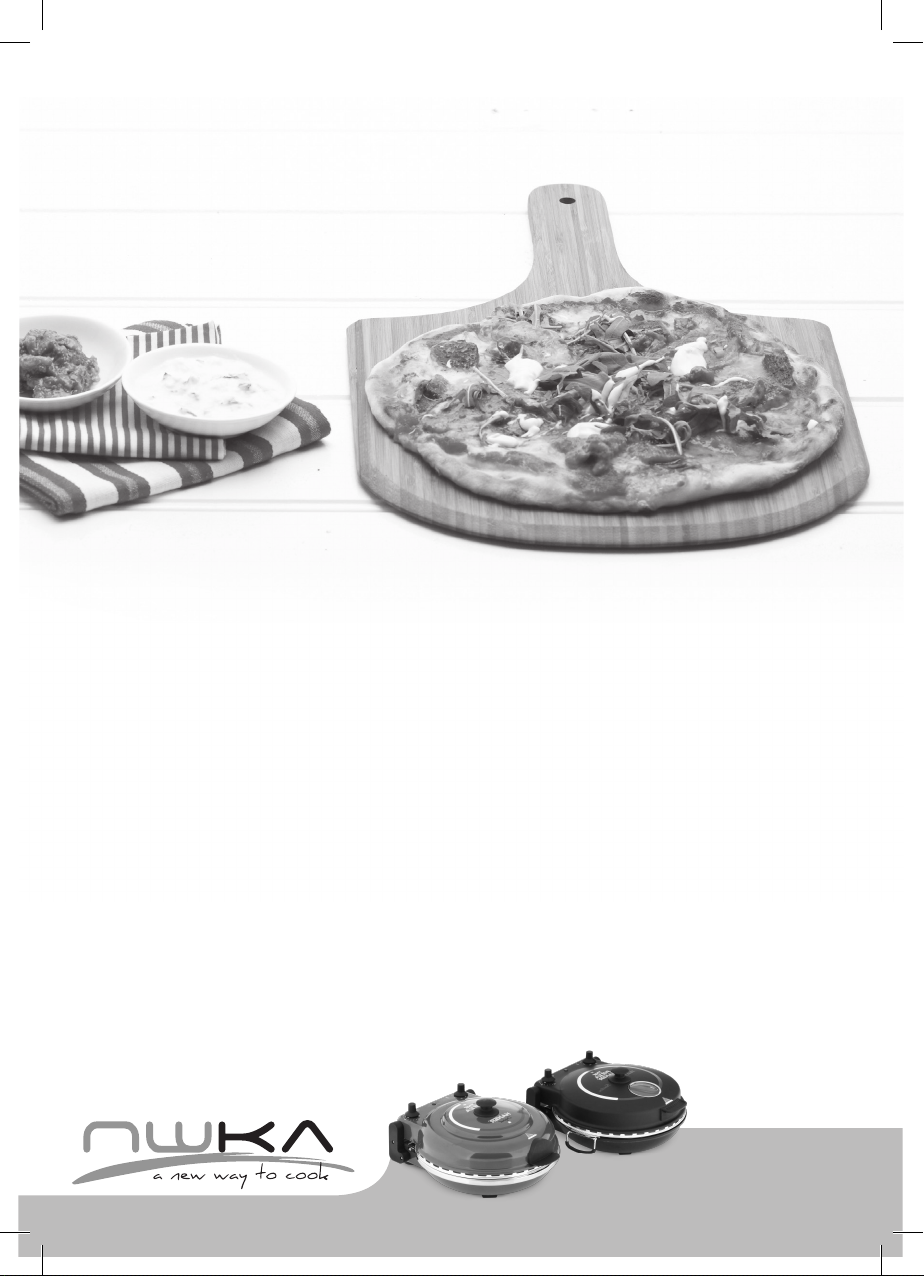
Tandoori Chicken
and Rocket Pizza
Ingredients
- 200g chicken tenderloins, thinly sliced
- 1 1/2 tbs Tandoori paste
- 2 tbs of natural yoghurt
- 3 tbs of Tomato pasta
- Handful of shredded mozzarella cheese
- Handful of cherry tomatoes, halved
- Rocket leaves
- 2 tbs of tadziki dip
- 2 tbs mango chutney
Method
1. Place the chicken tandoori paste and natural yoghurt
in a bowl. Toss to coat.
2. Pre heat your Pizza Maker on 1.
3. Roll out your dough and place onto the heated stone,
top with tomato passata and mozzarella cheese.
4. Place the chicken and tomatoes onto the base.
5. Close the lid and turn up to 2.5 and cook for around 5
to 7 minutes
6. Top with the rocket and drizzle over the tadziki..
Serve with the mango chutney and mixed salad leaves.
nwka.com.au
Page 20
Pizza Oven Recipes
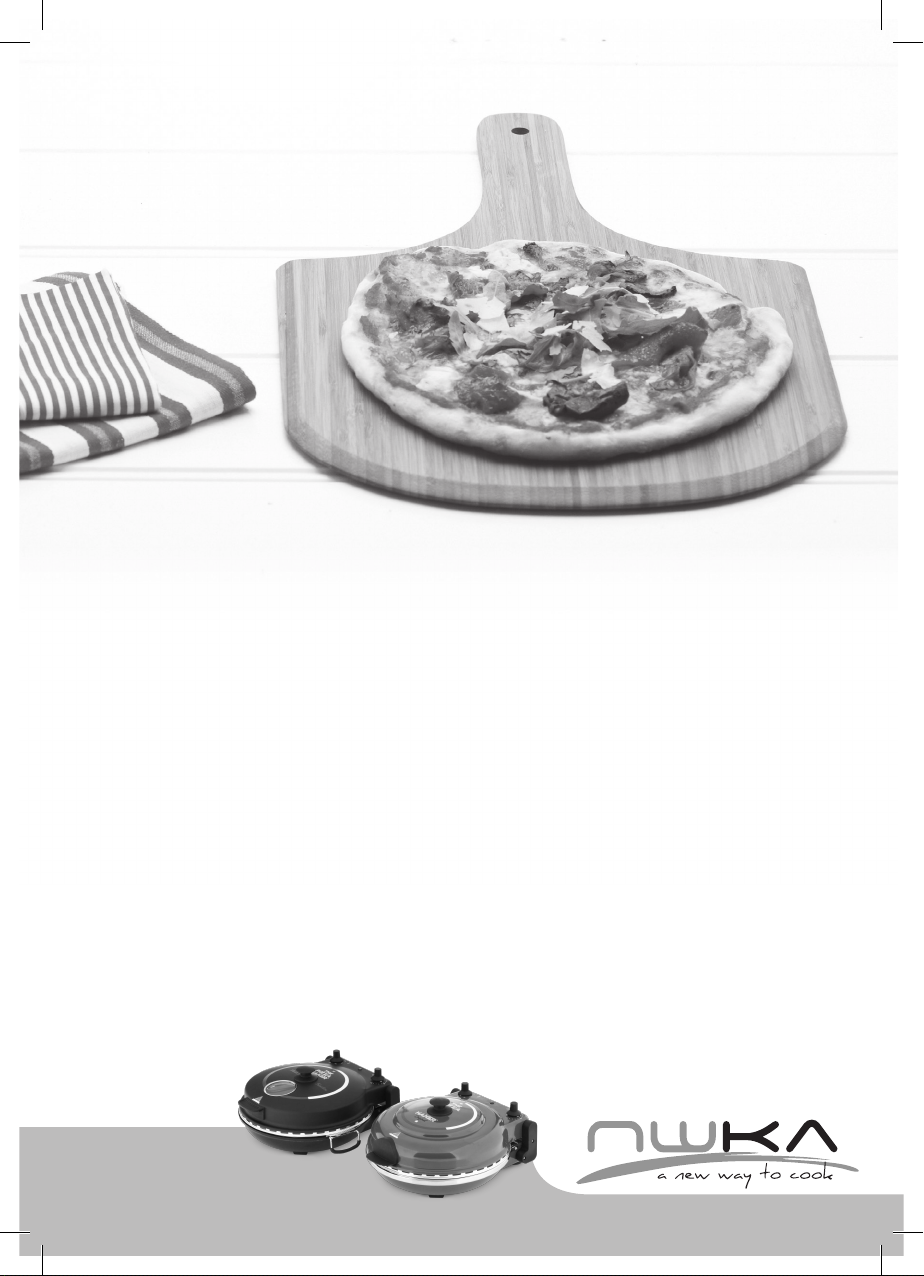
Ortalana Pizza
Ingredients
- Small container of
Chargrilled Vegetables
- 5 slices fresh mozzarella
- 3 tbs of tomato passata
- Handful of Pecorino
- Handful of baby spinach leaves
- Extra Virgin Olive oil to drizzle on top.
Method
1. Preheat Pizza Maker on setting 1. Drain the
antipasto on a plate lined with paper towel.
2. Place the fresh dough directly onto the
stone, top with tomato passata and fresh
mozzarella cheese.
3. Top the pizza base with antipasto and pecorino
cheese.
4. Close the lid and turn your Pizza Maker up to
setting 2.5 cook for around 5 to 7 minutes.
5. Top with the spinach leaves
nwka.com.au
Page 21
DEEP DISH RECIPES
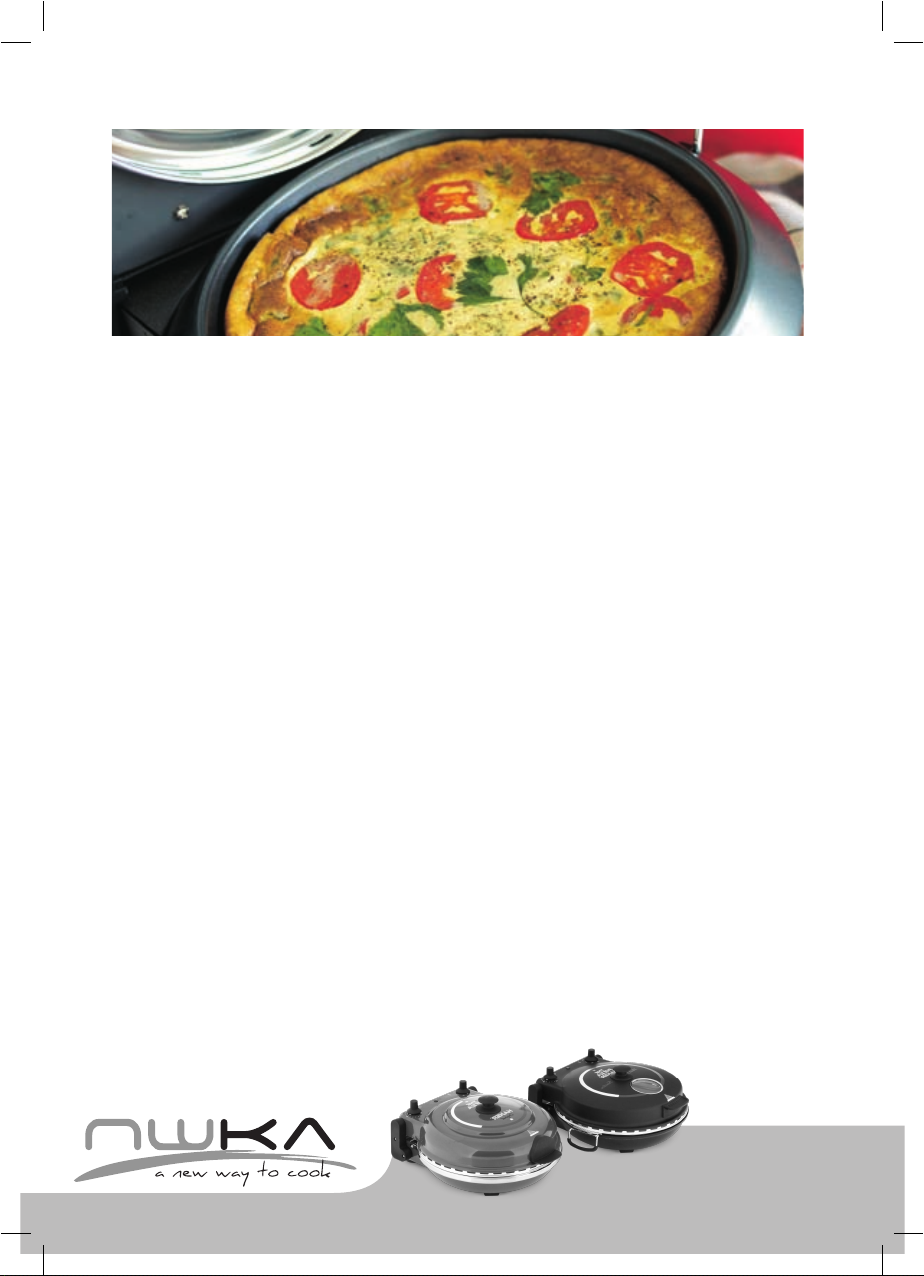
Vegetable Frittata
sliced zucchini
1 small onion cut into strips
1 clove garlic chopped 50g
fetta cheese
salt & pepper
Turn setting to 2. In the mean time add the 6 eggs, feta cheese, half of the mozzarella cheese,
pesto Genovese, salt and pepper into bowl. Mix together. Add oil, zucchini, onion and peppers
into deep dish. Allow to cook for a few minutes. Add garlic and cook until the vegetables start
to soften. Evenly spread out cooked vegetables and pour egg mixture over the vegetables.
Close the lid and turn thermostat setting to 3. Open lid after 4mins and rotate the deep dish
around to ensure an evenly cooked frittata. Cook for another 5mins or until cooked. Once
frittata has risen and is fluffy, serve onto a plate. You can make any frittata combination you
like. Just follow the above method.
1 small red capsicum, cut into thin strips
1 table spoon pesto genovese
6 eggs
60g mozzarella cheese
15ml olive oil
Ham, Cheese and Tomato Omelette
4 eggs
50g shaved ham
salt & pepper
chopped parsley
Pre heat deep dish on setting 1. In the mean time add the 4 eggs and cream and salt and
pepper into bowl. Mix together. Add tomato, cheese and ham. Stir through with chopped
parsley. Once light has turned off, open lid. Lightly grease sides and base of the deep dish.
Pour mixture into deep dish. Close the lid and turn thermostat setting to 2.5. Open lid after
4mins and rotate the deep dish around to ensure an evenly cooked omelette. Cook for a few
more minutes. Once the omelette has risen and is fluffy, serve onto a plate.
50g mozzarella cheese
2 ripe tomatoes cut into quarters
30g cream
nwka.com.au
Page 22
Salmon and Rocket Omelette 4
eggs
50g smoked salmon
salt & pepper
Pre heat deep dish on setting 1. In the mean time add the 4 eggs and sour cream, salt and
pepper into bowl. Mix together. Add salmon and stir through. Once light is turned off, open lid.
Lightly grease sides and base of the deep dish. Pour mixture into deep dish. Close the lid and
turn thermostat setting to 2.5. Open lid after 4mins and rotate the deep dish around to ensure
an evenly cooked omelette. Cook fora few more minutes. Once omelette has risen and is fluffy,
serve onto a plate. Add wild rocket on top of cooked omelette.
30g sour cream
hand full wild rocket
COOKING WITH THE LID OPEN (Fry pan style)
When using the deep dish and the lid is open, the oven becomes just like an electric fry pan.
You can cook schnitzels, fish fingers, chicken fillet cream and mushroom, even bacon and
eggs or poached eggs.
For best results pre heat the dish by turning the thermostat control to 1. Once the light has
turned off add your desired meal and turn the setting up to 2.
Chicken Fillet Cream and Mushrooms 1
chicken breast
40ml cream
olive oil
chopped garlic
(butterfly open)
6 button mushrooms
chopped parsley salt
and pepper white
wine
Turn pre heated setting to 2. Add oil then the chicken breast. After a few minutes add the
mushrooms and garlic. Allow to cook for a few minutes. Turn the chicken breast over once it
has colour. Add a splash of white wine and then the cream. Allow the cream to reduce and
serve.
nwka.com.au
Page 23

AFTER SALES SERVICE
This appliance is built to the very highest of standards.
There are no user-serviceable parts.
Follow these steps if the unit fails to operate:
1. Check instructions have been followed correctly
2. Check fuse has not blown
3. Check mains supply is functional
To return the appliance to the Customer Service Department, follow the steps below:
1. Pack it carefully (preferably in the original carton) and ensure the unit is clean.
2. Enclose your name and address on all correspondence
3. Give the reason why you are returning it
4. If within the guarantee period, state when and where it was purchased and include
proof of purchase (eg. till receipt)
5. Send to our Customer Service Department at the address below
Customer Service Department
NWKA Global Pty Ltd
P O Box 421
Moorabbin, Vic, 3189
[email protected]
www.nwka.com.au
Phone: 1800337211
Page 24
Imported by:
Imported by:
NWKA Global Pty Ltd P
O Box 421 Moorabbin,
Vic, 3189
www.nwka.com.au
Phone : 1800337211
THE
MILKSHAKE
MAKER
newwaveka.com.au
 Loading...