

NVX MVPA1, MVPA4 User Manual
MVP
AMPLIFIERS
USER MANUAL
MVPA1 MVPA4

1
NVX MVP
THANK YOU FOR CHOOSING NVX
Thank you for choosing the NVX MVP Series of ampliers for your car, boat, motorcycle, RV, ATV, or any other mobile application where big power and
great sound quality is needed for a small space application. The new MVP line of ampliers are truly groundbreaking. The most compelling feature is
the small footprint, but don’t let the diminutive size fool you – these ampliers utilize the latest in class D technology and cutting edge circuit design
to drive your gear. Previously when an ultra-small footprint amplier was needed, you had to sacrice both power and certainly sound quality. Thanks
to the innovation of the NVX design team you no longer have to make that sacrice. The MVP line delivers power and quality normally reserved for
ampliers that are 2-3 times their size. We’re not going to say the phrase “big things come in small packages” was inspired by our newest line of
ampliers, but the MVP series certainly validates it. NVX has a proud tradition of building products that are as functional as they are innovative. With
the MVP line you can install these ampliers in just about any application and achieve both the sound and power previously unheard of in a footprint
this small. The 4-channel MVPA4 is capable of delivering 100 watts per channel to drive your mids & highs and the MVPA1 monoblock is capable
of delivering 300 watts by one to drive your subwoofer, and both are contained in a case smaller than a video cassette tape. Now no matter the
application, you can rest assured that NVX has a product that’s right for you.
Visit: nvx.com | Call: 213.444.1689 | 15303 Ventura Blvd. 9th Floor, Sherman Oaks, CA 91403
2
AMPLIFIERS
SPECIFICATIONS
FEATURES
Mode l Number
MV PA1 MVPA4
RMS Power Output @ 14.4
200 Wat ts x 1 Ch @ 4 Ohm
300 Wat ts x 1 Ch @ 2 Ohm
50 Watts x 4 Ch @ 4 Ohm
100 Watts x 4 Ch @ 2 Ohm
Bridged 175 Watts x 2 Ch @ 4 Ohm
Frequency Response 10 Hz - 400 Hz 10 Hz - 20 kHz
Input Sensitivity 0.20 V - 5 V 0.20 V - 5 V
Signal-to Noise Ratio 105 dB 101 dB
Variable Lowpass Filter 40 Hz - 40 0 Hz 40 Hz - 400 Hz
Variable Highpass Filter – 40 Hz - 4 00 Hz
Bass Boost 0 / +6 / +12 dB –
Total Harmonic Distortion < 0.65 % < 0.07 %
Operating Voltage 8 V - 16 V 8 V - 16 V
Net Weight 2 lbs (0.90 kg) 2 lbs (0.90 kg)
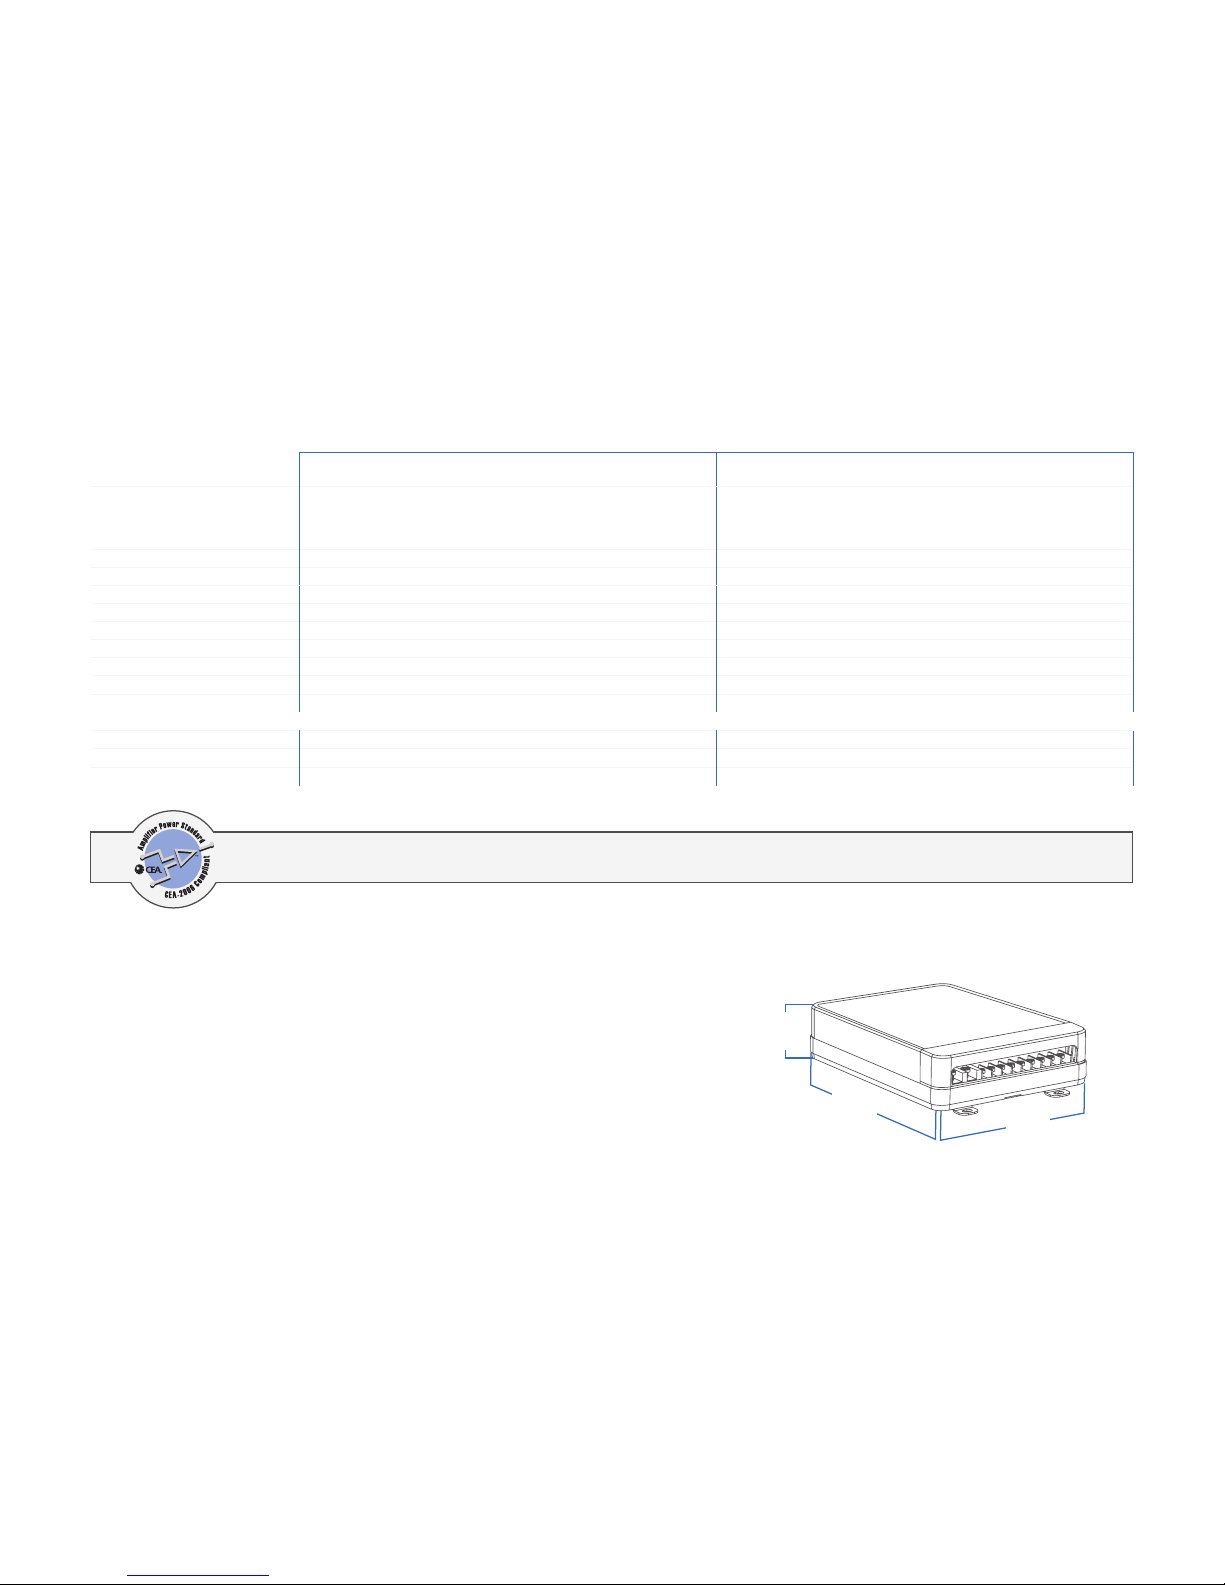
A Height
1.56 in (39 mm) 1.56 in (39 mm)
B Length
5.44 in (138 mm) 5.44 in (138 mm)
C Width
4 in (102 mm) 4 in (102 mm)
A
B
C
MV PA1
• Monoblock 1-Channel Amplier
• Micro Class-D Circuitry
• LED Power/Protection Indicators
• 15A x 2 Mini- Blade Fuse
• Operating Voltage: 8V - 16V
• All Specs at Rated Power
MVPA4
• 4-Channel Bridgeable A mplier
• Micro Class-D Circuitry
• LED Power/Protection Indicators
• 30A x 1 In-Line Mini-Blade Fuse
• Operating Voltage: 8V - 16V
• All Specs at Rated Power
RMS Power Output: 2 00 Watts x 1 Ch @ 4 Ohm 1% THD+N
Signal-to Noise Ratio: 82 dB (reference: 1 Watt @ 4 O hm)
RMS Power Output: 5 0 Watts x 4 Ch @ 4 O hm 1% THD+N
Signa-to Noise Ratio: 84 dB (reference: 1 Watt @ 4 O hm)
3
NVX MVP
SAFETY INFORMATION
INSTALLATION
● Please read and understand all instructions before at tempting to use or install the amplier. Damage caused by misuse is not covered under warranty.
● This unit is designed for use with 12VDC systems with negative ground only.
● Use only the supplied mounting hardware for a safe and secure installation.
● Adjust the volume to a safe and comfortable level when operating the motor vehicle.
● Never pour liquids on or near the amplier, or place the product into a wet/moist environment. If liquid accidentally comes in contact with the
amplier, disconnect all power and ground connections immediately.
● Clean the unit with a soft, dry cloth only. Never use chemicals or solvents such as alcohol or household cleaner.
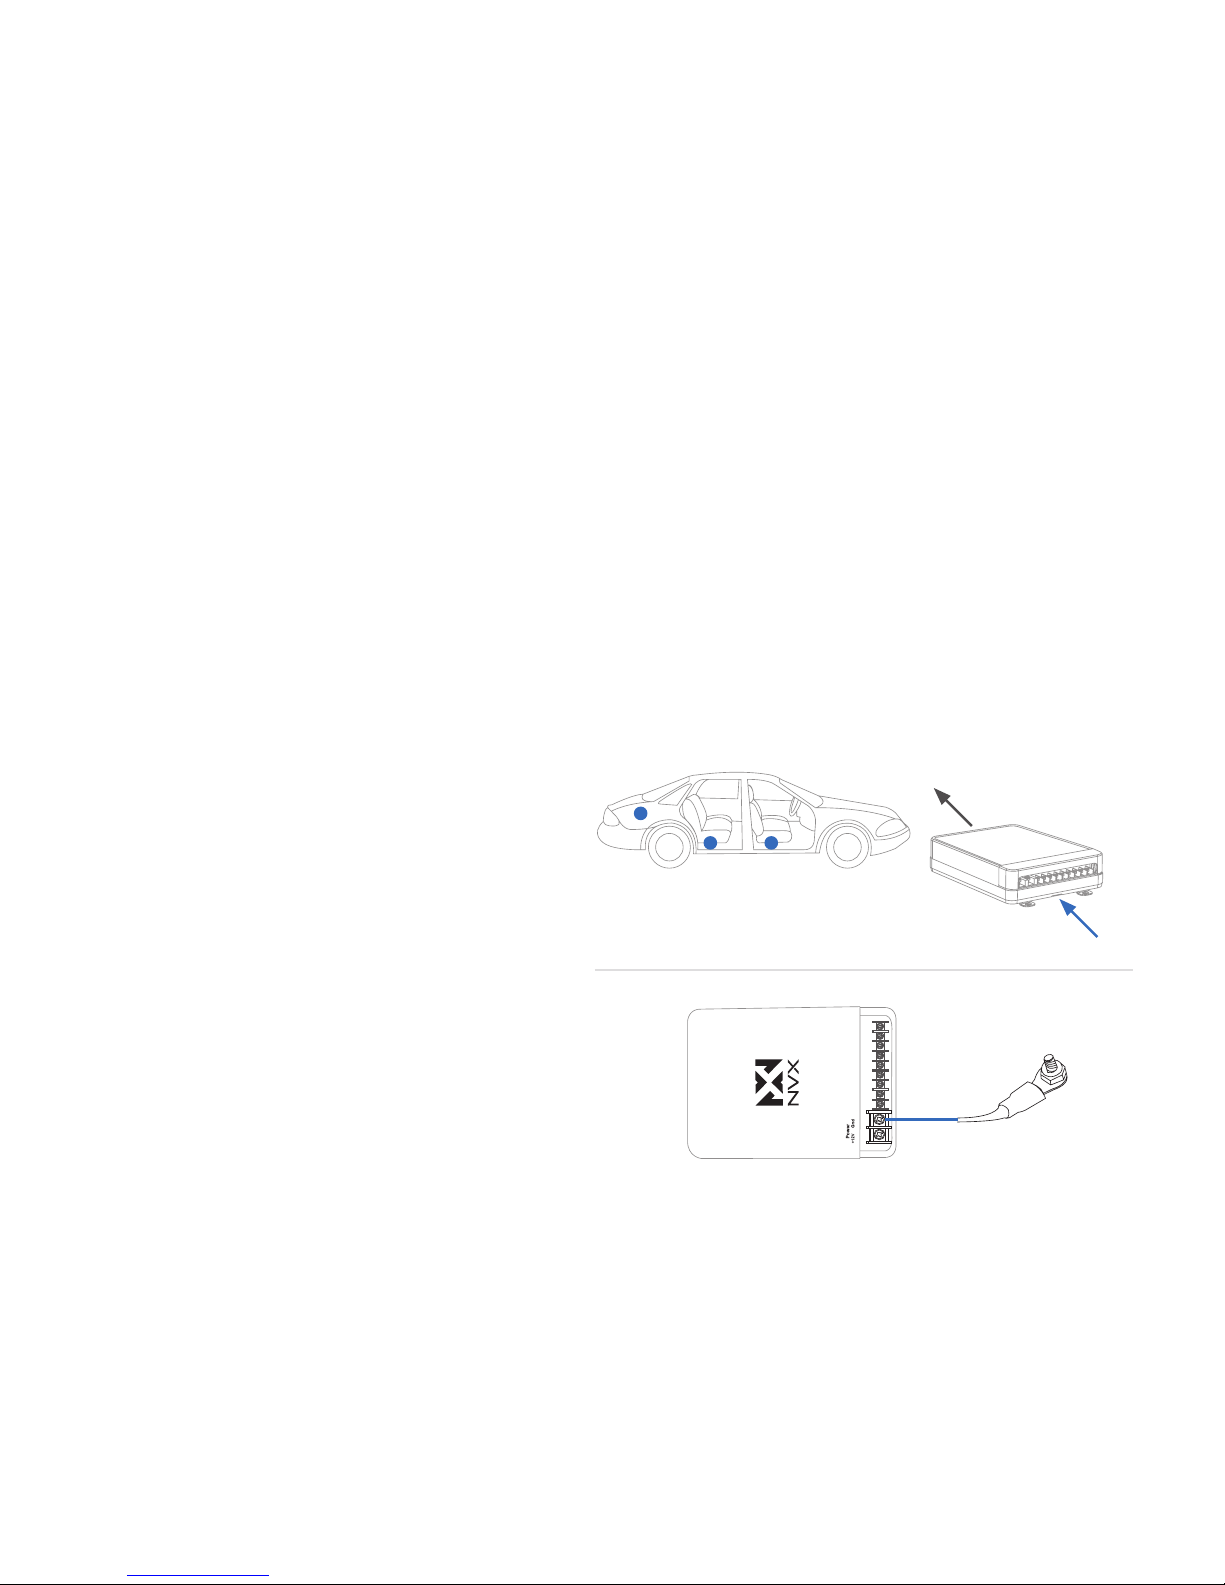
STEP 1: MOUNTING THE AMPLIFIER
To ensure optimal performance and maximum longevity, the amplier
should be mounted so there is suitable ventilation.
Ideal locations include under the seat, in the trunk, or any other location
which provides adequate air space to keep amplier cool. Due to the
potential temperature of the heat sink, it is recommended that you do
not mount the amp directly to fabric or vinyl material.
Once you’ve found a suitable location that provides ventilation and will
keep the amplier dry , mount the amplier using the included mounting
tabs. Make sure the amplier is mounted securely.
STEP 2: MAKING POWER & GROUND CONNECTION
Be sure to use proper gauge wire for all power/ground connections. A
minimum 10 gauge wire is recommended. For the best results, using an
NVX amplier installation kit is recommended.
GROUND: Prepare the chassis ground by clearing any paint, dirt and
grease from the metal surface. Connect a “ground” wire directly to the
chassis of the vehicle within 30 inches of the amplier using a nonanodized screw and a star washer , and connect the other end to the
ground terminal. The ground should be kept as short as possible, and
should never exceed 30 inches.
Ideal Locations
Install where there
is ventilation
to keep amp cool
Ground
 Loading...