

Page 1

Windows XP Manual Installation
Installation of the drivers for your video card can be fairly easy if the following steps
are followed carefully. There are a few things to keep in mind before proceeding with
the removal of the old drivers and installation of the new ones.
• What is your previous card you're upgrading from? Is it a separate video card
that is plugged into either an AGP or PCI slot on your motherboard?
• If you don't see one installed, the video may be supplied by an onboard or
integrated video controller. This simply means that the video chip is built unto
the motherboard itself.
• If you qualify for the above, it is very important to either check with the
motherboard manual or simply contact the manufacture's technical support.
Onboard video can be disabled in one of the three ways:
• In the motherboard BIOS, newer motherboards allow for
Disabling/Enabling the Onboard VGA controller. Now, depending on the
make and model of your motherboard, the option for the onboard controller
may be labeled differently. Again, please double check with the manufacturer.
• Disable the VGA device through the Device Manage r in Windows.
• If you have an older motherboard of 4 years and older, the only way of
disabling the onboard VGA device is by setting certain jumpers on the
motherboard (i.e. affixing certain shunts on designated pins.)
Note: the driver used in this guide is version 52.16.
Step 1: Download the driver file without the AutoInstaller to either your Desktop or
any predetermined download folder. Once the download process is finished, doubleclick the file.
Step 2: A window will appear prompting you to disable your anti-virus. If you have
an anti-virus scanner installed you must disable it at this point before clicking th e
YES button.
Page 2
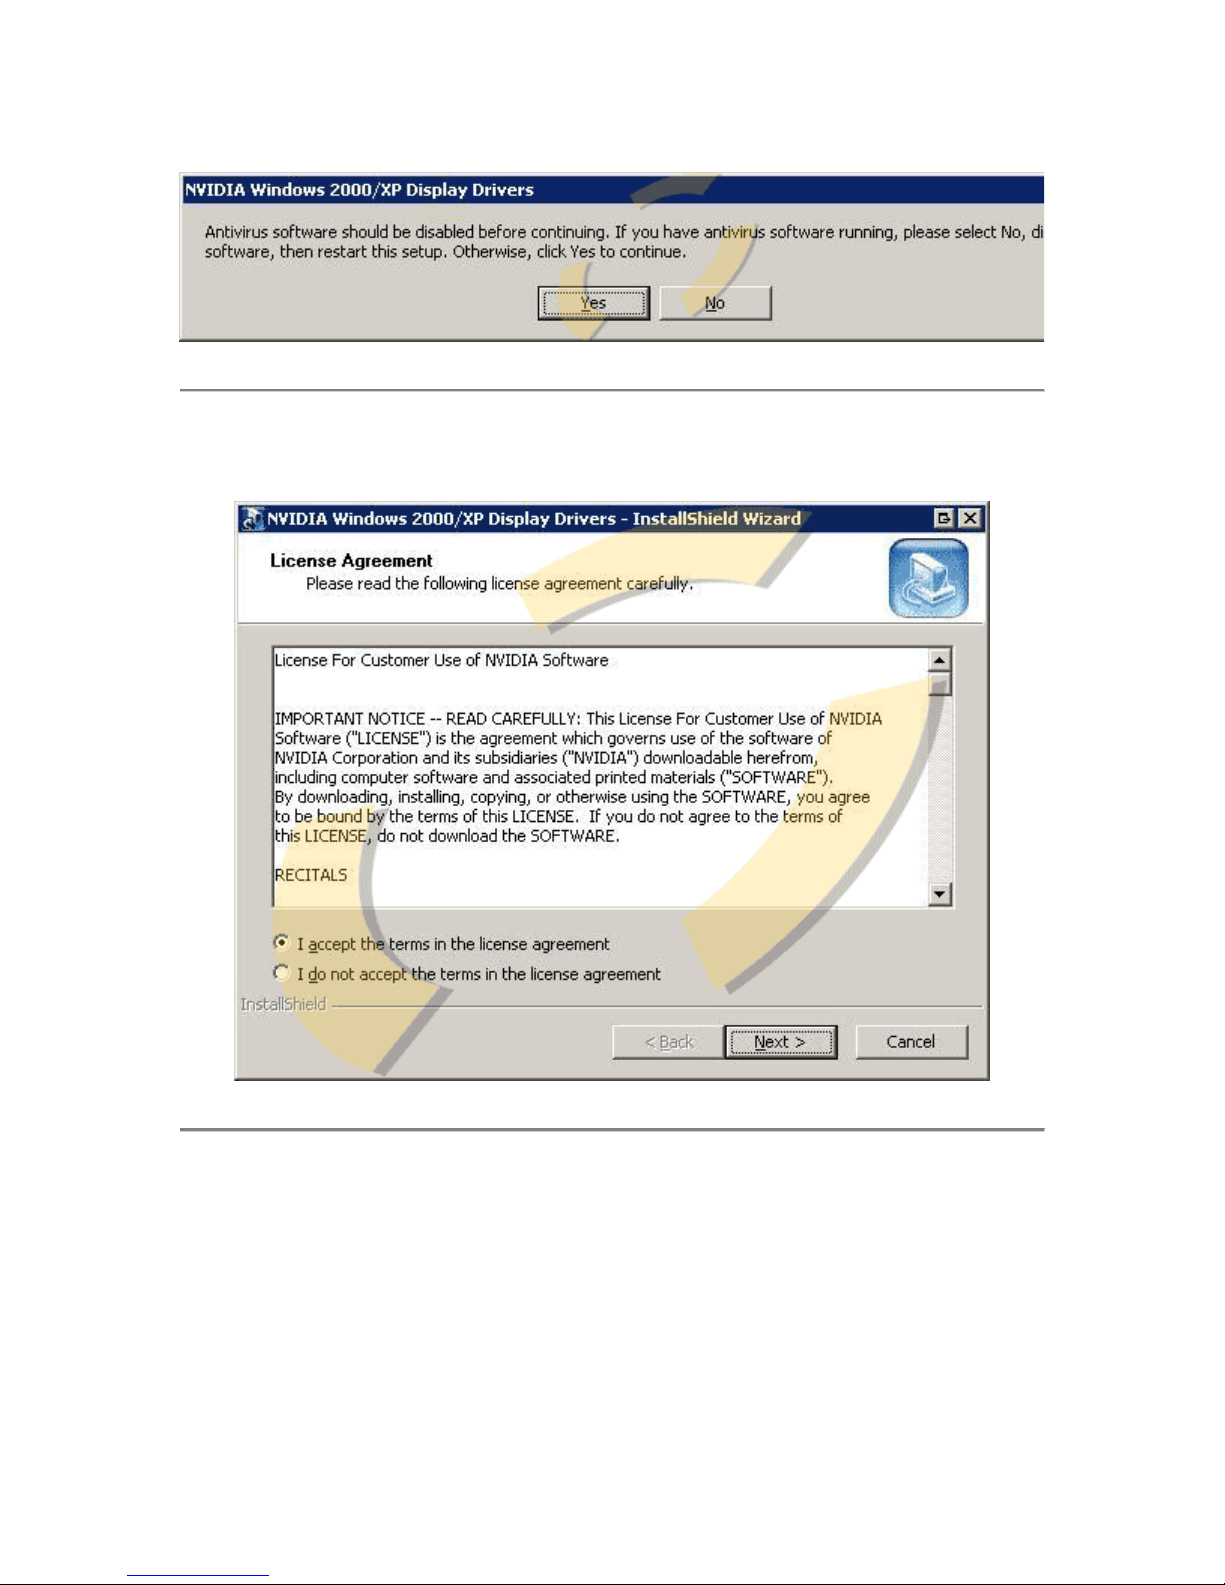
Step 3: Please read the license agreement. Once you have read and agreed to the
license click on the I accept option followed by the NEXT button.
Step 4: This step determines where the video driver installation files will be
extracted. You can use the default folder "C:\NVIDIA\Win2KXP\52.16" or change the
location by click the CHANGE button.
Page 3

Step 5: Once the extraction process has reached 100%, the program will prompt to
install the driver, in this case we are using the setup file only for the extraction
process. You can proceed by clicking the CANCEL button.
Page 4
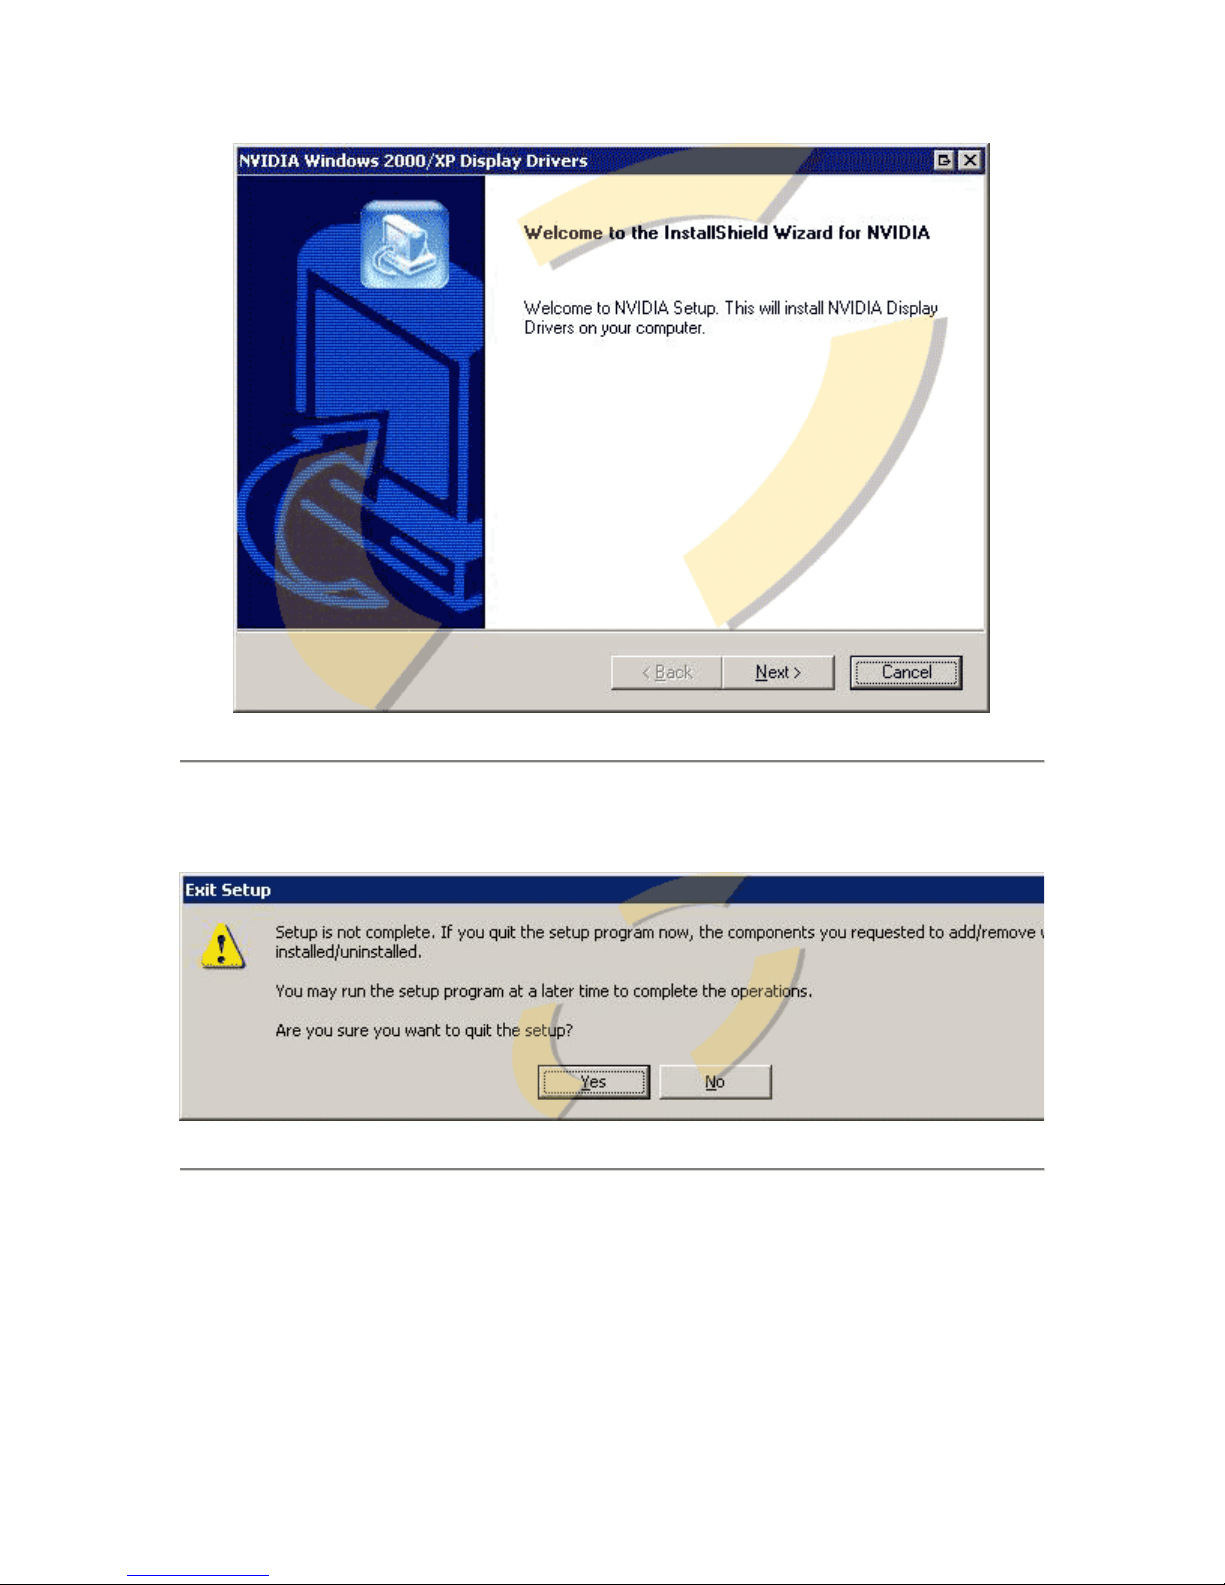
Step 6: The setup will prompt "Are you sure you want to quit setup?" continue by
clicking the YES button.
Page 5

Step 7: Locate the "My Computer" icon and right click > select Properties.
Step 8: This will bring up your system properties of your Windows XP operating
system, displaying the Windows XP version and CPU information. At the top should
be seven tabs, selecting the tab marked Hardware.
Page 6

Step 9: Under the Hardware tab, the Add Hardware Wizard, Device Manager
and Hardware Profiles sections will be displayed. Click the Device Manager
button.
Page 7

Step 10: Locate the "Video Controller (VGA Compatible)", right click on its icon and
select Update Driver.
Page 8

Step 11: This in turn will bring up the Windows XP Hardware Update Wizard.
Select the second option available which is Install from a list or specific location
(Advanced). Click Next > to proceed.
Page 9

Step 12: At this point, the Hardware Update Wizard will allow you the option to
either search for the appropriate drivers or have you pick a specific driver yourself.
You know the location of the extracted display driver files from Step 4. Select the
option, Don't search. I will choose the driver to install. Then, click Next >.
Page 10

Step 13: The Hardware type window will be listed. Choose Dis pla y ad apt ers and
click Next >.
Page 11

Step 14: Afterwards a list of models may be shown depending on whether or not a
previous driver has been installed before. Otherwise, the list will be blank. Select the
Have Disk... button at the lower right.
Page 12

Step 15: A pop-up window will appear asking for the location of these drivers. You
can type in "C:\NVIDIA\Win2KXP\52.16" or if you have extracted the files to another
location direct dialog box by clicking Browse.
Page 13

Step 16: This will complete the Hardware Update Wizard. Click on the Finish button.
Step 17: You will be prompted to reboot your system. Click on the YES button and
upon reboot your driver will be installed.
 Loading...